
Pick up some fun with this Free Crochet Eggplant Amigurumi Pattern, adding a playful touch to your décor, kitchen, or cheerful handmade gifts.
Bright pops of color in your home can come from the most charming of places, such as a tiny crocheted eggplant sitting on your desk or shelf. This pattern uses simple crochet stitches like the magic circle, single crochet, increases, and invisible decreases to shape a cute, plump eggplant with a slightly textured stem. One of the delightful parts of making this eggplant is seeing how the rounds gradually expand as you increase stitches, creating that classic rounded vegetable shape. The stitch pattern helps give smooth shaping while the invisible decrease stitch ensures your decreases blend seamlessly, keeping the amigurumi neat. Adding the green stem on top provides a perfect finishing touch that adds personality and a pop of color.
Playful Crochet Eggplant Amigurumi Pattern That Pops with Charm
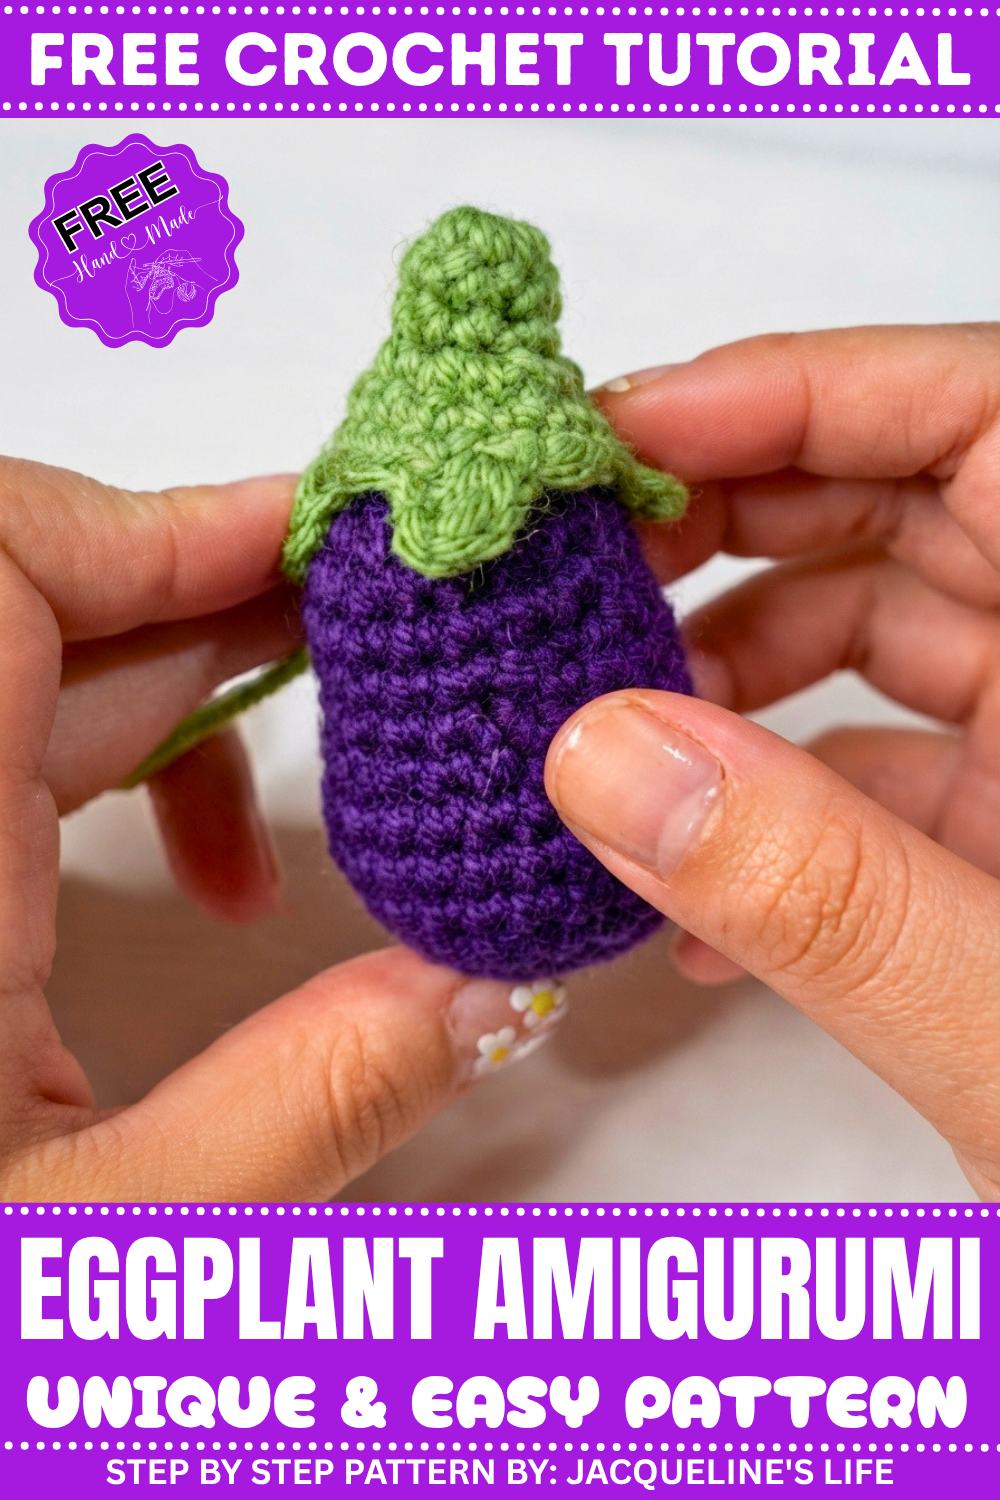
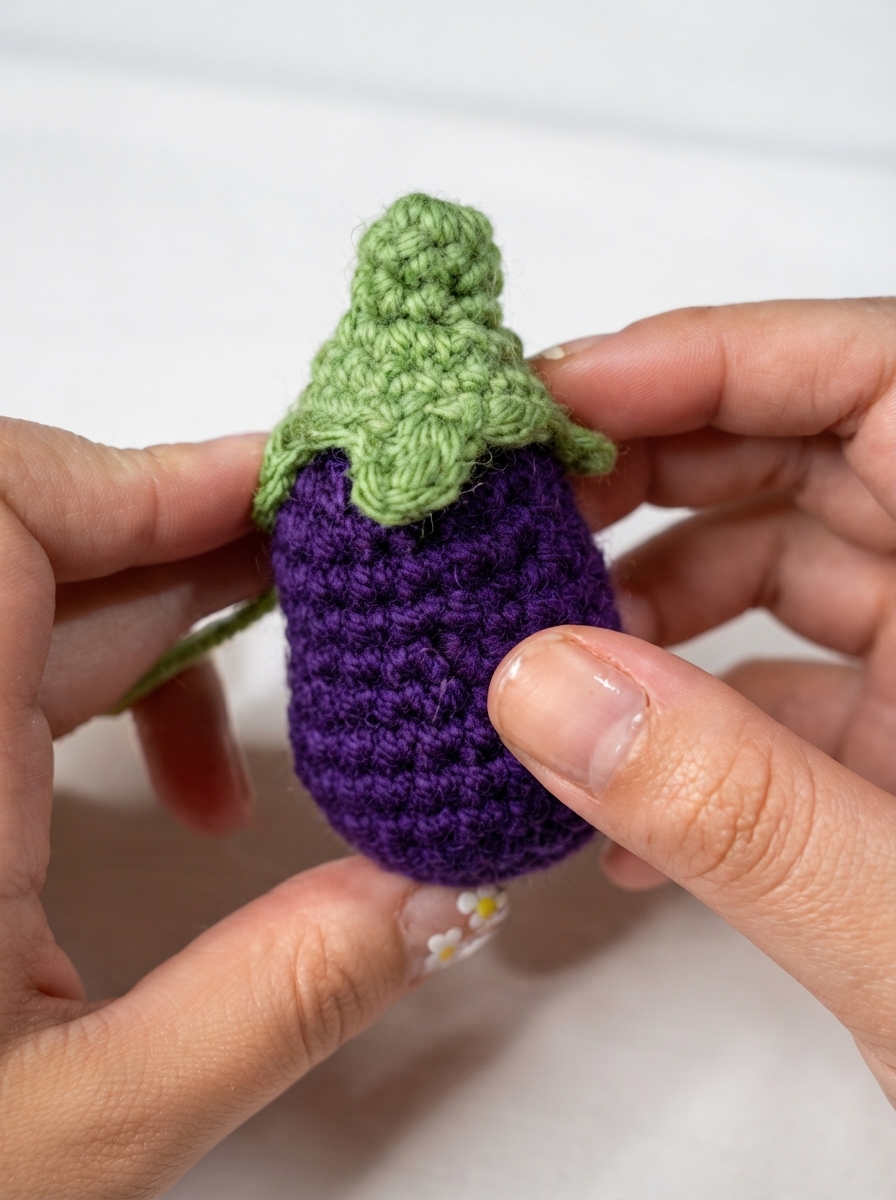
This eggplant can also be personalized depending on your yarn choice for different sizes or color variations. The soft stuffing inside keeps it lightweight but with enough firmness to maintain its round shape. Whether you want to make a playful keychain or a decorative piece for your kitchen or craft room, this eggplant is a sweet and simple project that brightens any space.
What Else Can You Make?
The techniques you practice here open up many creative opportunities. These same stitches can help you shape other vegetables, fruits, or even adorable food-themed amigurumi like cherries, pumpkins, or strawberries. With such versatile basic skills, you can also experiment with creating cute armatures for characters or custom gifts that bring smiles and a handmade touch to every occasion.
How to Crochet a Baby Eggplant Amigurumi – Step-by-Step Guide
Materials Used
To crochet the baby eggplant, you will need the following items:
- Yarn:
- Purple Yarn: Big Twist Value Yarn in “Grape” for the body.
- Green Yarn: For creating the stem on top.
- Tools and Accessories:
- Crochet Hook: 3.5mm hook.
- Stitch Marker: For tracking rounds.
- Scissors: To trim excess yarn.
- Hot Glue Gun: For attaching the top stem to the eggplant securely.
- Stuffing: Polyester fiberfill or similar material to stuff the eggplant.
Uses of the Baby Eggplant
- Keychain Accessory: Add a keyring to make it a cute and unique keychain.
- Car Decor: Attach yarn to hang it in your car.
- Decorative Piece: Use it as part of a home decor setup.
- Crafty Gift Idea: Perfect as a handmade gift for friends or family.
Special Features of the Baby Eggplant
- Customizable Size: Change the hook size or yarn type to make the eggplant bigger or smaller.
- Easy Yarn Substitutions: Experiment with colors and textures for a fun twist.
- Practical Attachment Options: Add a keyring, yarn loop, or just keep it as a stand-alone figurine.
- Textured Green Leaf Top: The top stem pattern includes cute details for added charm.
Level of Difficulty
Beginner-Friendly with Intermediate Elements
- Most of the project uses basic techniques like single crochet, magic circle, and increasing.
- The stem part may pose a slight challenge due to its smaller size and tighter stitches.
- Overall, the eggplant is a great project for beginners looking to practice amigurumi skills with a few manageable challenges.
Tutor’s Suggestions
- Choose Suitable Yarn: The tutor suggests using a softened, high-quality yarn (e.g., Big Twist Value Yarn) for easier crocheting and a smooth finish. She advises avoiding rougher yarns that can irritate the skin during use.
- Take Your Time with Small Parts: Work slowly on the tighter stitches in the stem section, as they can be fiddly.
- Experiment with Colors: Feel free to change the yarn colors for a unique look.
- Add Finishing Details: Use hot glue to secure loose ends and attach parts like the green stem.
- Adjust the Size: Switch to larger hooks for a bigger eggplant or add extra increase rounds. Ensure proportions stay consistent by adjusting the decreases accordingly.
- Use a Stitch Marker: Always mark the last stitch of each round to keep track of progress.
Step-by-Step Instructions
Step 1: Create the Bottom of the Eggplant
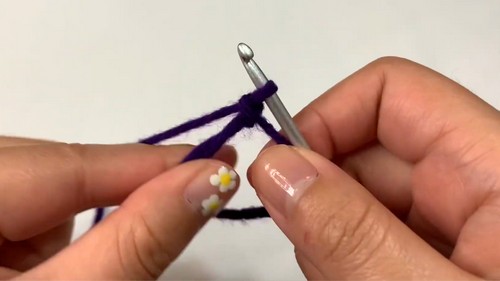
- Make a Magic Circle:
- Wrap purple yarn around your fingers to create an X shape.
- Insert the crochet hook into the loop, grab the yarn, and pull it through. Twist the yarn slightly to form a loop on the hook. Chain 1 to secure.
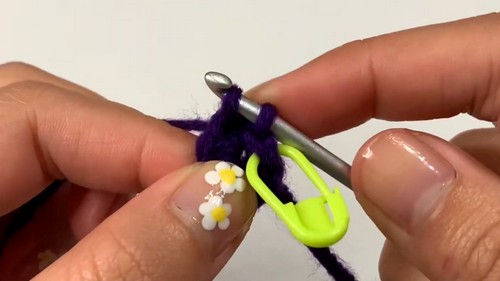
- Round 1:
- Crochet 6 single crochets (SC) into the magic circle. Pull the loose end to tighten the loop. Use a stitch marker to mark the last stitch.
- Round 2:
- Increase in each stitch (2 SC in every stitch). End with 12 stitches in total.
- Round 3:
- Alternate 1 SC and an increase (2 SC in 1 stitch). Repeat around to end with 18 stitches.
- Round 4:
- Single crochet (SC) into each stitch for a total of 18 stitches. This round creates the base structure of the eggplant.
- Round 5 (Final Increase for Base):
- Perform one increase (2 SC) in the first stitch, followed by 2 single crochets in the following two stitches. Continue this pattern for the round. You will end with 24 stitches.
Step 2: Build the Body
- Rounds 6–8:
- Single crochet (SC) into every stitch for three consecutive rounds. Each round retains 24 stitches. This step creates the body’s length.
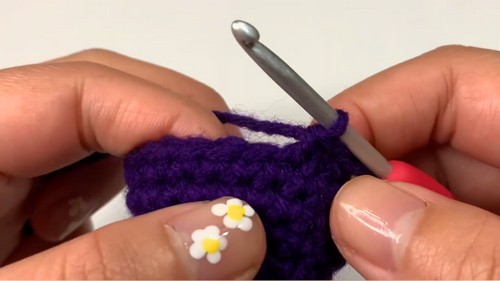
Step 3: Shape the Eggplant
- Round 9 (Decreasing Round):
- Use invisible decreases: Insert your hook into the front loop only of two stitches, yarn over, pull through the loops, and then complete as a single crochet.
- Alternate 1 invisible decrease and 2 single crochets. End the round with 18 stitches.
- Rounds 10–13:
- Single crochet into every stitch for four consecutive rounds, maintaining the 18 stitches.
Step 4: Stuff and Finish the Body
- Round 14 (Decreasing Round):
- Perform an invisible decrease in each of the first two stitches, followed by 1 single crochet. Repeat this pattern to decrease to 12 stitches.
- Round 15 (Closing the Top):
- Continue decreasing every stitch (invisible decreases only) until the top is nearly closed.
- Use your crochet hook or hot glue to weave or seal the opening.
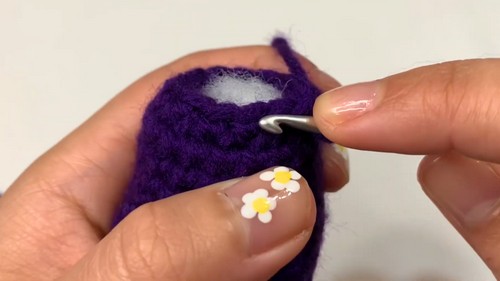
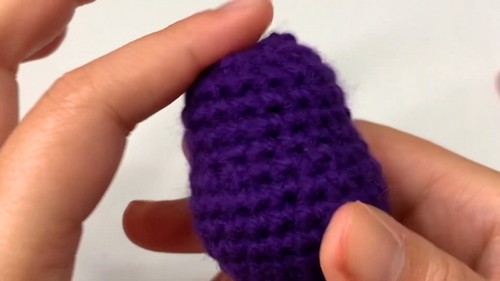
Step 5: Make the Green Stem
- Stem Base:
- Start with a green magic circle and SC 6 times into the circle (Round 1).
- Continue with two rounds of SC without increases (Rounds 2–3).
- Round 4 (Increasing the Stem):
- Increase in every stitch (2 SC in each), increasing the stitch count to 12.
- Round 5 (Final Stem Round):
- Single crochet in every stitch for 12 stitches.
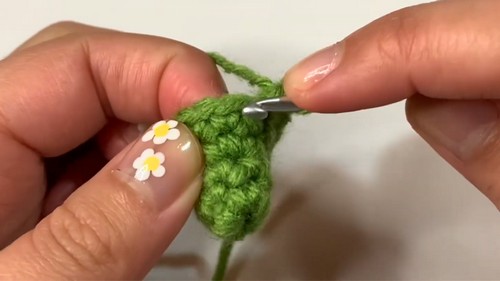
Step 6: Create the Stem “Points”
- Chain 3, then:
- SC in the 2nd chain from hook.
- Half-double crochet (HDC) in the next chain.
- Slip stitch into the base of the next stitch. Repeat this process to create 4 decorative “points” around the stem.
- Once finished, trim excess yarn. Attach the stem to the eggplant body using hot glue.
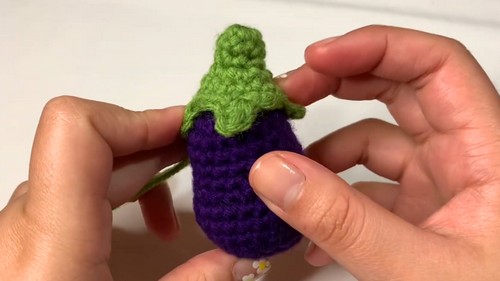
Conclusion
You’ve now completed your baby eggplant amigurumi! This cute project combines practical crochet techniques with a playful design, resulting in a lovely piece you can proudly display, gift, or use as an accessory. With your new decorative stem and seamless build, the baby eggplant showcases both functionality and charm.
Pro Tip
When attaching the green stem, use small amounts of hot glue and secure it slowly to avoid spreading glue outside the edges. A clean attachment gives the eggplant a more finished, professional look!
Leave a Reply