
Celebrate beautiful handmade accessories with this Crochet Flower Bag Pattern that blends floral style with everyday practicality.
Adding a touch of charm to your accessories is easy with this Crochet Flower Bag Free Pattern. This bag has soft shapes and pretty flower decorations that make it look happy and friendly. Its round shape fits well in your hand or can be carried over your shoulder with a strap, making it handy for everyday use.
Modern Crochet Flower Bag Free Pattern with Floral Touch
The bag is the right size to hold your phone, wallet, keys, and a few small things. It works well for going out or running errands. You can change the colors or size to match your style. The flower designs come from simple garden flowers, giving the bag a fresh and natural look.This pattern has clear steps that help crocheters of all levels finish the bag easily. Crocheting this bag can be a fun and relaxing way to spend time while making something useful and nice. The bag is light and soft, so you can fold it and carry it easily when not needed.
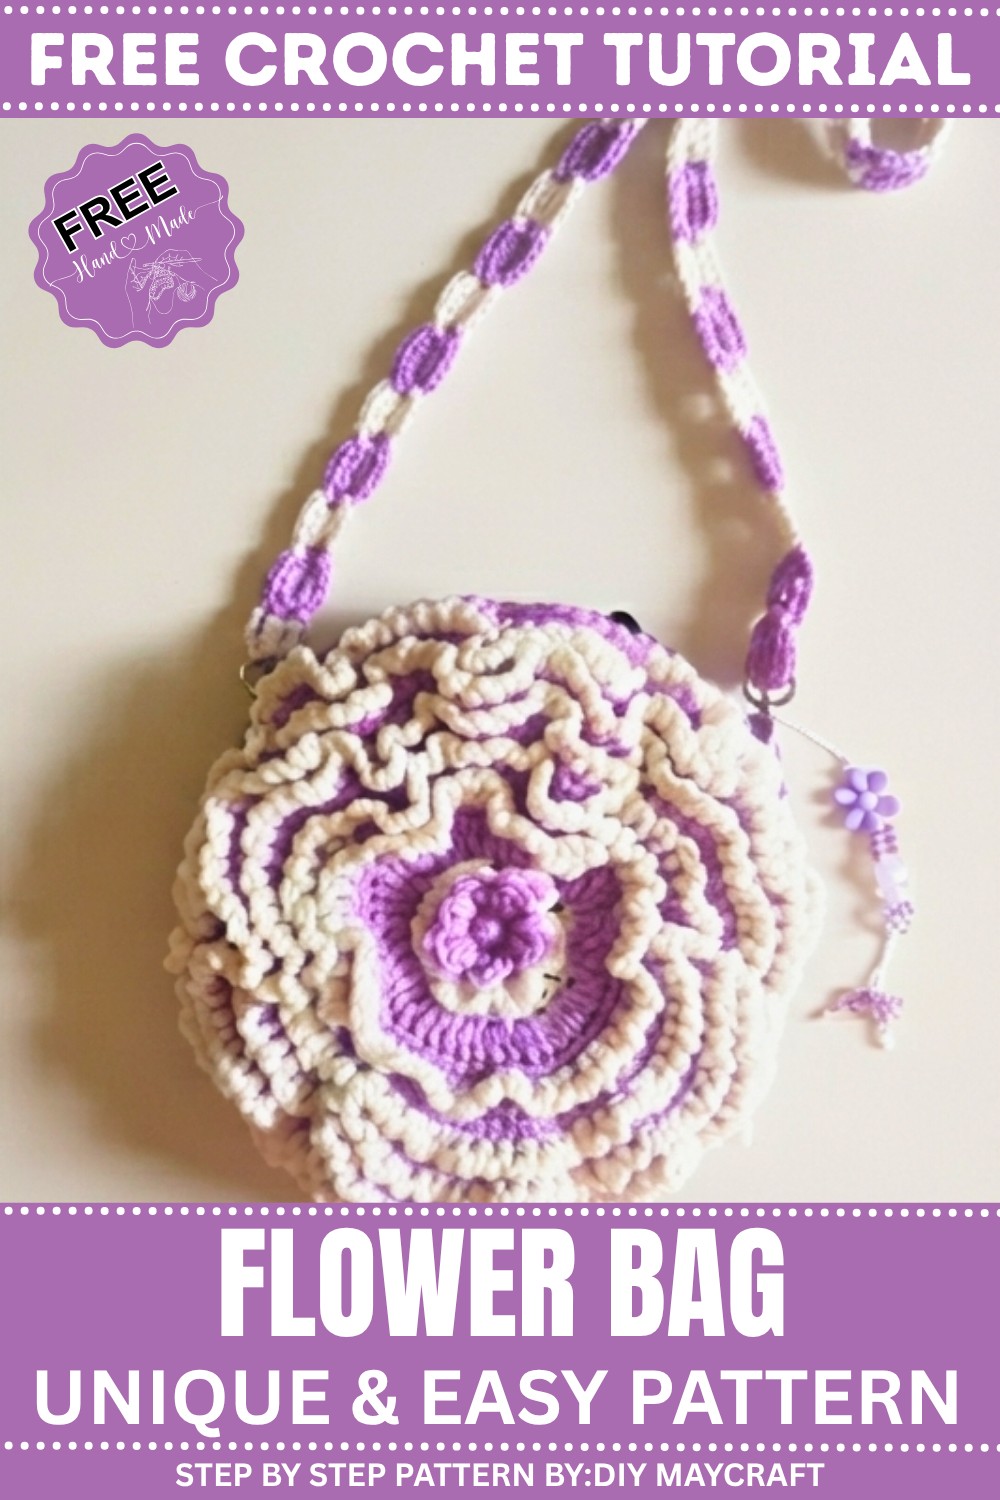
The flowers add a nice texture that makes the bag look neat without being too much. This bag goes well with many different clothes. It can fit in with casual outfits or add a little fun to simple clothes.If you want a new project or a nice gift made by hand, this flower bag is a great choice. Its simple design and useful size make it a good bag for everyday use. It can bring a bit of happiness wherever you take it.
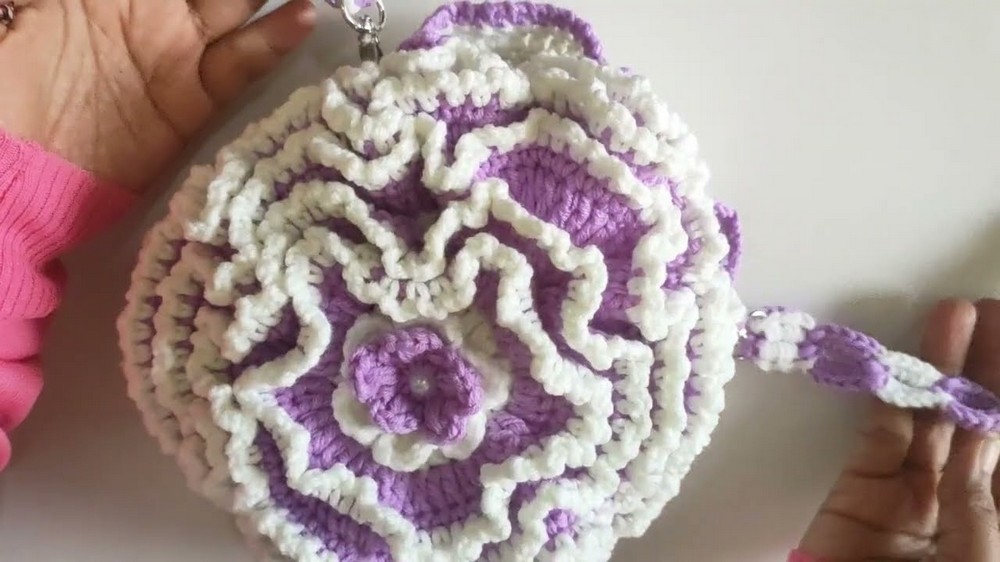
Crochet Flower Bag Pattern
In this project, you will learn how to crochet a beautifully designed round flower bag that perfectly balances style and practicality. To begin with, the bag is made by creating two circular panels using double crochet stitches worked in the back loops, which helps the fabric expand evenly and form a sturdy, flat base. After completing the panels, they are joined together with a neat single crochet and chain stitch border, leaving an opening for the strap attachment. Next, the front of the bag is enhanced with multiple rows of layered petals crocheted into the front loops, giving the bag a rich floral texture and dimension. Finally, a colorful and durable rope strap, made from triple crochet motifs with alternating colors, is added to complete the look. Altogether, this project is perfect for those with intermediate crochet skills who want to create a unique, elegant, and functional accessory.
Quick Overview of Pattern
- Bag panels: Make two round pieces using double crochet stitches worked in the back loops to expand evenly.
- Assembly: Join both panels with single crochets and chains, leaving an opening for the handle.
- Flower petals: Crochet multiple layers of petals worked into the front loops of the base for a full, floral look.
- Strap: Create a strong rope strap using triple crochet motifs with alternating colors for decoration.
Notes
- Join rounds with a slip stitch (sl st).
- Starting chains do NOT count as stitches unless specified.
- The circular base is worked in back loops only (BLO) to create ridges and texture.
- Flower petals are made in the front loops only, giving dimension.
- Keep a consistent tension for smooth, flat circles.
Skill Level
Intermediate
You should be comfortable with circular crochet, counting stitches, and changing colors.
Materials
- Milk cotton yarn in your chosen colors
- Tulip crochet hook size 6/0
- Tapestry needle for sewing
- Scissors
- A decorative button for closure

Measurements / Size
- Bag diameter: about 20 cm (8 inches)
- Strap length: adjustable to your preference
Stitch Abbreviations
- ch = chain
- sl st = slip stitch
- dc = double crochet
- inc = increase (2 stitches in one space)
- sc = single crochet
- tr = triple crochet (yarn over twice)
The Crochet Pattern
Bag Panels (Make 2)
Foundation:
- Make a slip knot. Chain 4.
- Join with slip stitch to form a ring.
Round 1:
- Chain 2 (does not count as stitch).
- Work 12 double crochets (dc) into the ring.
- Join with slip stitch.
Round 2:
- Chain 2.
- Working in back loops only (BLO), make 2 dc in each stitch (increase).
- Join with slip stitch. (24 dc total)
Round 3:
- Chain 2.
- In BLO, 1 dc, then 2 dc in same stitch; repeat around.
- Join with slip stitch. (36 dc total)
Round 4:
- Chain 2.
- In BLO, 2 dc, then 2 dc in same stitch; repeat around.
- Join with slip stitch. (48 dc total)
Round 5:
- Chain 2.
- In BLO, 3 dc, then 2 dc in same stitch; repeat around.
- Join with slip stitch. (60 dc total)
Round 6:
- Chain 2.
- In BLO, 4 dc, then 2 dc in same stitch; repeat around.
- Join with slip stitch. (72 dc total)

Round 7:
- Chain 2.
- In BLO, 5 dc, then 2 dc in same stitch; repeat around.
- Join with slip stitch. (84 dc total)
Round 8:
- In BLO, 1 dc increase, then 3 dc; repeat until you have 96 dc in total.
- Join with slip stitch and fasten off.

Joining the Panels
- Place both panels on top of each other, right sides facing out.
- Mark 15 stitches for an opening (this will be your bag strap area).
- Mark 30 stitches for the width/base.
- Join yarn and work 1 single crochet (sc), chain 1 (ch 1) through both layers on each stitch, joining the edges.
- When you reach the 15-stitch opening, create the strap by chaining 9, then join back to the main fabric with a slip stitch.
- Continue joining the rest of the stitches with sc, ch 1.
- This creates a neat and flexible side seam with a handle opening.
Decorative Flower Petals (Front Loops)
- Work on the front loops of the base stitches for texture.
Row 1:
- Join yarn, chain 2.
- In next front loop, work 2 double crochets (dc increase).
- Repeat 1 dc increase in next loop, ch 2, slip stitch in same loop
- Make 6 petals around by repeating this sequence.
Row 2:
- Join new color yarn.
- Make 2 dc increases into each stitch around (48 dc).
- Follow with a round of 48 sc.
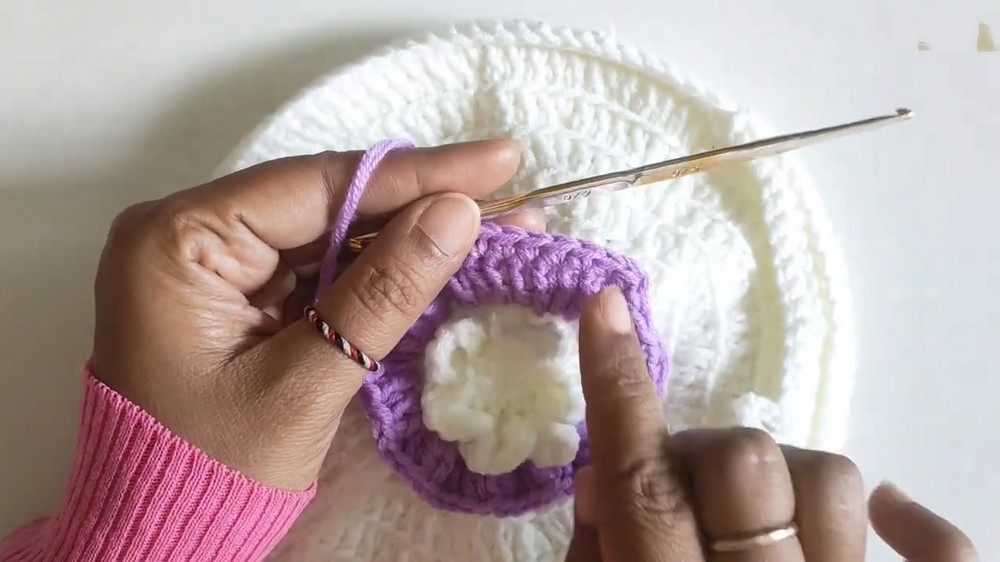
Row 3:
- 1 sc, chain 3 repeat around 48 times for an airy lacy effect.
Rows 4–6:
- Repeat the sequence from Row 2 and Row 3 alternating as needed to create a dense multi-layered flower effect.
Strap Pattern
Foundation:
- Chain 4 and join with slip stitch to form a ring.
- Chain 3 (counts as first triple crochet).

Motif:
- Work 1 triple crochet (tr) in the center of the ring.
- Chain 3, then 1 tr in center of next ring.
- Repeat this pattern until your strap reaches the desired length.
Border:
- Add 4 single crochets (sc) into each chain loop on the side of the strap.
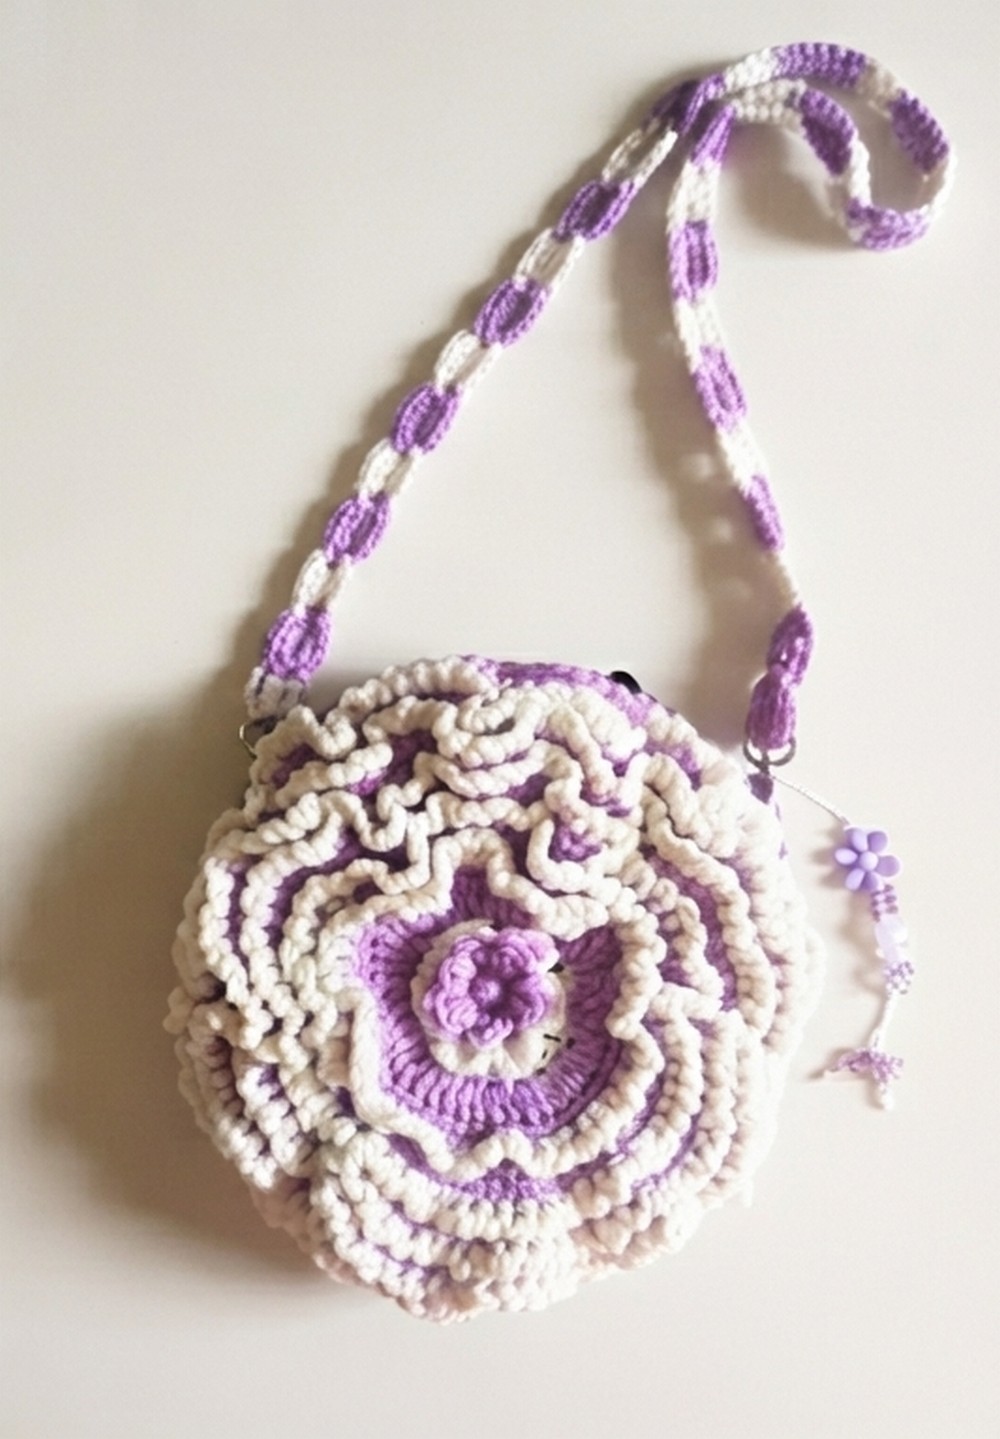
- Alternate colors (white and purple suggested) for a vibrant look.
Assembly
- Place the two circular panels together with their right sides facing out.
- Using a tapestry needle, sew the edges securely by working single crochets and chain stitches through both layers, leaving an opening for the strap.
- Attach the strap ends firmly to the bag’s opening to ensure it is sturdy and comfortable to carry.
- Sew a decorative button onto the front flap of the bag to create a functional closure.
- Weave in all loose yarn ends neatly inside the bag for a clean finish.
- Finally, trim any excess threads with scissors to complete your project.
Finished Size
- Diameter of the bag body (after assembling two panels): approximately 20 cm (about 8 inches)
- Bag thickness (width of joined sides): approximately 3 cm (about 1.2 inches)
- Strap length: customizable, depending on the number of crochet motifs used (original pattern uses about 80 chains)
- The layered flower petals add a decorative dimension extending slightly beyond the bag’s diameter, creating a beautiful floral border
Conclusion
This flower-themed crochet bag functions as both a practical item and a demonstration of skilled needlework. It shows how detailed crochet techniques can result in an accessory that is attractive while serving everyday purposes. Items made with such care often have special meaning and offer a personal touch that sets them apart from mass-produced products. Additionally, working on this project helps develop focus and precision, qualities useful beyond yarn work.The pattern offers clear instructions that balance simplicity with decorative detail, making it accessible to a range of skill levels. Its components encourage patience and persistence, rewarding effort with a finished item that is both charming and functional.
Leave a Reply