
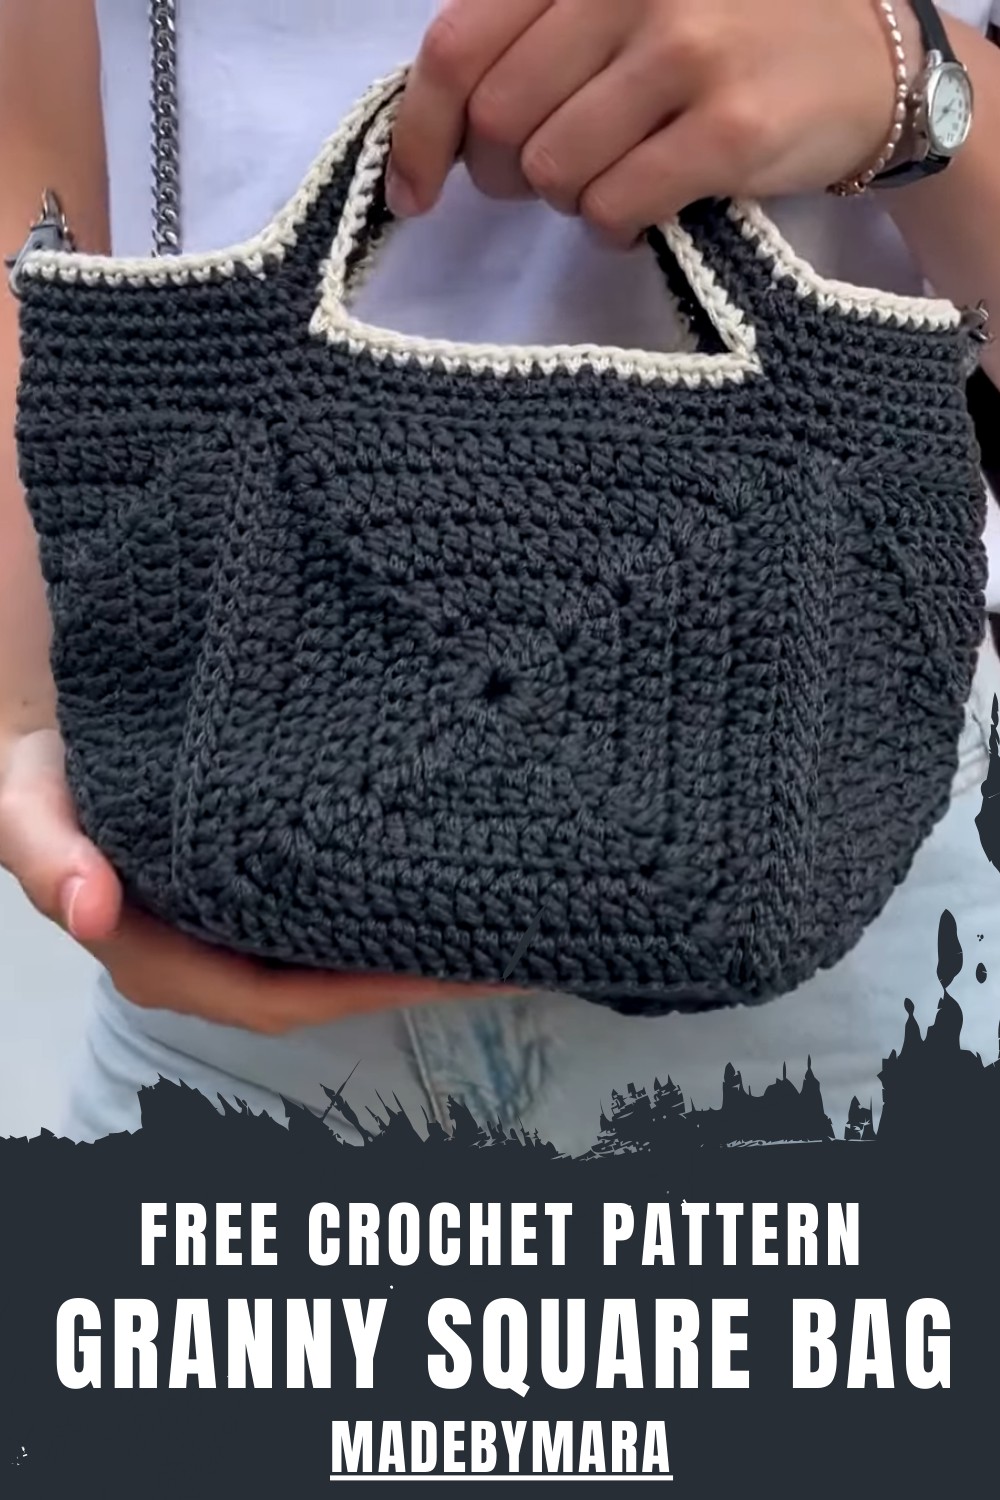
Show off your style easily with this free crochet granny square bag pattern that adds charm versatility and color to every outfit and outing.
There’s a colorful burst of joy when little squares come together to form a bag that feels just right for every hand. The crochet granny square bag pattern gives you a clever way to turn simple yarn into a bright and beautiful accessory. Each square holds its own blend of colors and textures making the finished bag stand out in any crowd. This bag is sturdy and roomy perfect for carrying small treasures like keys or snacks and even books.
Funky Free Crochet Granny Square Bag Pattern
Soft to touch easy to hold and durable for daily use it offers comfort and style wherever it goes. Using the crochet granny square bag pattern means turning scraps of yarn into something useful and lovely. It sparks creativity and brings smiles as friends ask about your unique bag. With endless choices for colors and shapes it fits everyone’s needs making life simpler and more joyful every day.
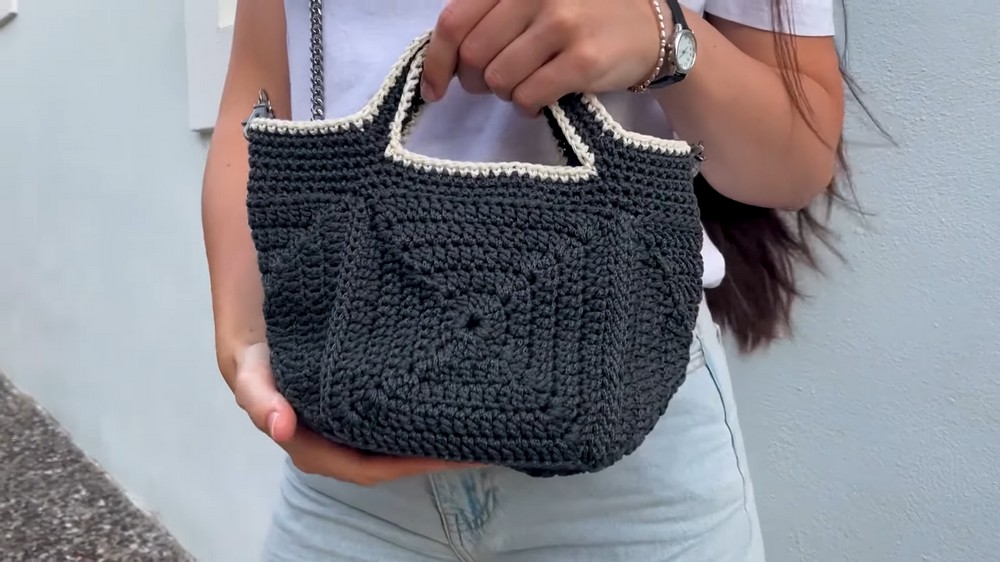
Easy Granny Square Bag Free Crochet Pattern
Materials List
- Yarn: Yarn of your choice (sample uses Mac yarn)
- Hook: 4 mm crochet hook
- Scissors
- Yarn Needle (for seaming and weaving in ends)
- Stitch Markers (recommended for handle positioning and joining)
Key Abbreviations
- ch – chain
- sc – single crochet
- dc – double crochet
- tr – treble crochet
- st(s) – stitch(es)
- sl st – slip stitch
- BL – back loop
Pattern is written in US crochet terminology.
Special Notes
- Construction: The bag is formed from five granny squares: one for the base and four for the sides.
- Joins: Use slip stitches in the back loops only for seaming.
- Handles: Placement can be customized using stitch markers to ensure symmetry.
- Customization: Height, width, and color can be customized to your preference.
Pattern Instructions
1. Granny Square (Make 5 Total)
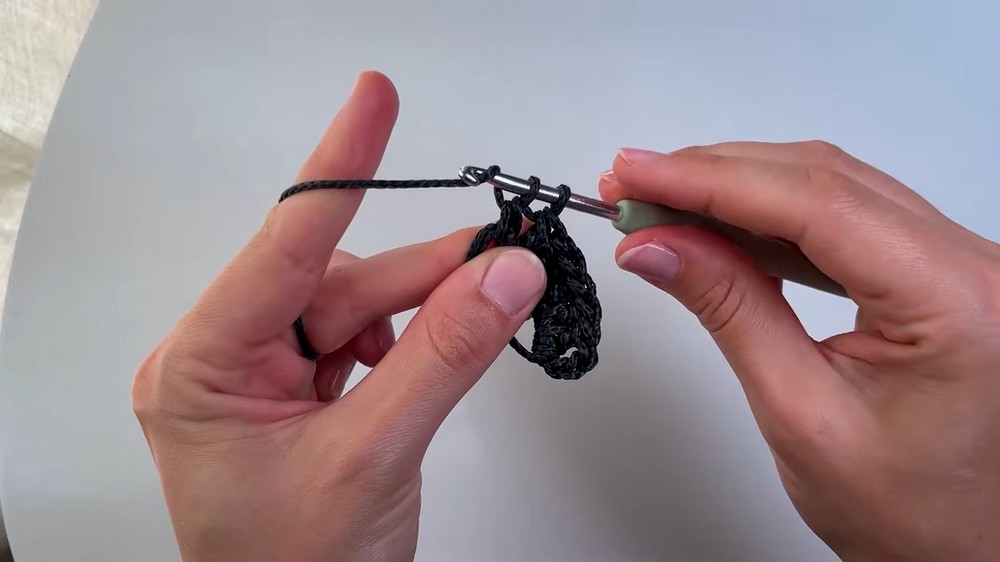
Round 1: Center
- Make a magic circle.
- Ch 4 (counts as tr for corner).
- (In magic ring) 3 dc, 1 tr – repeat sequence 3 times total, for 4 corners.
- After each tr, work 3 dc before the next tr.
- After last set of 3 dc, pull the tail to close the circle.
- Sl st into the 4th ch of beginning ch-4 to join.
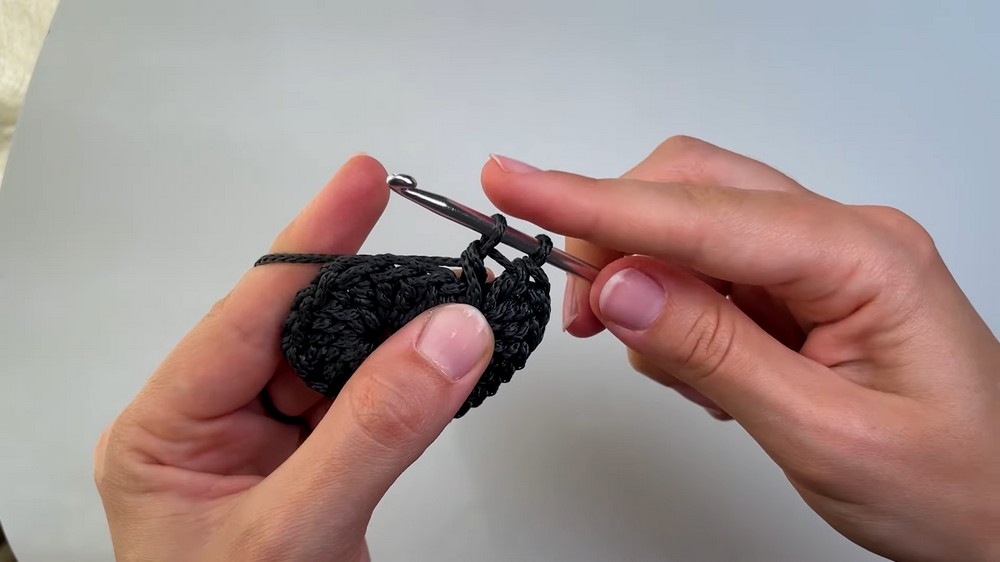
Round 2: Begin Expanding
- Ch 4 (counts as tr, first st of corner).
- In same st, 2 dc.
- 1 dc in next 3 sts.
- (Corner in next st: 2 dc, 1 tr, 2 dc).
- 1 dc in next 3 sts.
- Repeat from * around remaining corners.
- At end, after last 3 dc, 2 dc into same st as starting ch-4, sl st into 4th ch of beginning ch-4 to join.
Round 3–5 (or as many as needed):
- Ch 4 (counts as tr), 2 dc in same corner st.
- 1 dc in each st across side until next corner.
- (Corner – 2 dc, 1 tr, 2 dc) in next corner st.
- Repeat all around.
- At end, after last side, 2 dc in same starting st as beginning ch-4, sl st into 4th ch to join.
- Fasten off, weave in ends.
Sample Square Size: 14 x 14 cm (5 rounds)
Repeat for 5 squares.
2. Joining Squares
- Use BL sl st seam (Back Loops, Slip Stitch):
- Align two squares with right sides facing out.
- Insert hook through BL of both squares at corner st.
- Make a slip knot with new yarn, attach to hook, pull through both BL, and make a slip stitch.
- Continue slip stitching BLs together along the entire edge.
- Keep working yarn behind work; finish with a ch 1, fasten off, and weave in ends.
- Repeat joining for all sides, then join base to all side squares in the same manner.
- For corners of the base: For a seamless join, go through both loops of both squares at the very corner st.
- Use stitch markers to help align squares when joining.
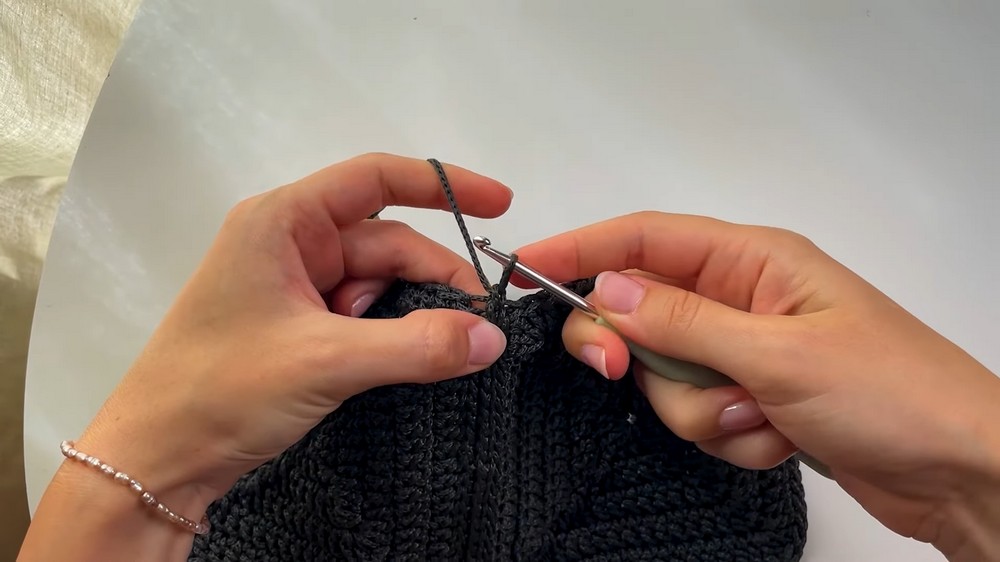
3. Bag Brim
Round 1 – Brim
- Join yarn in any corner.
- Ch 2 for height.
- sc in BL of each st around bag opening.
- Work extra sc in any bumps for smoother corners if needed.
- Sl st to the first sc at the end of the round.
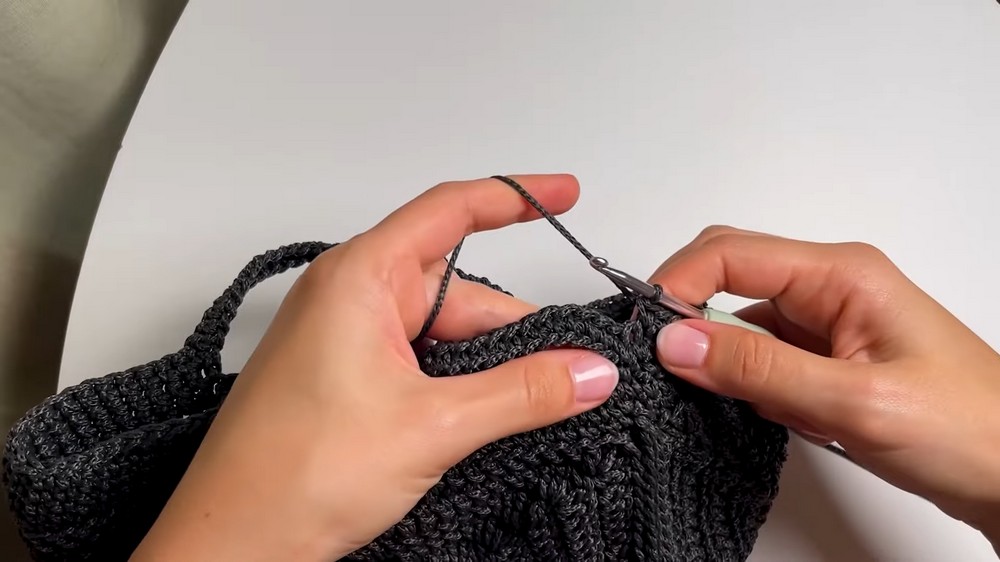
Round 2 – Brim
- Ch 1.
- sc in both loops in each st around.
- Sl st to the first sc.
4. Handles
Position Handles
- Use stitch markers to mark starting and ending position for each handle, ensuring both sides are even.
Handle Round
- At handle marker:
- sc in marked st, ch desired number of chs for handle length, skip to next marker, sc in marked st.
- sc in each st around to the next handle marker; repeat handle on opposite side.
Handle Finishing
- sc in BL of each ch across handle (forming a sturdy grip).
- Continue in sc across the bag edge until next handle, repeat.
Final Touch
- For a neat handle base: Before handle, on the last row, sc together 3 sts to shape a curved edge (insert in next st, pull up a loop, repeat for 3 sts, yarn over, pull through all 4 loops).
- Repeat on other handle bases for a rounded finish.
5. Optional: Contrast Border
- Join a new color to brim or handle, ch 1, sc around, sl st to finish.
- Weave in all ends securely with your yarn needle.
Finishing
- Weave in all yarn tails inside the bag.
- Turn bag right side out and shape as desired.
Conclusion
This easy and customizable granny square bag works up quickly and is assembled by seaming five sturdy squares. Handles and a brim complete the functional design, making it an ideal beginner project with lots of room for color and size variation.
Pattern Correction
- Double check that corners are joined neatly with no gaps (go through both loops at very corners when joining base).
- Always keep working yarn to the back while slip stitching seams.
- Use stitch markers liberally for accurate handle placement and side alignment.
Tips
- Sew in all ends methodically for a neat interior.
- To adjust the bag size, simply increase or decrease the round count on each square.
- For more durability, line the bag with fabric before or after adding the handles.
- Block granny squares after making them for very crisp edges and uniformity.
- Add decorative touches (buttons, tassels, or embroidery) as desired.
Leave a Reply