
Achieve a stylish summer look with this crochet bucket hat pattern, featuring a modern design that keeps you cool and trendy all season long.
Offering a seamless blend of nostalgic flair and high-street fashion, a crochet bucket hat pattern acts as a definitive guide for a headpiece that is both chic and utilitarian. The silhouette is defined by a soft, rounded crown and a gentle, downward-sloping brim that provides a flattering frame for any face shape. This accessory proves indispensable for various settings, whether it is providing a cooling shade during a summer picnic or adding a cozy, textured layer to a crisp autumn ensemble.
Stunning Crochet Bucket Hat Pattern with a unique brim
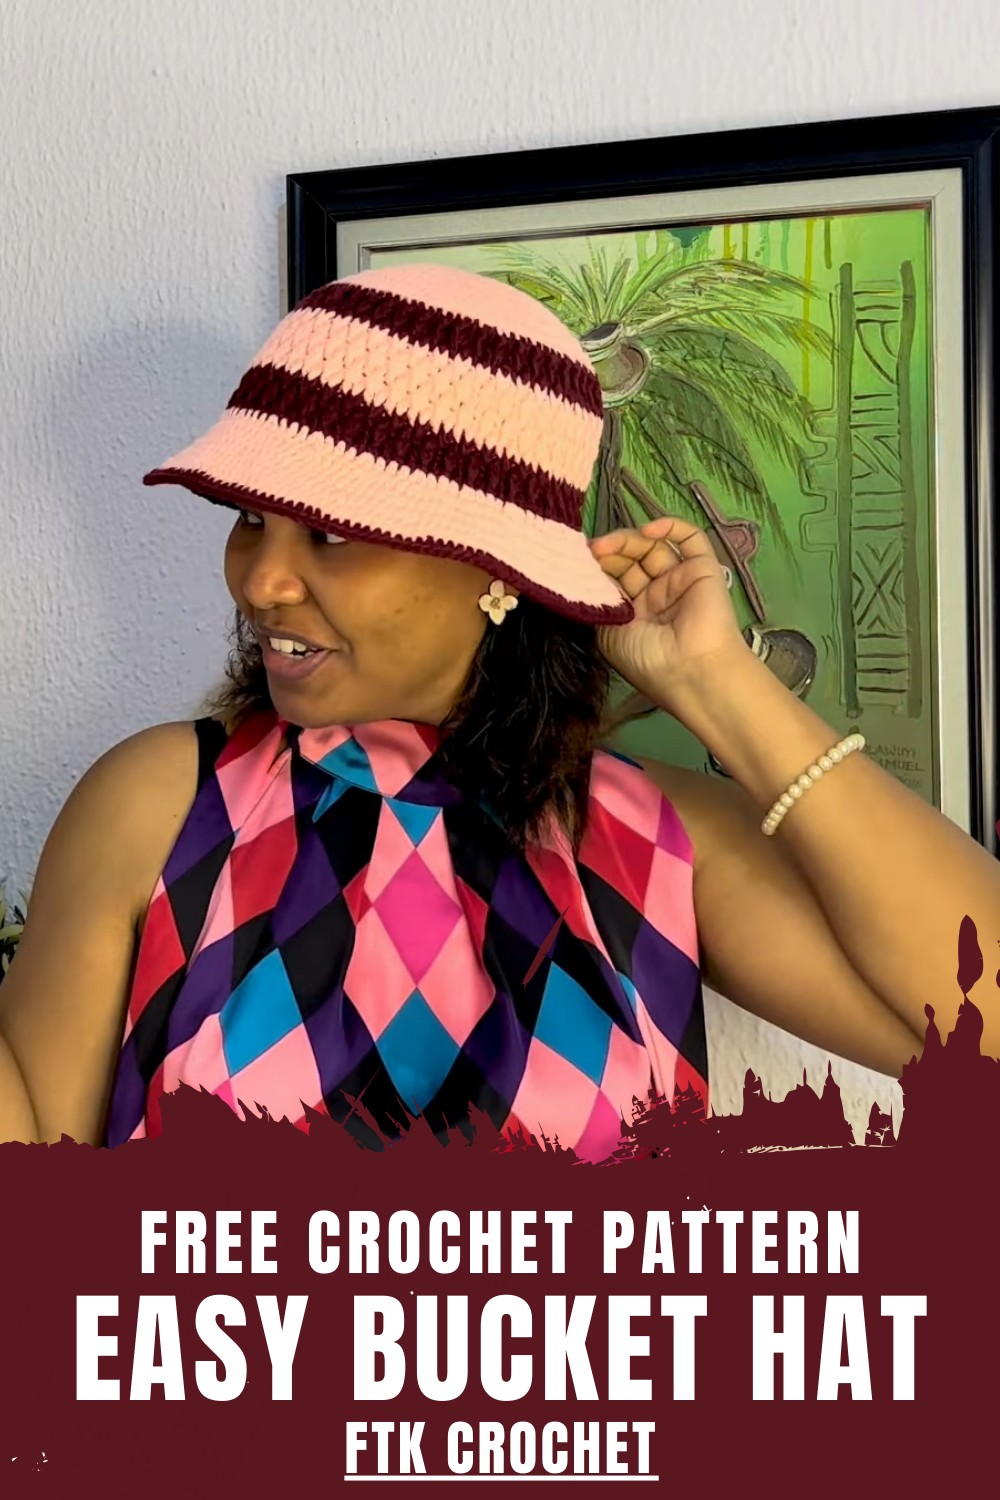
The aesthetic value lies in the intricate, rhythmic stitches that produce a sturdy yet breathable fabric, far surpassing the thin materials of standard headwear. Because it possesses a natural flexibility, the item is exceptionally travel-friendly, maintaining its elegant form even after being tucked away in a carry-on or tote.

Its presence in a wardrobe signals a preference for bespoke quality and understated luxury, resulting in a finish that feels intentional, polished, and perfectly suited for the modern individual.
Step-by-Step Details
Materials Needed
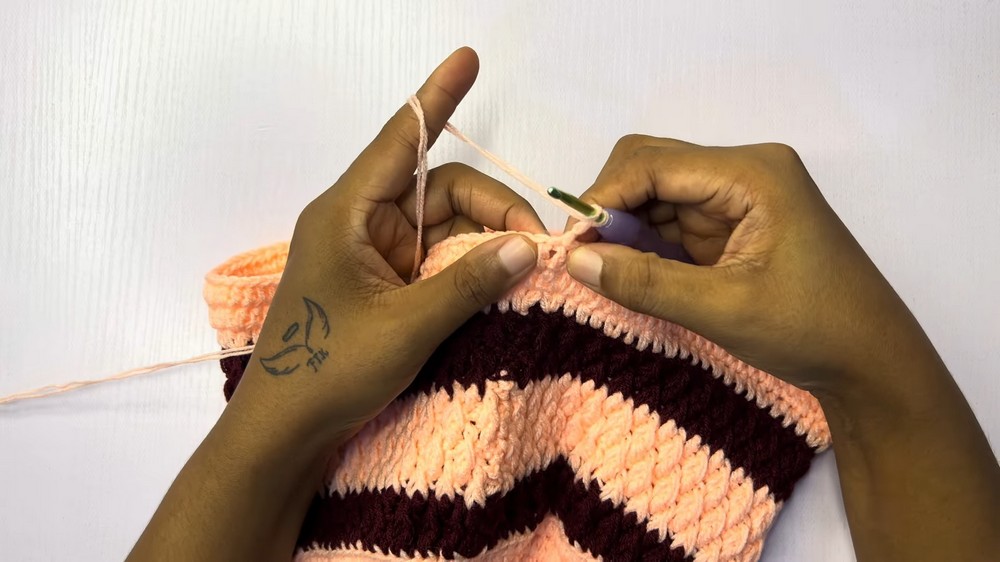
- Yarn: Two colors of your choice (the tutor uses peach and wine to match her romper project).
- Tools:
- A 4 mm crochet hook
- Scissors
- Tapestry needle for weaving in loose ends
- Measuring tape to determine the head circumference
- Measurement: The hat’s circumference should match the head size you’re making it for (the demo uses a 23-inch circumference).
Hat Construction Process
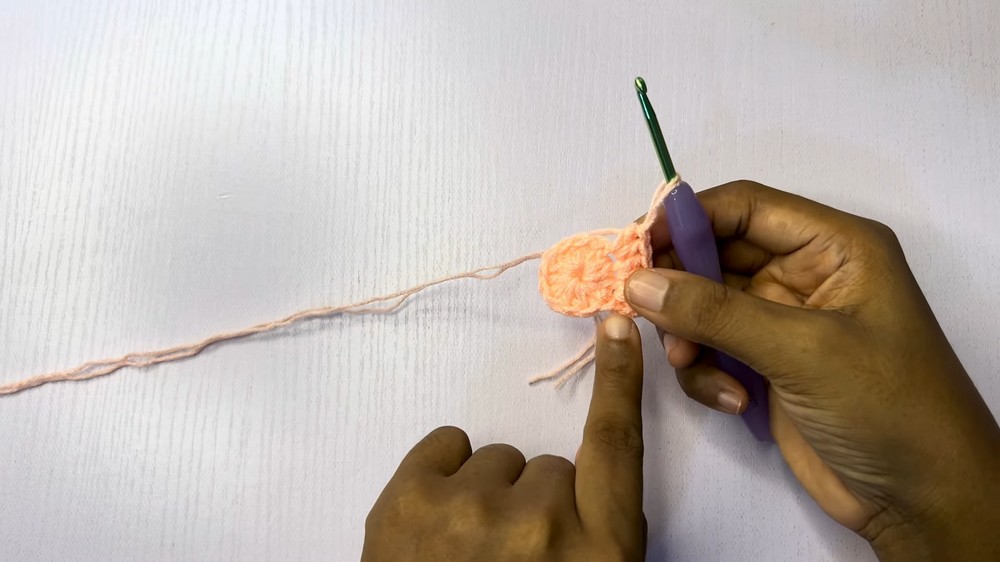
1. The Top of the Hat
- Step 1: Create a magic ring and begin with half-double crochet (HDC). Work 12 HDCs into the magic ring. Tighten the loop and close the round with a slip stitch.
- Step 2: Chain 2 and work 2 HDCs into each stitch all the way around for Row 2. You should now have 24 stitches in total by the end of the row.
- Step 3: Chain 2 and use the pattern of “1 HDC in one stitch, 2 HDCs in the next stitch” for Row 3. This step increases the size of the circle.
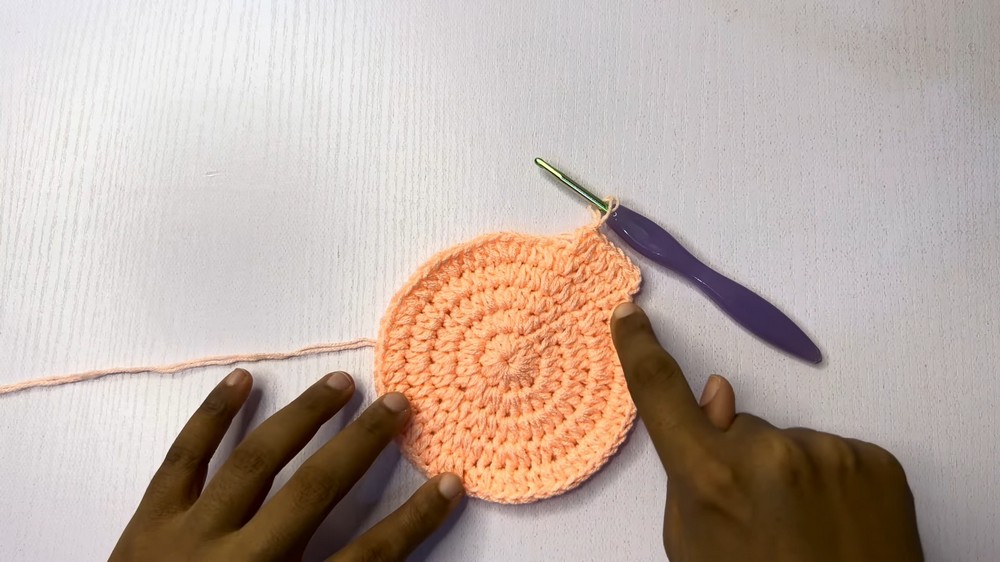
- Step 4+: Continue the top formation by increasing according to this pattern:
- Row 4: 1 HDC, 1 HDC, 2 HDCs
- Row 5: 3 HDCs, 2 HDCs
- Row 6: 4 HDCs, 2 HDCs
- Row 7: 5 HDCs, 2 HDCs
- Row 8: 6 HDCs, 2 HDCs
- Stop increasing when the circle’s diameter reaches about 6.5 inches (standard adult size) or your desired size. This forms the top of the hat.
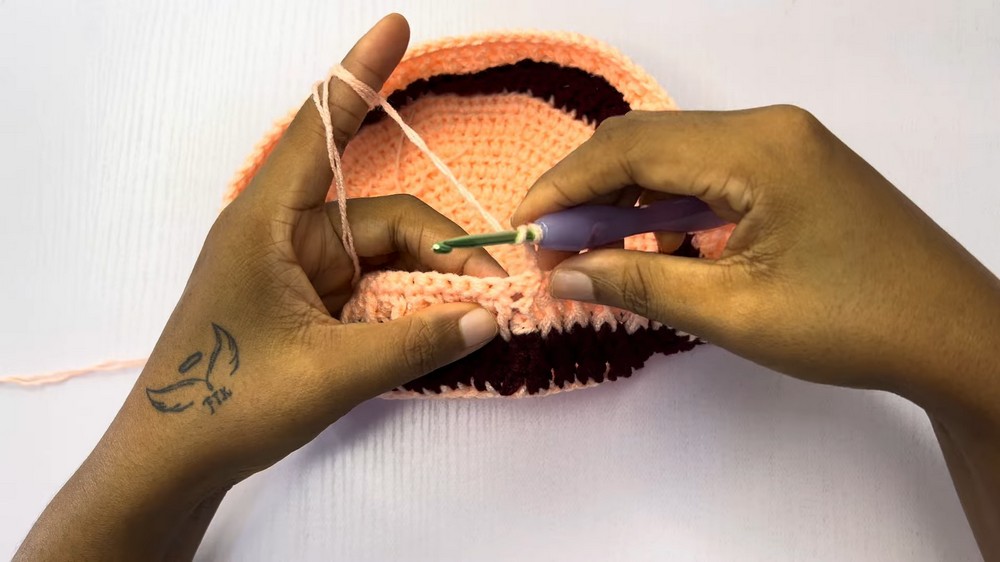
2. The Body of the Hat
- For the body of the hat, switch to the second yarn color (if using).
- Work into the back loops only to start the body. This creates a clear edge and transitions seamlessly from the top to the body of the hat.
- Begin the Alpine Stitch Pattern, which alternates between front post double crochets (FPDC) and regular double crochets (DC):
- Work one double crochet into the single-crochet row.
- Follow it by doing a front post double crochet into the previous row’s double crochet. Continue alternating this way.
- Alternate with rows of single crochet in-between rows of Alpine Stitch to give texture and structure to the hat.
- Continue working Alpine Stitch rows until the body measures about 3.5 inches or your desired length.
3. The Brim of the Hat
- Switch back to the first yarn color for the brim to create a pop of contrast (optional).
- Transition from the Alpine Stitch to half-double crochets (HDCs) for the brim.
- Incorporate increases sparingly to create a slight flare for the brim:
- Row 1 of the brim: 3 HDCs, then increase (2 HDCs in the same stitch)
- Row 2: 4 HDCs, then increase
- Row 4: 5 HDCs, then increase
- Keep the final two rows without increases to complete the shape evenly.
- Ensure the brim measures your preferred width. The tutorial demonstrates stopping after a tasteful width.
4. Final Touches
- Weave in all loose ends using a tapestry needle.
- Pair it with the matching romper (or wear it on its own as a standalone statement piece).
Special Features
- Unique Alpine Stitch Body: The hat incorporates a textured Alpine Stitch pattern for an elegant and intricate look.
- Customizable Design: You can adjust the size, colors, and brim width to fit personal preferences or different head sizes.
- Matching Accessory: The design complements the tutor’s romper project, giving viewers a coordinated outfit idea.
- Color Variety: The option to use multiple colors makes the hat visually dynamic.
Level of Difficulty
The project is beginner-friendly with concise instructions, though some knowledge of basic crochet stitches like HDC, DC, FPDC, and slip stitches is helpful. The Alpine Stitch may pose a slight challenge for absolute beginners, but the tutor provides clear demonstrations to make it manageable.
Tutor’s Suggestions
- Take Your Time: Beginners should take their time learning the Alpine Stitch technique to ensure consistency in the pattern.
- Count Your Stitches: Regularly count your stitches, especially in the increasing rows, to avoid unintentional shaping errors.
- Consider Yarn Quality: Use soft, durable yarn to enhance the texture and comfort of the hat.
- Experiment with Adjustments: The design is flexible—add more rows to the body or the brim for a longer or more dramatic effect.
Uses
- Everyday Accessory: Perfect for casual outings while keeping you stylish.
- Matching Outfits: Pairs beautifully with handmade clothes like rompers or dresses.
- Personal Gifts: A thoughtful and unique gift for friends and family.
- Sale Items: Due to its aesthetic appeal, it is great as a sellable item at craft fairs or online shops.
Tip
When working with the Alpine Stitch, look closely at the previous rows to identify where to place the front post stitches. Following the “raised stitches” from earlier rows ensures a consistent design.
Conclusion
This FTK Crochet bucket hat pattern combines simplicity, style, and versatility, making it an excellent project for crocheters of all levels. Whether you’re crafting it as a chic personal accessory, a heartfelt gift, or an item to sell, its vibrant colors and beautiful textures are sure to impress.
Leave a Reply