
Spruce up your decor with crochet rose pattern that delivers vibrant beauty and sweet floral accent perfect for any room or thoughtful gift.
A gentle flower blooms with soft petals glowing in color and beauty that never fades. This lovely handmade rose brightens any corner, bringing warmth and smiles every day. Using the Crochet Rose pattern makes it simple to create a blossom that lasts forever without water or sunlight. Perfect as a table decoration, a sweet gift accent, or a playful hair clip, this flower brings happiness wherever it goes.
Simple Free Crochet Rose Pattern for Lasting Blooms
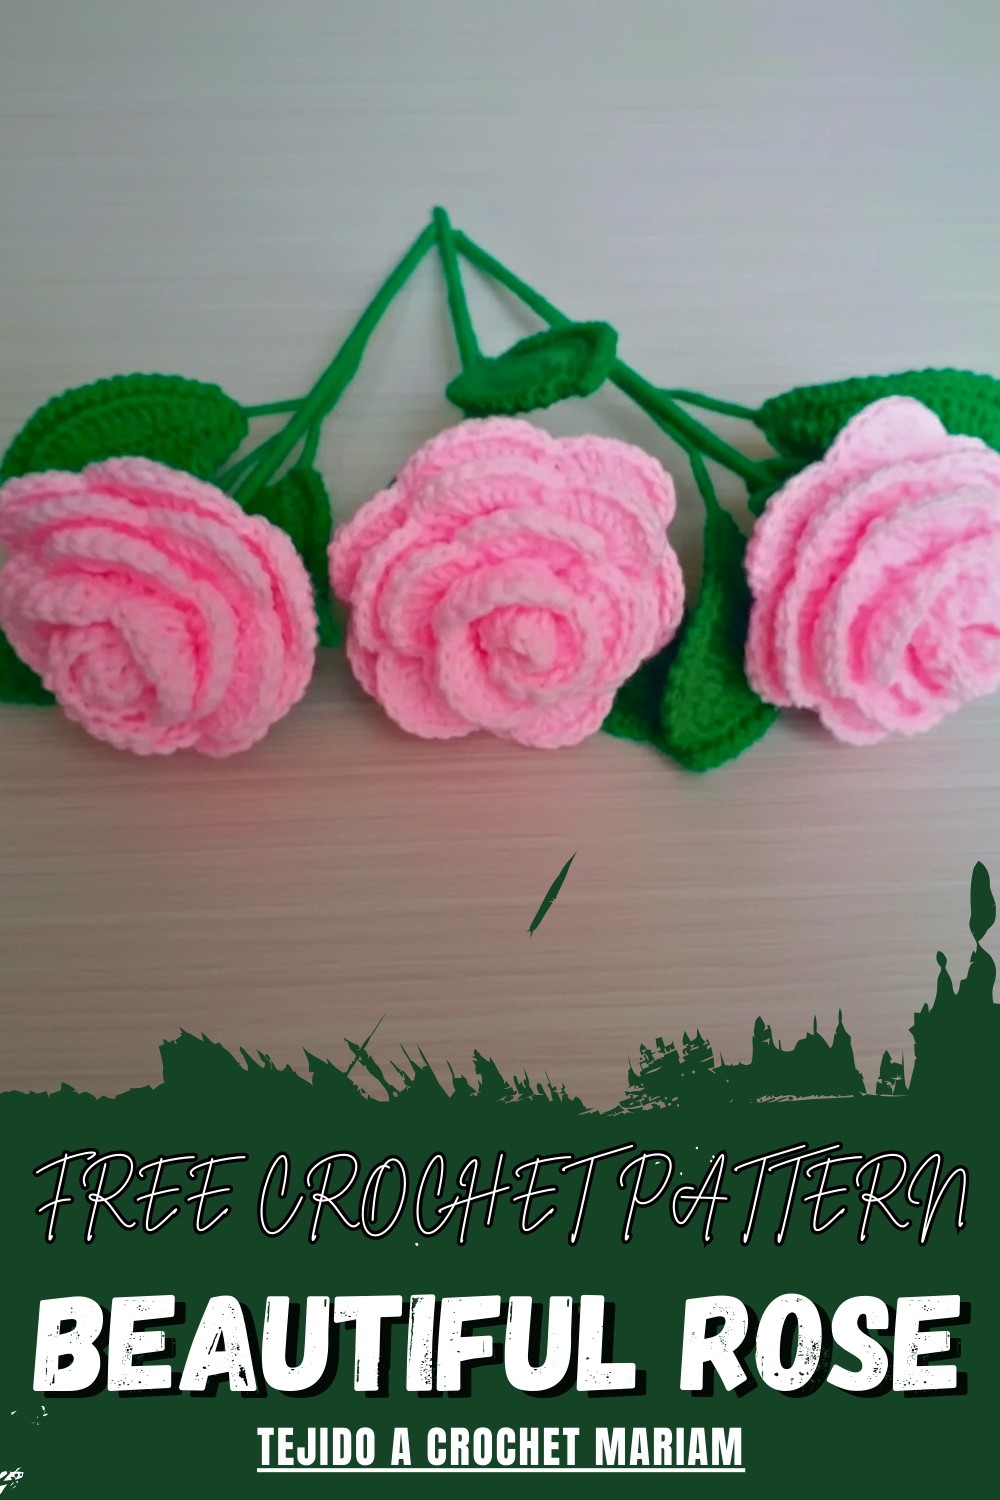
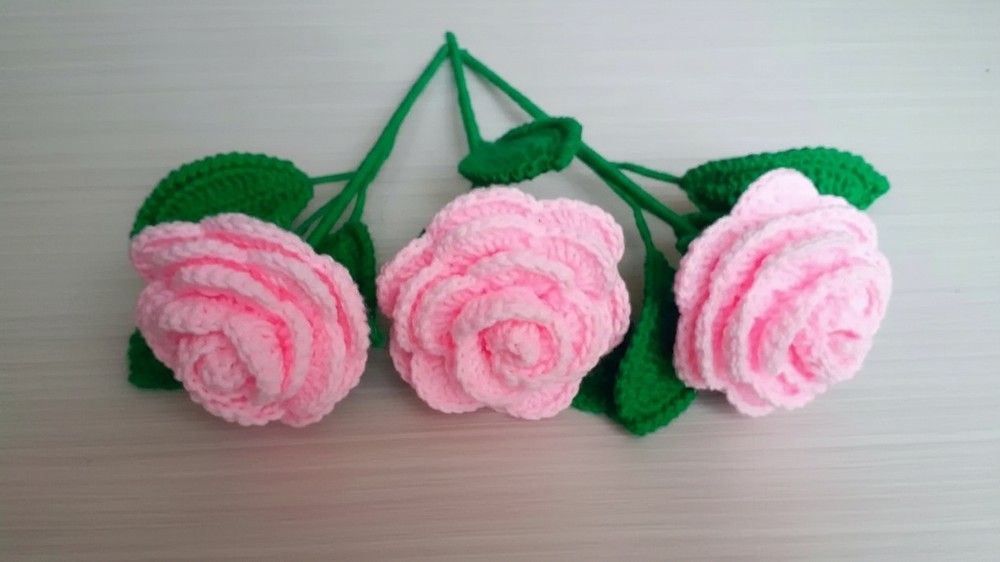
Finished with lifelike layers that look full and natural, the appearance delights both eyes and heart. Simple steps and clear directions guide beginners for wonderful results, making the process peaceful and joyful. This special rose becomes a treasured part of each day—a lasting piece of beauty that brightens every moment.
Free Crochet Realistic Rose Pattern
Materials
- Yarn: 4-ply cotton yarn
- Main color (petal color, e.g., rose pink)
- Green (calyx, leaves, and stem)
- Crochet hook: Size 2 mm
- Wire: Thin floral wire (for shaping leaves)
- Wooden stick: For stem (can substitute with floral stem wire if desired)
- Craft glue (cold or hot silicone glue)
- Scissors
Abbreviations (US Terms)
| Abbreviation | Meaning |
|---|---|
| ch | chain |
| sc | single crochet |
| hdc | half double crochet |
| dc | double crochet |
| tc (tr) | treble crochet |
| sl st | slip stitch |
| st(s) | stitch(es) |
| sk | skip |
| rep | repeat |
| lp | loop |
Special Notes
- Use a firmer tension for shape and definition.
- For best effect, use contrasting wire that matches the yarn for leaves.
- Adjust leaf sizes and stem length as preferred.
- Secure all glued areas and let dry thoroughly.
- This pattern is worked in rows unless otherwise stated.
Pattern
1. Main Rose Petal
Foundation Chain:
- With petal color, ch 60.
Row 1:
- Sc in 2nd ch from hook and in each ch across (59 sc). Ch 1, turn.
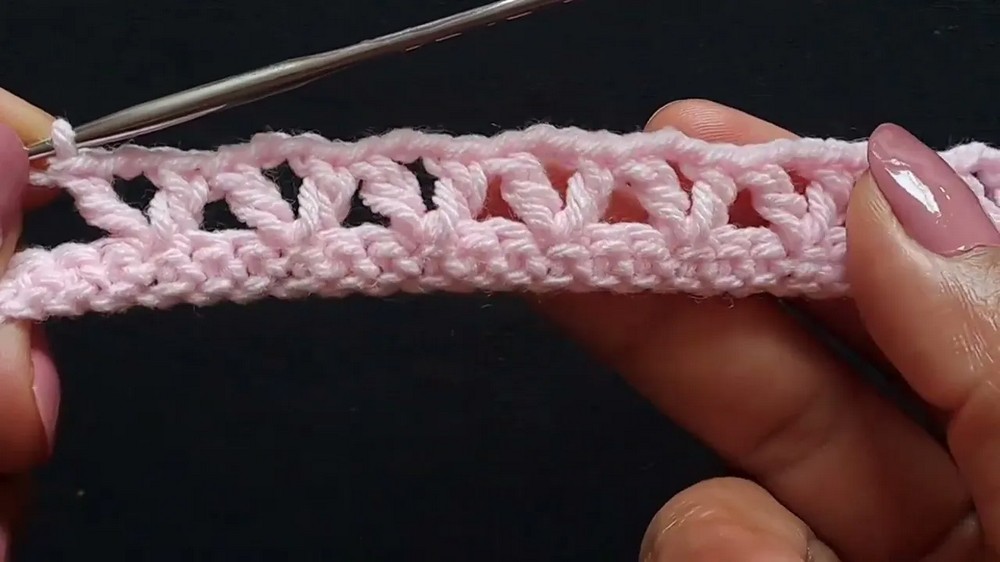
Row 2 (V-stitch Row):
- Ch 3 (counts as dc), dc in same st (base of ch-3). Sk 2 ch, (dc, ch 2, dc) in next st (V-stitch made).
- Rep * to * across. End with dc in the 3rd ch from previous row if you have a st left. Turn.
Row 3 (Double-V Fan Row):
- Sl st into first V-sp. Ch 2 (counts as first dc), dc in same sp, ch 2, 2 dc in same sp (first double-V made).
- In every V space: (2 dc, ch 2, 2 dc).
- Continue across to end. Turn.
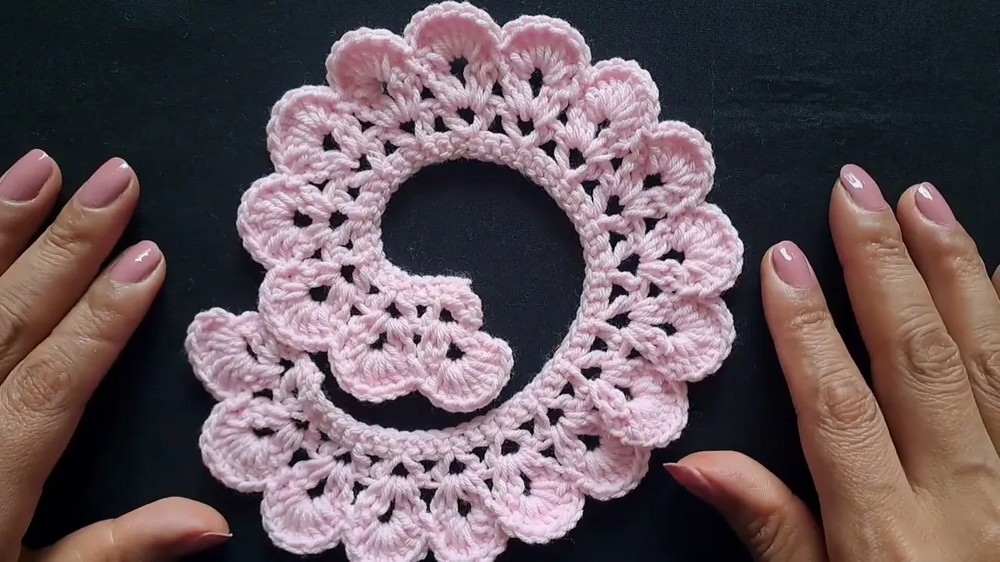
Row 4 (Shell Row):
- Sl st into first V-sp. Ch 2, in V-sp, work 8 dc (shell made), sc in next V-sp; repeat * to * across the row.
- End with 8 dc in last V-sp, hdc in final st.
- Break yarn and fasten off.
2. Calyx
Base Circle:
- With green, MR or ch 3, sl st to form ring.
- Ch 3 (counts as dc), work 19 dc into ring (20 dc total).
- Sl st to top of beg ch-3. Do not fasten off.
Sepal Points (Repeat 5 times):
- Ch 8.
- Sl st in 2nd ch from hook, sc in next, hdc in next, dc in next 2 ch, tr in next 2 ch, dtr in last ch.
- Sk 3 sts on circle, sl st to next.
- Repeat to make 5 sepals. Fasten off.
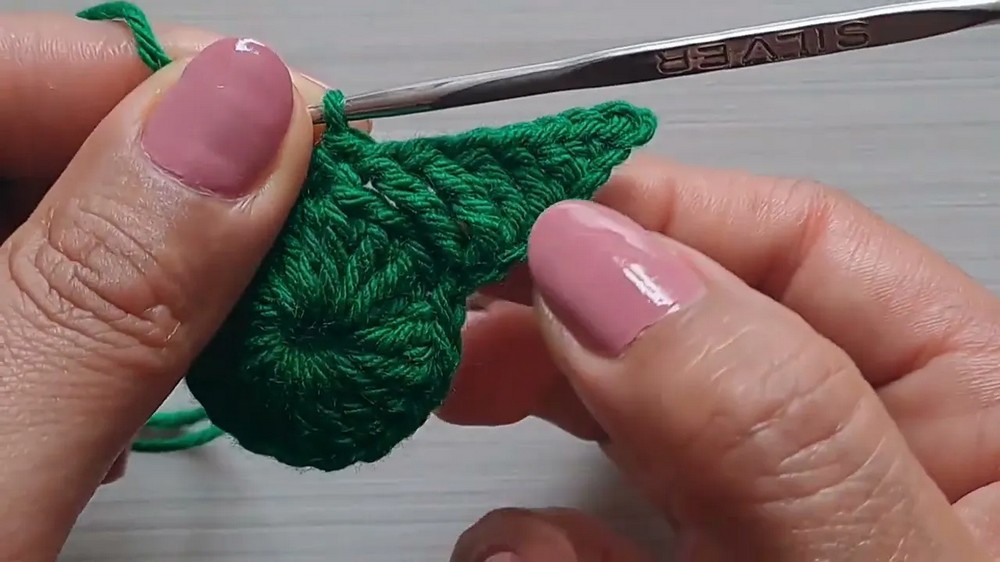
3. Leaf (Make 3: Two Short-Stem, One Long-Stem)
Leaf Foundation:
- Ch 15.
Leaf Side 1:
- Using the back of the chain, sc in 2nd ch from hook, hdc in next, dc in next 9 ch, hdc in next, sc in next, 3 sc in last ch (leaf tip).
Leaf Side 2:
- Working up the other side of the chain, sc in next ch, hdc in next, dc in next 9 ch, hdc in next, sc in last ch.
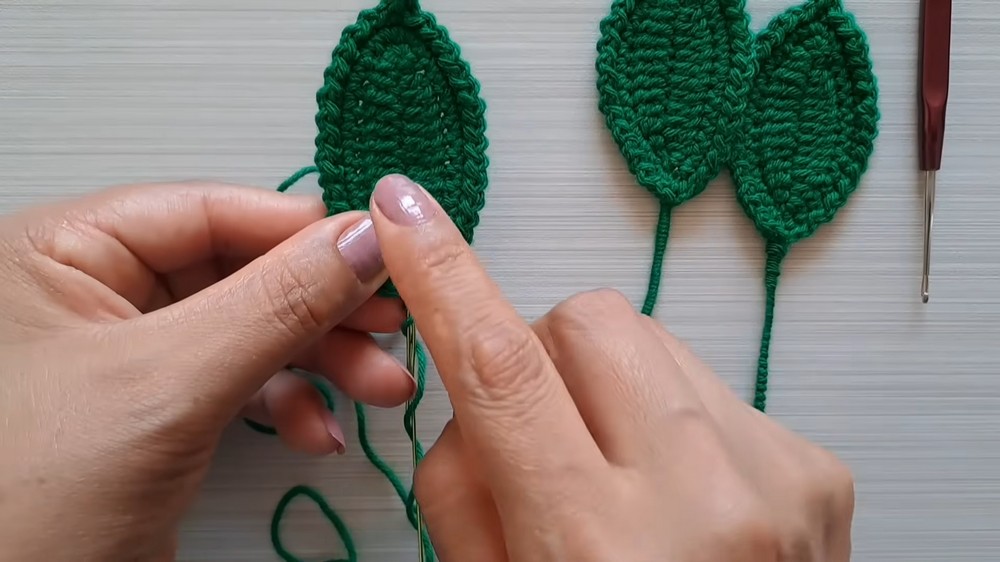
Insert wire along the leaf if you want a poseable edge (hold wire parallel to the chain and crochet over it).
- Sl st to first st to join.
Edge/Bud Picot Round (optional):
Work sl st, ch 1, sl st, around the edge for texture. At tip, you may add: (hdc, ch 2, sl st in hdc).
Stem:
For one leaf, keep about 15 cm of exposed wire after working; for other two leaves, shorter wire stems are sufficient.
4. Leaf Join and Assembly
- Arrange leaves with one at the bottom (long stem), two above (shorter stems).
- Wind wires together to form a branch and cover with green yarn.
- Secure ends with glue.
5. Assembly
Stem:
- Wrap the wooden stick with green yarn, using glue to secure as you go.
Rose Construction:
- Place the calyx in position, right side showing.
- Put glue inside the calyx and attach the stick.
- Arrange the petal piece around the stick and glue it in place, rolling slightly for a natural petal overlap.
- Hold until secure; let glue set.

Attach Leaves:
- Position leaf assembly against stem, securing with glue and winding green yarn around the stems, blending in with the rose’s stem to finish.
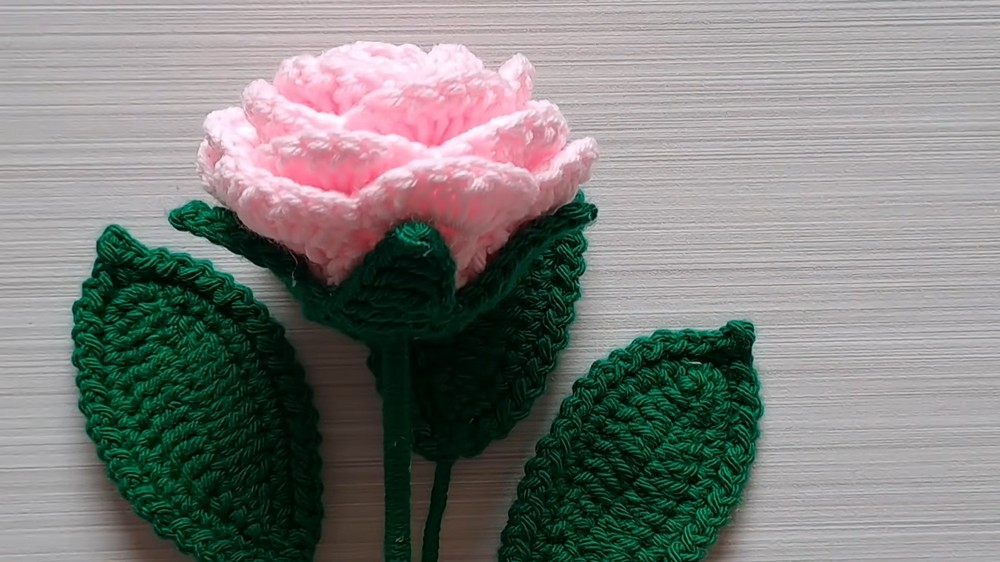
Conclusion
This elegant standing rose makes a perfect gift or display. The layered shell motif creates natural-looking petals, and posable leaves complete the realistic effect. Yarn-wrapped stem and subtle picot leaf edging provide a polished finish.
Pattern Corrections & Tips
Corrections:
- Ensure the petals are rolled gently and overlap naturally.
- Insert wire early in the leaf for clean edges.
- Always use a slip stitch to join rounds and finish off cleanly.
Tips:
- Use strong glue and allow adequate drying time for assembly.
- For added stability, extend the green yarn wrapping down onto the display base.
- Make your leaves in varying lengths for a more organic, lifelike look.
- For even softer petal edges, block the flower piece after crocheting and before assembly.
Leave a Reply