
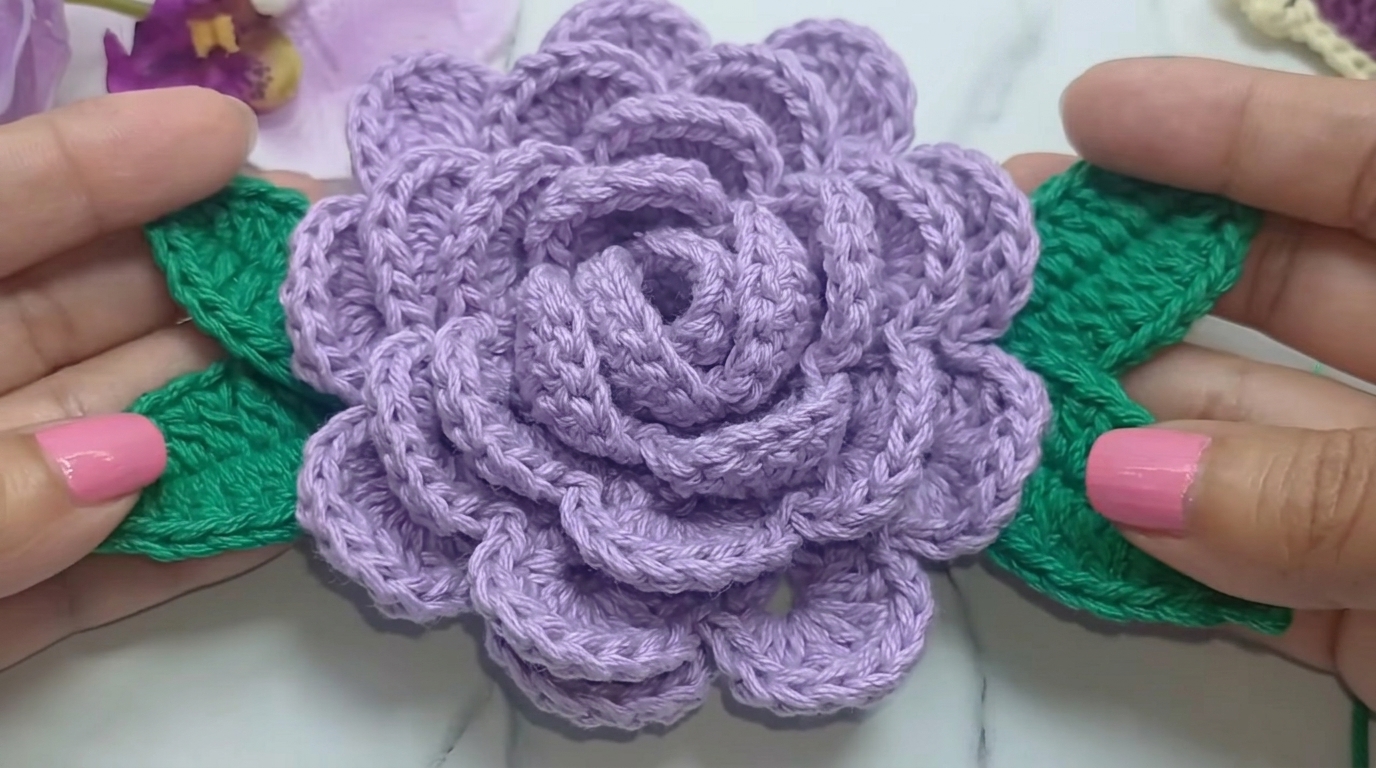
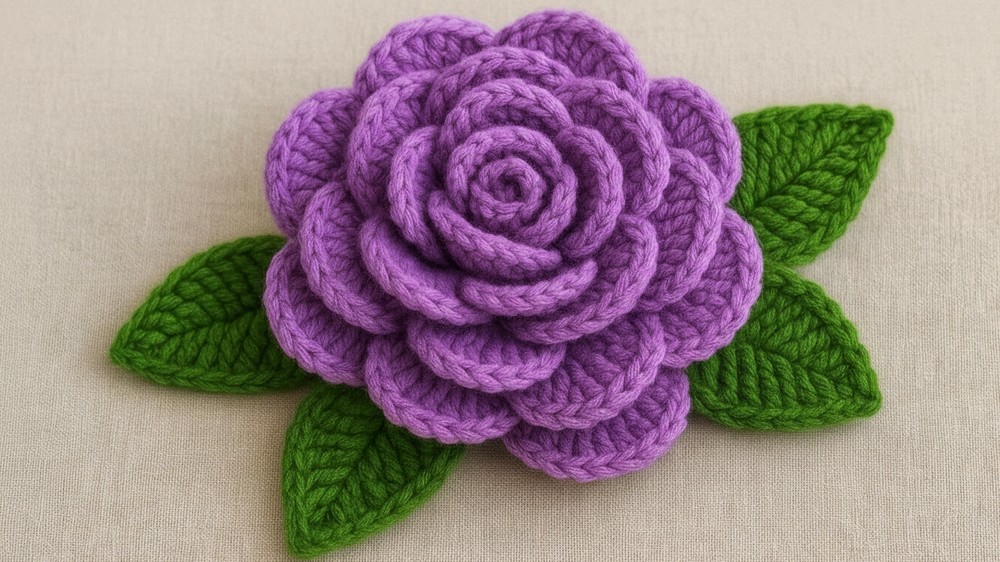
Colorful petals & leafy greens come together in a free crochet rose with leaves pattern perfect for decorating your space or special accent.
A single delicate flower stands proudly with colorful petals and a gentle leaf resting just below. Each petal shapes a calm and graceful look that lights up any space where this flower is placed. Using a crochet rose with leaves pattern means even those new to crochet can bring this natural beauty into their homes or share it as a heartfelt gift.
Easy Crochet Rose with Leaves Pattern – Free Access

The flower does more than just look nice—sew it to a bag, pin it on clothing, or set it in a vase to brighten a table. The crochet rose with leaves pattern is made to be simple and enjoyable, inviting people of all ages to try. Its bright color adds joy while the leaf gives a special touch. Whether decorating a quiet corner or given in friendship, its charm and gentle vibe always make a difference.
Crochet Violet Rose with Leaves –Free Pattern
Materials
- Yarn: Light (DK/3 weight) acrylic or cotton yarn in violet (or color of choice)
- Hook: 3.0 mm crochet hook (or size to match yarn)
- Wire: Thin floral/craft wire (for shaping leaves)
- Tapestry needle: For sewing
- Scissors: One pair for yarn, another for cutting wire
- Hot glue (optional): For assembling and fixing leaves
Key Abbreviations (US Terms)
- ch: chain
- sc: single crochet
- hdc: half double crochet
- dc: double crochet
- tr: treble crochet
- sl st: slip stitch
- st(s): stitch(es)
Special Notes
- Petal size and flower fullness can be adjusted by changing the number of starting chains and increasing or reducing the number of petals.
- Crochet with an even, not too loose or tight, tension for best shaping.
- Use recommended hook size and wire suited to the weight of your yarn.
Rose Pattern Instructions
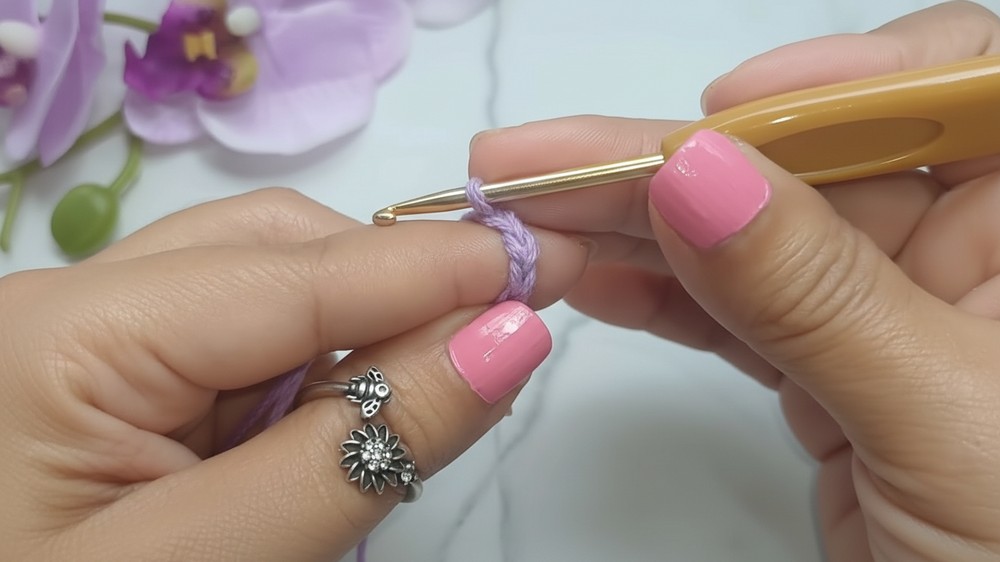
1. Foundation Chain
- Ch 81 (this number creates 17 small petals and 10 large petals).
2. Row 1 – Petal Base
- Starting in 3rd ch from hook, work hdc.
- Continue hdc in each ch to end of the row.
- You will have 79 hdc.
(Tip: The first 2 skipped chains act as your initial hdc.)
3. Row 2 – Fan/Motif Formation
- Ch 3 (counts as dc), ch 2 (separation).
- Turn.
- Dc into base of ch-3 (first st). (First fan made.)
- Skip 2 sts; in third st: (dc, ch 2, dc) all in same st
- Repeat from * across, forming a fan in every third st.
- At the end, you should have approximately 27 fans (double-check to be sure, as this will determine petal count).
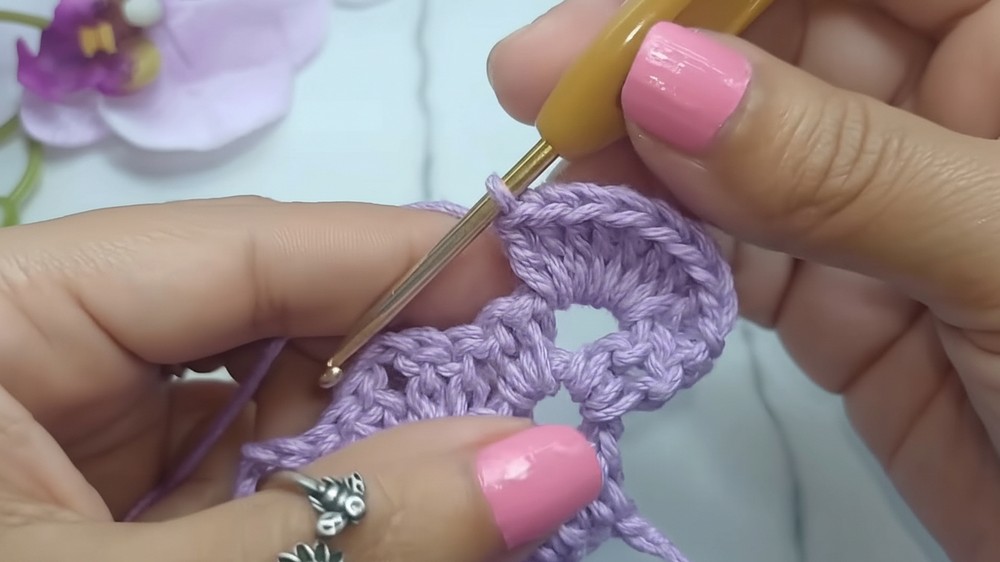
4. Row 3 – Small Petals
- Turn.
- For each fan ch-2 space:
- 8 dc into each ch-2 space.
- Sc (or sl st) in the space between the fans to anchor each petal.
- Make 17 petals in total this way.
- Ensure all petals are the same height for uniformity.
- You will make 17 small petals.
5. Row 4 – Large Petals
- Turn.
- For the next 10 fans/ch-2 spaces:
- In each space:
- Sc
- Hdc
- Dc
- Tr (double treble) – 6 times
- Dc
- Hdc
- Sc
- Anchor with sl st (optional) before moving to the next space.
- These 10 petals will be larger than the center petals.
- In each space:
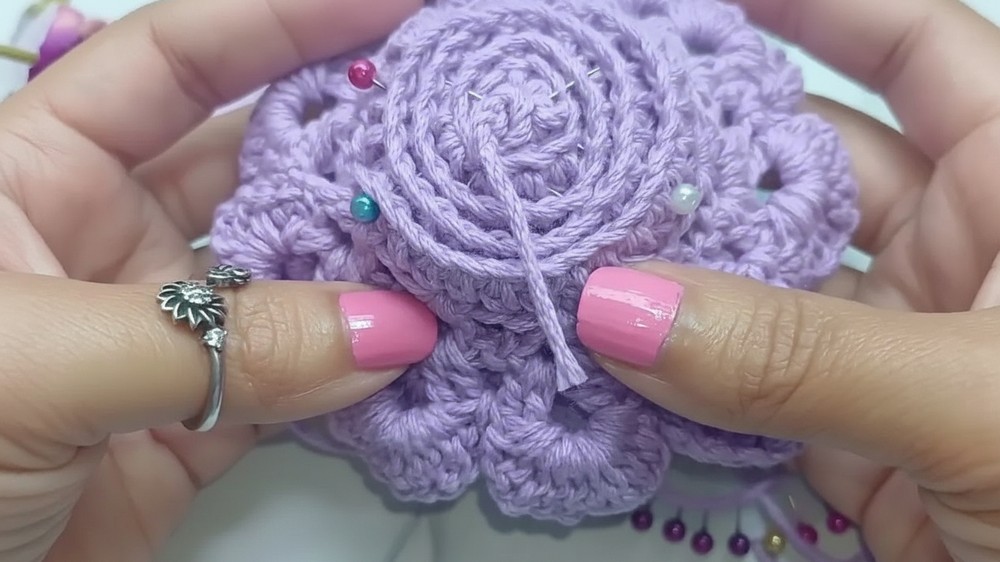
6.Finishing the Rose Base
- Fasten off leaving a long tail for assembly.
- With right side facing, start at the first petal, coil tightly to form the flower center, and spiral the rest of the strip around.
- Pin in place if needed.
- Sew the flower base using tapestry needle and long tail, weaving through the center and sides to secure the shape.
- Shape the petals as desired.
Leaf Pattern Instructions (Make 4)
1. Leaf Foundation
- Ch 11
- (Optional: Prepare a piece of craft wire the length of final leaf, plus allowance for twisting/finishing.)
2. Leaf First Side
- Sc in 2nd ch from hook.
- Sc in next ch.
- Hdc in next ch.
- Dc in each of next 7 ch (One dc per ch, to tip.)
3. Leaf Tip & Second Side
- At tip:
- (2 sc, ch 1, sl st in 2nd sc) all in last ch (this makes the leaf point).
- Place wire along the leaf edge before turning to the other side.
- Working down the other side (back along the chain):
- Hdc in next st
- Dc in each of next 7 sts
- Hdc
- Sc in last two sts (back to leaf base)
- Sl st to first sc.
- Fasten off leaving a yarn tail.
- Twist or shape wire to add realism.
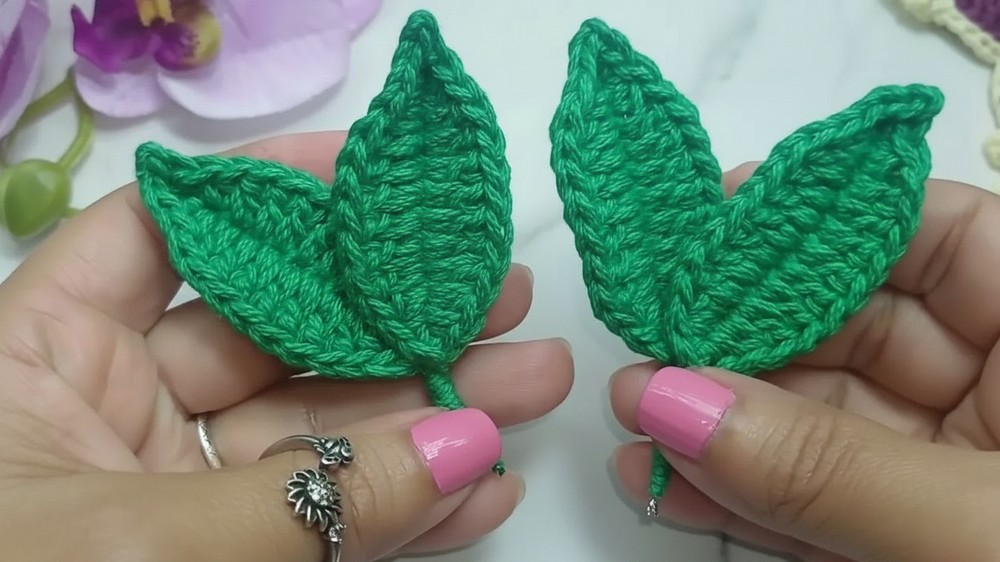
Leaf Assembly
- To strengthen, twist leaf wires together in pairs or sets.
- Shape leaf pairs as shown in the steps: bend several leaves upward, and several downward for a natural look.
- Keep all tails and wire ends tidy at the base.
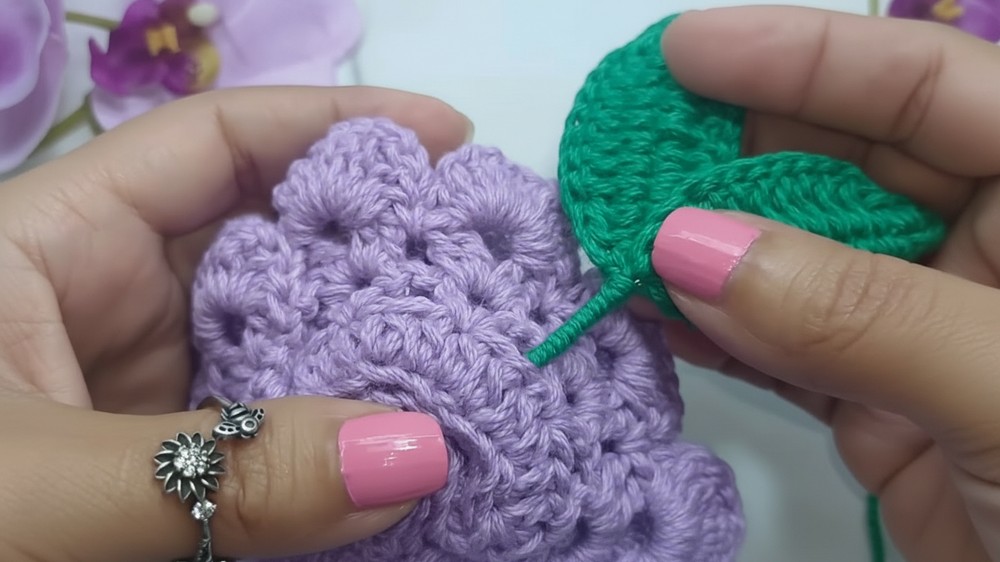
Final Assembly
- Attach Leaves:
- Position leaf clusters at flower base.
- Secure with hot glue or sew in place with tapestry needle.
- Use glue at the base or where the wires join for extra security and a neat finish.
- Finishing Touches:
- Shape all petals and leaves as desired.
- Hide all thread ends in the work.
Pattern Correction
- Check petal and leaf counts by identifying fan/space numbers in each section.
- Adjust petal count as necessary so the rose forms an even spiral without gaps.
- Always shape petals and leaves after assembly for most realistic results.
Tips
- Use separate scissors for yarn and wire to avoid dulling blades.
- For a more secure hold, sewing is recommended over glue, especially for items that will be handled frequently.
- Combine with other colors or embellish with beads for creative variations.
- For beginners, pinning each coil layer helps maintain the flower’s shape while sewing.
Conclusion
This beautiful crochet violet rose is a sophisticated project suitable for intermediate beginners and beyond. Its realistic layering of petals and shaped leaves makes it perfect for adding elegance to any craft, accessory, or decor project. With thoughtful assembly and shaping, each rose is unique. Enjoy bringing a touch of garden charm to your creations!
Leave a Reply