
Choose juicy fruit colors for Watermelon Slice With DIY Polymer Clay + Resin, a tiny glossy decoration with dark seeds that looks sweet on a kitchen shelf.
A few bold colors can turn a very small object into something cheerful. Watermelon Slice With DIY Polymer Clay + Resin uses a familiar fruit shape to produce a bright decoration with a fresh, summery feel. Its simple outline also leaves plenty of room for careful color work.
DIY Juicy Watermelon Slice With Polymer Clay + Resin Mini Art
Featured By: PolymomoTea
The red center catches the eye first, followed by a thin pale layer and a green outer edge. Small black seed shapes give the piece the details that help people recognize it at once. Keeping the layers neat is important because the color contrast is the main attraction. Resin can provide a glossy finish that suggests a juicy surface, while the clay holds the basic shape. A triangular piece has a classic look, although a curved section can work well for a different display style.

This little design suits a kitchen shelf, a cheerful desk corner, or a small collection of food-themed decorations. It can also be given as a simple gift to a friend who likes bright colors. Several slices in different sizes can look attractive together without needing a crowded background.
The idea stands out because it feels familiar and lively at the same time. Strong color layers, tiny seeds, and a smooth finish give the piece all the detail it needs. Nothing complicated is required for a fun result.

Miniature Watermelon Slice Pattern
Materials & Tools
Materials
- Scrap polymer clay (for making the template)
- White translucent polymer clay (for the inner rind)
- Light green polymer clay (for the outer rind design)
- Dark green polymer clay (for outermost rind band)
- Black polymer clay (for seeds and facial details)
- Pink UV resin pigment or colorant
- Clear UV resin
- Super glue
- (Optional) UV resin glaze (for shiny finish)
Tools
- Craft blade or knife
- Rolling pin or acrylic roller
- Clay sculpting tools or toothpick
- Silicone putty or silicone mold making kit (for your own custom mold)
- UV lamp (for curing resin and resin glaze)
- Paintbrush (for applying glaze)
- Oven (for baking polymer clay parts)

Step-by-Step Instructions
1. Make the Watermelon Template & Mold
1. Prepare the Template:
- Take a small amount of scrap clay.
- Pinch and shape it into a flattened teardrop shape – this will be your watermelon slice template!
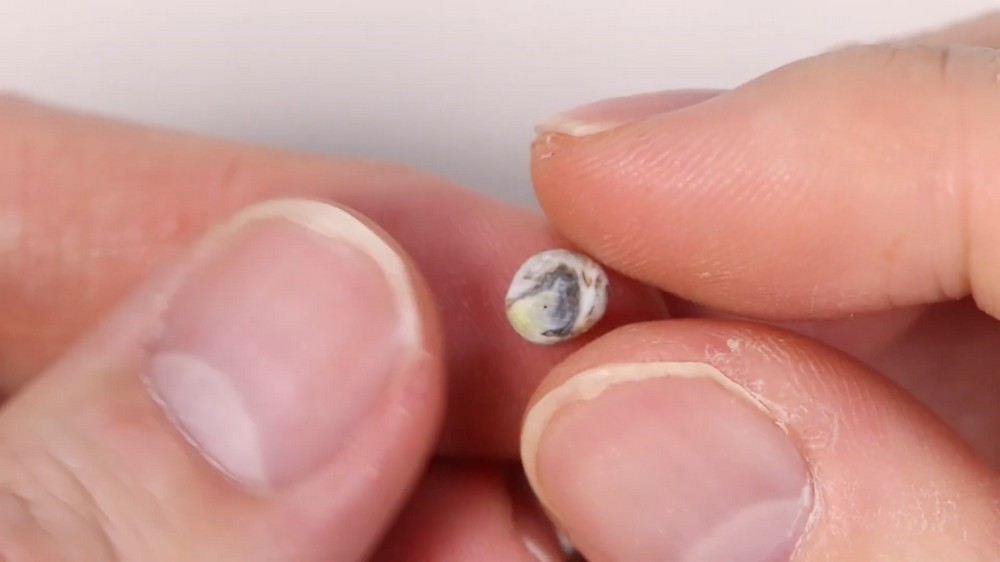
2. Bake the Template:
- Bake according to your polymer clay’s instructions. Allow to cool.
3. Make the Mold:
- Use silicone putty (or a mold-making kit) to create a mold around your baked teardrop template.
- Let the mold fully set as per product instructions.
Explanation:
The template and custom mold give your watermelon slice the perfect base shape every time!
2. Create the Watermelon Rind
1. Inner Rind:
- Roll out white translucent clay into a thin, flat sheet.
- Cut a narrow strip – this forms the “white” part of the rind.
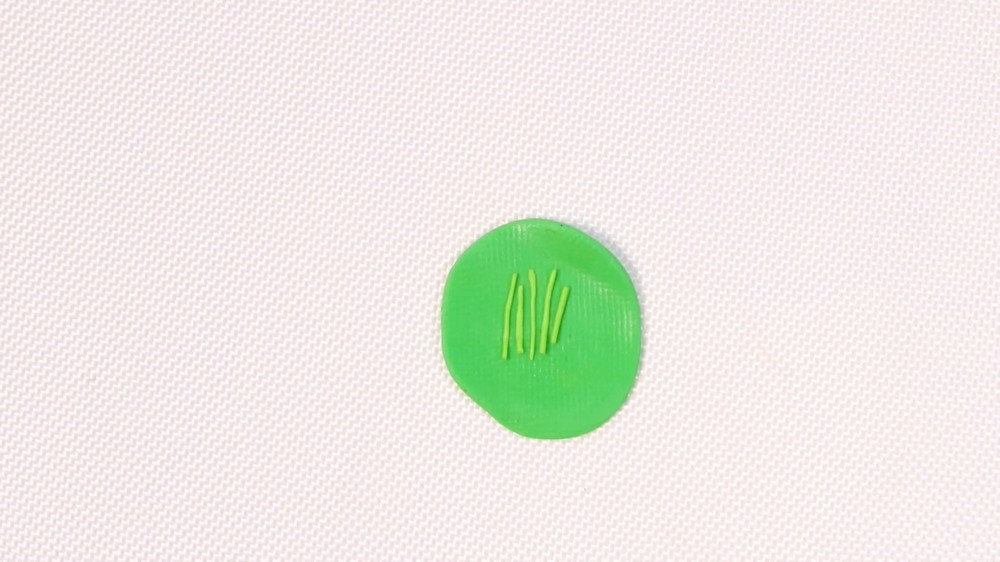
2. Outer Rind:
- Roll out thin snakes of light green clay and slice into short segments.
- Roll out a thin sheet of dark green clay.
- Lay the light green segments vertically on the dark green sheet to create a striped rind look.
- Roll the two together gently to fuse the design, then cut into a thin strip.
3. Combine Rind Slices:
- Attach the white and green rind strips together (white on the inside, green on the outside).
- Trim off excess and tidy up the edges.
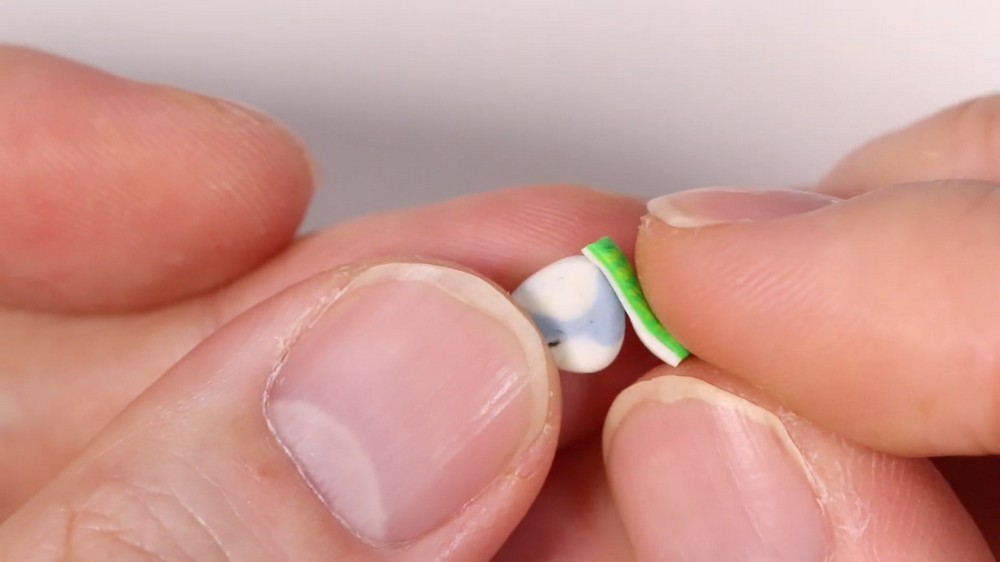
4. Wrap the Mold:
- Lay the combined rind strips around the rim/curve of your baked watermelon slice mold.
5. Bake and Demold:
- Bake the rind-wrapped template following clay instructions.
- Once cool, carefully peel away the clay rind from the template mold.
Explanation:
Layering and baking the rind gives authentic watermelon texture with minimal bulk!
3. Make the Watermelon Flesh (Using Resin)
1. Prepare Resin:
- Mix clear UV resin with a little pink pigment or colorant to match watermelon flesh.
2. Add “Seeds”:
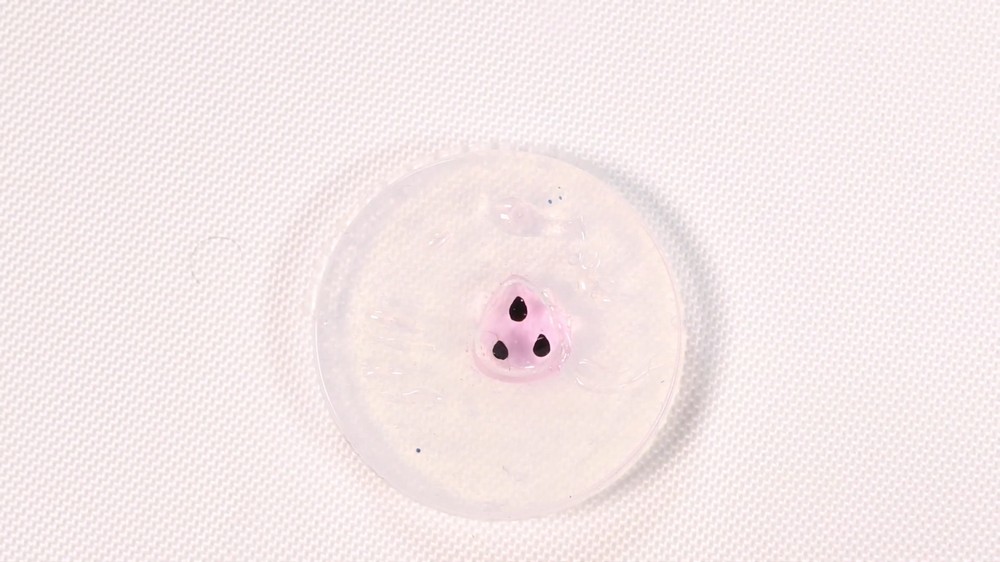
- Roll three tiny black teardrops from black clay for watermelon seeds.
- Place a thin layer of pink resin into the watermelon ‘mold’, then arrange seeds on top.
- Cure under the UV lamp.
3. Fill Mold:
- Once the seed layer is set, add more pink resin to fill out the rest of the mold. Cure fully.
4. Demold:
- Carefully pop out your pink watermelon “flesh” with seeds from the mold.
Explanation:
Resin makes the flesh look juicy and vibrant, and the seeds add a realistic touch!
4. Final Assembly
1. Attach the Flesh to the Rind:
- Add a small amount of super glue to the rind piece.
- Fit and press the cured watermelon flesh (with seeds facing up) onto the rind.
- Let the glue set.
2. Add a Gloss Finish (Optional):
- Brush on a thin layer of UV resin glaze over the entire slice.
- Cure with the UV lamp.
5. Add Facial Features (Optional, for a Cute Kawaii Look!)
1. Eyes, Smile, Brows:
- Use tiny dots of black clay or paint to add two eyes.
- Add a thin black line for a smile and tiny curved eyebrows above the eyes.
- Cure or set as needed.
2. Final Gloss:
- Give your slice another layer of resin glaze for extra shine.
- Cure it one last time.

Tips & Explanations
- Use Rolling Pin: This helps get your clay thin and even – key for the realistic mini look.
- Take time with Demolding: The thinner your clay rind, the more gently you’ll want to remove it to avoid cracking.
- Custom Faces: Swap the face style for your favorite emoji or keep it classic!
- Use a sharp blade for clean cuts on tiny pieces.
- If you don’t have resin: You can substitute the pink part with a solid pink clay piece (use super-gloss glaze to mimic resin shine).
Leave a Reply