
Grab your yarn and hook this free crochet top-down blouse for a stylish wardrobe upgrade that’s simple, relaxing, and endlessly satisfying.
Not every project has to be difficult to create something beautiful. This free crochet top-down blouse pattern is perfect for anyone wanting a stylish and seamless design without the stress. Starting from the top, the piece gracefully flows downward, creating a polished, elegant look that’s ideal for any occasion. Its simplicity is what makes it so striking – clean lines, soft textures, and a timeless appearance.
Crochet Top Down Cardigan Free Pattern with No Seams
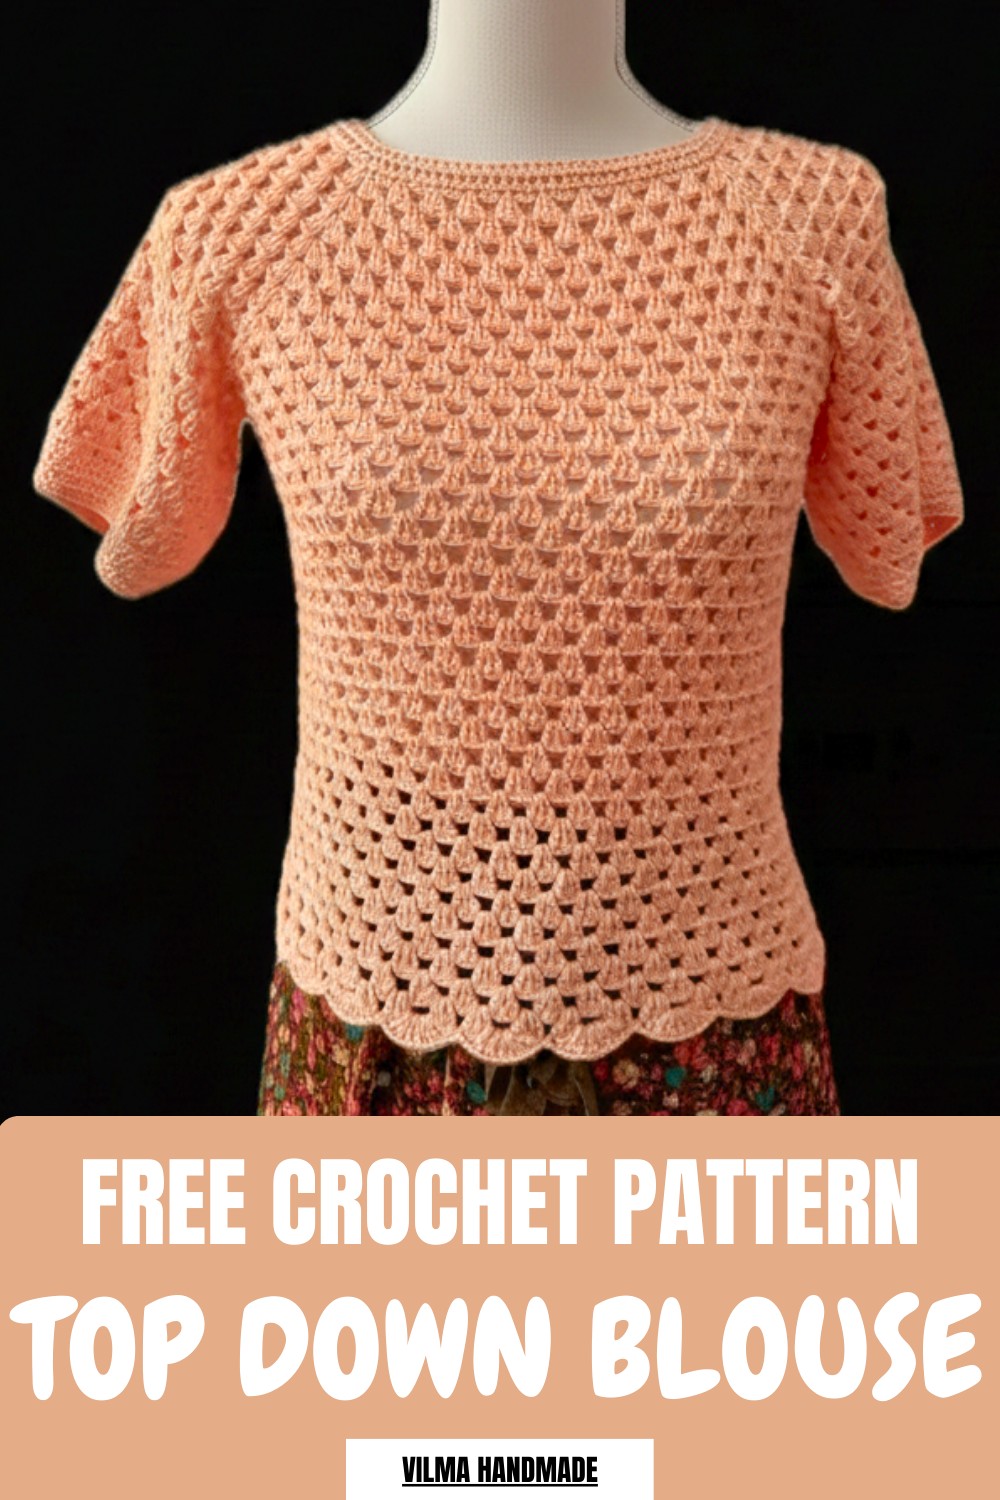
This top isn’t just about beauty; it’s also incredibly practical. Whether worn as a light, breezy top for summer days or layered for cooler weather, it’s a versatile addition to any wardrobe. Even if crocheting feels intimidating, this is a project anyone can enjoy and feel proud of. Every stitch brings you closer to creating a truly personal, handmade piece that’s both stylish and effortless. Take the first step and let your creativity shine through.
Step-by-Step Crochet Pattern for Top-Down Blouse
1. Materials
Yarn:
- Weight: Cotton yarn, thickness approximately 1.5 mm.
- Quantity:
- Short sleeves: Approx. 300 g
- Long sleeves: Approx. 400 g
Hook:
- Crochet Hook Size: 3.5 mm.
Other Materials:
- Stitch markers
- Tapestry needle (for weaving ends and seaming)
- Scissors
Approximate yardage:
- Small size with short sleeves: ~700 yards. Adjust for larger sizes or longer sleeves.
2. Measuring the Neckline for Different Sizes
This pattern uses a multiple of 4 + 2 sts, ensuring flexibility for various body sizes. The neckline is measured in centimeters, and the chains are adjusted based on yarn thickness and gauge.
- Measurements for Neck Width (foundation chain length):
- S (Small): 52 cm
- M (Medium): 56 cm
- L (Large): 60 cm
- XL (Extra-Large): 64 cm
- Foundation Chain Counts (approximate):
- S: 100 chains + 2 = 102 chains
- M: 108 chains + 2 = 110 chains
- L: 120 chains + 2 = 122 chains
- XL: 128 chains + 2 = 130 chains
3. Techniques and Abbreviations
Techniques:
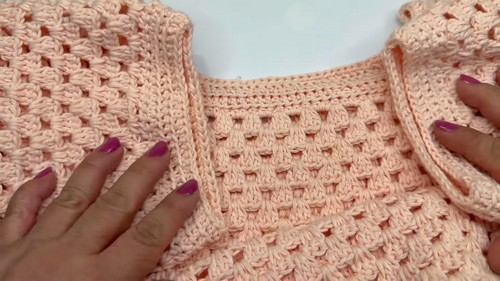
- Top-Down Construction: The garment begins at the neckline and works downward, shaping the yoke, separating sleeves, and completing the body in rows and rounds.
- Fan Stitch: Groups of double crochets (dc) with a central chain space, creating a fan-like structure.
- Half Double Crochet (hdc): Used for finishing edges and cuffs.
- Back Loop Only (blo): Worked in the back loop of a stitch to create ribbed edges.
Abbreviations:
- ch = chain
- sl st = slip stitch
- st(s) = stitch(es)
- sc = single crochet
- hdc = half double crochet
- dc = double crochet
- blo = back loop only
- rep = repeat
- RS = right side
- WS = wrong side
4. Step-by-Step Instructions
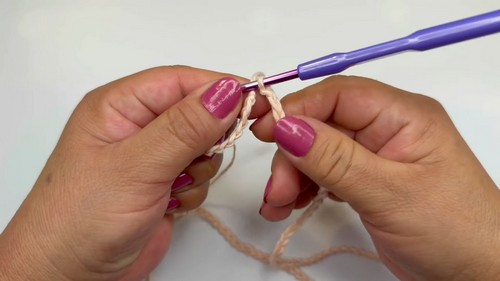
Step 4.1: Foundation Chain (Starting at Neckline)
- Begin with a slip knot and crochet your foundation chain.
- For size S: 102 chains.
- Ensure the chain is neither too tight nor too loose.
- Join the chain into a closed ring with a slip stitch to begin working in the round.
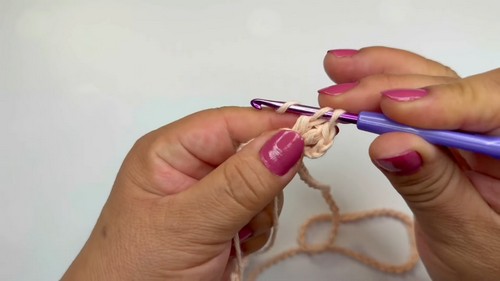
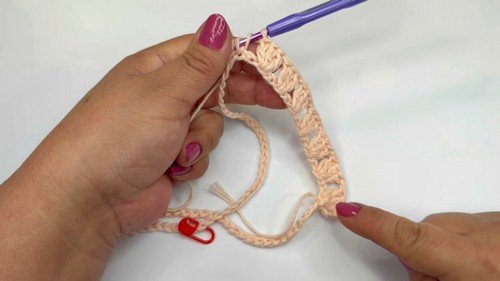
Step 4.2: Row 1 – Fans and Corners for Yoke
Establishing Fans:
- Begin by chaining 4 (counts as dc + ch1).
- Into the same stitch, crochet 3 dc stitches (forms the first fan).
Pattern:
- Ch 1, skip 2 chains, in the next stitch crochet 3 dc stitches.
- Repeat across the row until you reach your stitch markers (used to mark yoke corners).
Corners:
At each corner, crochet:
- 3 dc, ch 1, 3 more dc (in the same chain space).
This forms the corner fan for the yoke.
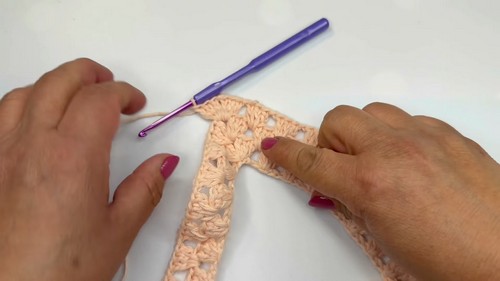
Step 4.3: Top-Down Yoke (Rows 2–10)
For rows 2–10, continue expanding the yoke with fan stitches:
- Row Setup:
- Slip stitch into the nearest chain space (the middle space of fan).
- Crochet 4 chains, 3 dc into the same space (first fan for each row).
- Fans in Straight Sections:
- Ch 1, 3 dc in the next chain space.
- Repeat across the straight portions.
- Corners:
- At every corner space, repeat the formula:
- 3 dc, ch 1, 3 dc in the same space.
- At every corner space, repeat the formula:
- Increasing Fan Count:
Each row automatically increases the number of fans on the straight portions due to the corner increases. - Yoke Width Measurement:
- Stop increasing rows when the yoke width matches:
- S: 40 cm
- M: 42 cm
- L: 46 cm
- XL: 48 cm
- Stop increasing rows when the yoke width matches:
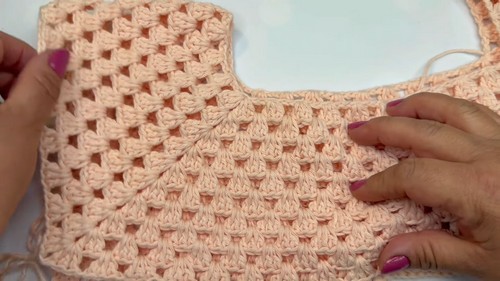
Step 4.4: Separating Sleeves and Joining for Body
After Row 10, separate sleeves from the body.
- Row Setup:
- Work a fan in the first front shoulder section.
- Skip over the corner and sleeve section (the yoke corner marks sleeve separation).
- Join the next fan directly to the back section, skipping the sleeve section entirely.
- Joining Front and Back:
- At the end of the row, join the front and back sides with fans at the underarm, aligning the stitches to form the body.
The sleeves are left unworked temporarily, open sections to be finished later.
Step 4.5: Body of Blouse
Work the body in rows or rounds, continuing the fan stitch pattern until reaching the desired length.
- Number of Rows:
- For S: ~36 rows or to preferred length.
- Edge Finishing:
- At the hem, crochet 1 row of fans with larger groups (e.g., 7 dc per fan).
- Finish with a round of slip stitches or sc to secure.
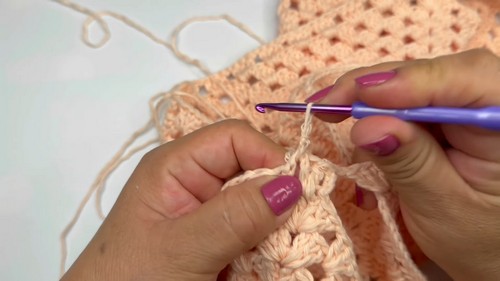
Step 4.6: Sleeves
The sleeves are worked directly into the open armhole areas and follow the same fan stitch pattern.
- Set Up:
- Join yarn at the center of the armhole.
- Fans:
- Work fan rows in rounds, turning the work (RS and WS) for each row to maintain symmetry.
- Work approximately 10 rounds.
- Shaping Sleeve Hem:
- In the 10th round, omit chain spaces between fans (reduces width).
- Finish with 3 rounds of hdc, working only in the back loop for a ribbed cuff finish.
Step 4.7: Neckline Finishing
- Join yarn at the neckline.
- Crochet 3 rounds of hdc, working the last 2 rounds in blo for ribbing.
- Slip stitch to finish and secure.
5. Final Finishing
- Weave in all loose ends using a tapestry needle.
- Steam or block the blouse for a polished appearance.
- Cotton yarn benefits from light blocking to even out stitches.
- Inspect seams and edges for uniformity.
6. Final Words
Congratulations on completing the top-down fan stitch blouse! This versatile design showcases the beauty of textured crochet while offering flexibility for casual or dressy occasions. Its lightweight nature and breathable fabric make it ideal for warmer weather, and sleeve and body length are easily adjustable.
7. Tips to Maintain the Pattern
- Check Row Count for Yoke Expansion: Ensure each corner increases correctly to avoid uneven shapes.
- Use Stitch Markers: Mark corners and changes in sections (front, back, sleeves).
- Consistent Tension: Maintain even stitching for uniform fans.
- Custom Fit: Measure at key points (yoke width, body length) to ensure proper fit based on your measurements.
- Yarn Substitution: If substituting yarn, adjust hook size and chain count accordingly.
Leave a Reply