
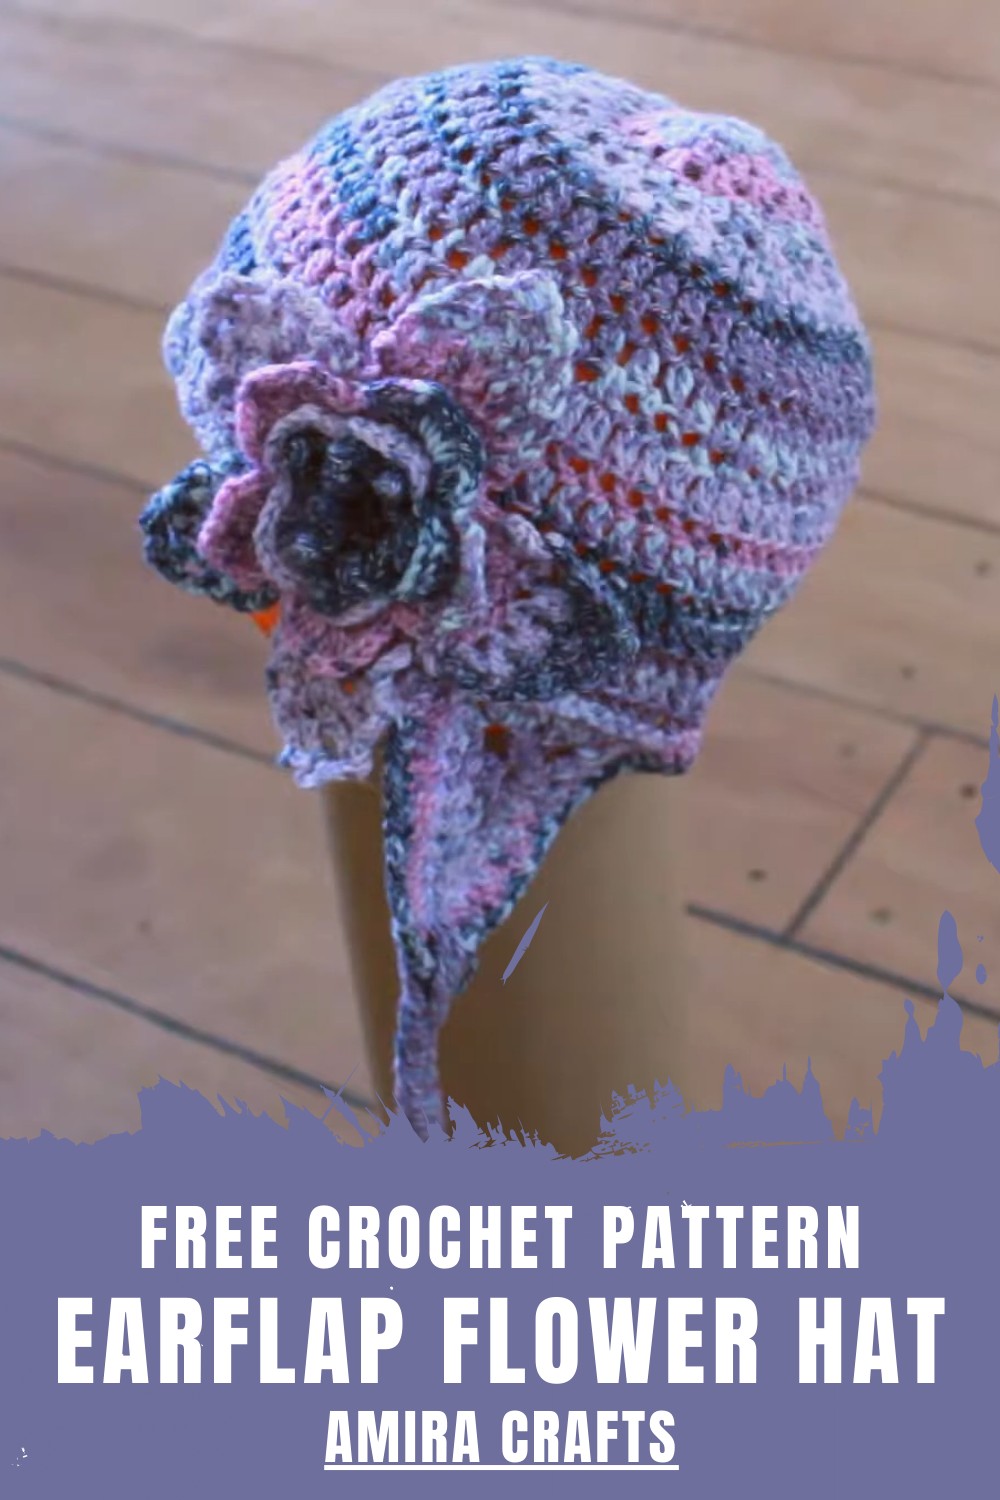
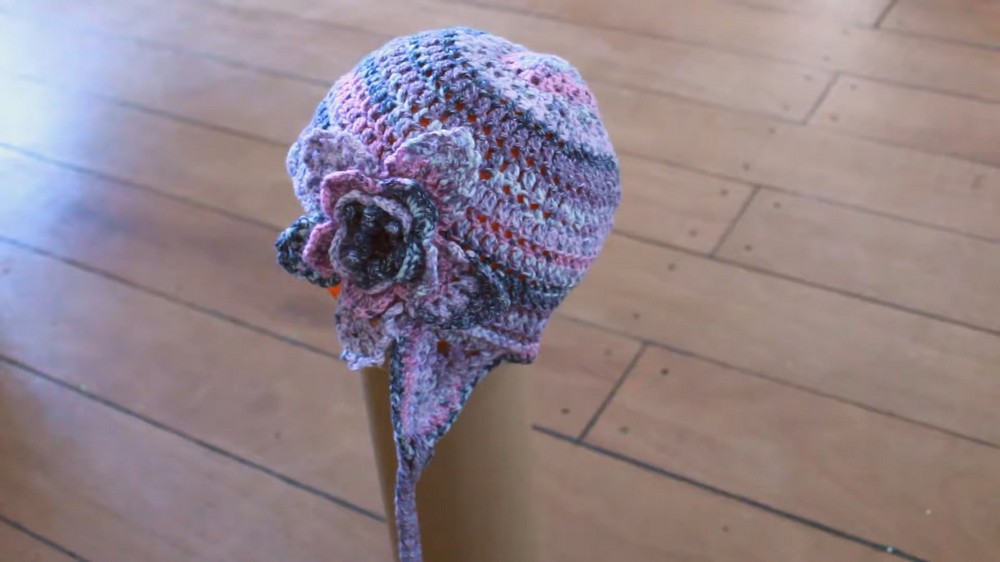
Keep warm and look cute with this crochet earflap flower hat pattern, perfect for keeping cozy while adding a touch of fun and style to your outfit.
Staying cozy in chilly weather while also looking adorable. This colorful and creative hat is perfect for adding charm and warmth to your wardrobe. Its design features elegant earflaps that keep your ears snug on cold days, making it practical and stylish at the same time. A beautiful flower on the side adds flair, giving it a unique and cheerful appearance that stands out in a crowd.
Free Crochet Earflap Hat Pattern with a Cute Flower Accent
The hat’s soft texture and warm material make it ideal for long walks, outdoor activities, or simply staying comfortable indoors. Its playful and cozy style is loved by children and adults alike, offering a perfect combination of fun and comfort. Whether as a handmade gift or something to wear, this hat’s vibrant design and functional details promise coziness and charm for any occasion.
Free Crochet Earflap Flower Hat Pattern
Materials
- Yarn: Less than 100 grams of DK (Double Knit) yarn (recommended: King Cole Drifter or similar).
- Crochet Hook: Size 4.0 mm (G/6).
- Optional: Yarn markers, scissors, tapestry needle.
Skill Level
Intermediate to Advanced
Abbreviations (US Terminology)
- ch – Chain
- sl st – Slip Stitch
- sc – Single Crochet
- dc – Double Crochet
- hdc – Half Double Crochet
- cluster – Cluster Stitch (2 dc worked together in the same stitch)
- rep – Repeat
Special Notes
- The project uses cluster stitches to create texture and design.
- Earflaps are added separately to enhance the functionality and style of the hat.
- Seamlessly attach triangles to the hat using slip stitches.
- The flower is optional and should be made separately, then sewn onto the hat.
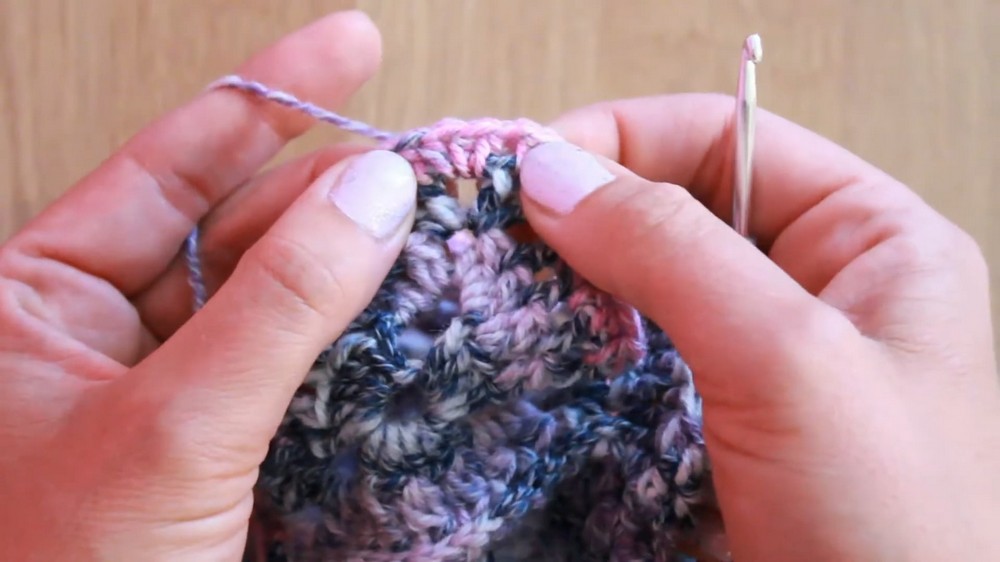
Step-by-Step Detailed Pattern
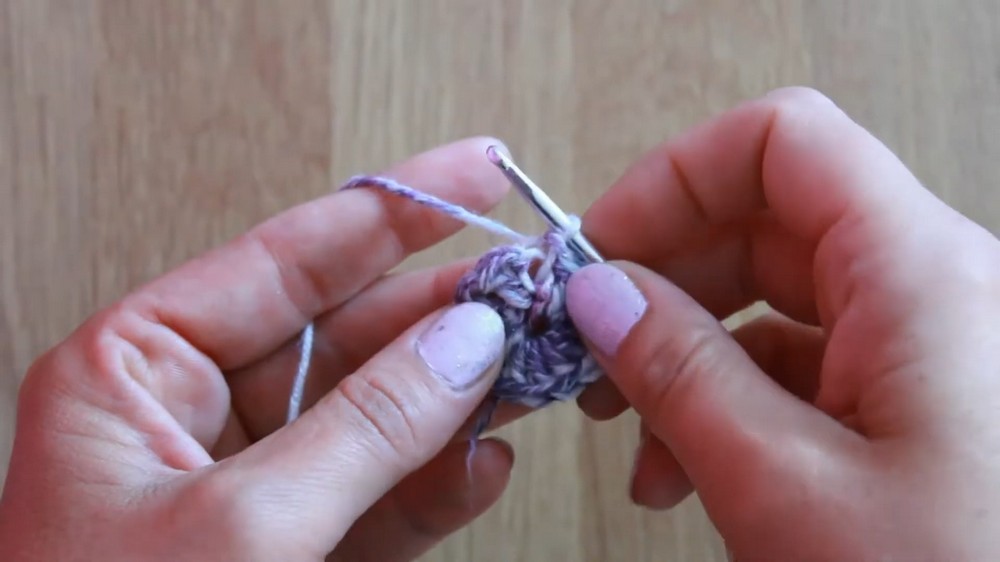
1. Base of the Hat
Round 1
- Begin with a slip knot.
- Make ch 3.
- Work 11 dc into the first chain.
- Join the round with a sl st into the top of the third chain.
Round 2
- Make ch 2 (counts as the first dc).
- In the same stitch, work 2 dc cluster, followed by ch 1.
- Repeat 2 dc cluster and ch 1 in every stitch around.
- You will have 12 clusters separated by chain spaces.
- Join with a sl st into the chain space of the starting cluster.
Round 3
- Make sl st into the next chain space between clusters.
- Ch 3 (counts as the first dc), followed by dc in the same space.
- Ch 1, 2 dc in the next chain space between clusters, then repeat around.
- Ensure each cluster is separated by ch 1, including the last stitch.
- Join with a sl st to the top of the beginning ch 3.
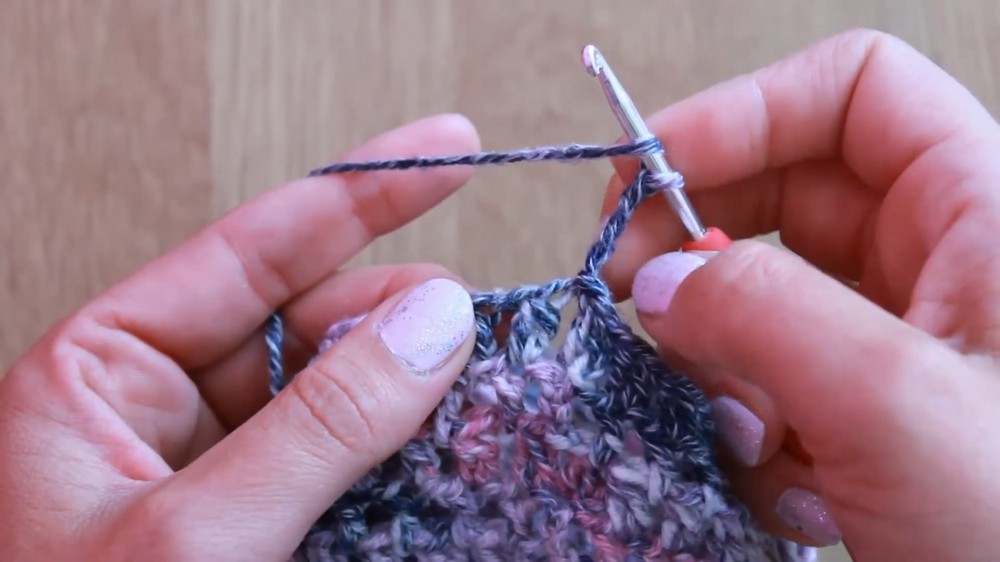
2. Building Texture
Round 4
- Start with ch 2.
- Work cluster in the same stitch, followed by ch 1.
- Make cluster into each subsequent dc (chain spaces) from prior rounds.
- Carry the sequence until the round is completed.
Round 5
- Slip stitch into the chain space between clusters.
- Ch 4 (counts as the first dc and a ch 1).
- Work dc in next chain space, followed by ch 1.
- Continue with dc and ch 1 into every chain space around.
- Join with a sl st into the fourth chain of the starting ch.
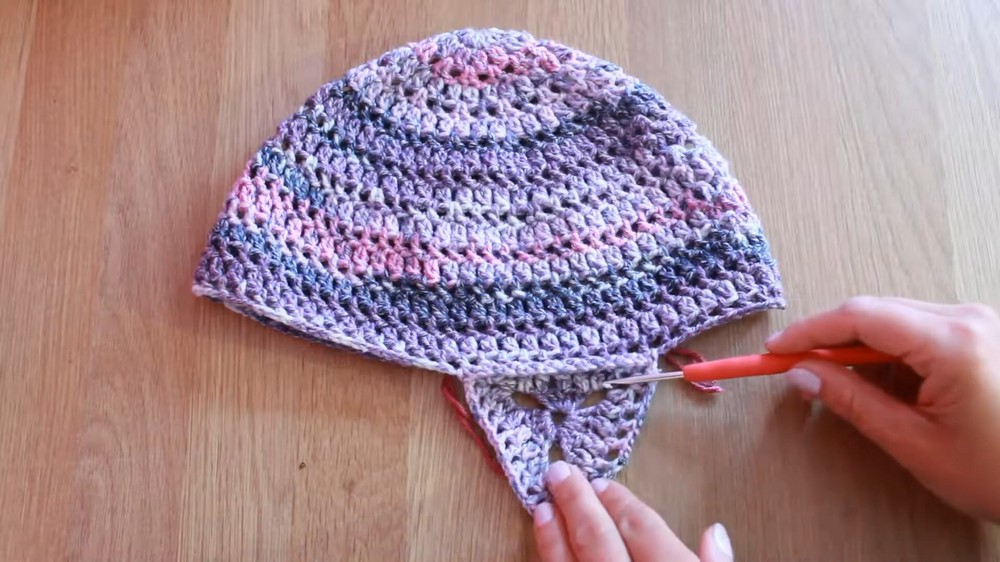
3. Attaching Earflaps
Earflap Construction
- Create a triangle shape using clusters:
- Ch 5 to form a ring.
- Work 3 clusters and chain spaces between them to form triangular corners.
Attaching Earflaps
- Use slip stitches to attach the edges of the triangle to corresponding chain spaces on the hat.
- Reinforce each connection with double crochet stitches.
Tip: Use yarn markers to identify placement before attaching triangles!
4. Adding Final Border
- Work hdc into each chain space and stitch around the edge of the hat, giving it a polished seam.
- In corners (triangle edges), make 3 hdc into the chain space to maintain shape.
- Slip stitch to complete the border and finish off.
5. Optional Flower
- Create a flower following the previous tutorial (beginning with a magic ring and several rounds of petals).
- Sew the flower onto the earflap or the side of the hat using tapestry needle and matching yarn.
Conclusion
This Free Crochet Earflap Flower Hat Pattern offers warmth and style with its textured clusters and creative design. By following this step-by-step guide, you can create a durable winter accessory suitable for any wardrobe.
Pattern Correction & Tips
- Correction: Ensure to consistently count stitches after each round to avoid uneven edges.
- Tip: Block the hat gently after finishing for a cleaner look.
Leave a Reply