
Welcome cozy flair with this Crochet Granny Square Vest Pattern, mixing colorful blocks, easy wear, and a stylish layer that suits every season today.

Cozy Crochet Granny Square Vest Pattern for Casual Fashion
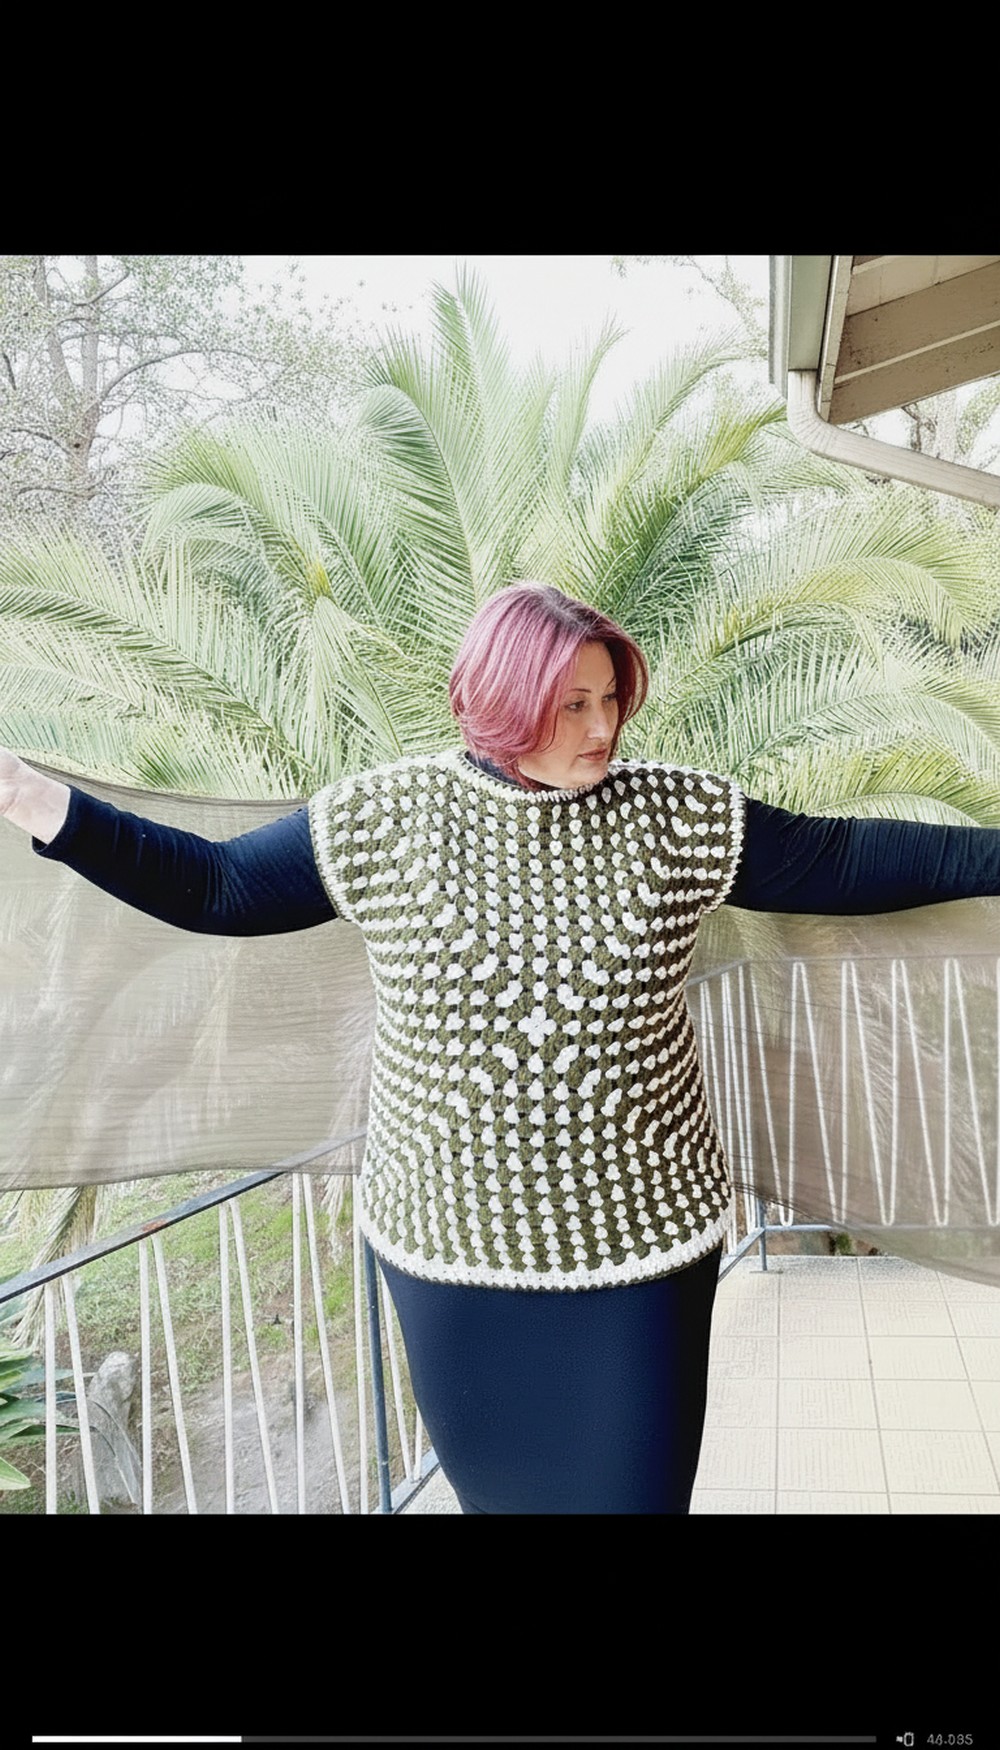
Adding a handmade touch to your outfit can be simple and stylish with this charming granny square vest. The colorful squares come together to create a vibrant, lightweight layer that brightens up any look. Its open, airy design makes it perfect for warmer weather, while still offering a little extra warmth and texture. The loose fit ensures comfort and ease of movement, making it great for everyday wear or special occasions.
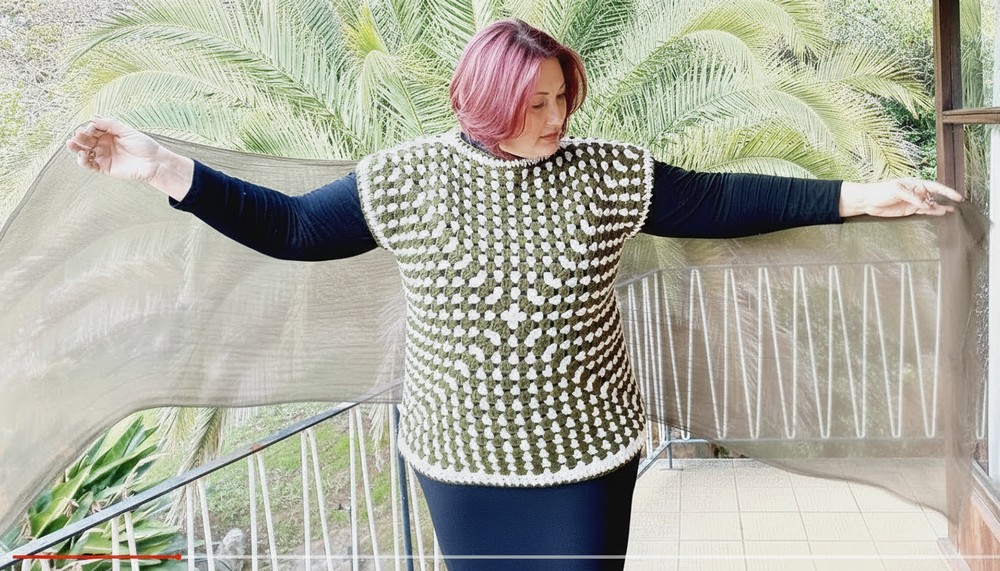
Beginners will love how easy it is to create each granny square, stitching them together into a fun and wearable piece. Whether layered over a plain tee or dress, this vest instantly adds a pop of personality and a cozy, retro vibe. Combining bright colors, straightforward techniques, and versatile styling, this granny square vest is the perfect project to build your crochet skills while making a standout fashion accessory.
Crochet Retro Granny Vest Pattern
Special Features
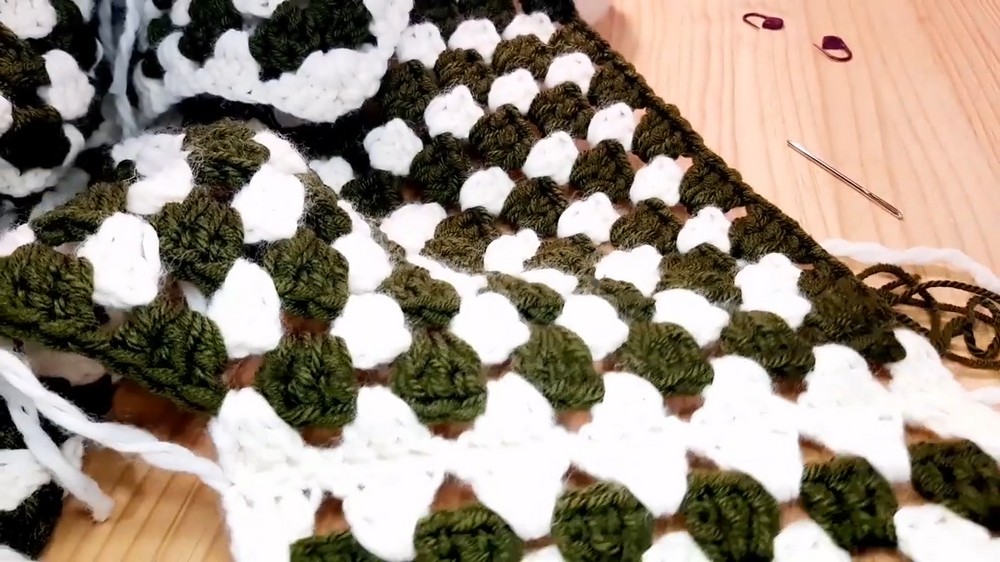
- Uses two 3-weight yarns held together to create a four-weight bulky yarn for the desired color and thickness.
- Drop shoulder design with shaping decreases around the neck and armholes.
- Decorative ribbing using front post and back post stitches on armholes, neck, and bottom hem.
- Single crochet joining method for seams for sturdiness and neat finish.
- Designed with flexibility: try it on as you go and adjust the number of granny square rounds and stitch counts to fit.
Difficulty Level
Intermediate
Familiarity with granny squares, double crochet clusters, front post and back post stitches, joining motifs by single crochet, and shaping by decreases are required.
Materials
- Cream chunky yarn: 80% acrylic, 20% wool, 170 meters/100g ball (used as main color)
- Two green 3-weight yarns (held together to make 4-weight) for contrast/color detail
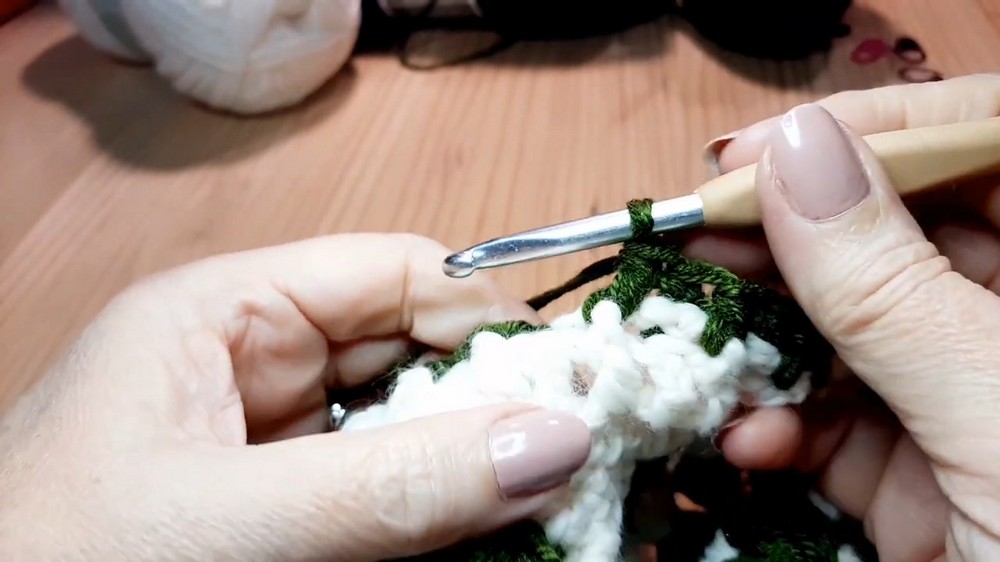
- 6 mm crochet hook
- Scissors
- Wool needle for weaving in ends
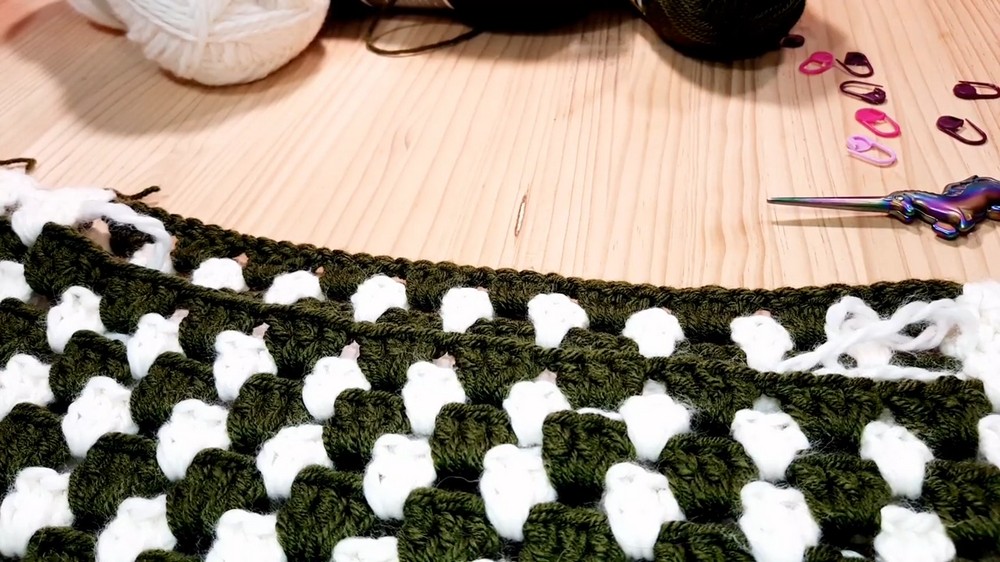
- 8 stitch markers
Step-by-Step Pattern
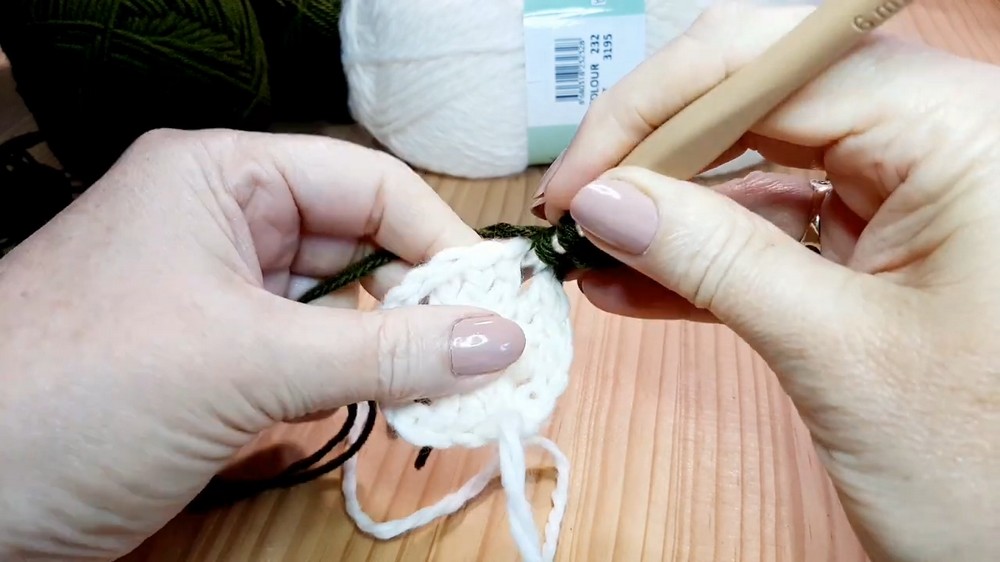
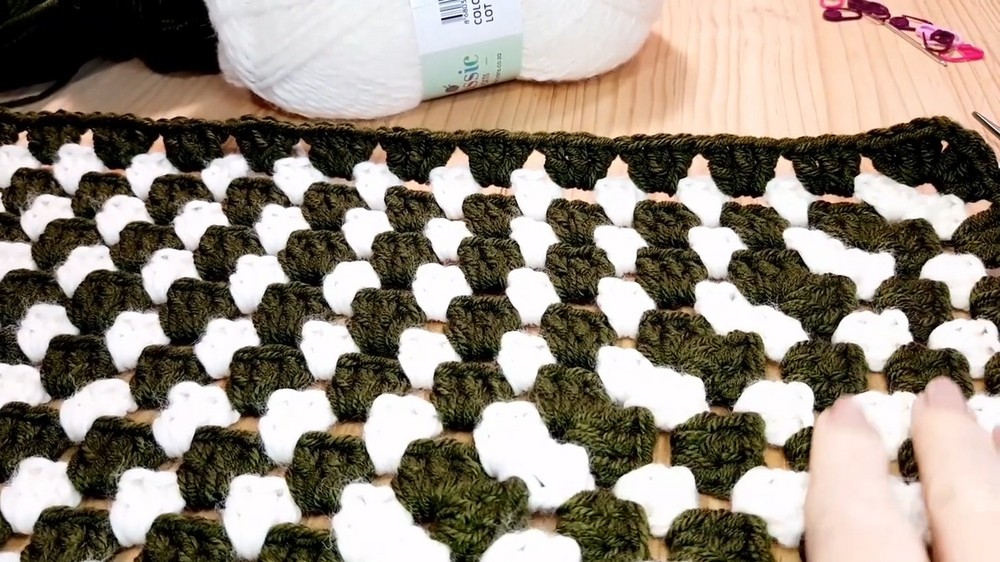
1. Make Granny Squares (Front and Back)
- Start with slip knot and chain 5.
- Join with a slip stitch to form a ring.
- Round 1: Chain 3 (counts as 1 double crochet), chain 2 (corner), 3 double crochets, chain 2 repeat 4 times total around ring.
- Join with slip stitch to top of beginning chain-3.
- Fasten off and weave in ends.
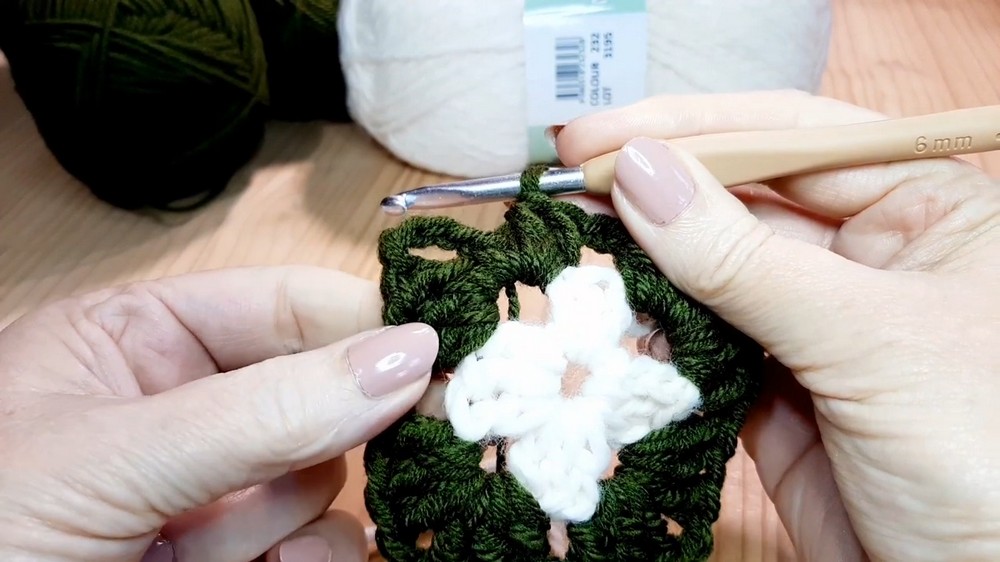
- Round 2 and onwards using two green 3-weight yarns held together with 6 mm hook:
- Join yarn in any corner.
- Make single crochet to join, chain 2 for corner.
- In same corner space, 3 double crochets.
- Chain 1 and 3 double crochets in each chain-1 space.
- Corners: 3 double crochets, chain 2, 3 double crochets.
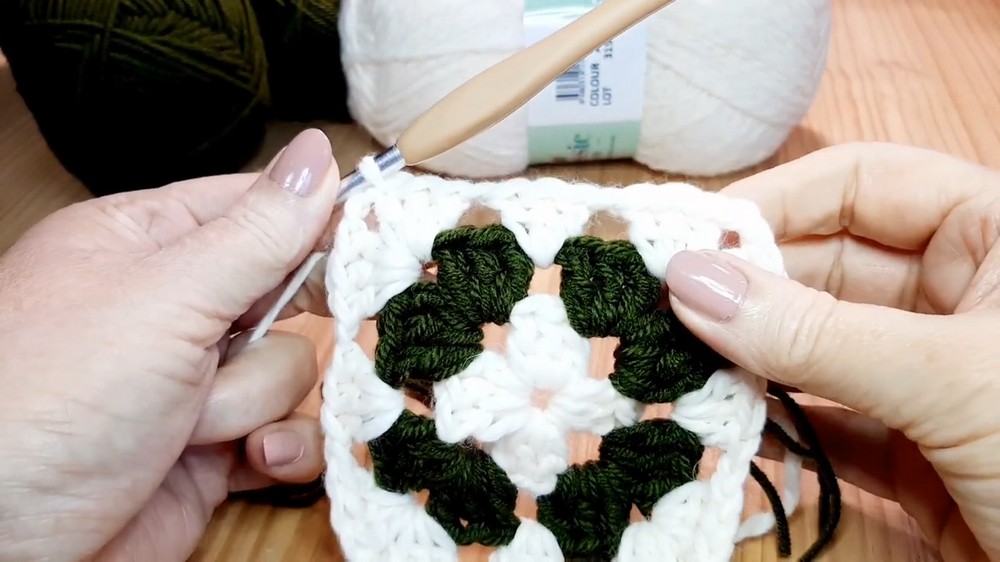
- Repeat rounds until square reaches desired size (e.g., 22 rounds for large size).
- Make two large granny squares of equal size.
2. Mark and Try On
- Pin squares together, mark underarms and neckline with stitch markers by connecting front and back pieces.
- Use about 5 clusters from edge inward for armholes, and adjust neckline width with extra clusters.
- Try on garment to check fit, add or remove rounds if needed to suit size.
3. Shape Neckline and Shoulders
- Fold squares with right sides together, align shoulders.
- Work across neck and shoulder areas decreasing stitches by working 2 double crochets together (double crochet cluster decrease) at stitch marker points to shape shoulders and neckline smoothly.
4. Join Squares at Shoulders and Sides
- Using single crochet join method on wrong side (right sides facing each other), join the shoulders by:
- Insert hook through corresponding stitches on both pieces.
- Work single crochets evenly, ensuring stitch alignment.
- Repeat joining at the sides, from underarm to bottom edge.
5. Armhole Edging
- Start at underarm, with cream yarn.
- Single crochet around armhole edge.
- Next round: double crochet in each stitch.
- Final round: alternate front post and back post half double crochets around armhole for textured ribbing.
- Bind off and secure.
6. Neckline Edging
- Repeat armhole pattern for neckline:
- Single crochet round around neckline.
- Double crochet front post/back post round.
- Half double crochet front post/back post round in green yarn.
- Finish with slip stitch and secure.
7. Bottom Hem Ribbing
- Join cream yarn at bottom edge.
- Work single crochet, chain 2, double crochet in corner and double crochet evenly all around bottom edge.
- Join round with slip stitch.
- Next round: alternate front post/back post double crochet around edge.
- Final round: alternate front post/back post half double crochet with green yarn.
- Bind off and secure ends.
Tutor’s Suggestions & Tips
- Try on as you go! Always check fit before final joining and shaping.
- Count stitch clusters carefully before shaping to leave room for decreases.
- Holding two 3-weight yarns together requires attention to keep strands even to avoid “bubbles” or uneven tension.
- Single crochet joining is preferred over sewing seams for a neat, sturdy finish.
- The ribbed edging adds a professional look and gives structure to the edges.
- For color matching, mixing yarn weights to achieve the perfect color is a great option.
Uses
- Warm and stylish vest ideal for layering during cold seasons.
- Suitable for curvy figures due to thoughtful shaping.
- Great for casual and semi-formal wear.
- Comfortable for South African winters or any cold climate without central heating.
Tip
When working decreases (double crochet clusters) at neck and shoulders, pause before completing the last yarn over pull-through to combine stitches smoothly. This shaping helps the neckline lie flat and prevents edges from curling or standing up.
Conclusion
This retro granny vest project combines classic granny square technique with garment shaping and textured ribbed details for a beautiful, comfortable piece. It’s perfect for intermediate crocheters looking for a rewarding project that combines color work, shaping, and finishing skills.
Leave a Reply