
Celebrate the season with DIY Super Santa Bomber With Polymer Clay, a creative project to add charm and personality to your holiday décor.
If you enjoy creative holiday projects, this one is a fun and unique way to celebrate the festive season. Using simple materials and your imagination, you can create a small, detailed Santa figure with a cool twist. Instead of the traditional Santa, this project gives him a quirky, action-packed vibe, making it both playful and perfect for those who love adding a bit of humor to the holidays.
FEATURED BY: Cedric PF
DIY Super Santa Bomber With Polymer Clay Christmas Craft
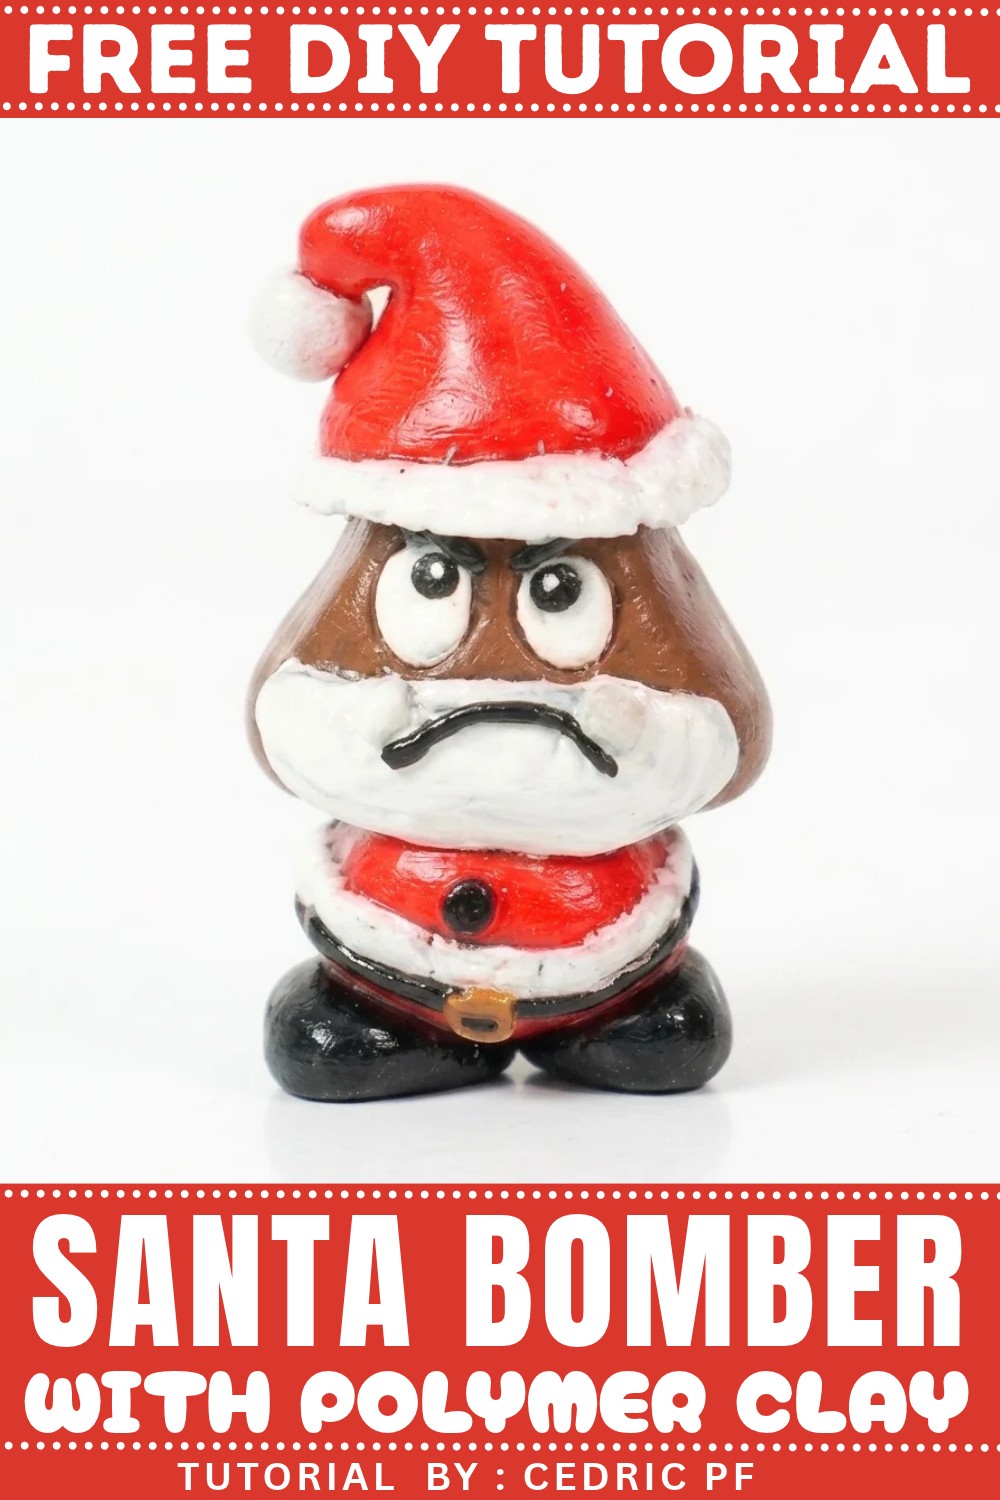
The DIY Super Santa Bomber With Polymer Clay project lets you craft a miniature Santa who looks like he’s ready for a special delivery like no other! You’ll use polymer clay to sculpt Santa with all his details, from his fluffy beard to his recognizable red outfit. But here’s the twist: you can give him a daring look, like holding a “surprise package” or mid-flight as if he’s zooming through the air. The clay is easy to mold, so even beginners can enjoy this fun and festive activity.
This project is not only a great way to get into the holiday spirit, but it also allows you to create a cute keepsake or a one-of-a-kind decoration. Whether you display it on your holiday shelf or give it as a gift, this Santa figure is sure to spread smiles. It’s easy, fun, and brings a touch of creativity to Christmas.

Christmas Goomba & Bob-omb Polymer Clay
Essential Materials & Tools
Materials:
- Fimo (Polymer Clay) in:
- Caramel/Brown (for Goomba’s head)
- Red (Santa hat & Goomba’s body)
- White (eyes, beard, hat details, Bob-omb eyes)
- Black (eyebrows, pupils, shoes, mouth, Bob-omb body)
- Gold (belt buckle, Bob-omb key and details)
- Chocolate brown (Bob-omb feet)
- Grey (for Bob-omb wind-up key, optional)
Tools:
- Ball/Bowl tools for shaping clay
- Needle or pointed tool (for texturing)
- Carving/sculpting tool or toothpick
- Craft knife or scalpel
- Cutting mat or safe work surface
- Liquid polymer clay (for attaching parts)
- Superglue or strong craft glue
- Oven (for baking clay)
- Varnish (optional, for finishing)
- A round-headed pin/nail (for assembling/pinning Goomba’s hat)
Step-by-Step Instructions

Part 1: Goomba Santa Claus
1. Make Goomba’s Head
- Roll a ball of caramel-colored clay.
- Shape into a domed triangle (wide bottom, pointed top for the head).
2. Make Eyes
- Use a carving tool to indent two eye spots.
- Roll two equal pieces of white clay into balls, flatten them a little, and place them in the eye sockets.
- Add two small black balls as pupils; place them on the white parts.
- For highlights, add a tiny bit of white clay to each pupil, using your scalpel.

3. Add Eyebrows
- Roll out two thin strips of black clay (same size), shape into eyebrows, and position them above the eyes.
4. Make Beard & Mouth
- Flatten a ball of white clay and shape it into a beard using fingers and a ball tool.
- Aim for “cloud-like” rounded shapes; flatten if it’s too thick.
- Attach the beard to the head and texture it by drawing lines with a needle.
- Roll out a thin black strip for the mouth, curve it a little, and gently press it into place beneath the beard.
- Make a small ball of white clay, flatten it, cut in half, and position these pieces at each side of the mouth as “teeth.”

5. Make Goomba’s Body
- Use red clay to make an oval or egg shape (slightly narrower at the top).
- Compare the size to Goomba’s head for proportion, and adjust as needed.
6. Decorate Goomba’s Santa Outfit
- Wrap a thin, long “sausage” of white clay around the middle of the body as the trim for the coat.
- Cut off any excess.
- Add a small ball of black clay as a “button” in the center of the white band.
- Under the white band, add a thin black strip for the belt.
- Form a small gold ball and flatten it for the belt buckle; add a tiny piece of black inside for detail.

7. Make Shoes & Assemble
- Form two black balls, roll slightly to shape as shoes. Flatten bottoms.
- Attach body to shoes.
- Use a small dot of liquid clay to glue the head to the body.
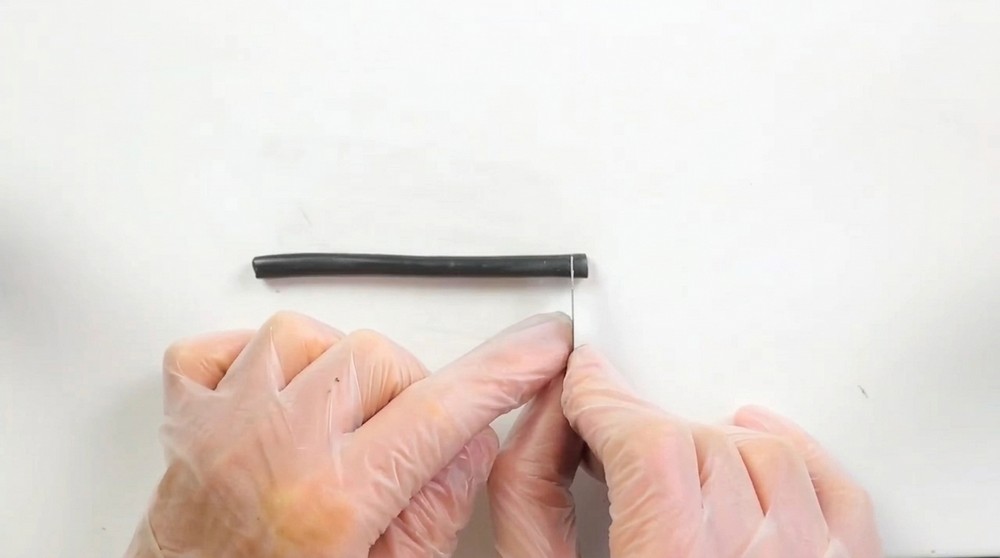
8. Santa Hat
- Form a red ball into a cone for the hat.
- Use bowl tools to hollow the bottom so it sits on the head.
- Make a white ball for the pom-pom, texture with a needle, and attach to the tip of the hat.
- Roll out a white “sausage” for the hat’s trim, wrap it around the base of the hat.
- Texture the trim with the scalpel tip.
- Attach the hat to Goomba’s head.
- Insert a round-headed pin/nail for added strength (pin goes through hat into head, not all the way through).
9. Bake & Varnish
- Bake as per clay instructions (usually 20 minutes at 110°C/230°F).
- Let cool completely.
- Apply varnish if desired for shine and durability.
Part 2: Bob-omb (Bob Omb)
1. Make Bob-omb’s Body & Feet
- Roll a ball of black clay for the main “bomb” body.
- Roll two equal pieces of chocolate brown clay into balls, shape into ovals for feet, flatten them a bit.
- Attach the black ball on top of the feet (body stands on them).
2. Make Eyes & Face
- Make two small balls of white clay, roll them into short ovals, flatten and place on the upper body for eyes.
3. Make Wind-up Key
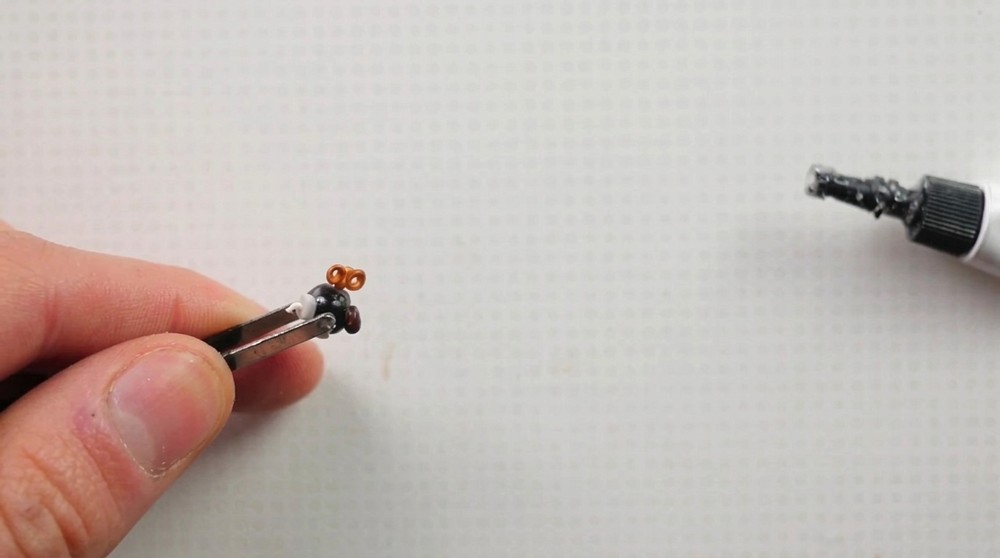
- Roll out three equal pieces of grey or gold clay.
- Ball up two pieces, flatten them, and poke a hole in the center.
- Roll the third piece into a stem and curve slightly.
- Assemble to form key shape (two rings attached to curved stem).
- Bake these parts separately.
4. Put it All Together
- Once baked and cooled, use strong glue to attach the wind-up key at the back.
- Varnish if you like.
Helpful Tips for Beginners
- Work on a clean surface and wash hands between colors to prevent color transfer.
- Flatten and blend joins gently with a small tool or your finger.
- Bake clay items on a piece of parchment or ceramic tile to prevent scorching.
- Always follow your clay brand’s instructions for baking.
Finished Creation
Thank you for making your own Christmas Goomba and Bob-omb! Feel free to customize your Goomba with different facial expressions or add extra holiday details: a present, holly leaves, or even a candy cane.
Leave a Reply