
Surprise everyone with DIY Shark Cupcake Figure, a unique cupcake design idea that’ll make your desserts the star of any gathering.
We sincerely appreciate the efforts of Cedric PF in sharing this video. His YouTube content gives viewers useful knowledge and helps them understand how different projects come together.
Cupcakes are already fun and delicious, but this project takes them to a whole new level of creativity! Perfect for ocean-themed parties, summer celebrations, or just a baking project with a playful twist, these cupcakes add a splash of excitement to dessert time. Imagine transforming your simple treats into figures that resemble sharks, bringing a fun underwater world right onto your plate. It’s a great way to combine imagination and baking.
Simple and Cute DIY Shark Cupcake Figure for Fun
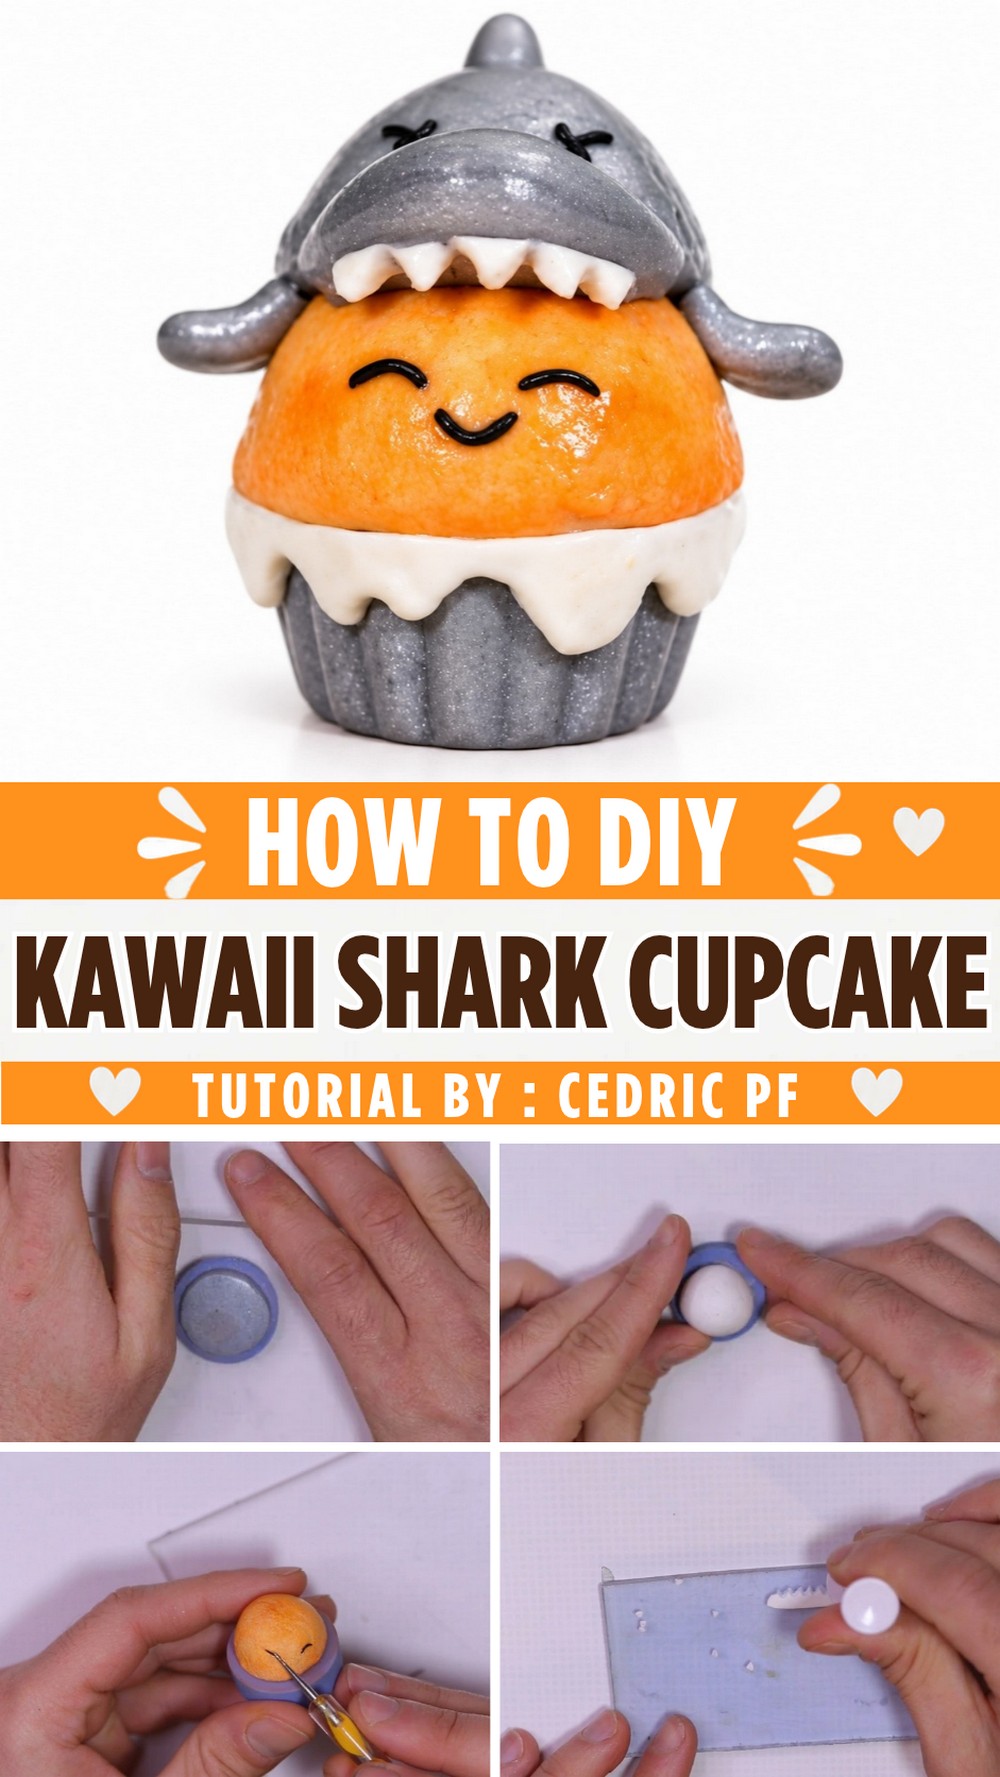
The DIY Shark Cupcake Figure lets you turn cupcakes into adorable or fierce-looking sharks. Using frosting, candies, and a bit of clever design, you can shape shark fins, teeth, and even their big open mouths ready to “chomp!” Whether you want them scary or fun, there’s room to customize the designs to match your vibe. The best part is that you don’t need to be an expert baker—it’s a simple and enjoyable way to play with your food.
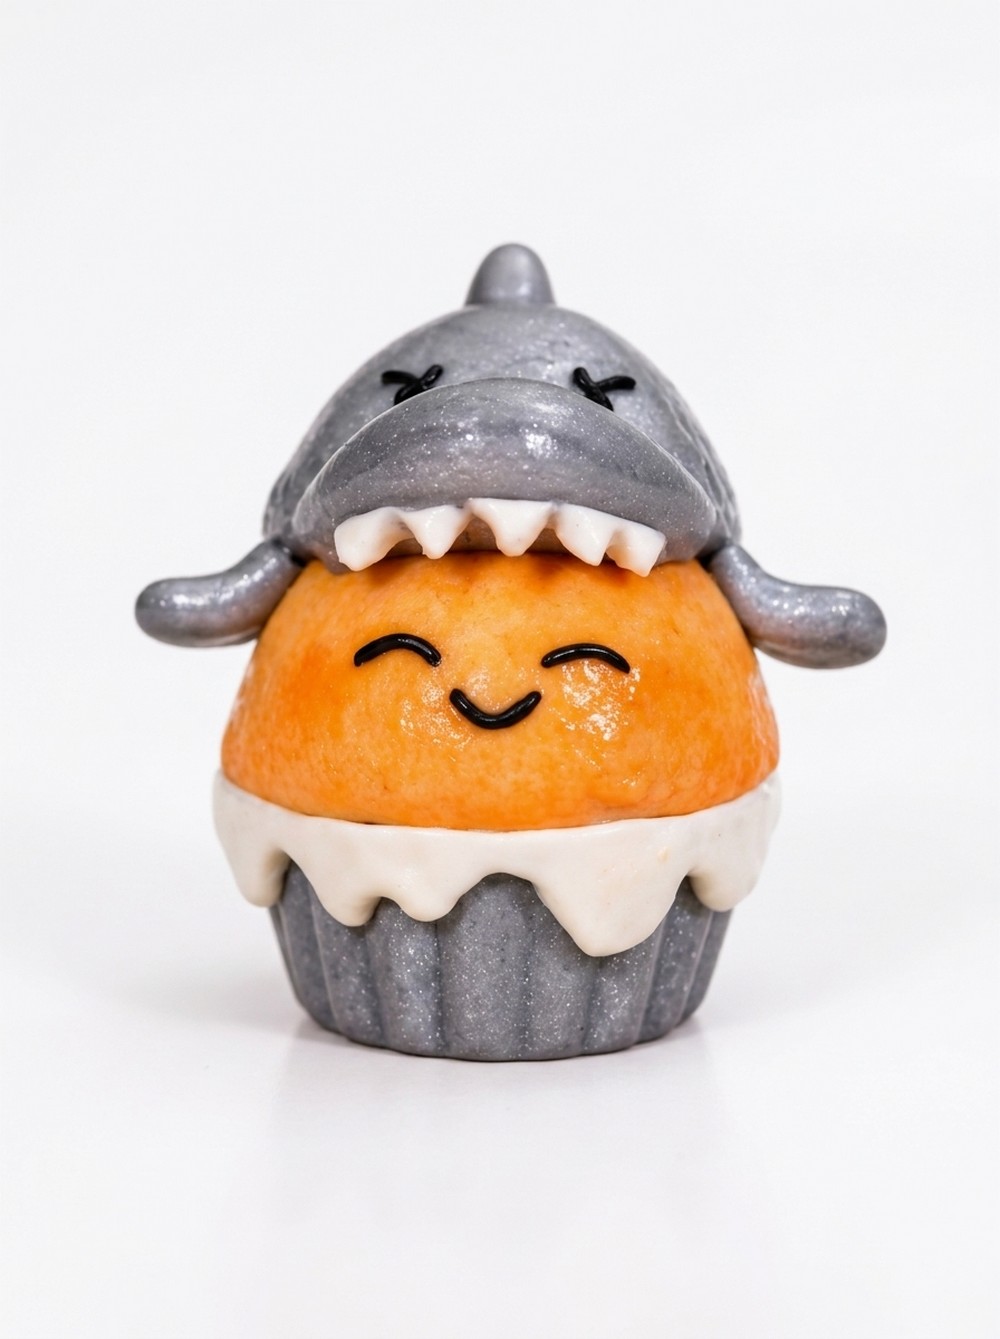
These shark-themed cupcakes are perfect for kids and adults alike. They’re a hit at parties and are also exciting to make with family or friends. Decorating them is not just creative but incredibly satisfying, and they’re guaranteed to make people smile before the first bite. Fun, easy, and delicious—these shark figures are sure to add a splash of joy to any table.
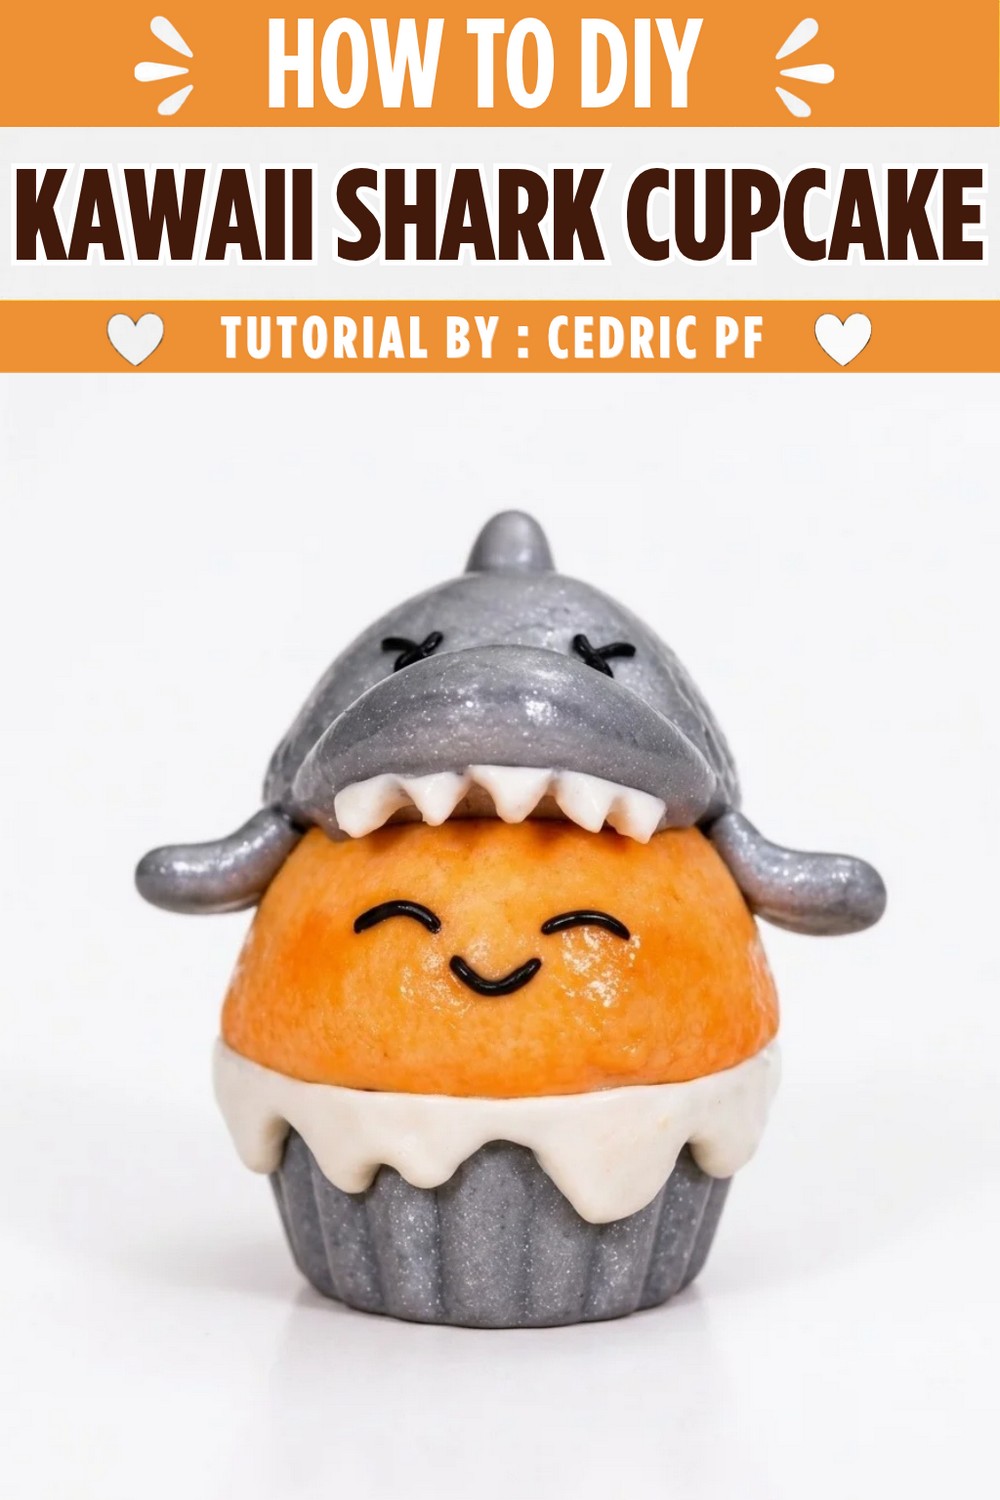
Adorable DIY Kawaii Shark Cupcake Figure
A delightful and wickedly cute craft project can be made by transforming a simple cupcake design into a kawaii shark using polymer clay. This playful character, originally created as a drawing during a live session, is now brought to life in 3D. The project blends basic cupcake shapes with imaginative shark features, all enhanced with simple techniques and vibrant coloring. The scene is set for a fun and organized workspace, ensuring a creative and tidy environment for an enjoyable crafting experience.
Essential Materials & Tools
- Polymer Clay: White, silver, and black
- Cupcake Mold: For shaping the base and top of the cupcake
- Talcum Powder: To prevent sticking in the mold
- Clay Tools: Blades, silicone brush, dotting tool, and flat plate
- Dry Pastels: Ochre, orange, red, light brown
- Liquid Polymer Clay: For attaching parts securely
- Small Nails or Aluminum Pieces: For structural reinforcement
- Cookie Cutter (Diamond Shape): For making shark teeth
- Wipes: For cleaning surfaces
- Sharp Object/Scalpel: For drawing details like shark gills
- Oven: For baking at 110°C/130°C as required
Tips for Making
- Always clean your workspace and clay pieces before starting each step to avoid dust and smudges, especially when handling white clay.
- Use talcum powder in your mold to make de-molding easier and prevent the clay from sticking.
- When adding parts to a pre-baked or pastel-colored surface, always use a small amount of liquid polymer clay for better adhesion.
- Pre-bake elements between steps if they’re at risk of moving or deforming while handling subsequent parts.
- Work gently when adding details like gills or positioning small parts; polymer clay can tear or shift if pressed too hard after baking.
Making
Preparing the Cupcake Base
- Dust the cupcake mold with a little talcum powder.
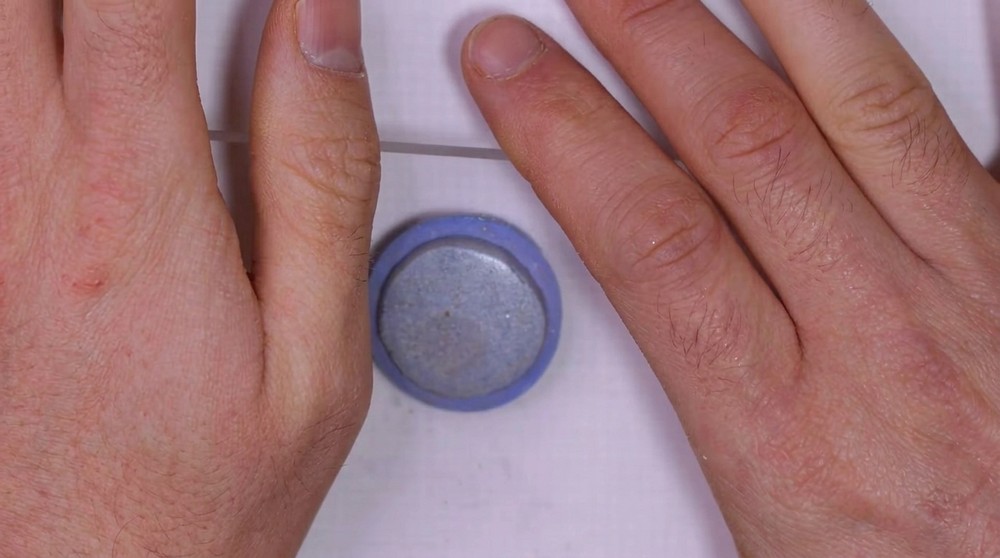
- Take a large ball of silver polymer clay and press it into the mold, using a flat plate to ensure an even surface.
- Trim away excess clay from the top with a blade.
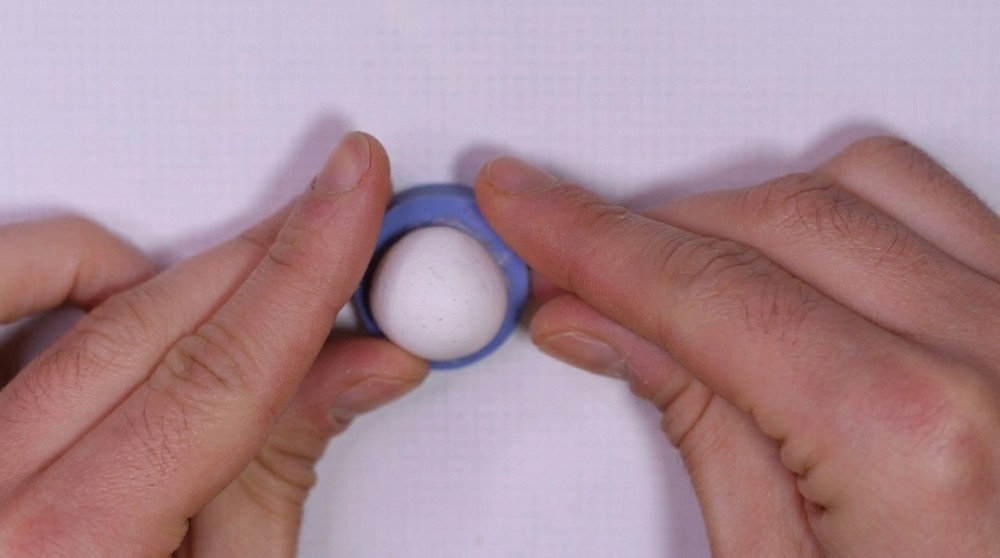
- Hollow out the center for the top swirl, then fill it with a white polymer clay ball, trimming the bottom for a stable base.
- Clean the white clay with a wipe to remove any dust.
Adding Texture & Color
- Using a brush or dotting tool, tap the cupcake base to create a realistic, textured surface.
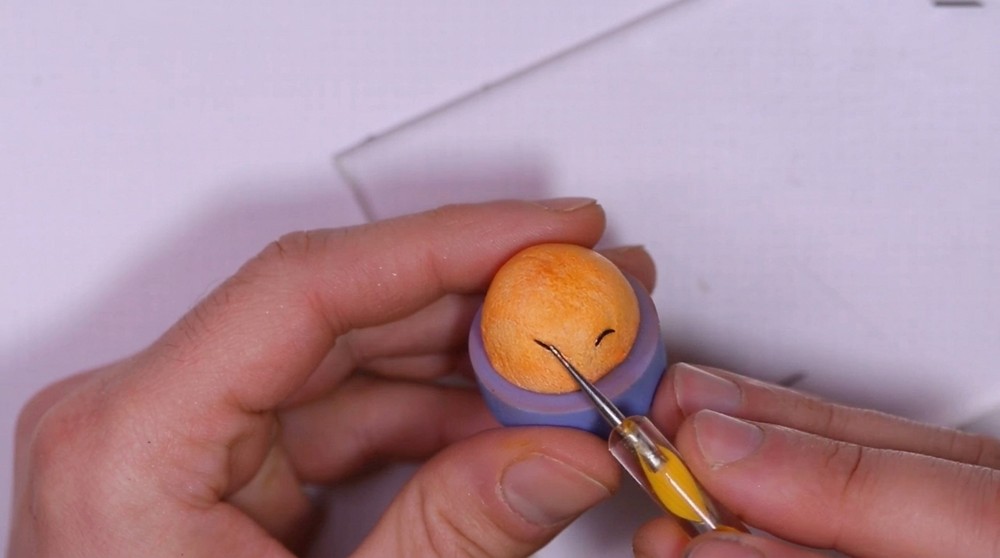
- Apply dry pastel colors in shades of ochre, orange, red, and light brown, blending gently from light to dark, leaving lighter spots to mimic baked areas.
Creating the Kawaii Face
- Mark the positions for the eyes and mouth with a small dotting tool.
- Roll out tiny sausages of black polymer clay for the eyes and mouth, pressing them onto the surface with liquid polymer clay as an adhesive due to the pastel layer.
- Apply a little red dry pastel on the cheeks for a blushing effect.
- Pre-bake the cupcake for 10 minutes at 110°C.
Making the Shark Hat and Features
- Take a ball of silver polymer clay, shape it into a rounded spike, and flatten it to fit as a hat over the cupcake top (ensure the base cupcake is cooled first).
- Attach the hat to the cupcake using liquid polymer clay.
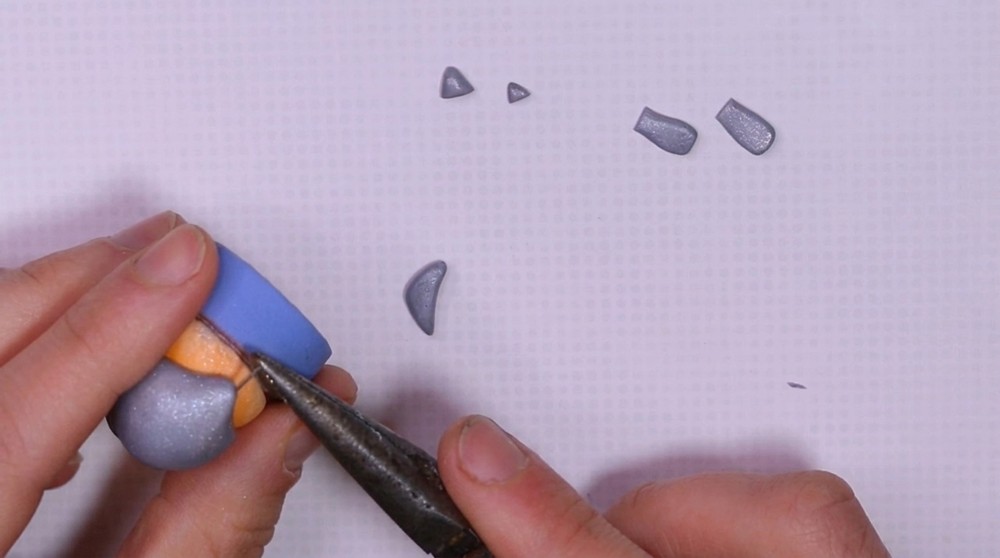
- Shape a double-cone form from silver clay for the shark’s snout, trim with the blade for a good fit, and smooth seams with a silicone brush.
- For the fins, use parts of the leftover silver clay. Shape and flatten pieces, cutting them for size consistency. Roll another piece into a sausage and taper for the shark’s tail.
- For added support, insert small nails or aluminum pieces when attaching the tail and dorsal fins.
- Lightly score holes with a dotting tool where dorsal fins will go, and carefully insert the sculpted pieces with liquid clay at each joint.
Adding the Shark’s Face and Details
- Mark eye positions with a small tool and attach small balls of black clay.
- Create black clay sausages for furious eyebrows, positioning them as furrowed for a “mean shark” look. Trim and smooth as needed.
- Use a sharp tool to carve three gills on each side of the shark’s head.
- Pre-bake the creation for 5 minutes at 130°C to set new elements.
Forming the Teeth
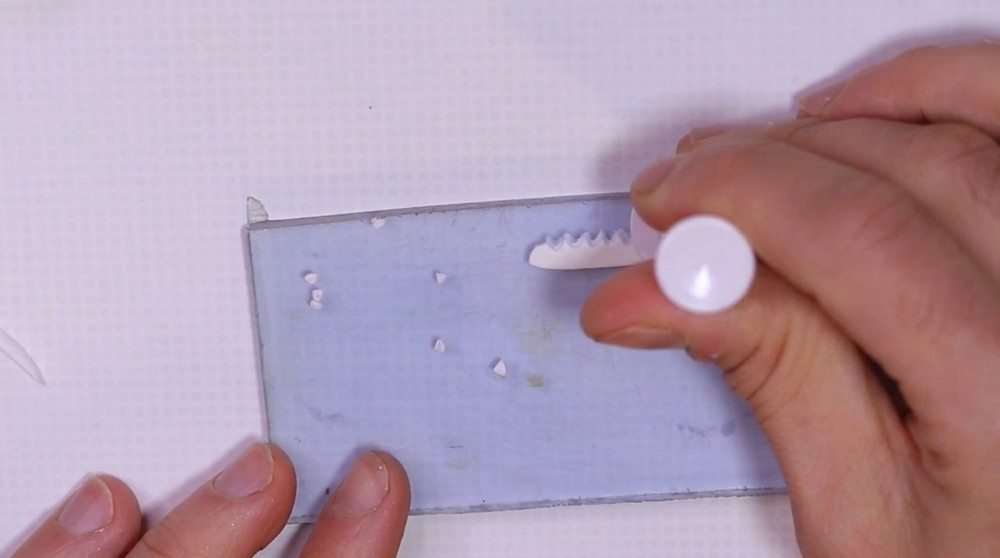
- Roll white polymer clay into a thin sausage, flatten it into a strip, and trim for evenness.
- Use a diamond-shaped cutter to cut small triangles on one edge, creating a line of jagged “teeth.”
- Attach the strip at the shark’s mouth, adjusting spacing and pressing gently with a silicone brush.
- Pre-bake again for 5 minutes at 130°C.
Adding the Cupcake’s White Glaze
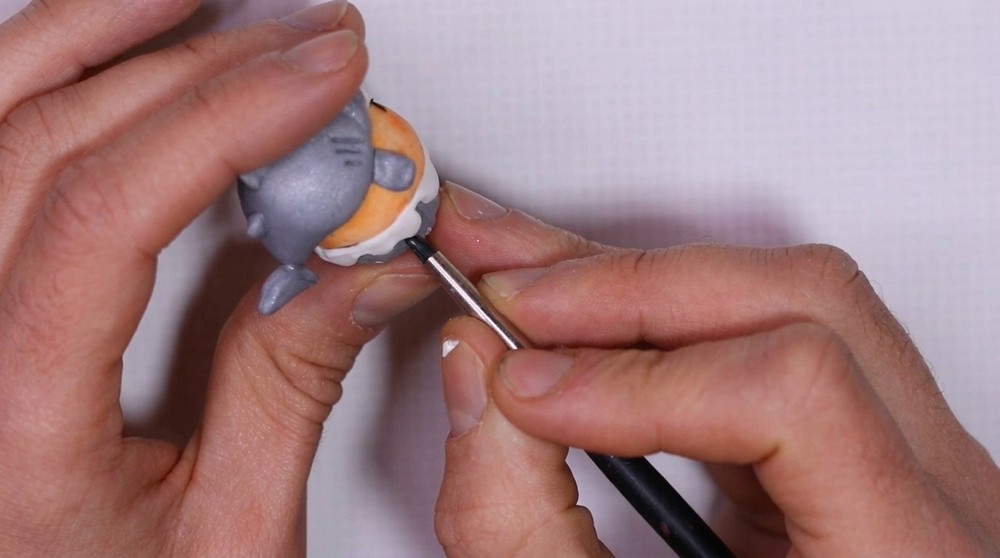
- Take a thicker piece of white polymer clay, form it into a strip, and use a silicone brush to create drip textures.
- Apply liquid polymer clay to the top of the cupcake base and attach the strip as flowing glaze.
- Make final shape adjustments as necessary.
- Complete baking for 30 minutes at 130°C.
Finishing
- Allow the creation to cool fully before handling.
- Once cooled, admire and share your kawaii cupcake shark!
Conclusion
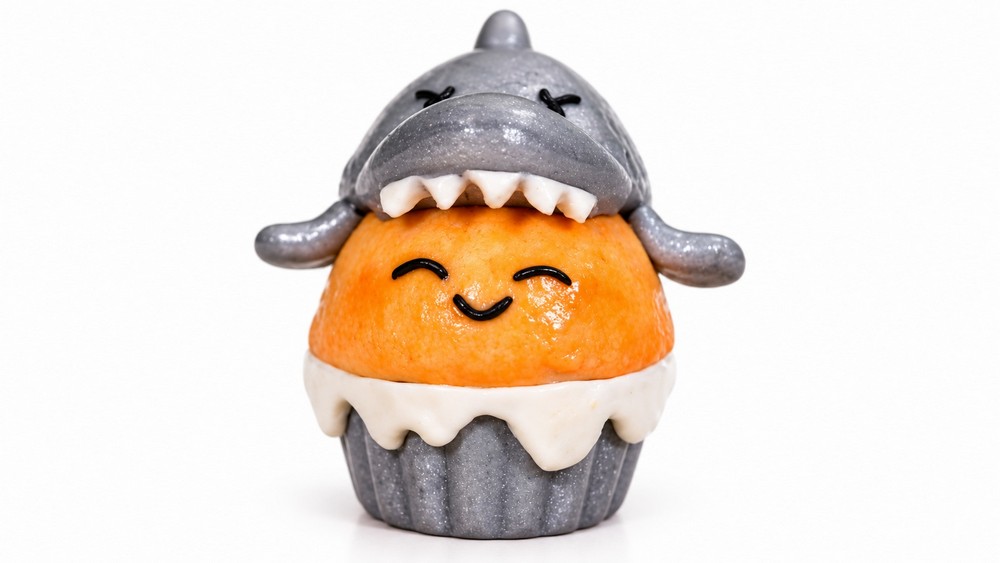
This pattern brings together playful imagination and simple polymer clay techniques to create a charming kawaii cupcake cosplaying as a shark. The step-by-step structure, attention to detail in texture and color, and careful assembly result in a piece that is not only visually appealing but also sturdy, making it perfect for beginners and seasoned crafters alike. The final creation showcases a fun, expressive character full of cheerful personality with a hint of mischievous charm.
Leave a Reply