
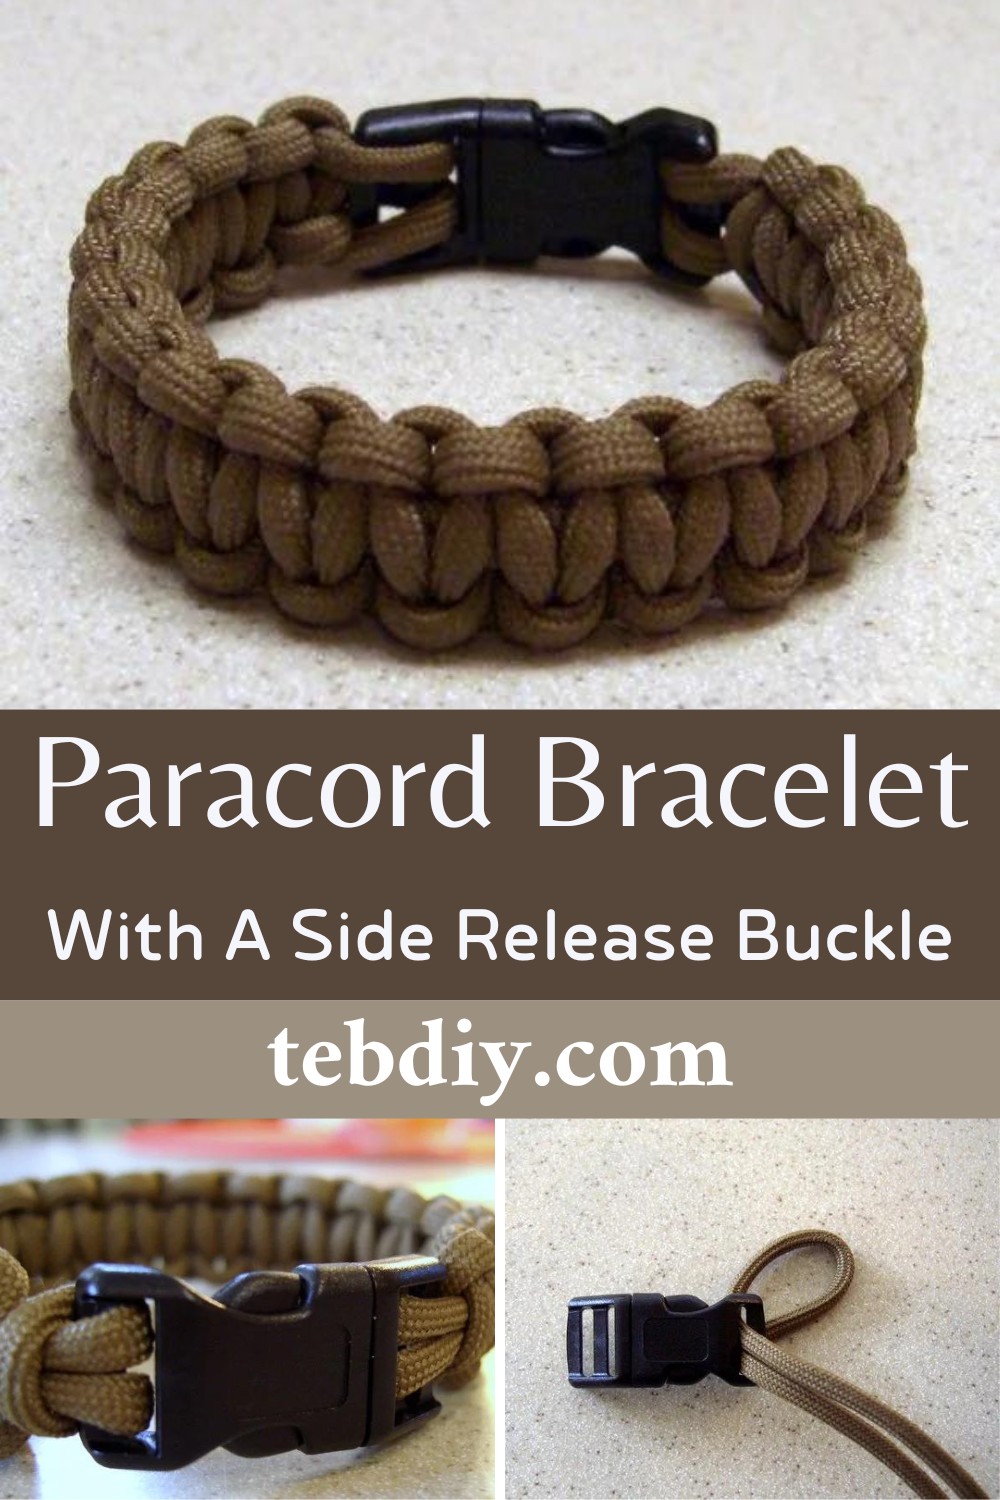
Making a paracord bracelet with a side-release buckle is a fun and useful craft. Paracord bracelets are cool, tough bracelets made from parachute cords. They are stylish, worn as jewelry and can be unwrapped to use the cord in outdoor or emergencies. The simplest guide will teach you how to make stylish becelate using some basic steps. This process creates a durable, wearable bracelet with a buckle that’s easy to snap on or off your wrist. Making it requires a bit of patience, but it’s a great DIY starter project for beginners interested in crafting functional DIY accessories.
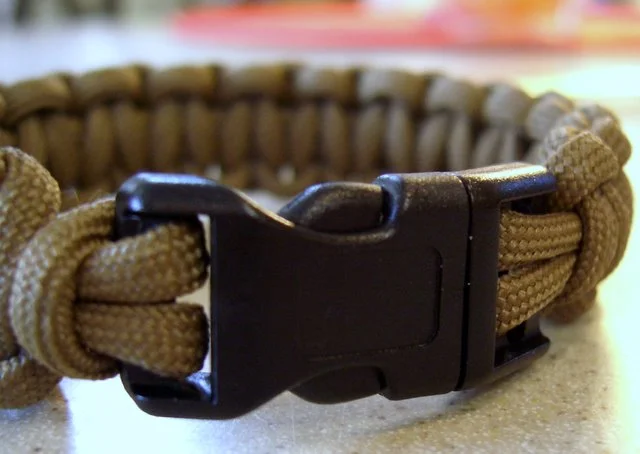
Paracord Bracelet With A Side Release Buckle
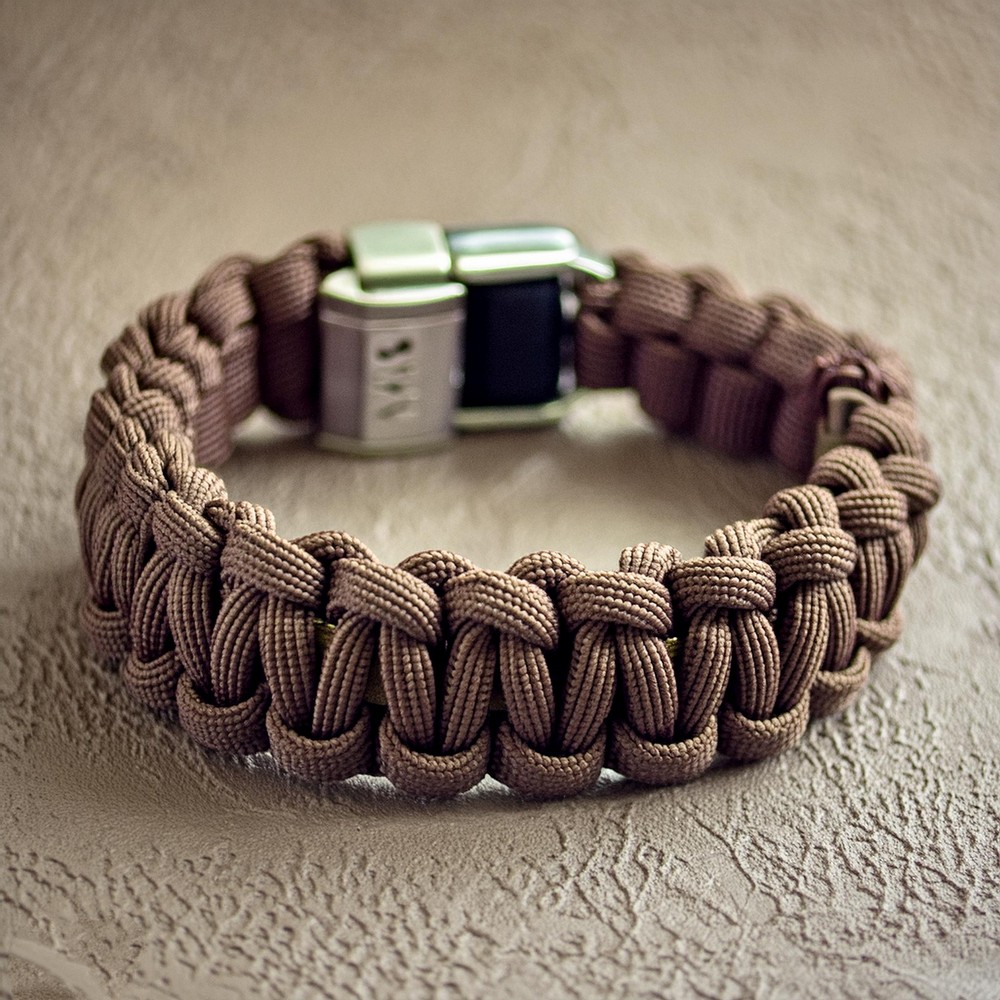
The beauty of a paracord bracelet is in its versatility and durability. When made a bit larger, this same design can also serve as a handy collar for your furry friends, like dogs or cats, providing them with a touch of style and a piece of survival gear rolled into one. Making a paracord bracelet with a side-release buckle is the simplest method to ensure you always have this useful tool on hand. It’s a straightforward process that requires few materials and even fewer steps, making it accessible to anyone interested in crafting their survival gear. So, whether you choose the earthy colour or go with the funky, this stylish DIY bracelet is sure to delight!
Materials:
- Paracord
- Tape measure or ruler
- Scissors
- Side release buckle
- Lighter
Step-by-step Procedure
Measure Your Wrist
Wrap the paracord around your wrist and make a note of where the cord meets. Use a ruler or tape measure to determine your wrist size.
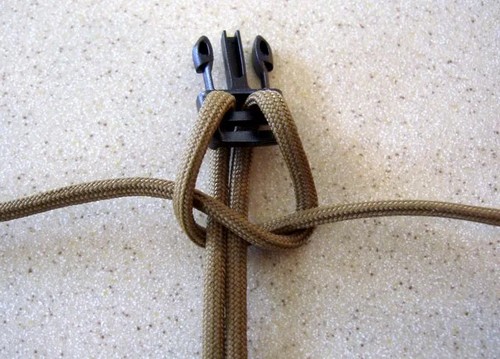
Find the Center of the Cord
Hold the ends of the cord together and find the centre of the loop. Pull the centre of the cord through one end of the buckle. Then, pull the cord ends through the loop until it’s attached tightly to the buckle.
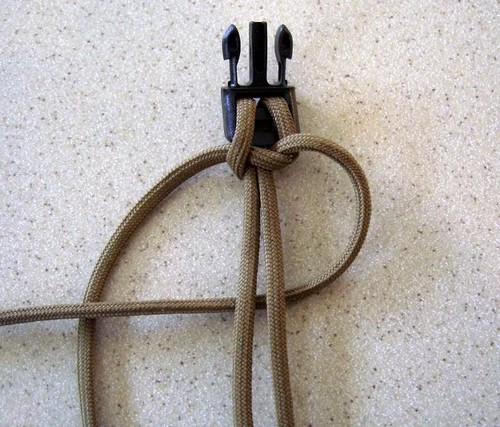
Finding the Bracelet Length
Take the buckle apart and pull the free ends of the cord through the other part of the buckle, sliding it towards the attached part. Measure the distance between the two buckle ends to determine the bracelet size for your wrist. Add about 1 inch to your measured wrist length for a comfortable fit.
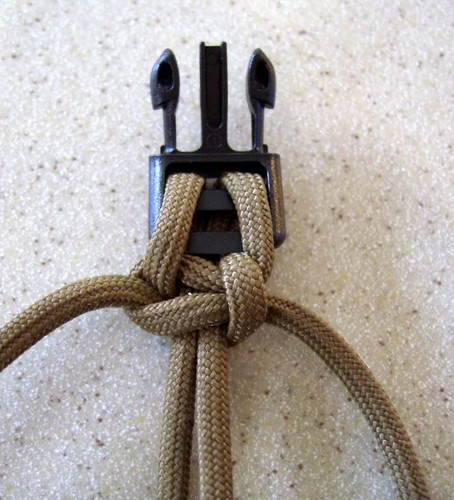
Start Making the Knots
The knot used for the bracelet has many different names, including cobra stitch, Solomon bar, and Portuguese sinnet. You rotate between the left and right sides as you make the knots, ensuring the knots don’t twist.
![]()
Continue Knotting
Keep tying the knots until you have filled the space between the buckle ends. The knots should look uniform from one end to the other.
Trim the Excess Cord and Melt the Ends
Trim off the extra cord close to the last knot that you tied. Use a lighter to melt each cut end to prevent fraying; be careful as the melted cord is extremely hot. You can press the melted end onto the surrounding cord so it hardens and attaches.
Finish Your Bracelet
If everything is done correctly, your bracelet should now be finished. Seize the opportunity to adjust the cord’s tightness and the proximity of the knots to utilize different amounts of cord.
Additionally, once you have a good handle on this, there are ways to adjust the design, such as adding another layer of stitches (e.g., king cobra stitch) or using glow-in-the-dark paracord, etc. These adjustments will depend on your personal tastes and requirements.
Leave a Reply