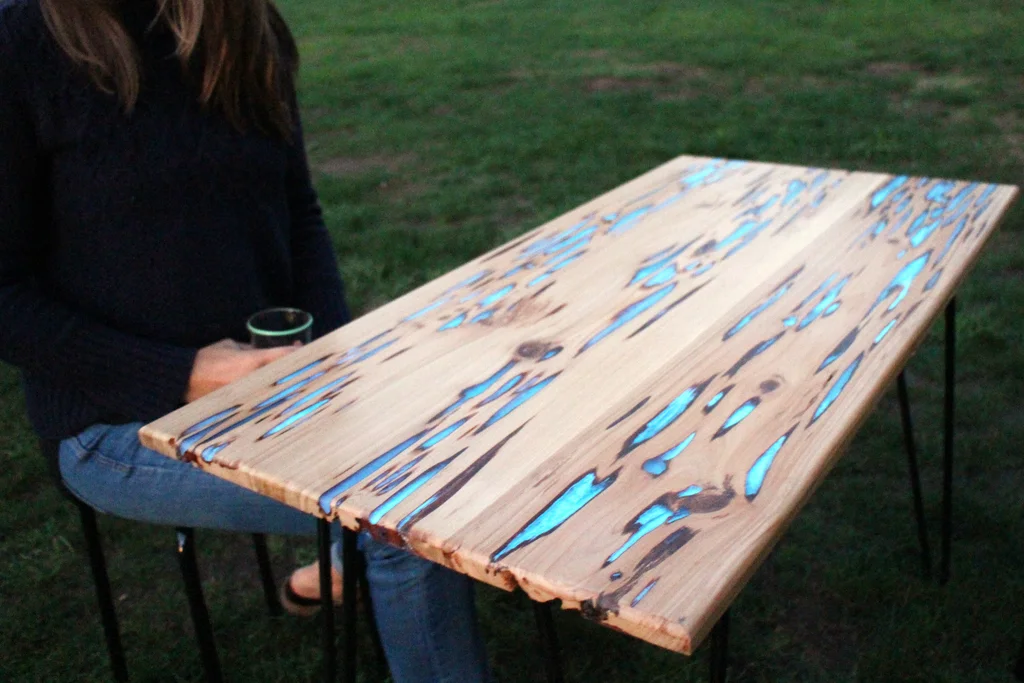
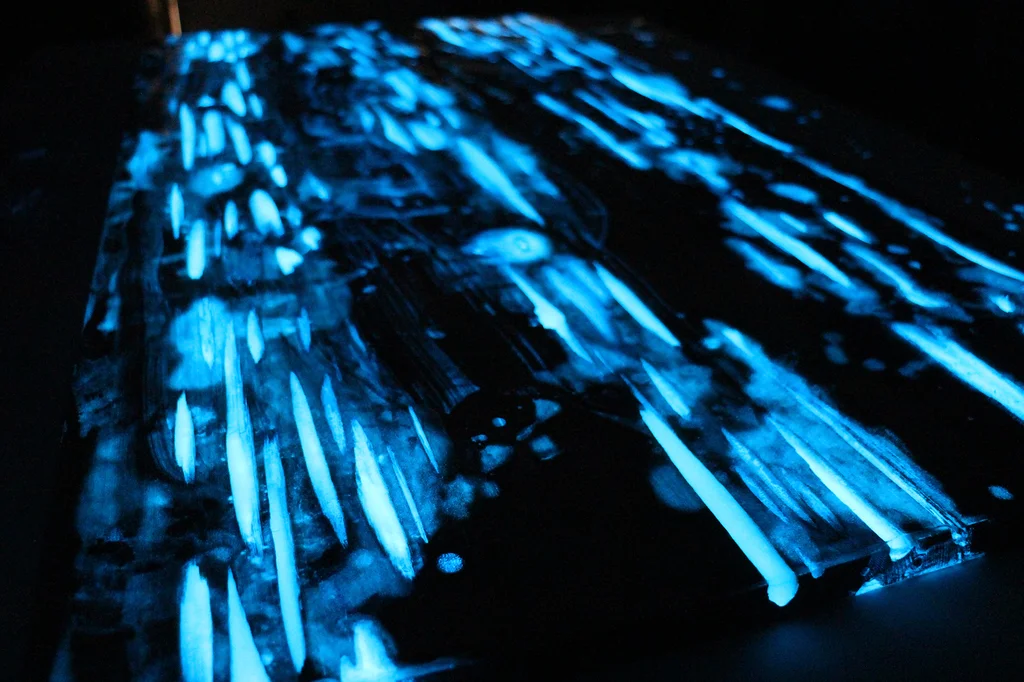
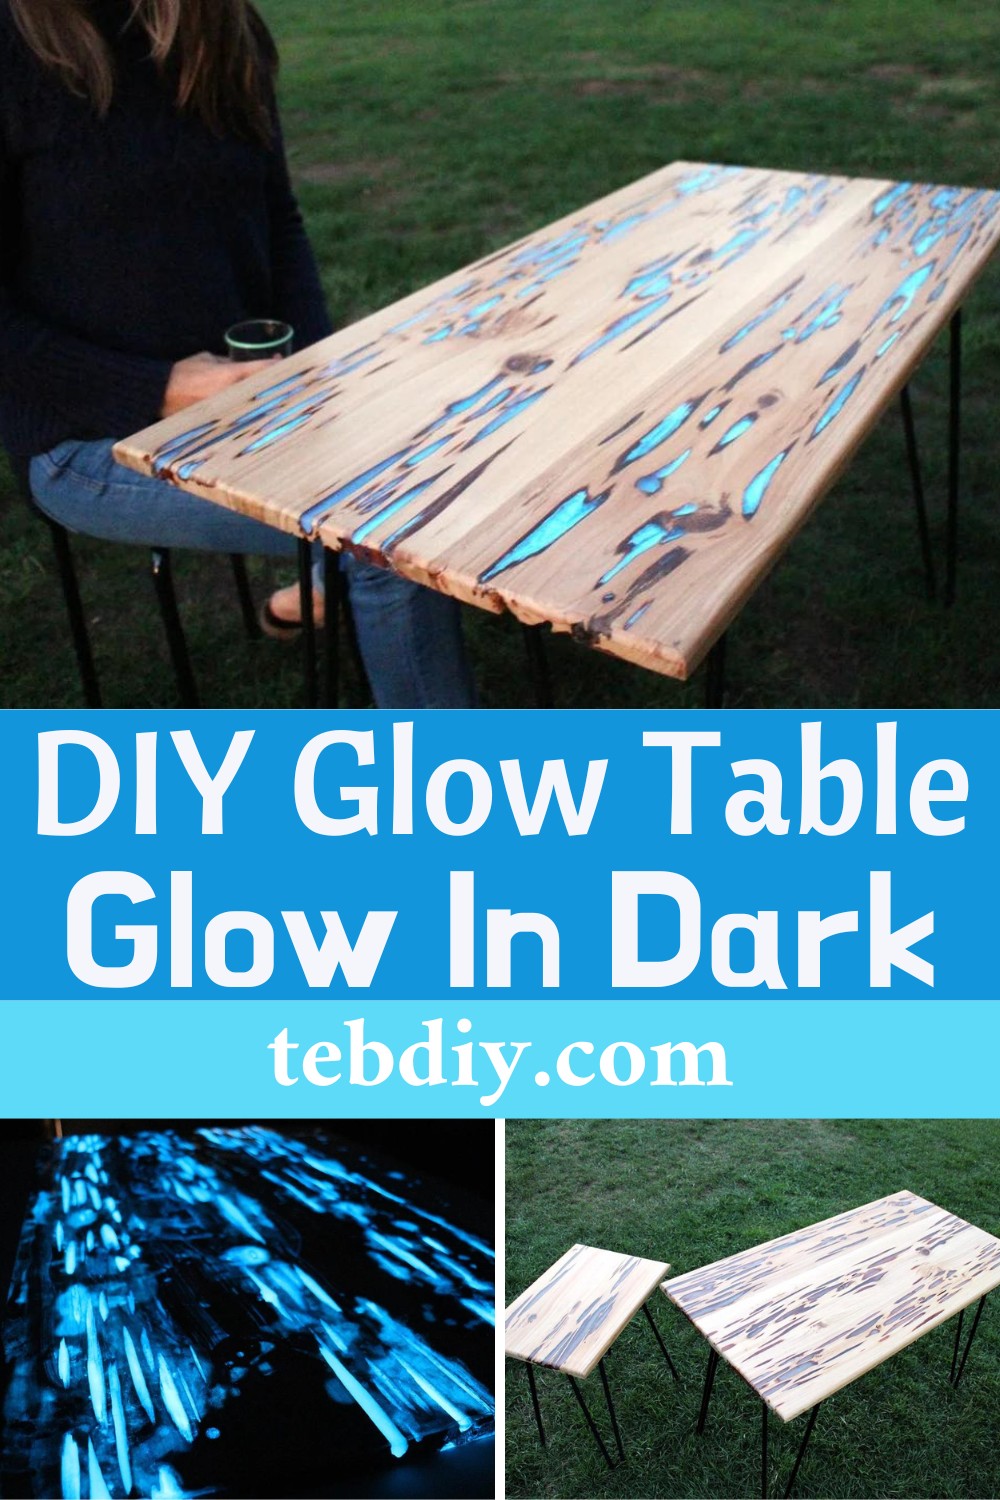
Make a table that bedazzles your room with a spectacular glow as the sun sets and breathes life into any setting, leaving your guests utterly mesmerized. This is not some high-end, overpriced piece of luxury furniture we’re talking about but a simple do-it-yourself project that is as fun to create as it is to showcase – the Glowing Table. This mind-blowing project utilizes the charm of Pecky Cypress hardwood and the magic of photoluminescent powder.
DIY Glowing Table Project

Materials Required
- Pecky Cypress wood
- Blue Glow-in-the-dark powder
- Clear-casting resin (preferably the 1:1 ratio type)
Tools Required
- Table saw
- Jointer
- Plate joiner (also known as biscuit joiner)
- Vacuum
- Compressed air canister
- Random orbital sander
- Safety equipment
- Resin stirring tools (like popsicle sticks)
- Clamps
- Acrylic scraps
- Sharp knife
Making the Glowing Table: Step By Step
1. Milling the Wood
Purchase Pecky Cypress wood and use a jointer to square the edges on both sides of the board. These clean edges will create a solid, smooth surface to bond the planks together later.
2. Cutting the Planks to Size
Mark each board based on the desired table length you require. Then, cut the boards down to match these measurements using a table saw.
3. Join the Planks
Join the planks using a plate joiner and a biscuit cutter. Additionally, ensure proper wood alignment by placing straight wood scraps on the boards’ top and bottom. Leave this to dry overnight.
4. Digging Out Fungus Rot
Clean the damaged pockets of the wood by gently removing the rotted cavities with small hand tools and a vacuum. Follow this with a blast of compressed air to eliminate leftover debris.
5. Sand the Board
Once the glue has dried, sand down the surface with an 80-grit sandpaper using a random orbital sander, especially focusing on the glued spots. Then, dust off the surface for the upcoming resin casting.
6. Prepare for Resin Casting
Tape off the entire underside and the ends of the table using acrylic strips to prevent any resin seepage.
7. Resin and Glow Powder Preparation
For a 41″x22″ table, use
- 64 oz of casting resin
- 3.5 oz of glow powder
Use separate paper cups to measure equal portions of the glow powder and catalyst. Mix them thoroughly.
8. Resin Casting

Now, thoroughly combine the resin and glow powder mixtures within 2 minutes, then slowly pour them into the wood cavities.
9. Allow the Resin To Cure
Post pouring, let the resin cure overnight.
10. Reveal the Glow
Remove the acrylic edges and masking tape, then expose your masterpiece to sunlight for a surreal experience.
11. Clean Up Edges
Use a knife to trim any raised edges for easy sanding.
12. Sanding
The table surface must be leveled and sanded multiple times until smooth. Progressively increase the sandpaper grit from 80 up to 400 grit for a more uniform finish.
13. Routing Edges
Create a router fence and round off the table edges for a clean finish.
14. Apply Polyurethane Finish
Apply a layer of polyurethane for a glossy finish and let it dry thoroughly.
15. Wet Sanding
After drying, wet sand the surface and repeat the polyurethane application. This should fetch you a high gloss finish.
Follow these steps meticulously and you can have your own glowing table that would genuinely light up your life, literally! Enjoy this immersive project and stun your guests with your craftsmanship.


Leave a Reply