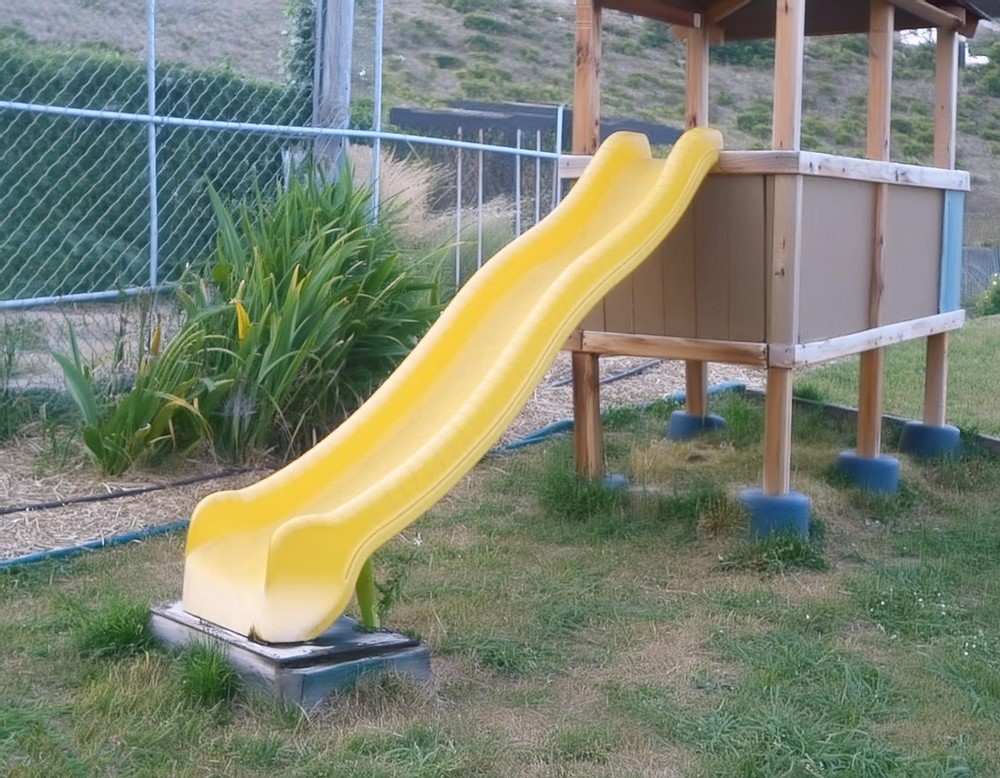
Enjoy backyard transformations, by following something undeniably captivating and crafting a personal haven that both sparks the imagination and serves as a retreat from the world’s hustle and bustle. You can make a DIY Treeless Tree House where the lines between a pirate ship, a fortress, and a hidden castle blur a space that evolves with the boundless creativity of its inhabitants.
DIY Treeless Tree House
This is not just any project; it’s an opportunity to create a legacy, a structure that stands as a testament to innovation and childhood joy. This guide will head you on a journey to construct a treeless tree house a fort that requires no ancient oaks or towering pines, but stands proudly in the smallest of backyards, inviting adventure at every turn.

Materials and Tools
Materials List:
- Six cement blocks (preferably with epoxied-in metal post brackets)
- Six 8-foot pressure-treated 4×4 posts
- Six 8-foot pressure-treated 2×6 boards
- One 4×8-foot 3/4″ board OSB (or exterior grade plywood)
- Approximately twenty 8-foot 2×4 boards
- Four 10-foot 2×4 boards
- Five 26″ x 8′ corrugated plastic roof panels
- One box (50 pcs) of roofing screws for corrugated panels (with built-in rubber washers)
- 5 lb. box of 3″ exterior grade screws
- 5 lb. box of 1 5/8″ exterior grade screws
- Two 50 lb. bags of general-purpose sand
- Gallon of waterproof sealer
- Gallon of deck restoring paint
- Reclaimed pine boards from old shipping crates for walls
- Miscellaneous scrap lumber as needed
Tools:
- Jig saw
- Level
- Drill with drill bits
- Rubber mallet
- Saw (for cutting lumber to size)
- Table saw (for ripping lumber, if needed)
- Band saw (for notching rafters, if available)
Making the Backyard Fort
Foundation Layout
- Foundation Preparation: Utilize the OSB floor board as a template to mark where you’ll dig for the post blocks. Cut out areas on the OSB where posts will go, guiding your excavation spots.
- Marking and Digging Holes: Place the floor board in your desired fort location, mark through the cutouts onto the ground, then extend your marks to guide block placement. Excavate each hole slightly larger than needed for adjustments.
- Setting the Blocks: Lay each block on a sand layer for leveling, using a long 2×4 and level for alignment.

Erecting the posts
- Securing Posts: Fasten each post to its corresponding block with 3″ screws, pre-drilling to prevent wood splitting.
- Plumb One Post: Anchor a corner post to ensure it’s perfectly vertical, using angled supports to stakes in the ground.
Floor Frame Construction
- Creating the Frame: Attach 2x6s around the posts’ exteriors with 3″ screws to shape the floor frame. Start at the anchored post, maintaining a uniform height.
- Adding Joists: Complete the floor’s support structure by installing the remaining 2×4 joists in line with provided measurements.

Floor Installation
- Placing the Floor Board: Fit the pre-cut OSB over the frame, securing it with 1 5/8″ screws through pre-drilled holes.
Wall Assembly
- Frame the Walls: Install a 2×4 frame around the posts, setting the top 36″ from the floor frame.
- Bracing for Stability: Add diagonal 2×4 braces between posts for structural integrity.
- Adding the Walls: Attach reclaimed pine slats or other boarding material around the frame, hiding screw ends with trim pieces.
Roofing
- Designing the Roof: Decide on a simple sloped roof, cutting posts for the desired angle if necessary.
- Installing Supports and Rafters: Secure 10-foot 2x4s across the posts for the main beams, adding another for extra support and aesthetic. Space 2×4 rafters evenly across these beams.
- Attaching Roof Panels: Lay corrugated plastic panels across the rafters, trimming as needed and fastening with roofing screws.

Final Touches
Weatherproofing: Apply a generous coat of waterproof sealer, followed by deck paint to protect and enhance the fort’s appearance. Once the fort is assembled and secure, backfill around the cement blocks and firm up the ground.
Conclusion
This backyard fort project, inspired by the iconic Calvin and Hobbes, proves that with a bit of creativity and the right materials, transforming your backyard into a fantastical adventure is not only possible—it’s a journey worth taking. By following these steps, you can create a durable, imaginative space that will be the envy of neighborhood explorers and the favorite hangout of your resident adventurers.


Leave a Reply