
Try this DIY Peacock Miraculous tutorial to craft a graceful peacock inspired accessory with clear instructions ideal for creative Miraculous lovers and makers.
If you’ve ever dreamed of wielding a powerful Miraculous, why not try your hand at crafting your own DIY Peacock Miraculous? Inspired by the elegant and mysterious object from Miraculous Ladybug, this project lets you bring the Peacock Miraculous to life as a one-of-a-kind creation. Known for its intricate design, the finished piece features bold peacock feather motifs, rich blue and green tones, and metallic accents that give it a magical, otherworldly feel. Carefully handcrafted, your Peacock Miraculous will look just like something straight out of the show.
DIY Peacock Miraculous Project Using Simple Materials
We would like to thank Cedric PF for the creativity and effort you put into your work. Your content caught our attention, and we appreciate the ideas you share with your audience. We believe every creator deserves recognition for their hard work, so we are pleased to acknowledge your channel and give credit where it belongs. Thank you for sharing your creativity and inspiring others.
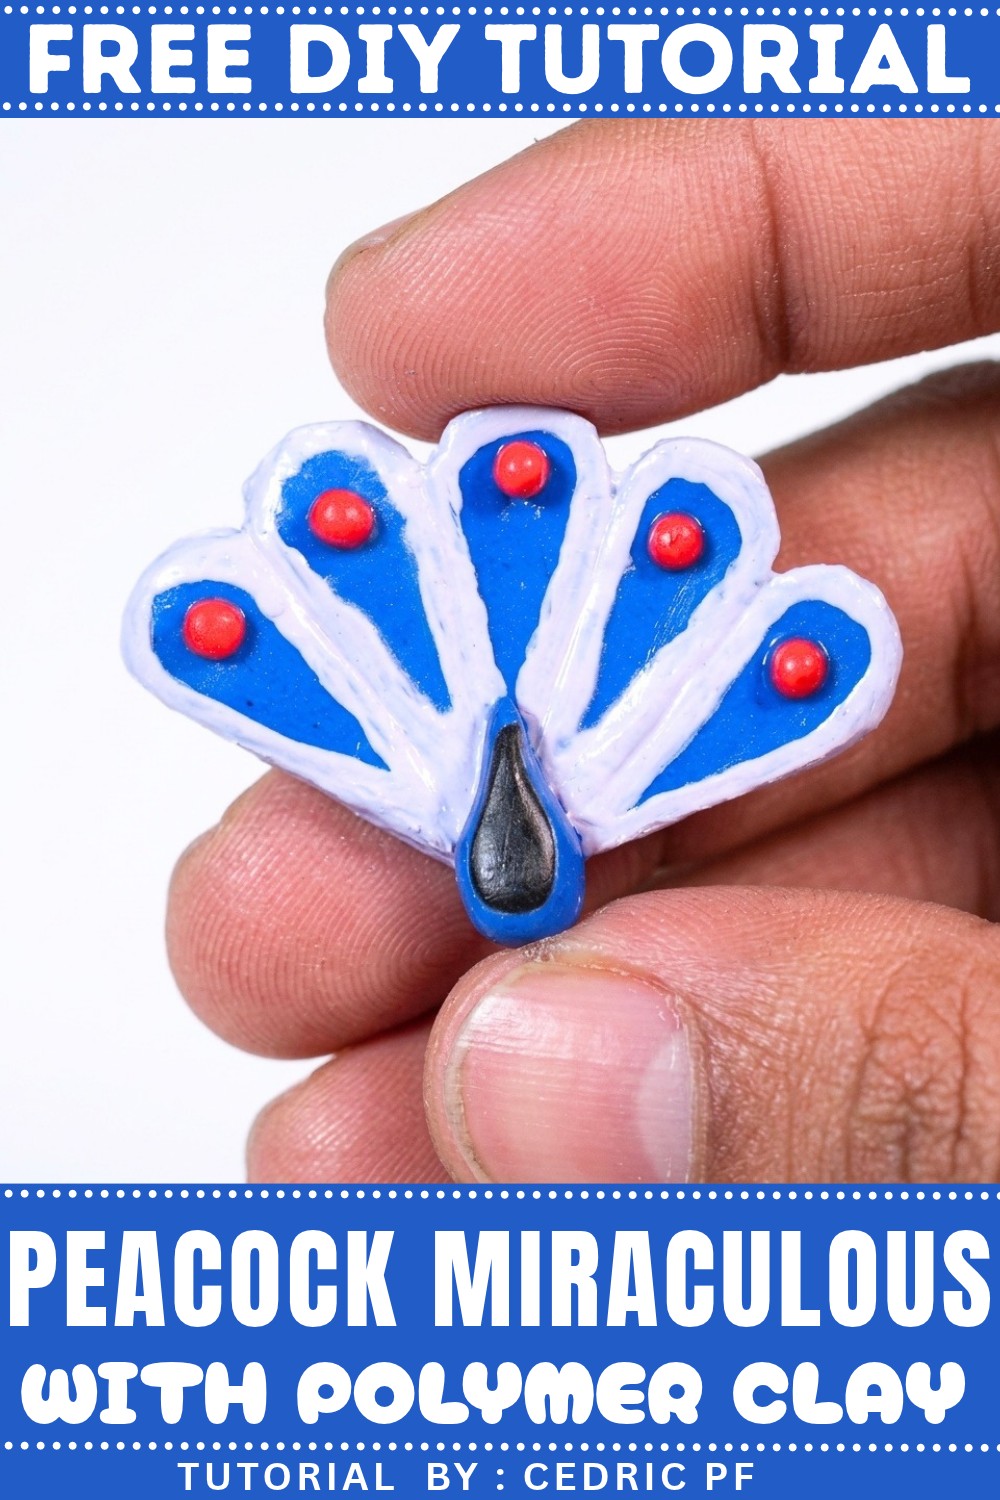
To craft this stunning accessory, you’ll need polymer clay in shades of blue, teal, and green, as well as sculpting tools to shape the feathers and add details. Metallic powders, paints, or a glossy sealant can create a shimmering finish that highlights intricate features and gives your piece a polished look. Glass cabochons or faux gems can be used as the centerpiece to mimic the Miraculous’s enchanting design.
This project is ideal for fans of the series, cosplayers, or anyone who wants to create unique décor inspired by their favorite magical item. Whether it’s used as part of a display, worn as jewelry, or shared as a thoughtful handmade gift, this DIY Peacock Miraculous is sure to stand out. Time to channel your inner hero and let your creativity soar.

Peacock Miraculous Tail (Fan) Polymer Clay Tutorial
Essential Materials & Tools
Materials
- Polymer clay:
- Pacific blue (main color)
- Black (feather detail)
- Red (center accent on feathers)
- 3D Bead Pen (white and light purple, or similar liquid clay paint/gel for accents)
- Varnish (for shine and protection)
Tools
- Pasta machine (or acrylic roller, for flattening clay)
- Scalpel/Craft knife
- Small and medium ball/dotting tools
- Medium silicone brush
- Baking tray and oven (for baking clay)
Step-by-Step Instructions
1. Making the Feather Pattern
- Create a Template/Pattern:
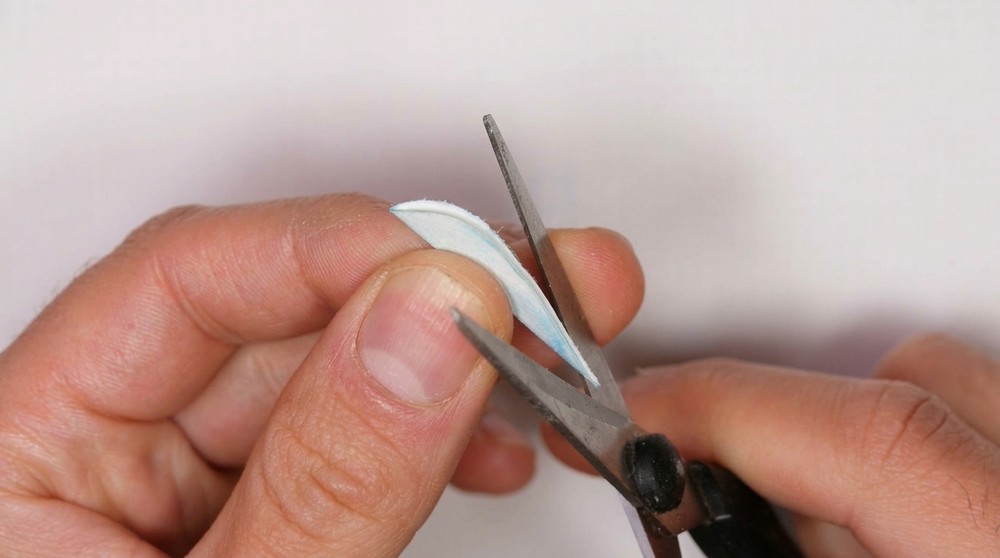
Draw a droplet (teardrop) shape on paper, about 2-3 cm long (or desired size for the tail feathers). Cut it out if you want to trace around it. - Make a Smaller Pattern:
Make a second, smaller droplet pattern for the black feather accent layer. This should be a little smaller so you can layer them easily.
2. Creating the Blue Fan Feathers
- Flatten the Pacific Blue Clay:
- Condition your Pacific blue polymer clay until soft and even.
- Roll it flat with a pasta machine (setting 4) or with an acrylic roller to a few millimeters thick.
- Cut the Blue Droplets:
- Use your template/pattern and carefully cut out 5 large blue droplets from the flattened clay.
- Remove excess clay as you go, and repeat until you have 5 matching blue droplets.
- Shape and Straighten Edges:
- If necessary, straighten the edges of the blue droplets with your scalpel or knife so that all feathers are neat and the same size.
- Arrange the Droplets:
- Fan them out gently next to each other (like spreading a hand of cards) to form the classic fan shape of the Peacock Miraculous tail.
- Make sure all are evenly spaced, and adjust with your knife if needed.

3. Building up the Feather Details
- Add Blue Ball for Anchor:
- Roll a small ball of Pacific blue clay, just big enough to serve as the “base” or anchor of the fan.
- Slightly flatten and attach it to the bottom middle of your fan, connecting all 5 feathers.
- Cut and Add Black Droplets:
- Flatten black clay and cut out 5 smaller droplets, using your smaller template.
- Place one black droplet in the middle of each blue feather.
- Use your silicone brush to gently press and smooth the edges so they fit the shape of the blue droplets.
- Make sure the black layer sits neatly atop the blue, following its curve but leaving a blue border visible.

4. Accenting with Red Details
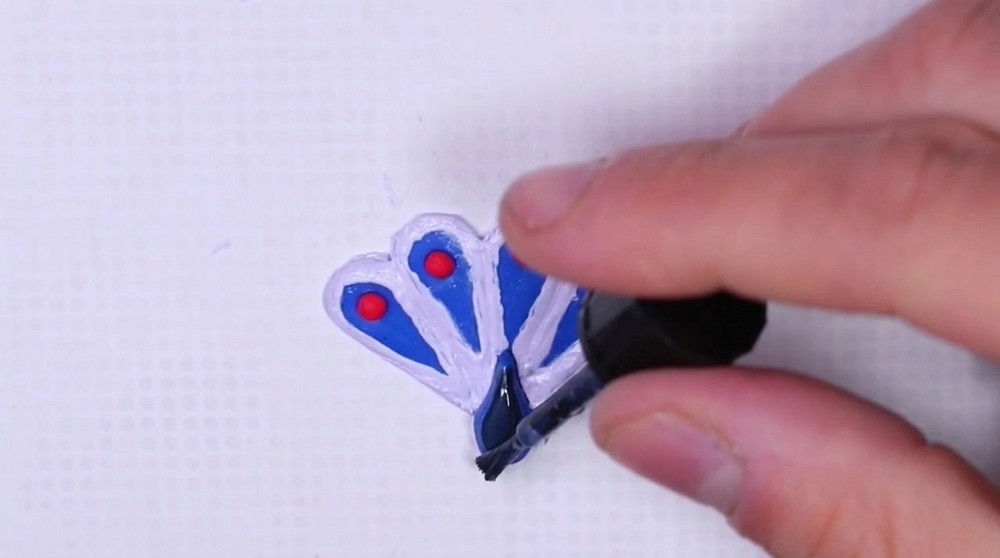
- Mark the Tops:
- With a medium ball/dotting tool, make a small impression at the top of each black droplet (center-top).
- Make Red Balls for Centers:
- Roll 5 tiny red balls (one for each feather).
- Place each ball in the impression you made, pressing it down gently so it adheres.
- These create the vivid red “eye” mark of the peacock feather.
5. Bake the Fan
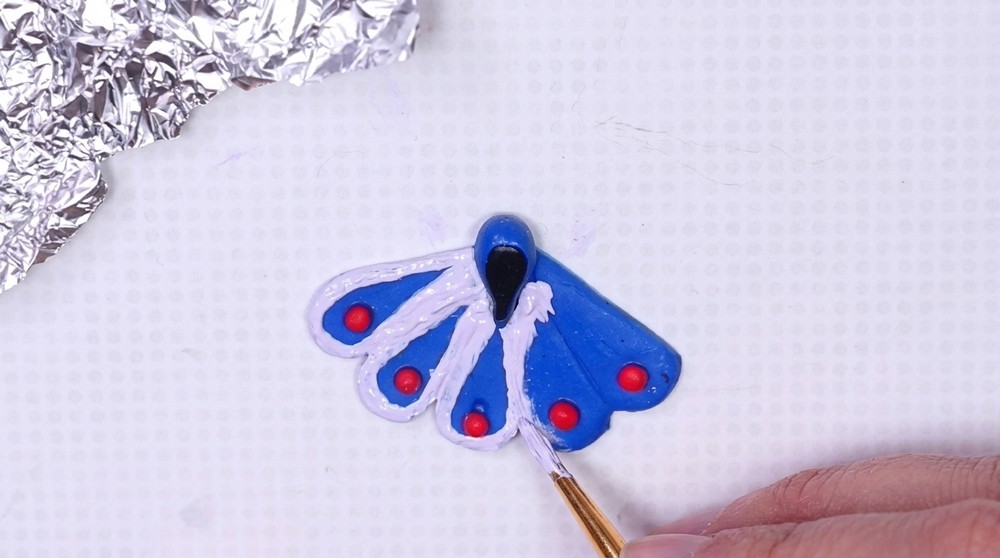
- Place your clay fan on a baking tray.
- Bake at 110°C (230°F) for 30 minutes (or according to your clay’s package instructions).
- Allow your piece to cool completely after baking.
6. Adding 3D Accent Paint (Optional)
- Mix Your 3D Bead Pen Colors:
- Mix white and light purple 3D bead pen paints (or use liquid clay/gel) to get a delicate pastel purple shade.
- Apply to Feathers:
- Use the paint or gel to “draw” inside each droplet, following the shape of the feather.
- You are aiming for a soft, light purple highlight inside the black section of each feather to mimic the iridescent feather effect.
- Let Dry & Add Second Coat:
- Allow the paint/gel to dry fully.
- If needed, apply a second coat for more intensity and coverage.
- Color the Back (Optional):
- If desired, paint the back of your fan purple to match the front accents.

7. Varnishing
- Once all paint is completely dry, brush or carefully dab on a thin layer of varnish to seal your fan and make it shine.
8. Finishing Touches
- Inspect your piece for any excess gel, rough edges, or imperfections.
- Carefully trim or clean as needed.
Notes & Tips
- Templates: Making cardboard or paper templates for your droplets ensures all your feathers are uniform and look professional.
- Layering: Flattening only the black accent layer helps it blend neatly onto the blue feather, creating a more realistic look.
- Fan Arrangement: When arranging the feathers, work on a flat surface and adjust spacing before pressing together.
- Personalize: You can use glitter, metallic accents, or other colors for creative variations!
- Dry Completely: Never varnish until absolutely dry—varnish over damp paint or clay can cause sticky results.
Summary
You have now made the fan-shaped Peacock Miraculous Tail, just like in Miraculous Ladybug! This creation is beautiful and iconic, and can be a great display piece, cosplay accessory, or gift for a fan. The steps are simple: cut uniform droplets, layer with black and red details, bake, and accent with purple and shine!
Leave a Reply