
Protect your table with this free crochet spoon coaster pattern, keeping surfaces clean and adding a simple, cute, and useful touch to your kitchen.
Before trying this project, I often found myself wondering where to put my spoon while enjoying a warm cup of tea or coffee. Spoons would rest awkwardly on saucers or tables, sometimes leaving tiny drips or making a mess. I wanted a simple, neat solution that would keep things tidy and add a touch of handmade charm to my kitchen. That’s when I came across the Free crochet Spoon Coaster Pattern, a delightful idea I discovered through a helpful tutorial by DIY Maycraft.
Quick Crochet Spoon Coaster Pattern – Free Pattern and Gift Idea
This project is a small, circular coaster designed specifically to hold your spoon, preventing spills and keeping surfaces clean. Using the video as a guide, I found the steps easy to follow, making it suitable even for beginners. The finished coaster has a cozy texture made from soft yarn, providing both sturdiness and a gentle feel. Its round shape is classic and practical, fitting perfectly under a spoon or small cup.
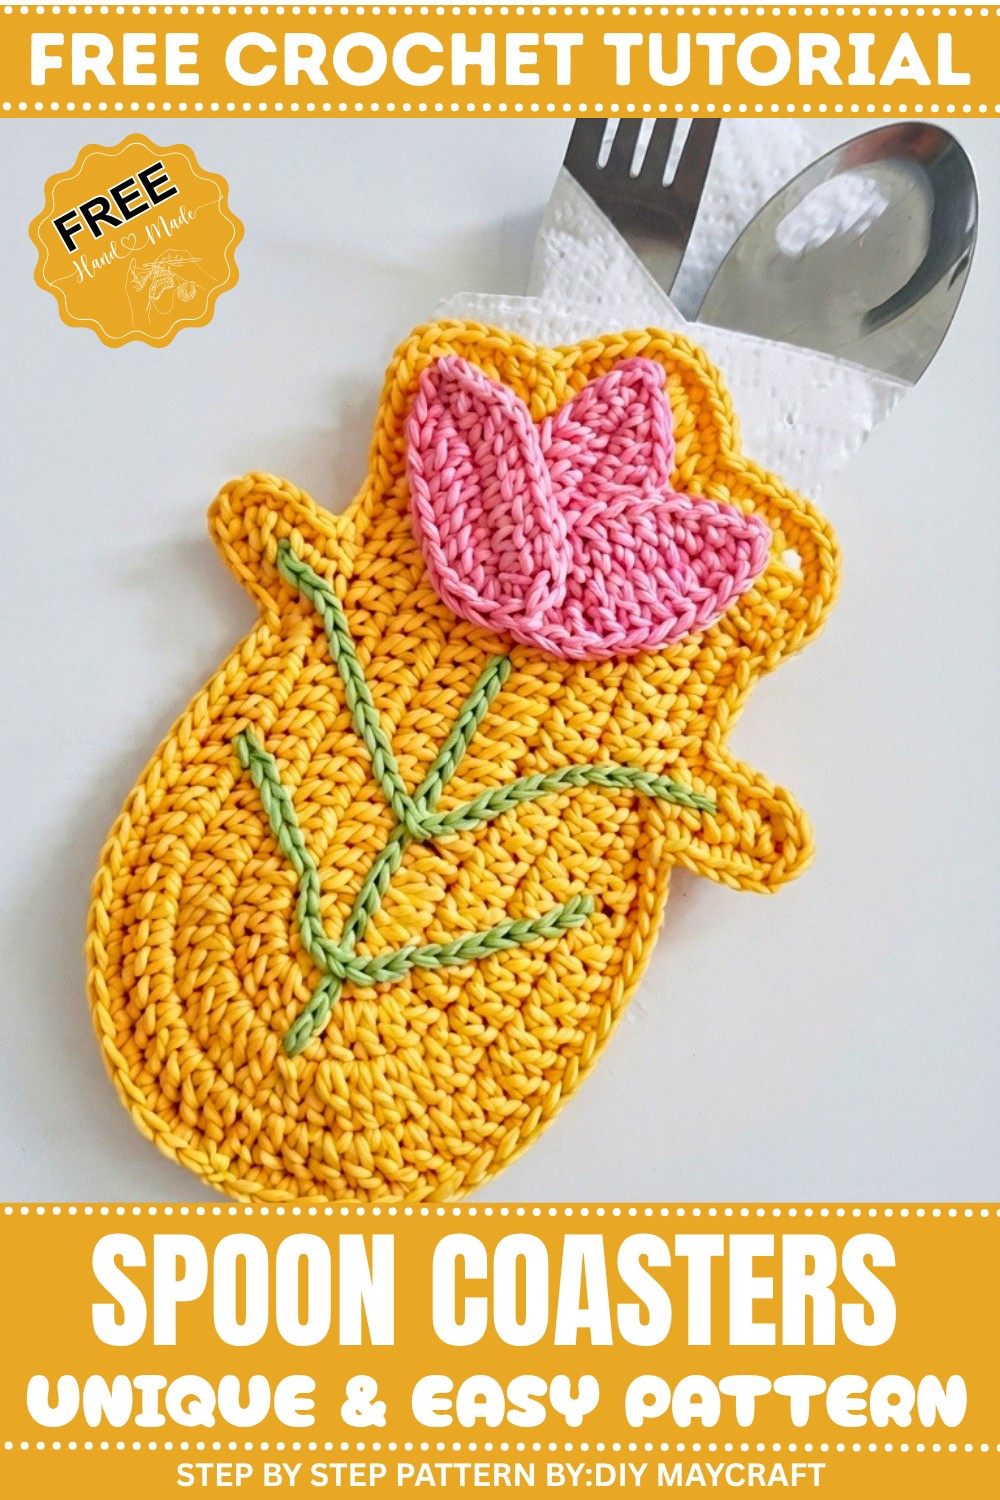
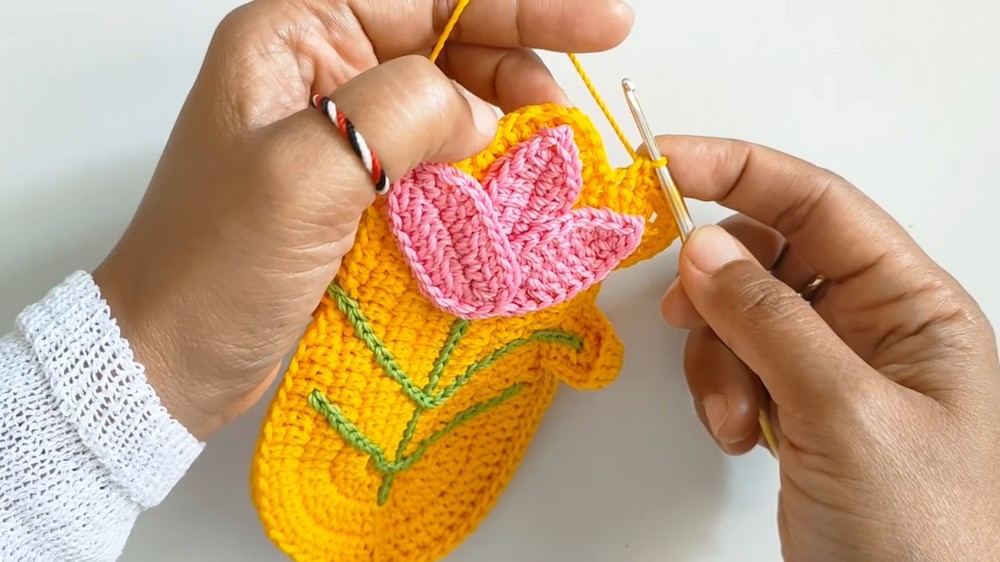
One of the standout design features is the charming flower motif in the center, with delicate petals that add a pretty, three-dimensional effect. This little detail gives the coaster personality and lifts its decorative appeal beyond just being functional. Because of its compact size and quick completion time, this crochet spoon coaster also makes a thoughtful handmade gift. It’s ideal for loved ones who appreciate simple, useful accessories that brighten up their kitchen.

Overall, this crochet spoon coaster combines practicality with decorative beauty. It keeps your table surfaces clean, provides a dedicated spot for your spoon, and adds a warm, colorful accent to your daily routine. Thanks to clear instructions from the DIY Maycraft channel, I enjoyed making this project and now appreciate having a small bit of crochet charm right at my side whenever I enjoy a hot drink.
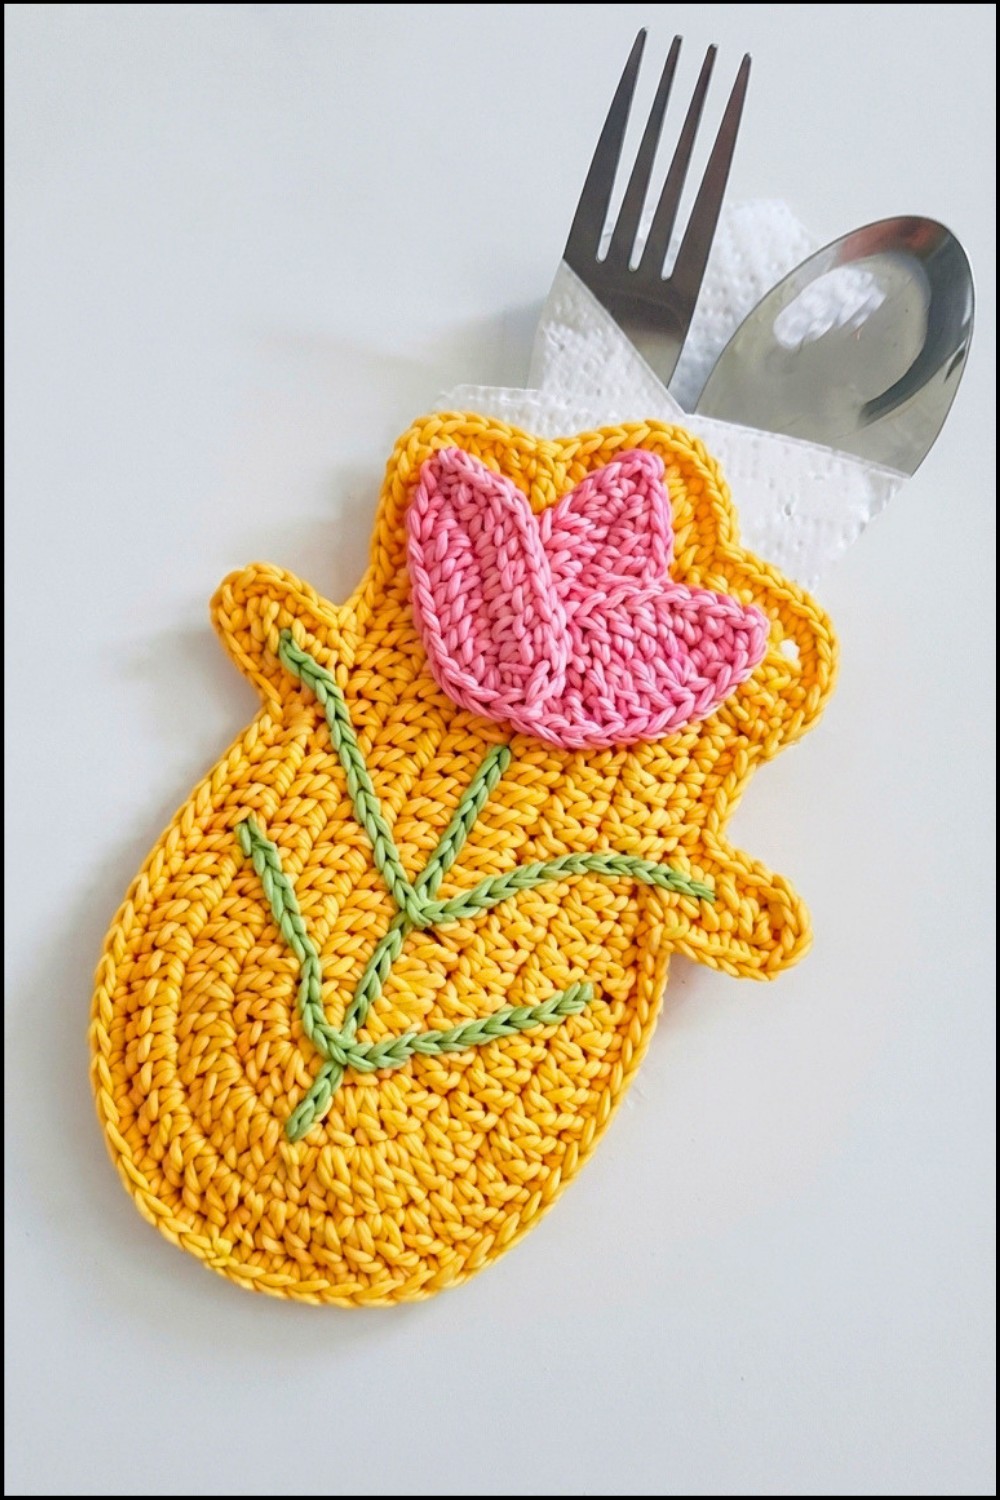
Crochet Spoon Coaster Pattern
This pattern guides you through making a charming spoon coaster using Poly Cherry yarn and a 4/0 crochet hook. The design is practical with a touch of cuteness, featuring a sturdy oval base accented with dimensional flowers and decorative stems. The project offers clear, stage-wise instructions to help you craft both the main coaster body and decorative details, resulting in a functional and lovely addition to your kitchen or dining area.
Pattern Highlights
- Elongated Oval Base: Crafted in rounds, shaped perfectly to hold a spoon.
- Clustered Edging: Incorporates half double crochet (hdc), single crochet (sc), and cluster stitches for both stability and beauty.
- Dimensional Flower Embellishments: Easy flower motifs with flowing petals for a playful touch.
- Decorative Stems: Green slip-stitched lines for a lifelike flourish.
- Sturdy Construction: Joined with single crochet (sc) all around; detailed edge finish with front loop stitches.
- Double Layer: Coaster is made of two joined identical pieces for extra thickness and durability.
Notes
- US crochet terms are used throughout the instructions.
- Maintain an even tension for tidy, consistent results, especially in the base for a firm structure.
- The coaster is worked flat until final joining; flowers and stem lines are made separately and attached.
- When joining, pay attention to stitch counts for smooth, even edges.
- Embellishments (flowers and stems) can be sewn or glued for security.
- Optionally, lightly block the coaster after making for a crisp finish.
Skill Level
Confident Beginner to Intermediate
- Techniques: Working in rows and rounds, slip stitch joins, cluster stitches, increasing, working in front loops, and basic sewing.
Materials
- Poly Cherry yarn (main color for base, contrast colors for flowers and green for the stems)
- 4/0 crochet hook (approx. 2.5 mm)
- Yarn needle or tapestry needle (for sewing pieces together and weaving ends)
- Scissors
- Optional: Fabric glue
Measurements / Sizing
- Finished spoon coaster: approx. 6–7″ (15–18 cm) long, 3–3.5″ (8–9 cm) wide
- Flower size: approx. 1.5″ (4 cm) across, each
Gauge
Gauge is not critical. The base should be dense enough to offer support and not let a spoon tip through. Sample gauge: 20 dc = 4″ (10 cm); adjust hook size as needed.
Stitch Abbreviations
| Abbreviation | Stitch |
|---|---|
| ch | Chain |
| st(s) | Stitch(es) |
| sc | Single Crochet |
| hdc | Half Double Crochet |
| dc | Double Crochet |
| sl st | Slip Stitch |
| inc | Increase (2 in same st) |
Special Stitches
- Cluster (for corner/petal): Multiple dc or other stitches worked into the same space to form a rounded motif (such as (4 dc, ch 1, 4 dc) in one stitch/space).
- Front Loop Only (FLO): Insert hook only under the front loop of the stitch for a raised edge.
- dc inc: Work 2 double crochets in the same stitch.
Step-by-Step Instructions
Main Body Pattern (Make 2)
Foundation:
- Make a slip knot and ch 20.
Row 1:
2. Skip 3 chains (counts as first dc).
- In the next ch, 2 dc in the same hole.
- 15 dc in the following 15 chains—work one dc in each.
- In the final chain, 5 dc (to turn the work and continue along the opposite side).
- 15 dc along the opposite (unused) side of foundation chain.
- Work 2 dc into the starting hole (base of original chains).
- Join with a sl st to the top of the starting 3-chain.

Row 2:
9. Ch 3 (counts as first dc).
- In the next 2 sts, work dc inc (2 dc in each).
- 15 dc.
- Work 5 dc increases (2 dc in each of the next 5 sts) around the tip/curve.
- 15 dc.
- Into the last 2 sts: dc inc in each. Add 1 dc in the starting st.
- Join with a sl st.
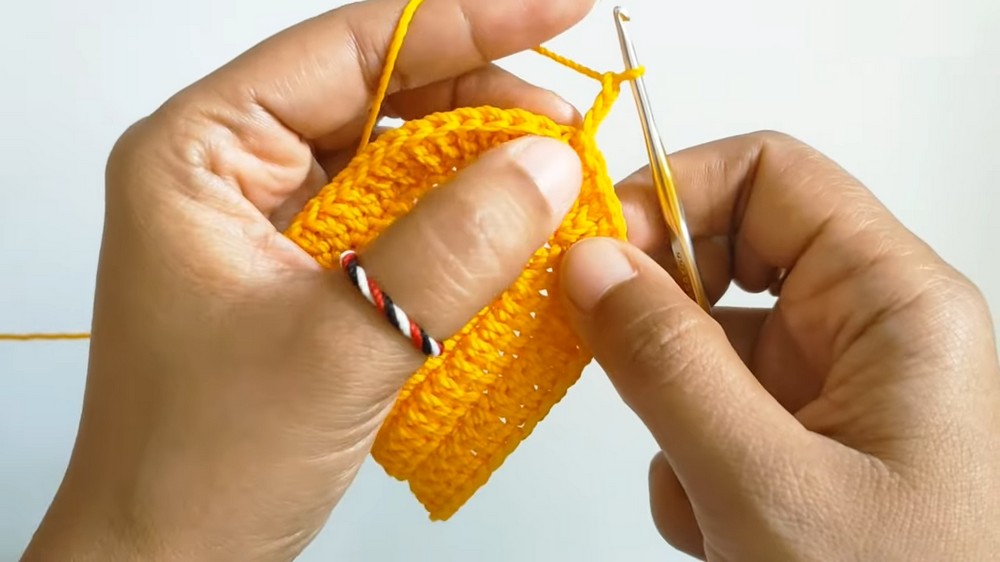
Row 3:
16. Ch 3, 1 dc in same hole.
- 4 dc increases in the next 4 sts (2 dc in each).
- 15 dc.
- 10 dc increases (2 dc in each st).
- 15 dc.
- 5 dc increases (2 dc in each st).
- Join with a sl st.
Row 4:
23. Ch 3.
- 17 dc.
- 1 hdc and 1 sc.
- Sl st into next st.
- Ch 6.
- In the 3rd chain from the hook: 1 sc.
- Next ch: 1 hdc.
- In next 3 chains: 3 dc (one per chain).
- Skip one st on the base, sl st.
- 4 sc.
- Skip 2 sts, in the next st: (4 dc, ch 1, 4 dc).
- Skip 2 sts, 1 sc.
- Skip 2 sts, repeat the cluster: (4 dc, ch 1, 4 dc) in the next st.
- Repeat as required to work along the tip (second end of oval).
- Join with a sl st.
- Fasten off.

- Repeat all above steps to make an identical second piece for backing.
Flower Decoration (Make 3)
Petals:
- Make a slip knot and ch 10.
- In this order:
- sl st in first chain,
- 1 sc in next,
- 1 hdc in next,
- 6 dc (one into each ch),
- 5 dc in the final hole (for a round petal tip).
- Work back down:
- 6 dc (into the previous 6 chains, working along the other side),
- 1 hdc,
- 1 sc,
- sl st at the base.
- Fasten off and leave a long tail for sewing (or gluing).
- Make a total of 3 petals.
Assembly and Finishing
Attachment:
- Using your tapestry needle or fabric glue, firmly attach the flower decorations onto one main body piece at desired locations.
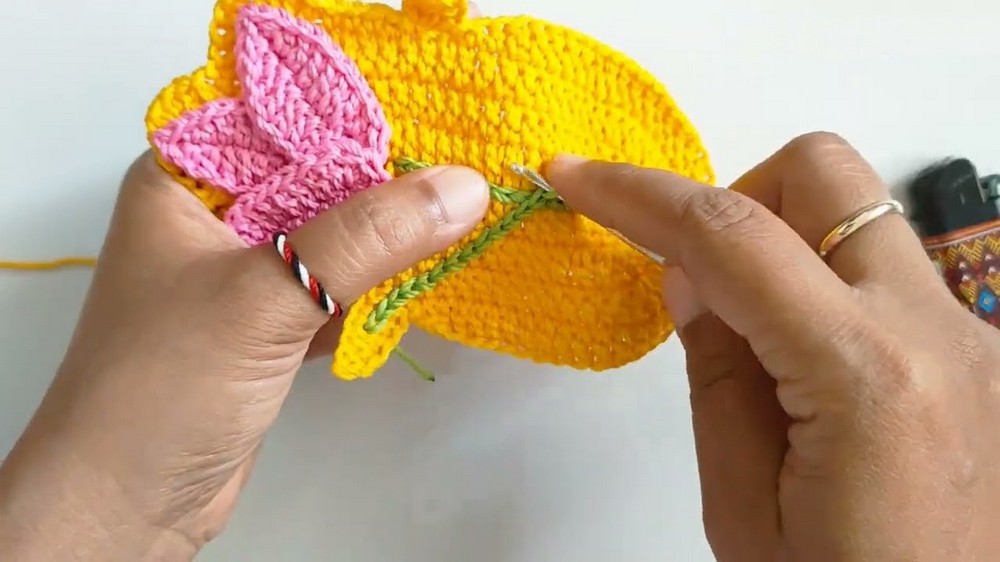
Stems:
2. Join green yarn at flower base.
- Work slip stitches along chosen path to create the effect of flower stems or leaves.
Joining:
4. Hold both main pieces together, wrong sides facing in.
- Begin joining with sc stitches evenly around the outer edge, paying attention to the following pattern at the stem/curved tip:
- 4 sc,
- 3 sc at the tip,
- 4 sc.
Final Edging:
6. For the last finishing round: Crochet only into the front loop of each single crochet with the repeat—
– 4 sc,
– 3 sc in the gap (corners or tips),
– 4 sc,
and so on, all the way around. This adds a delicate rim and completes the coaster’s structure.
7. Join and fasten off securely. Weave in all ends neatly.
Assembly & Finished Size
- Your completed spoon coaster measures approximately 6–7 inches (15–18 cm) long and 3–3.5 inches (8–9 cm) wide.
- Flowers are raised and securely attached, with green stems flowing naturally down the base.
- The sturdy, double-layered construction ensures the coaster is long-lasting and suitable for regular use.

Conclusion
Congratulations on creating your own handmade spoon coaster! With its dense, shaped oval base, artful flowers and stems, and beautifully worked edge, this coaster is as durable and practical as it is visually delightful. Whether used for decor, gifting, or everyday kitchen protection, your finished piece reflects the care and skill put into each step. Thank you for following this pattern.
Leave a Reply