
Decorate your space beautifully with this free crochet tissue cover pattern that turns everyday items into eye-catching details with ease.
Free Crochet 3D Butterfly Keychain Pattern
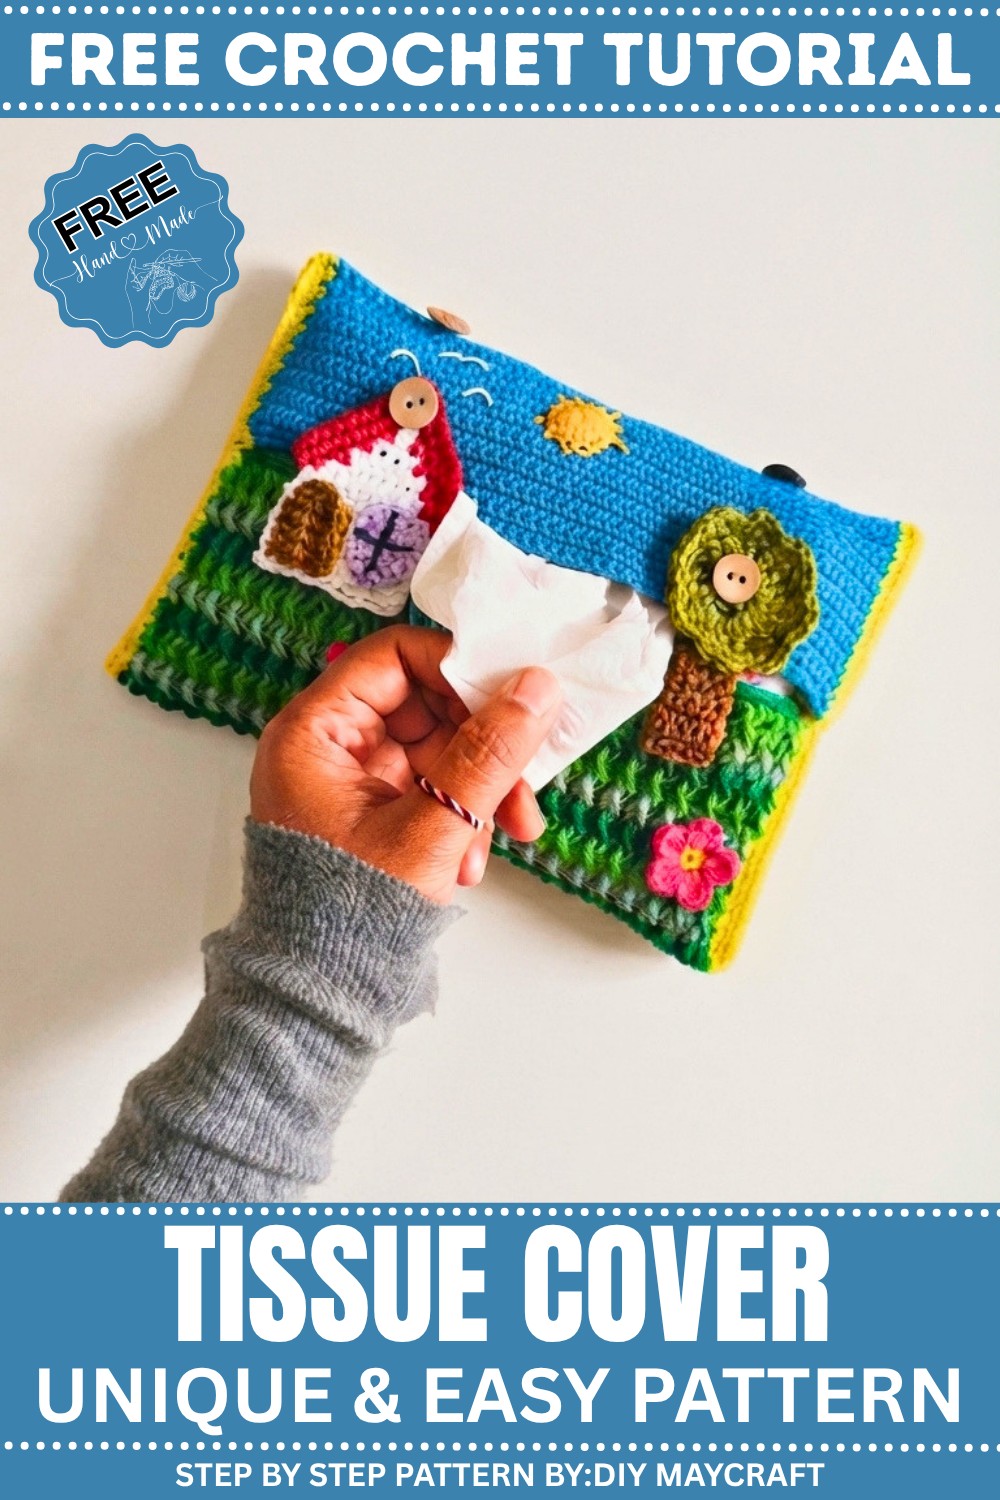
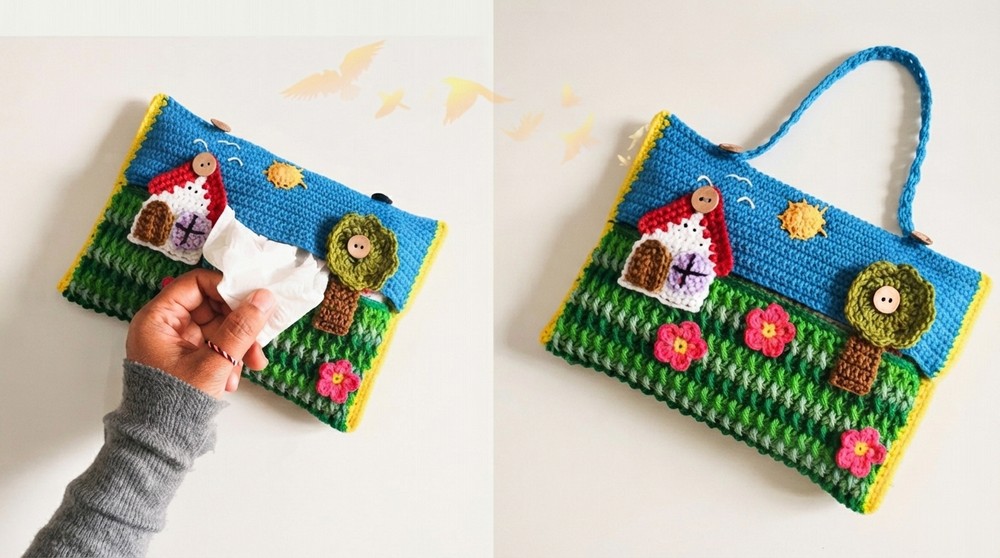
Making this charming cover offers a calm, fun way to spend your afternoon. You end up with a handy everyday item that brings a smile whenever you reach for a tissue.
House-Themed Tissue Cover Crochet Pattern (Beginner-Friendly)
This charming house-themed tissue cover is made with simple stitches, easy color changes, and basic shaping to create a functional and decorative accessory for your tissue box. The pattern uses mostly single crochet (sc) stitches, with added texture using double crochet (dc) and front post double crochet (fpdc) stitches. You will also make small appliques—like a house, trees, flowers, etc.—to decorate and personalize your cover.
Materials
- Polycherry yarn (or similar medium-weight yarn)
- Crochet hook size 4/0 (2.5 mm) Tulip hook
- Tapestry needle for sewing pieces together
- Buttons (2 or more) for the closure
- Scissors
Abbreviations and Stitch Guide
- ch = chain
- sc = single crochet
- dc = double crochet
- fpdc = front post double crochet (work around post of stitch from previous row)
- sl st = slip stitch
Tip: To work fpdc, yarn over, insert hook from front to back around the post of the stitch below (don’t go through top loops), yarn over and pull through, yarn over and complete the double crochet as usual.
Step-by-Step Pattern Instructions
1. Base Foundation
- Start: Make a slip knot on your hook.
- Chain: Ch 40. (This forms the base width of your tissue cover.)
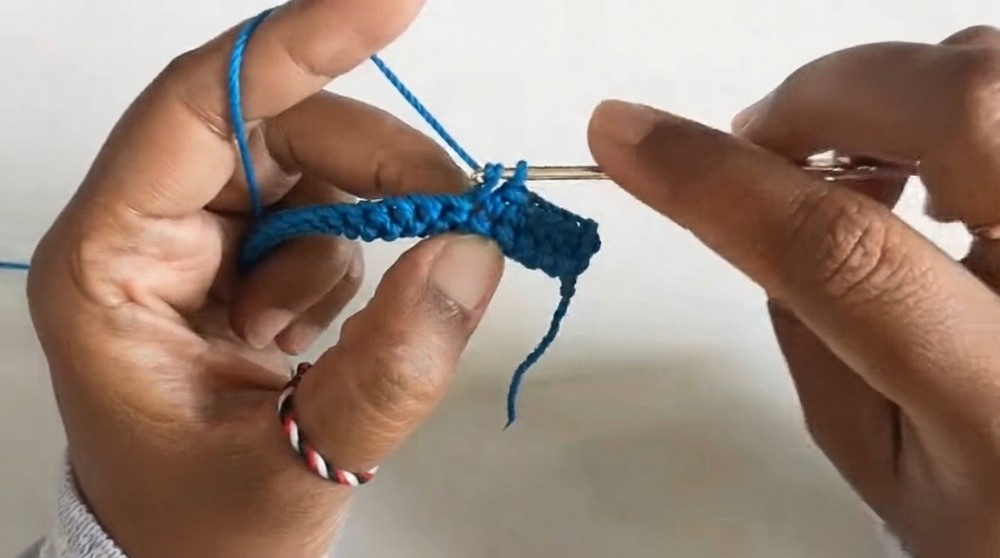
- Row 1: Work 39 single crochet (sc) stitches starting in the 2nd chain from the hook.
- Rows 2 to 37: Turn your work, ch 1 (counts as lift), and work 39 sc stitches across each row.
- After completing 37 rows, you will have a rectangular panel about the size of a tissue box side.
2. Main Body with Texture and Color Changes
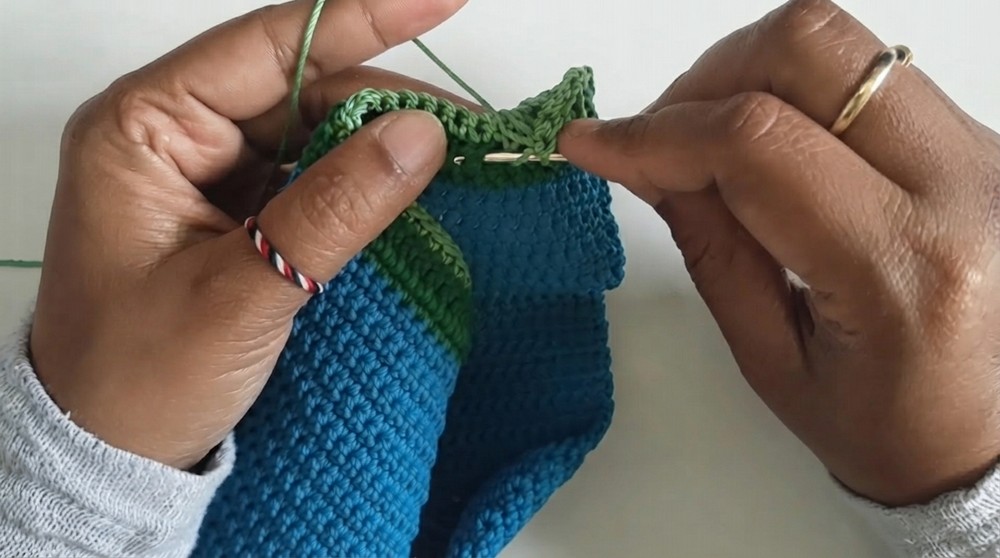
You will now add texture that looks like a house surface and create color bands by changing your yarn color every two rows.
- Color changes: Switch yarn color every 2 rows for stripes.
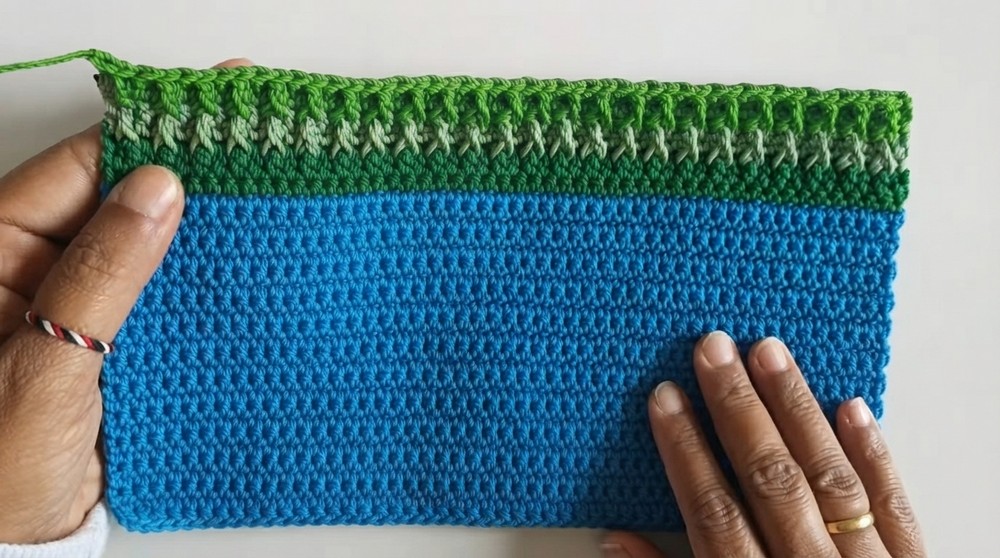
Rows 1-2 (of textured section)
- Work single crochet (sc) rows for a smooth start.
Rows 3-36
Alternate between these stitch patterns:
- Odd rows:
- Work the entire row in sc stitches (39 sc).
- Even rows:
- Create texture using a combination of double crochet (dc) and front post double crochet (fpdc) stitches.
- For example, alternate dc and fpdc stitches evenly across the row.
- This makes raised lines that add interest to your house design.
Row 37
- Work a final single crochet row (39 sc) to complete the body.
3. Border and Assembly
Border Edging
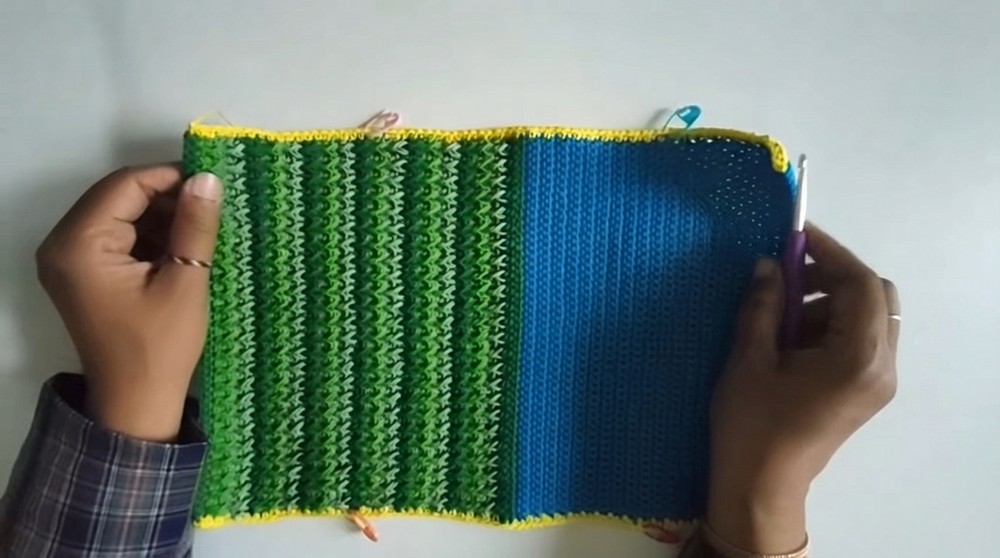
- Work single crochet (sc) stitches evenly along all edges for a neat finish.
- Along the straight sides: 37 sc each.
- Along the longer edges: 74 sc total (you may split this between edges, e.g., 37 sc per edge).
Folding and Joining
- Fold your rectangular piece lengthwise to form a box shape.
- Seam the two short edges using single crochet (sc) stitches:
- Join both sides with 36 sc stitches each to make the tissue box sides.
4. Decorative Elements
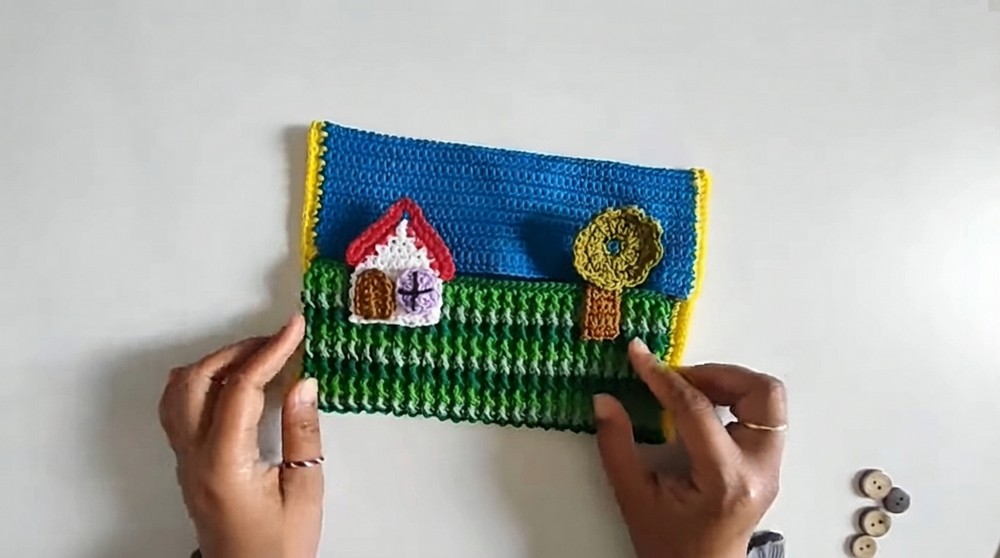
Create small, separate appliques to decorate the tissue cover:
- House shape: Simple shape made with basic stitches and shaping.
- Trees, flowers, birds, sun: Use circles, chains, or leaf-like shapes.
- Crochet these motifs separately using your preferred colors.
Attaching Appliques
- Use a tapestry needle and matching yarn.
- Sew appliques evenly, positioning them artistically on the front or sides of your cover.
Button Closure
- Sew on 2 or more buttons on one side of the box.
- Create matching buttonholes or loops on the other side to close your cover securely.
Assembly & Finished Size
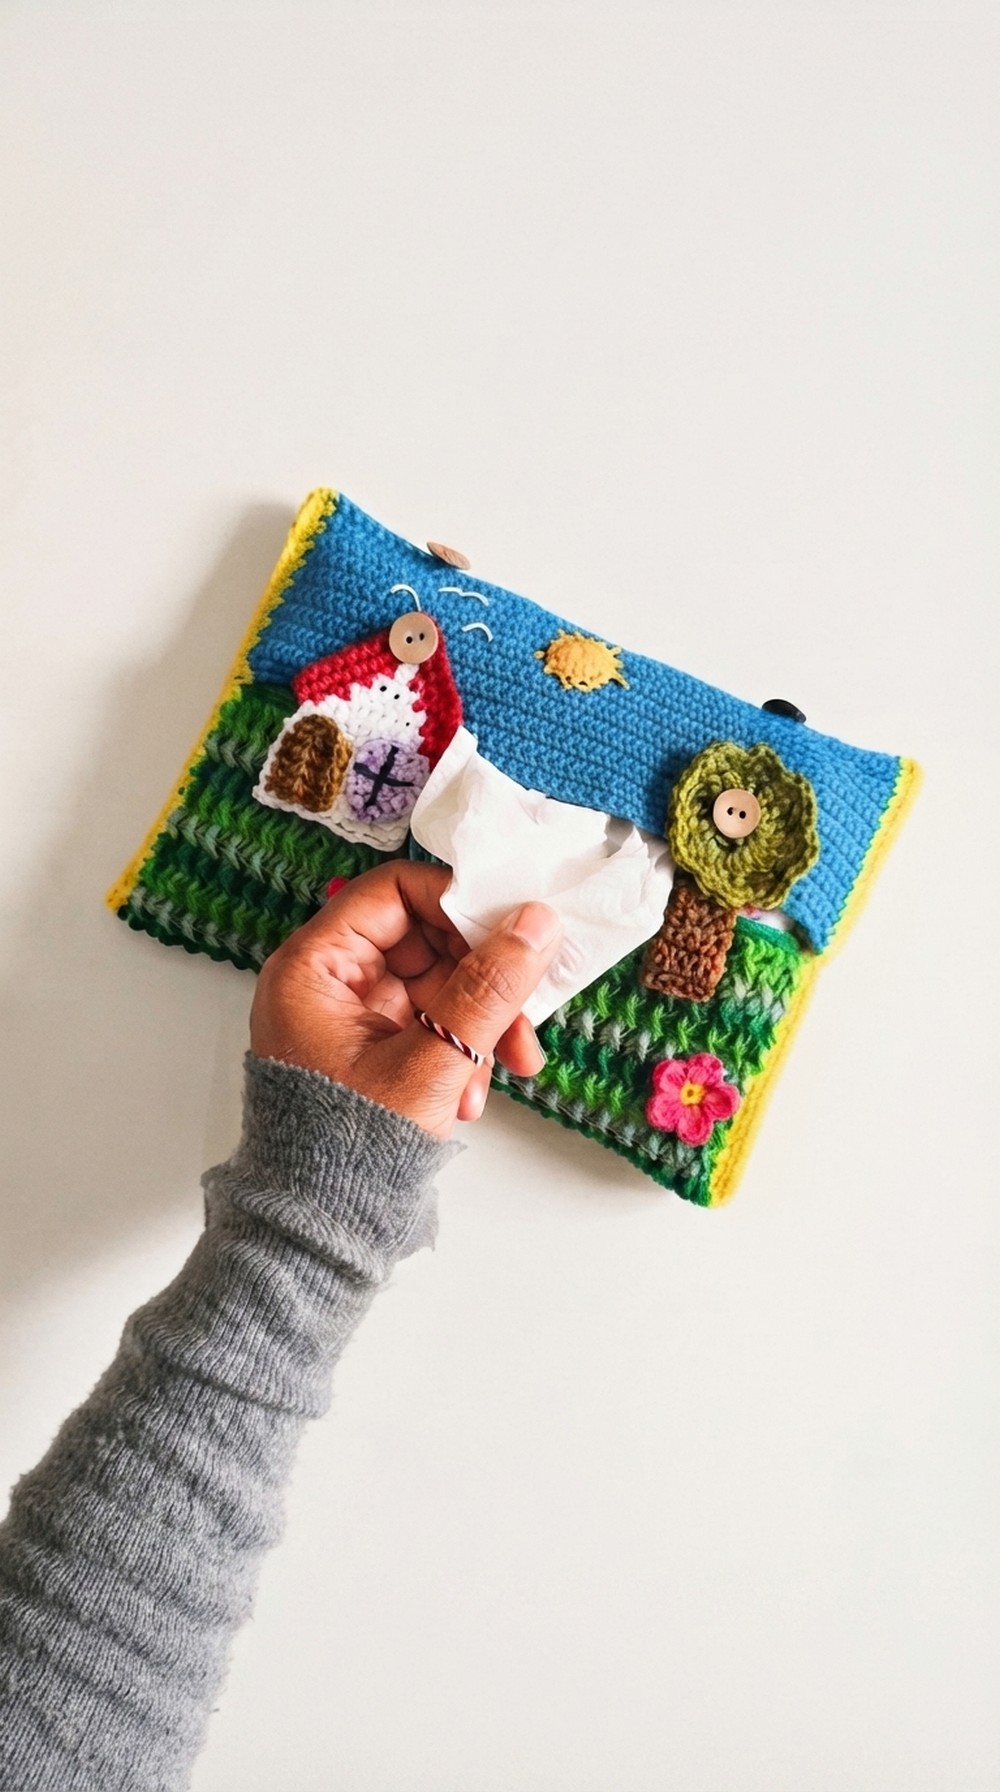
- The finished tissue cover fits a standard rectangular tissue box snugly, with decorative appliques giving it a delightful house appearance.
- The cover is sturdy thanks to consistent sc stitches and joining.
- Button closure ensures easy removal and replacement of tissue boxes.
Final Tips for Beginners
- Maintain even tension throughout for neat stitches.
- Use stitch markers if needed to count your stitches and rows.
- When changing colors, tie off the old yarn and join the new yarn at the start of a new row for cleaner results.
- Practice fpdc on a small swatch before starting the textured rows to gain confidence.
Conclusion
This beginner-friendly house-themed tissue cover combines straightforward single crochet techniques with simple textured patterns and fun decorations. It is both decorative and practical, teaching important skills such as color changes, working with front post stitches, shaping, and assembling 3D covers.
Leave a Reply