
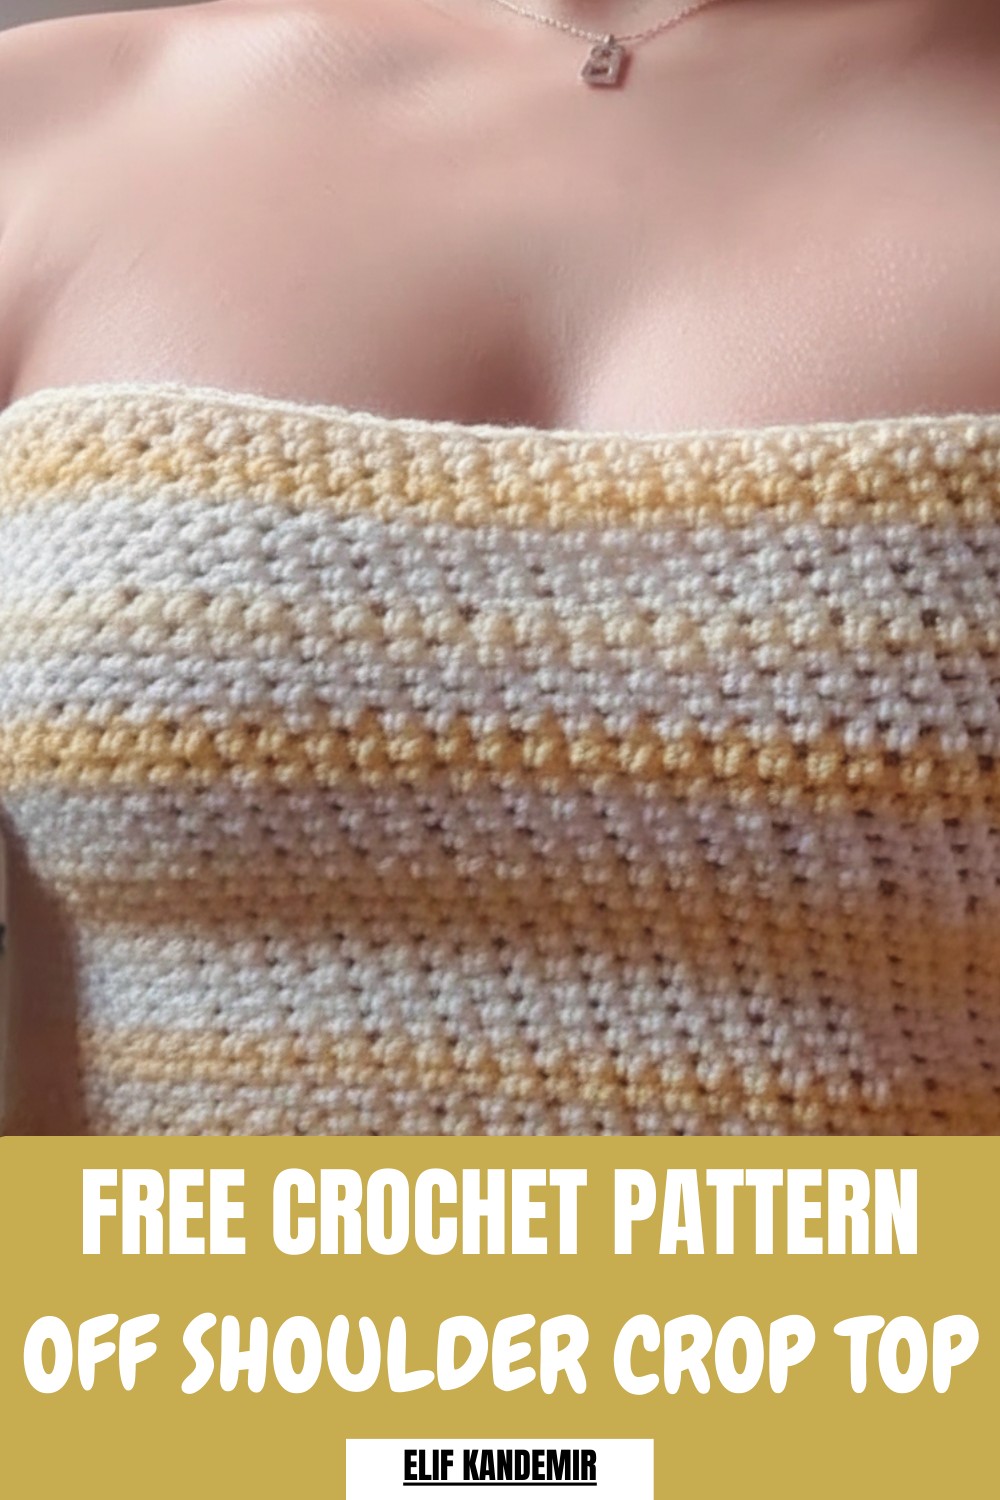
Show your summer spirit with this free crochet off shoulder crop top pattern that’s adds a fresh touch to every sunny outing or gathering.
Imagine wearing something that makes you feel free and stylish at the same time—a handmade creation that rests gently off your shoulders and hugs your body in all the right places. This special design brings out the beauty in every person and is perfect for warm days or fun nights with friends. When you use a Crochet Off Shoulder Crop Top pattern you can crochet a top that fits just the way you want it to and choose colors that match your personality.
How to Crochet an Off Shoulder Crop Top: Free Pattern
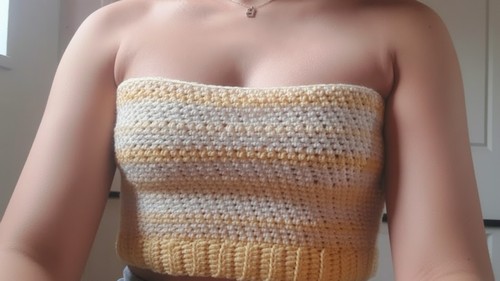
The open neckline shows off your shoulders giving you a playful and elegant look while the cropped length keeps you cool and comfortable. Whether you wear it to a picnic or layer it under a jacket for a cozy movie night it adds a touch of creativity and fun to your wardrobe. Enjoy making something unique that is just for you and easy enough for anyone to create.
Staples Crop Top Crochet Pattern
Materials
- Yarn: 3 colors of light DK/worsted weight yarn (sample uses dark yellow, light yellow, cream; Alize Baby Best, 100g/240-250m per skein)
- Hook: 2.0 mm crochet hook (adjust as needed for tension)
- Notions:
- Scissors
- Measuring tape
- Tapestry/darning needle
Key Abbreviations
- ch – chain
- sc – single crochet
- hdc – half double crochet
- sl st – slip stitch
- rep – repeat
- st(s) – stitch(es)
Special Notes
- Crop top is started with a ribbed band (waist elastic) worked in rows and joined to form a circle.
- Body is worked along this band with color changes as desired.
- Work to your own waist and body measurements for perfect fit.
- Color transitions are customizable.
Pattern Instructions
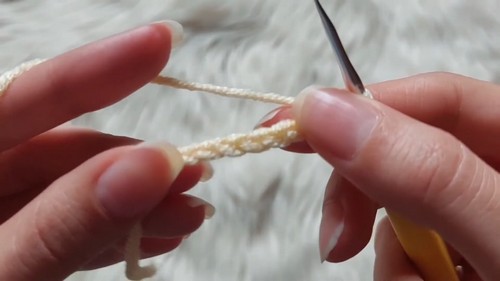
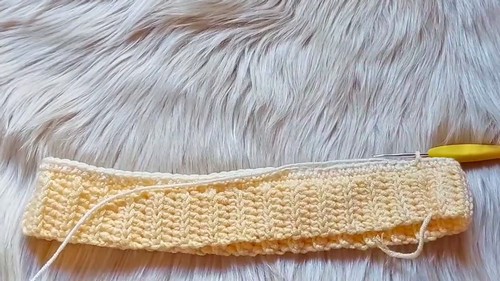
1. Ribbed Waistband (Elastic Band)
a. Start with the first color (dark yellow):
- Ch 8.
- Row 1: Starting in 2nd ch from hook, work 1 sc in each ch across (7 sc).
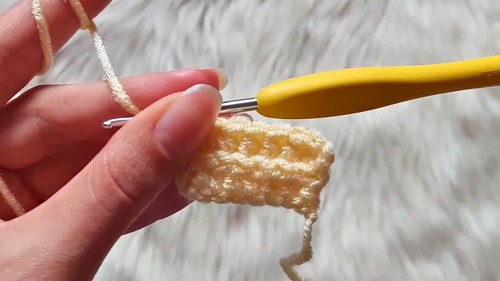
- Row 2: Ch 1, turn, sc in back loop only in each st across.
- Rep Row 2 until waistband fits snugly around your waist—do not overstretch.
- Measure as you go; sample measures approx. 4 cm (1.5 in) wide, length as required for waist.
- Seam ends: Fold band into a circle, bring ends together, and sl st (or sew) through both layers to join.

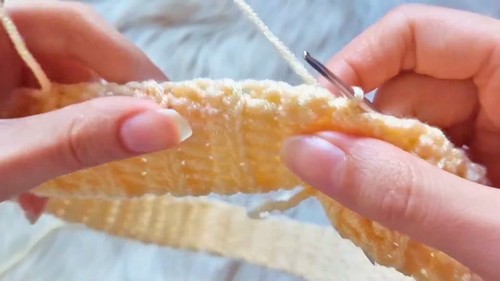
2. Body of the Crop Top
a. Switch to next color (light yellow):
- Working around edge of waistband, ch 2.
- Row 1: Work hdc evenly along edge (1 hdc in each row end around the band).
- Adjust for evenness; aim for a number divisible by desired stitch pattern (single, double, alternating stitches).
- Mark beginning/end of round.
- Row 2: Ch 2, turn. Continue working hdc around, alternating single and double stitches as a pattern:
- For texture, work 1 sc in next st, 1 dc in next st; or 1 hdc, 1 sc, or preferred.
- Tip: You can alternate odd/even stitches in each round.
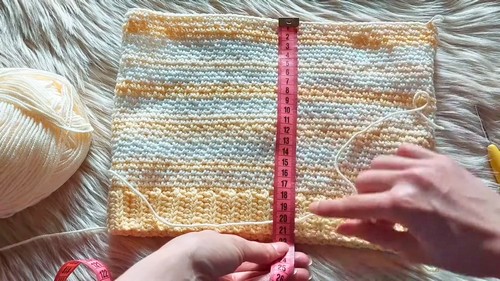
- Continue for desired length: Try on as you go, stopping at desired crop length.
- Switch colors as desired: After a few rounds, join new color (cream) and continue in established pattern.
3. Upper Ribbing (Optional)
- Switch to cream (or desired color).
- Ch 8.
- Row 1: Starting in 2nd ch from hook, sc into each ch (7 sc).
- Row 2: Ch 1, turn, sc in back loop only across.
- Rep Row 2 for approx. 4 cm (1.5 in) or as desired; measure to fit along the upper edge of crop top.
- Attach ribbing to body:
- You may sew or slip stitch ribbing to the top edge of the crop top for a neat finish.
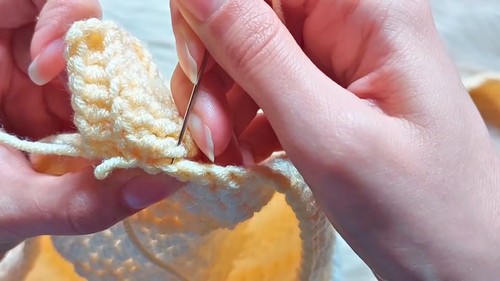
4. Assembly and Finishing
- Sew side seams:
- With right sides facing, sew (or sl st) sides of body together for armhole shaping if desired.
- Weave in all ends: Use tapestry needle to neatly secure yarn tails.
- Block garment gently if needed.
Conclusion
This easy, customizable crop top creates a clean, modern look with ribbed elastic edges and smooth color transitions. Adaptable to any body type, color combination, or length—this is a true wardrobe staple!
Pattern Corrections & Tips
- Correction: For ribbing, always work sc in back loop only to ensure elasticity.
- Tip: Chain count for band and ribbing can be adjusted for your size and to match the number of rows in each section.
- Tip: Color changes can be made by fastening off the old color and joining a new yarn at the start of a round.
- Tip: For a seamless join, slip stitch or sew edges slowly, aligning rows and stitches.
- Tip: Measure frequently—don’t rely on stitch counts alone!
- Tip: For a neat finish, add ribbing after body is complete, and sew with tapestry needle.
Leave a Reply