
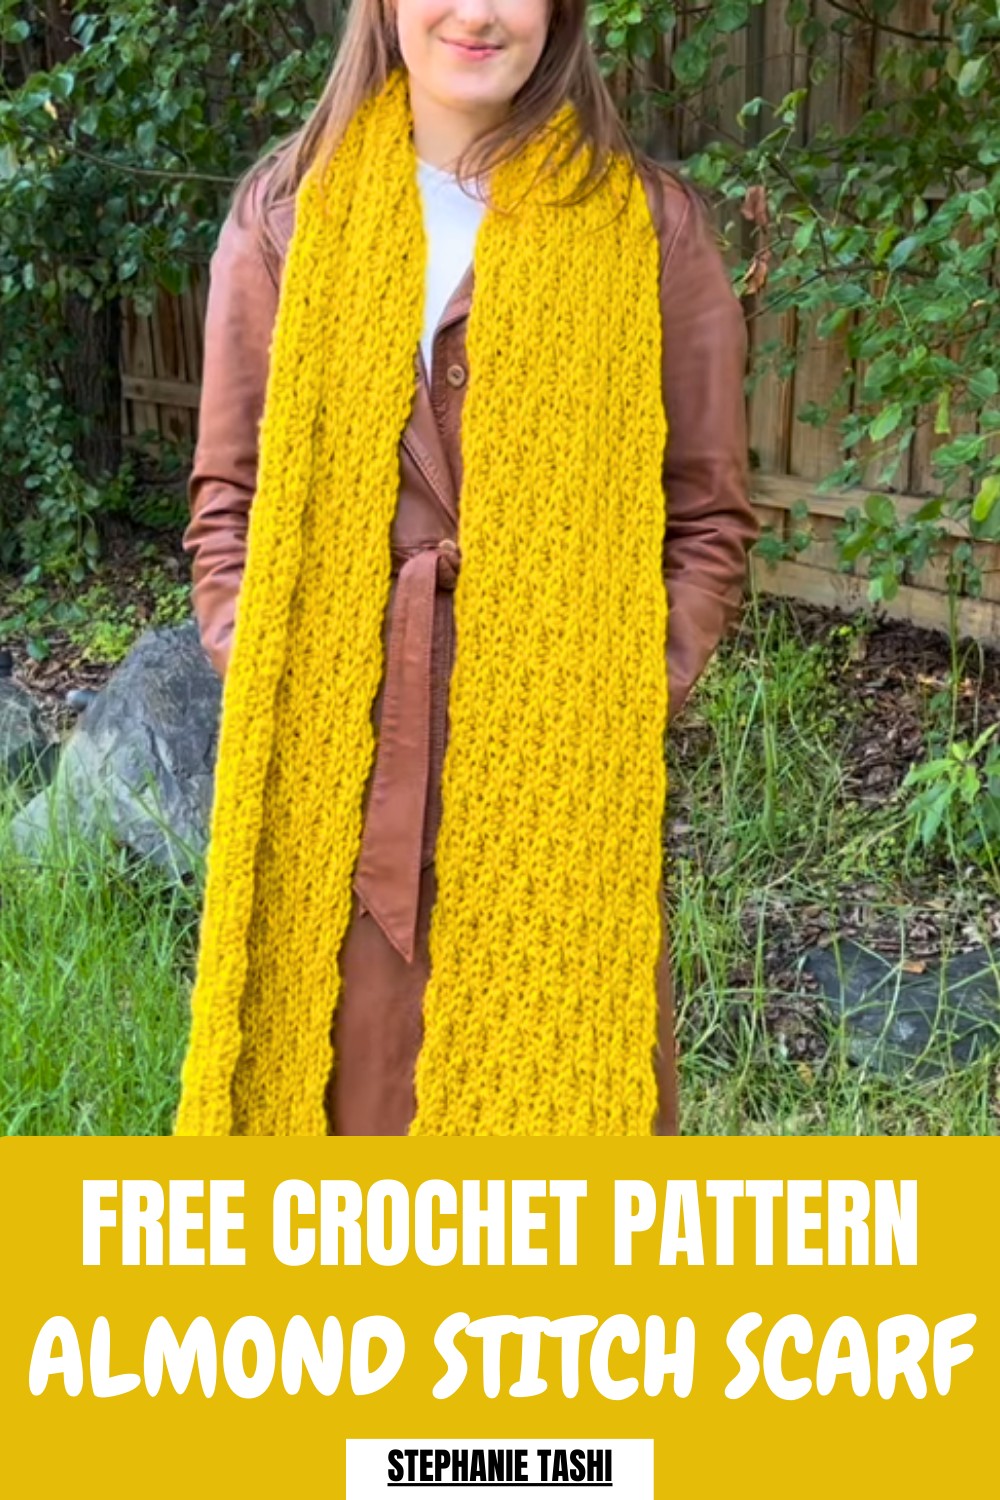
Whip up a cozy masterpiece with the Crochet Almond Stitch Scarf Pattern that twists playful texture and charming details into a truly standout accessory.
A cozy scarf with a textured twist comes to life in a Crochet Almond Stitch Scarf Pattern, turning simple stitches into a playful, eye-catching accessory. This project is both fun and useful, letting you experiment with stitch height, spacing, and subtle color shifts while crafting a piece that’s warm and wearable.
Free Crochet Almond Stitch Scarf Pattern for Stylish Winter Looks
One creative idea is to alternate light and dark shades to create a rippling almond effect, or to add tiny tassels or beads for a personalized touch. Interestingly, the almond stitch’s layered, scalloped texture mimics natural patterns, making each scarf feel like a miniature work of art. Perfect for gifting or keeping, it’s a satisfying project that sharpens skills while producing something stylish and unique.
Armond Stitch Scarf Free Crochet Pattern
Materials Needed
- Yarn:
- Approximately 300 grams (3 balls) of chunky-weight yarn (size 5).
- This quantity is for a scarf with no trim in the design shown. Adjust as needed for longer or wider scarves.
- Hook:
- 10 mm crochet hook.
- Tools:
- Darning (tapestry) needle for weaving in ends.
- Scissors.
- Measuring tape for sizing accuracy.
Gauge
- Half Double Crochet (HDC): Approximately 5 stitches x 4 rows = 4 inches (10 cm).
- Gauge does not need to be exact for this scarf, but maintaining consistency in stitch tension will ensure evenness.
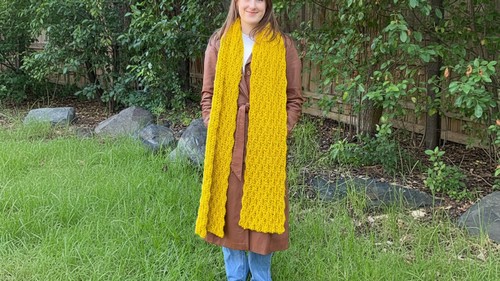
Finished Size
- The finished scarf in the video is approximately 7 inches (18 cm) wide and approximately 70 inches (175 cm) long. Adjust dimensions to your preference.
Pattern Notes and Customization
- Stitch Pattern:
The Armond stitch involves alternating sections of half double crochet (HDC) and slip stitches (SLST) to create a textured appearance.- Rows alternate between following the stitch of the previous row (even-numbered rows) and switching to the opposite stitch pattern (odd-numbered rows).
- Multiples:
To achieve the stitch pattern, ensure the foundation chain is a multiple of 3. - Customizations:
- You can adjust the length of the scarf by increasing or reducing your starting chain.
- Adjust the width by completing more or fewer rows.
- Experiment with color blocking or variegated yarn for added visual interest.
Special Techniques
- Working into the Back Loop:
Insert your hook only into the back loop (instead of the full stitch) of each stitch. This adds a subtle ribbed effect.
Crochet Instructions
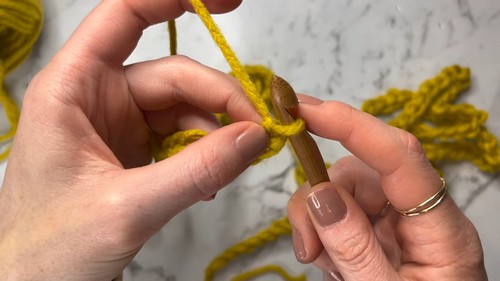
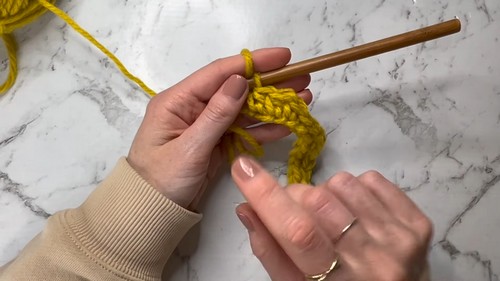
Step 1: Foundation Chain
- Begin by making a slip knot on your hook.
- Create a foundation chain as long as you’d like your scarf to be.
- For the scarf in the video: approximately 210 chains were used (you can adjust length based on your desired scarf size).
- Ensure the chain length is divisible by 3.
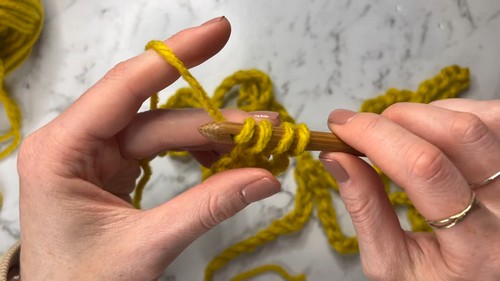
Step 2: Row 1 (Foundation Row)
- Chain 2 (these do NOT count as stitches).
- Start with half double crochets (HDC):
- Yarn over, insert your hook into the third chain from the hook.
- Yarn over again, pull through one loop.
- Yarn over and pull through all three loops on the hook to complete the half double crochet.
- Repeat in the next two chains (total of 3 HDC stitches).
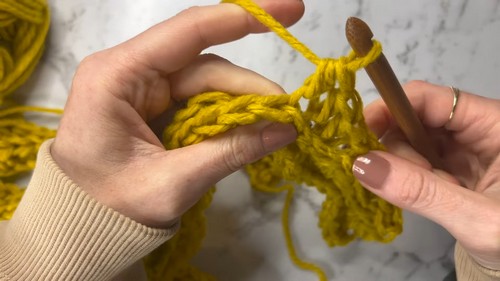
- Slip Stitches (SLST):
- Insert your hook into the next chain.
- Yarn over, pull through the chain and the loop on your hook simultaneously.
- Repeat for 3 slip stitches.
- Repeat: Alternate 3 HDC stitches and 3 SLST stitches across the row.
- At the end of the row: Turn your work.
Step 3: Row 2 (Even Row)
- Chain 2 (if the last stitch is an HDC). If the last stitch is a slip stitch, chain 1.
- Work the same stitch into the corresponding stitch from Row 1:
- Place HDC stitches into HDC sections.
- Place SLST stitches into SLST sections.
- Continue working across the row. At the end of the row, turn your work.
Step 4: Row 3 (Odd Row)
- Chain 1 (if the last stitch is an HDC). If the last stitch is a slip stitch, chain 2.
- Work opposite stitches into the corresponding stitch from Row 2:
- Place SLST stitches into HDC sections.
- Place HDC stitches into SLST sections.
- Continue working across the row. At the end of the row, turn your work.
Step 5: Row 4 (Even Row)
- Chain accordingly based on the last stitch.
- Repeat Row 2: Work the same stitch as the previous row into each stitch.
Step 6: Repeat Rows 2-4
Continue alternating rows (even and odd) until your scarf is as wide as desired.
Finishing
- Fasten Off:
- After completing your final row, make a chain 1 and cut the yarn, leaving a 6-inch tail.
- Pull the tail through the loop to secure the end.
- Weave Ends:
- Thread the yarn tail through a darning needle.
- Weave the end through the back loops of multiple stitches, ensuring it is hidden and secure.
- Trim any excess yarn.
Additional Tips
- Error Fixing:
If you notice an incorrect stitch count, you can:- Add an increase or decrease at the end of a row to adjust.
- Alternatively, undo the row if the mistake is substantial.
- Yarn Joins:
If adding a new skein of yarn, weave the end securely into nearby stitches to avoid gaps.
Conclusion
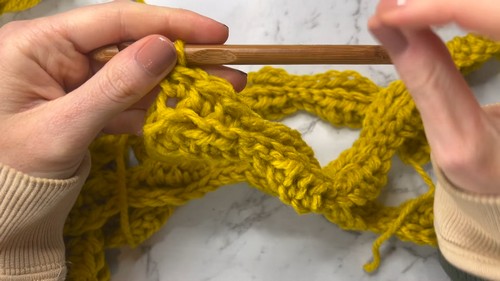
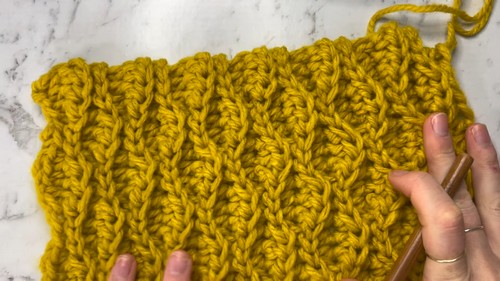
The finished scarf will have a beautiful textured pattern enabled by the alternating stitches of the Armond stitch. One side will have a subtle wave-like appearance, while the other will look more linear and bubbly.
Leave a Reply