
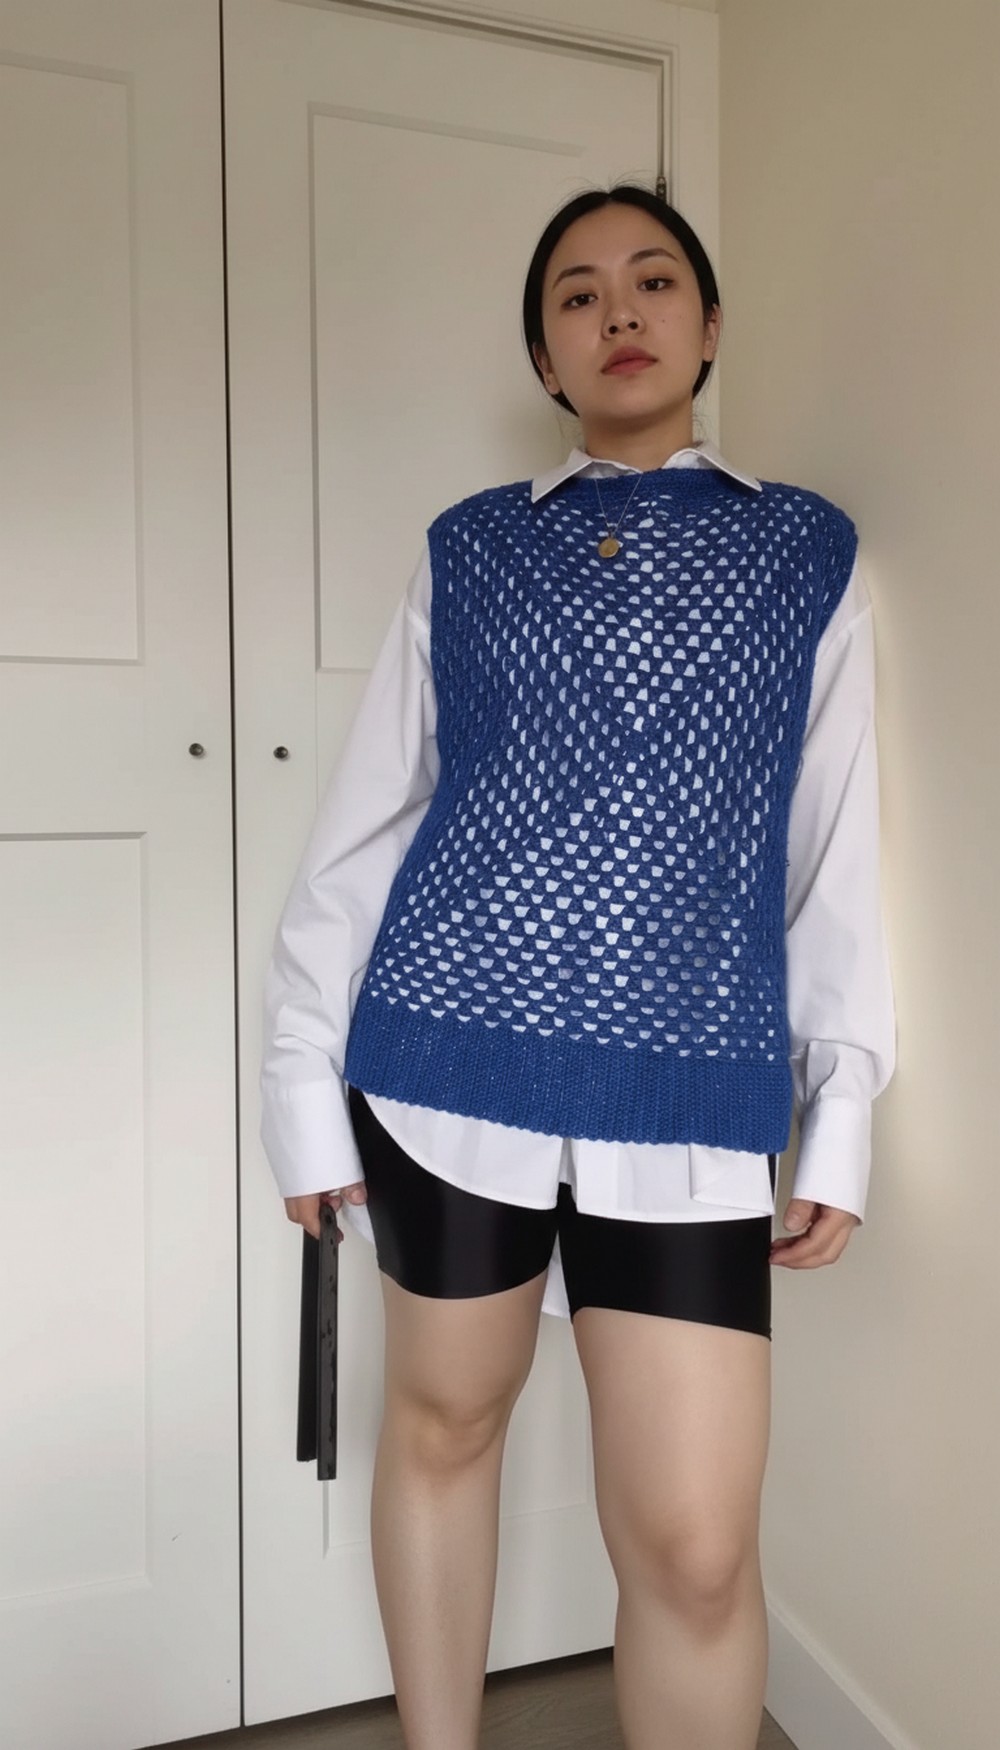
Add a cozy and colorful touch to your wardrobe with the Crochet Square Vest, a simple and relaxing project that brings warmth and style everywhere you go.
Crochet Square Vest Pattern for Stylish Ways
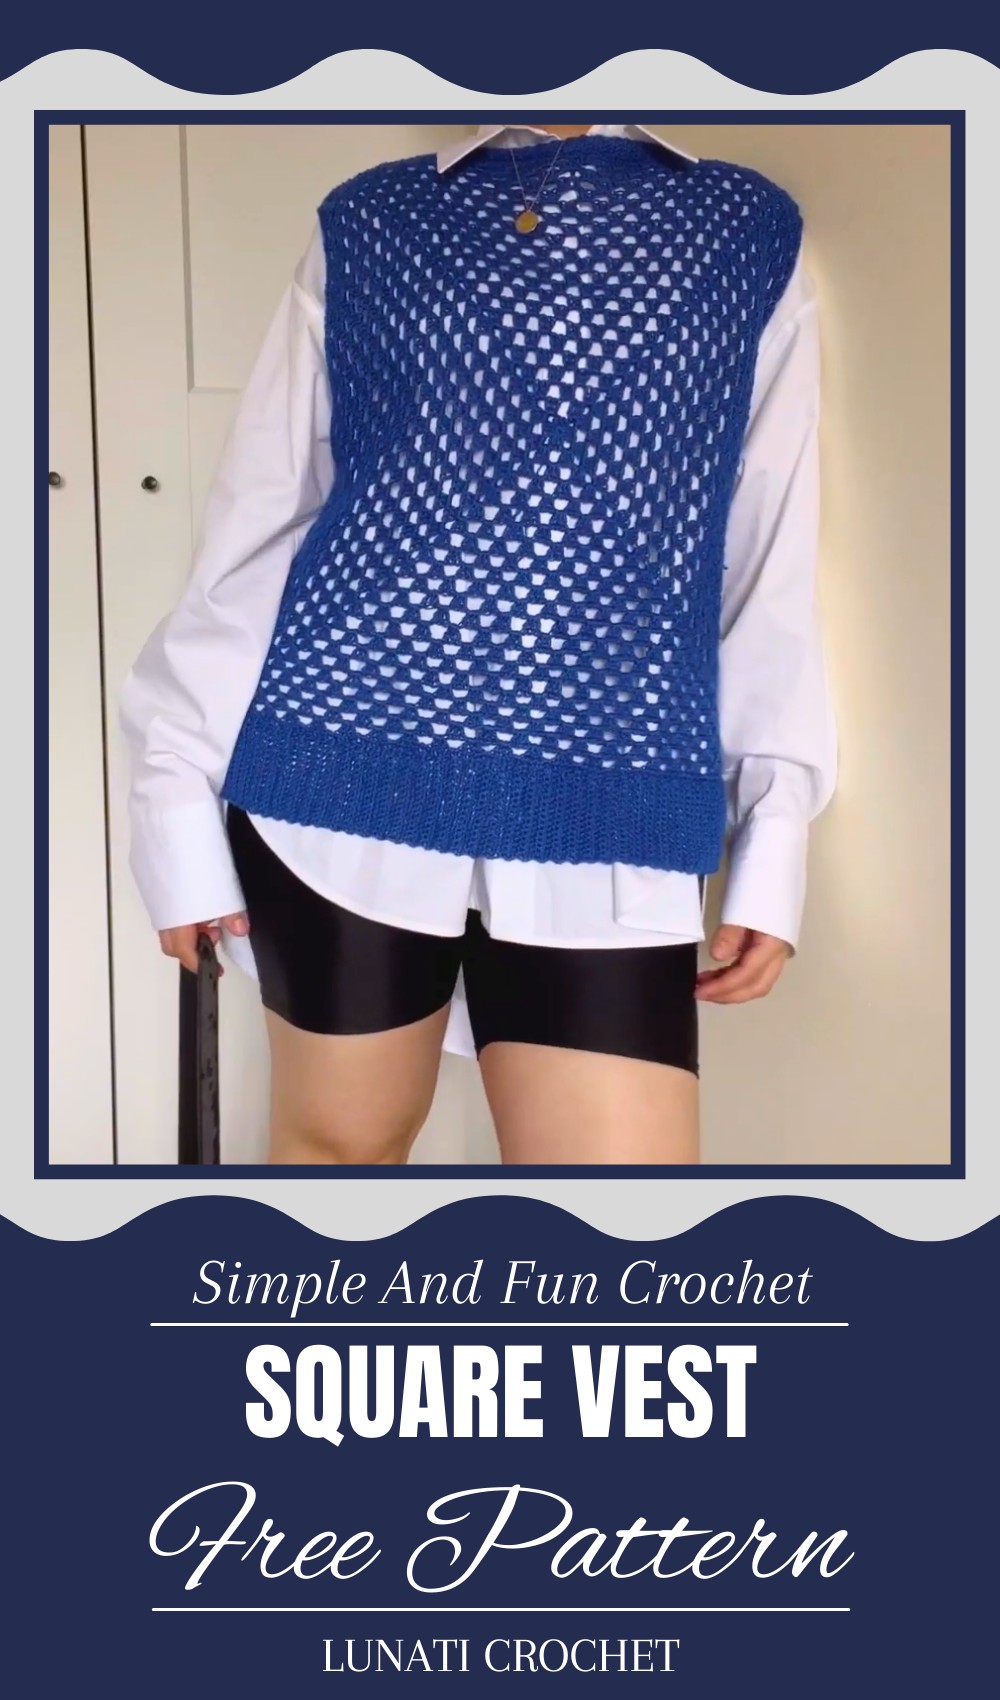
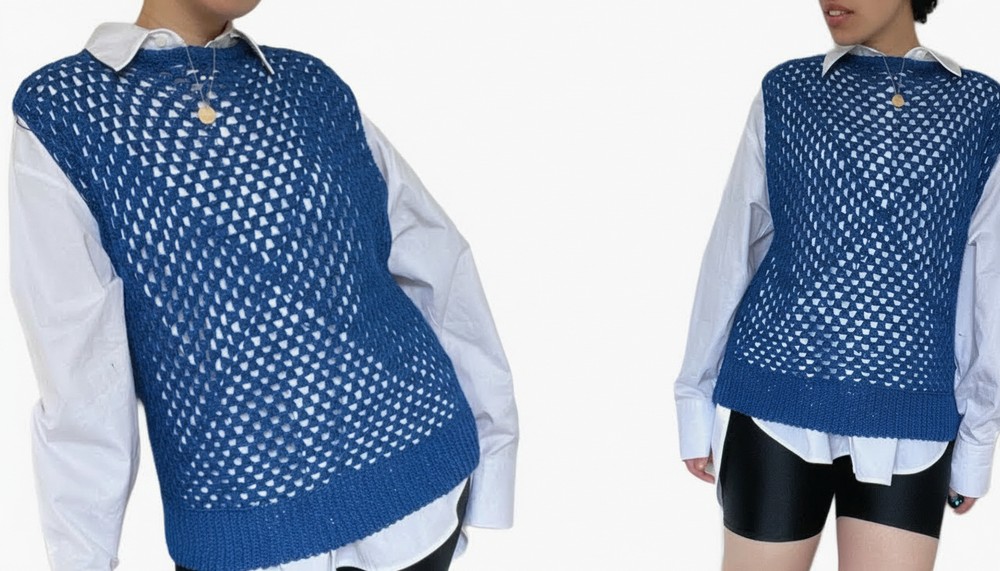
A stylish vest made from square pieces fits together like a patchwork, creating a beautiful and creative design. Soft yarn and simple stitches make it cozy and comfortable to wear all day long. Its open front and sleeveless style keep it cool enough for indoors or warmer days, while still adding a lovely layer to any outfit. Worn over a shirt or dress, it brings color and charm, making every look feel special and fresh.
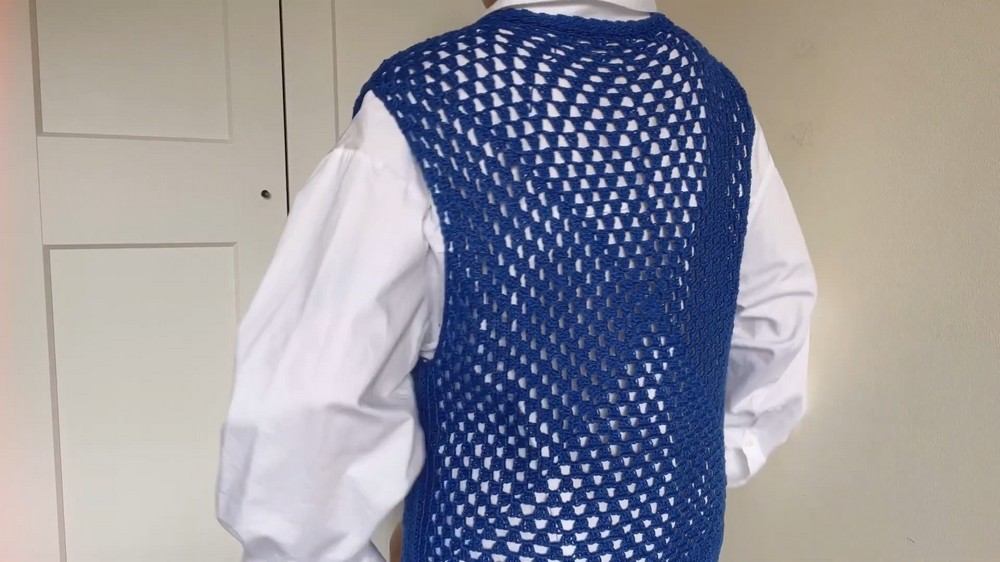
The natural, handmade feel makes it a favorite for people of all ages, combining simple beauty with practical use. Whether staying comfy at home or adding a bit of style when going out, this vest is a friendly and inviting piece that suits every mood and moment. Its easy design and soft texture make it perfect for anyone who loves comfort and simple elegance in their everyday wardrobe.
Crochet Magic Ring Square Vest Pattern
Materials Needed
- Yarn of choice (recommended yarn matching gauge and drape)
- Crochet hook size 3 mm
- Scissors
- Yarn needle for finishing and sewing
- Stitch markers (optional)
Difficulty Level
Intermediate – Requires familiarity with magic ring, double crochet, increases, and joining techniques.
Step-by-Step Pattern
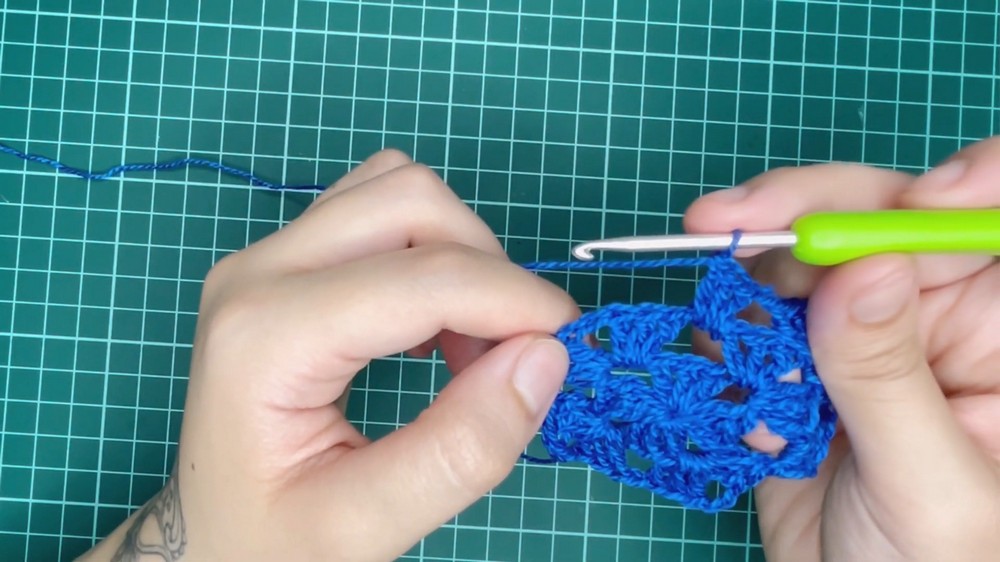
Step 1: Make the Magic Ring and Round 1 – Forming the Square Center
- Create a magic ring:
- Hold yarn between fingers. Wrap yarn twice forming an X.
- Insert hook under first loop, grab second loop, pull through to create ring.
- Keep ring snug to avoid gaps.
- Chain 3 to start (counts as first double crochet (dc)).
- Work 2 additional dc into the ring.
- Chain 2 to form corner space.
- Repeat 3 dc, chain 2 a total of four times inside the ring, creating four clusters separated by corner spaces.
- Pull magic ring tail tightly to close center hole.
- Join round with a slip stitch into the third chain of the starting chain 3.
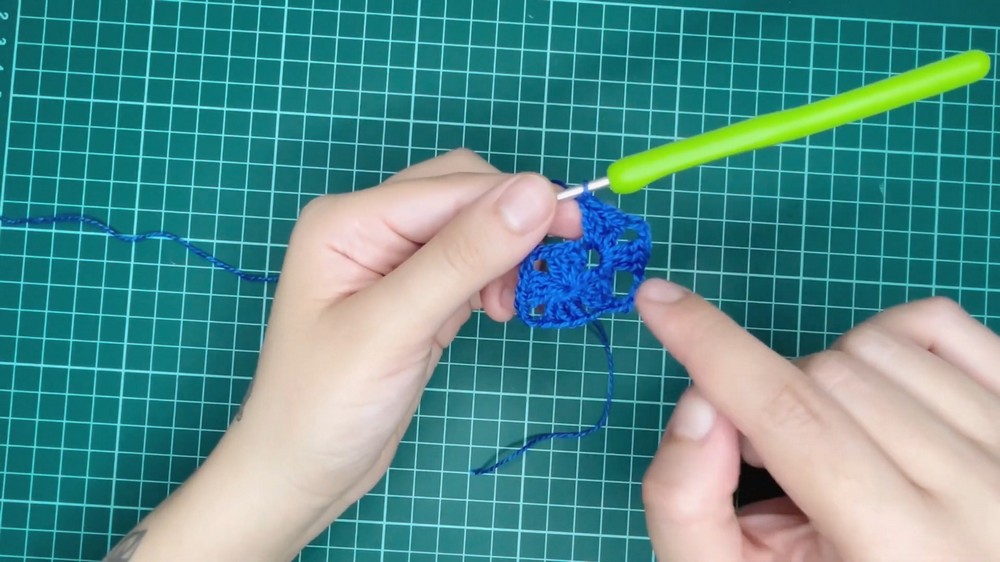
Your square begins with four “blocks” or clusters.
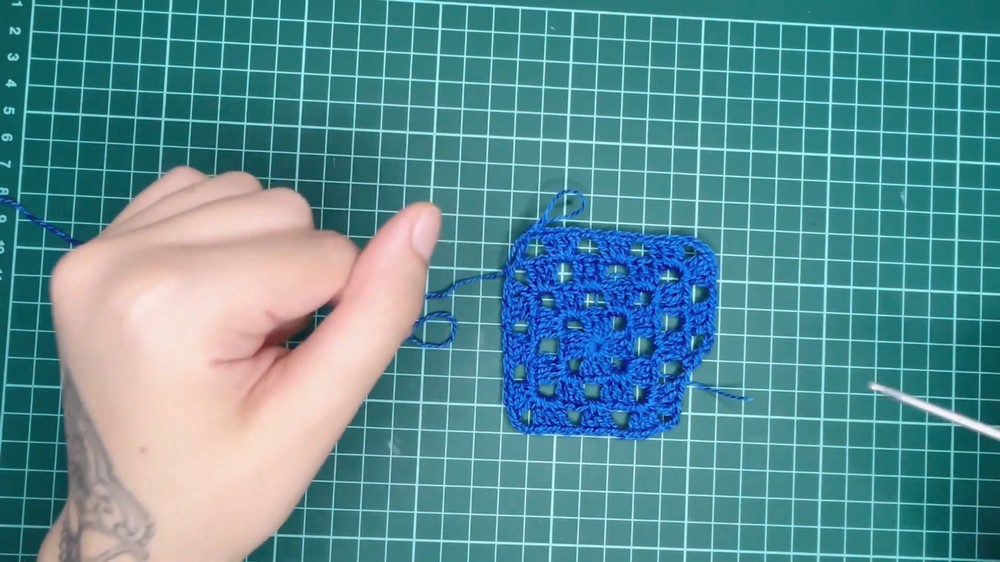
Step 2: Round 2 – Building the Square Edges
- Chain 1, turn to start.
- In the space between clusters, work:
- 3 dc, chain 2, 3 dc into each corner (chain 2 spaces).
- Between corners, work 3 dc clusters separated by chain 1.
- Join round with slip stitch to first stitch.
Step 3: Round 3 – Continue Square Growth With Increases
- Chain 1, turn.
- For each corner space: work 3 dc, chain 2, 3 dc.
- Between corners: 3 dc clusters separated by chain 1.
- Repeat all around, maintaining square shape and increasing size.
Step 4: Round 4 and beyond – Repeating Pattern With Textural Detail
- Begin round with chain 1.
- Work single crochet (sc) stitches over the tops of double crochet (dc) from previous round for texture if desired.
- Incorporate chain spaces and popcorn or half-double crochet stitches to add texture (optional).
- Continue increasing in corners as before.
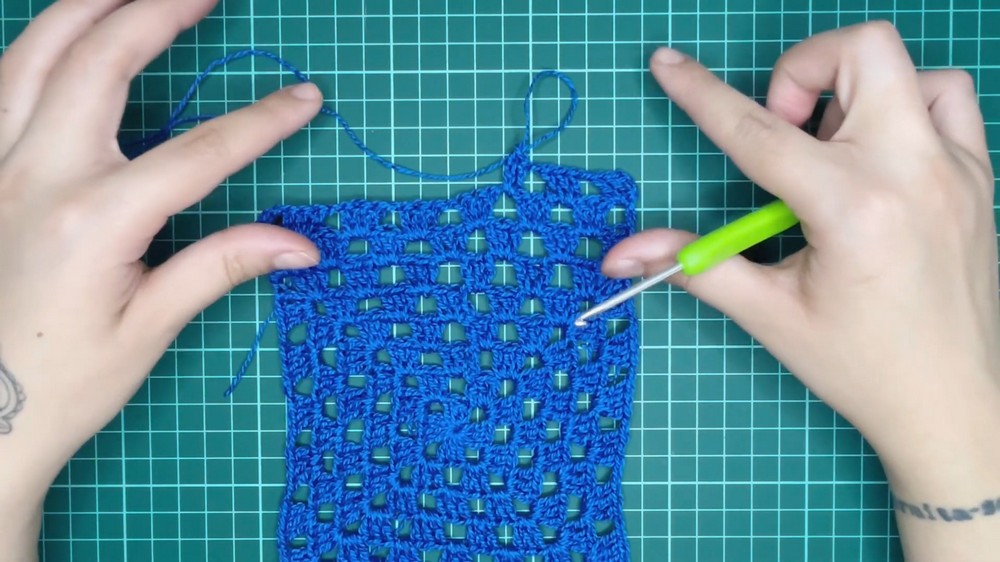
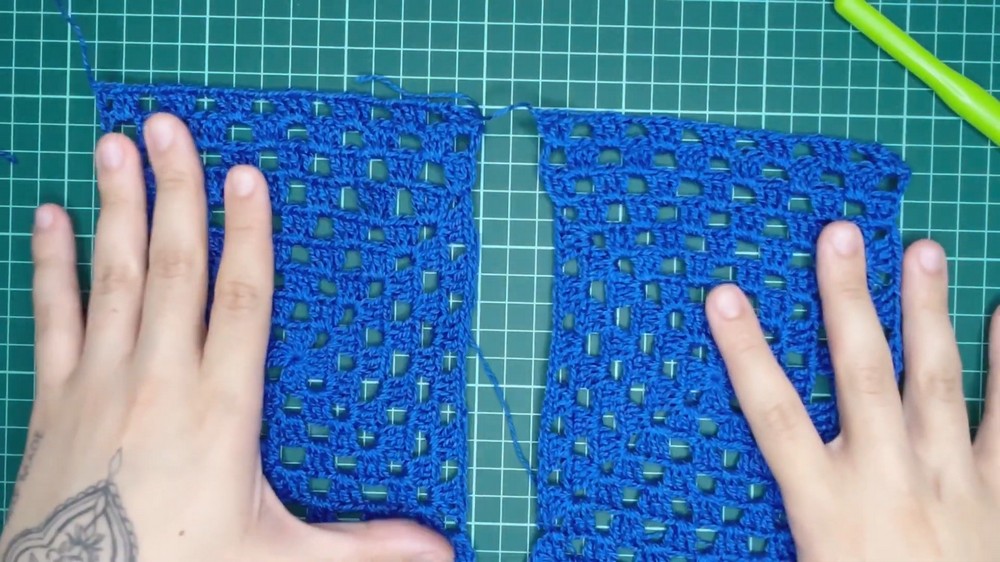
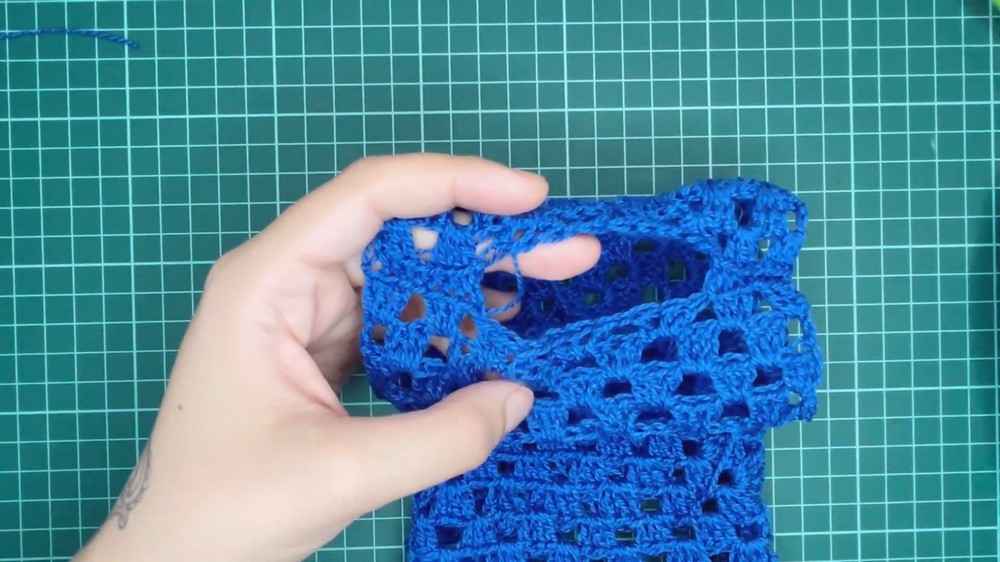
Step 5: Joining Multiple Squares
- Crochet as many squares as needed to form front and back panels of the vest.
- Arrange squares inside out.
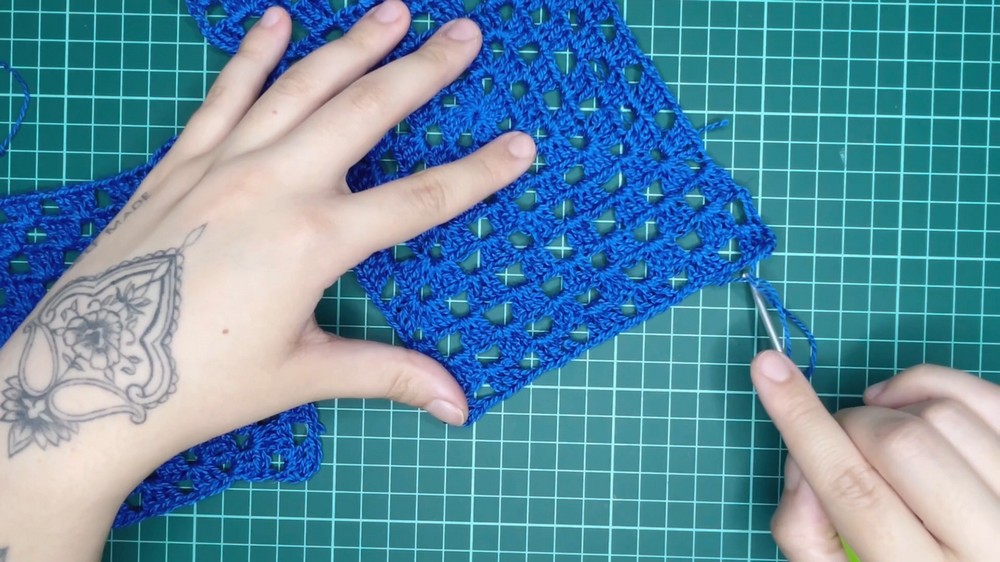
- Use slip stitch or single crochet (sc) to join sides and shoulder seams by working through adjacent loops of the squares.
- Leave armhole openings and neckline clear.
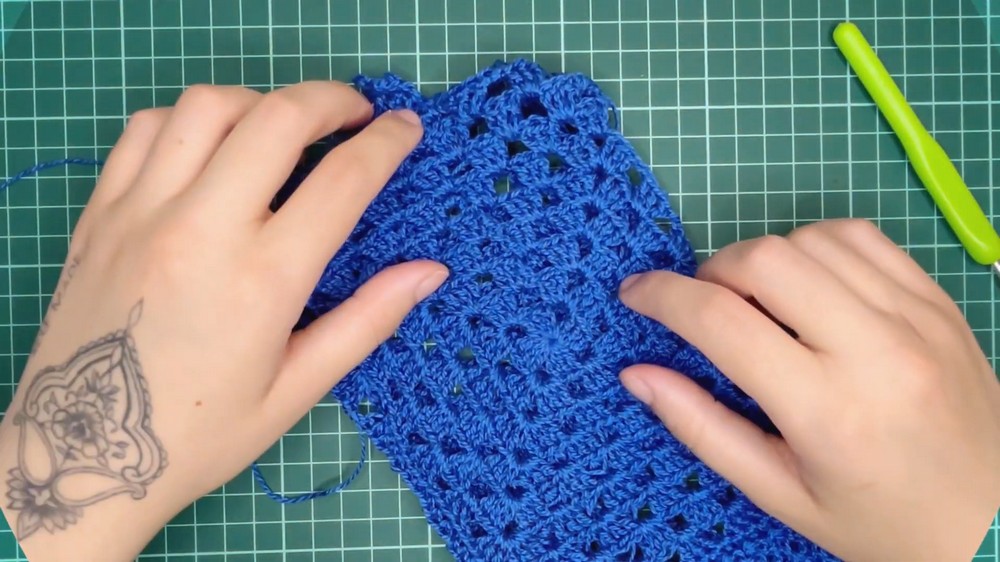
Step 6: Finishing the Vest Edges
- Crochet a round of single crochet (sc) around the edges of the vest for a neat finish.
- Work over any loose ends to secure.
- If desired, add a decorative border with shells or picots.
Step 7: Sewing and Assembly
- Securely sew any remaining open seams with yarn needle.
- Weave in all loose yarn ends.
- Block the vest lightly for even shaping.
Special Features
- Starts with a magic ring, creating seamless square motifs with controlled shaping.
- Uses classic clusters and chain spaces for elegant texture.
- Modular design allows customized sizing by adding/removing squares.
- Simple, durable joining methods produce professional finish.
Tutor’s Suggestions
- Keep consistent tension for uniform squares.
- Use stitch markers on corners and joins for easy tracking.
- Pull magic ring tightly to avoid large center holes.
- When joining squares, work each stitch through corresponding loops for neat seams.
Uses
- Stylish vest for layering over casual or formal outfits.
- Great personalized gift with customizable colors and sizes.
- An excellent project to practice motif construction and garment assembly.
Tip
When starting the magic ring, keep your tail end long enough to securely weave in later; pulling it too short may cause unraveling.
Conclusion
This crochet magic ring square vest combines classic stitches and shaping for an elegant, wearable design. Guided increases and modular joining create a versatile garment adaptable to many styles and sizes.
Leave a Reply