
Liven up your handmade gifts with a Free Crochet Leaves Pattern that adds organic flair and seasonal beauty effortlessly.
Working on small, detailed crochet leaves feels like bringing a little piece of nature into your hands. These leaves have a lovely texture and shape that look elegant whether used alone or as part of a bigger project. Using half double crochet, single crochet, and double crochet stitches, this pattern crochets leaves with pointed tips and soft curves, giving them a natural, lifelike appearance. The addition of a thin wire inside helps hold their shape, making them perfect for decorations that last.
More Creative Uses for This Leaf Pattern
Besides branches and bouquets, these delicate leaves can be turned into beautiful brooches, embellishments for hats or scarves, or charming accents on bags and cushions. By combining colors, sizes, and different yarn textures, you create endless variations that bring your crochet projects to life with a lush, botanical flair.
Step by Step Crochet Leaves Pattern for Gorgeous Decor
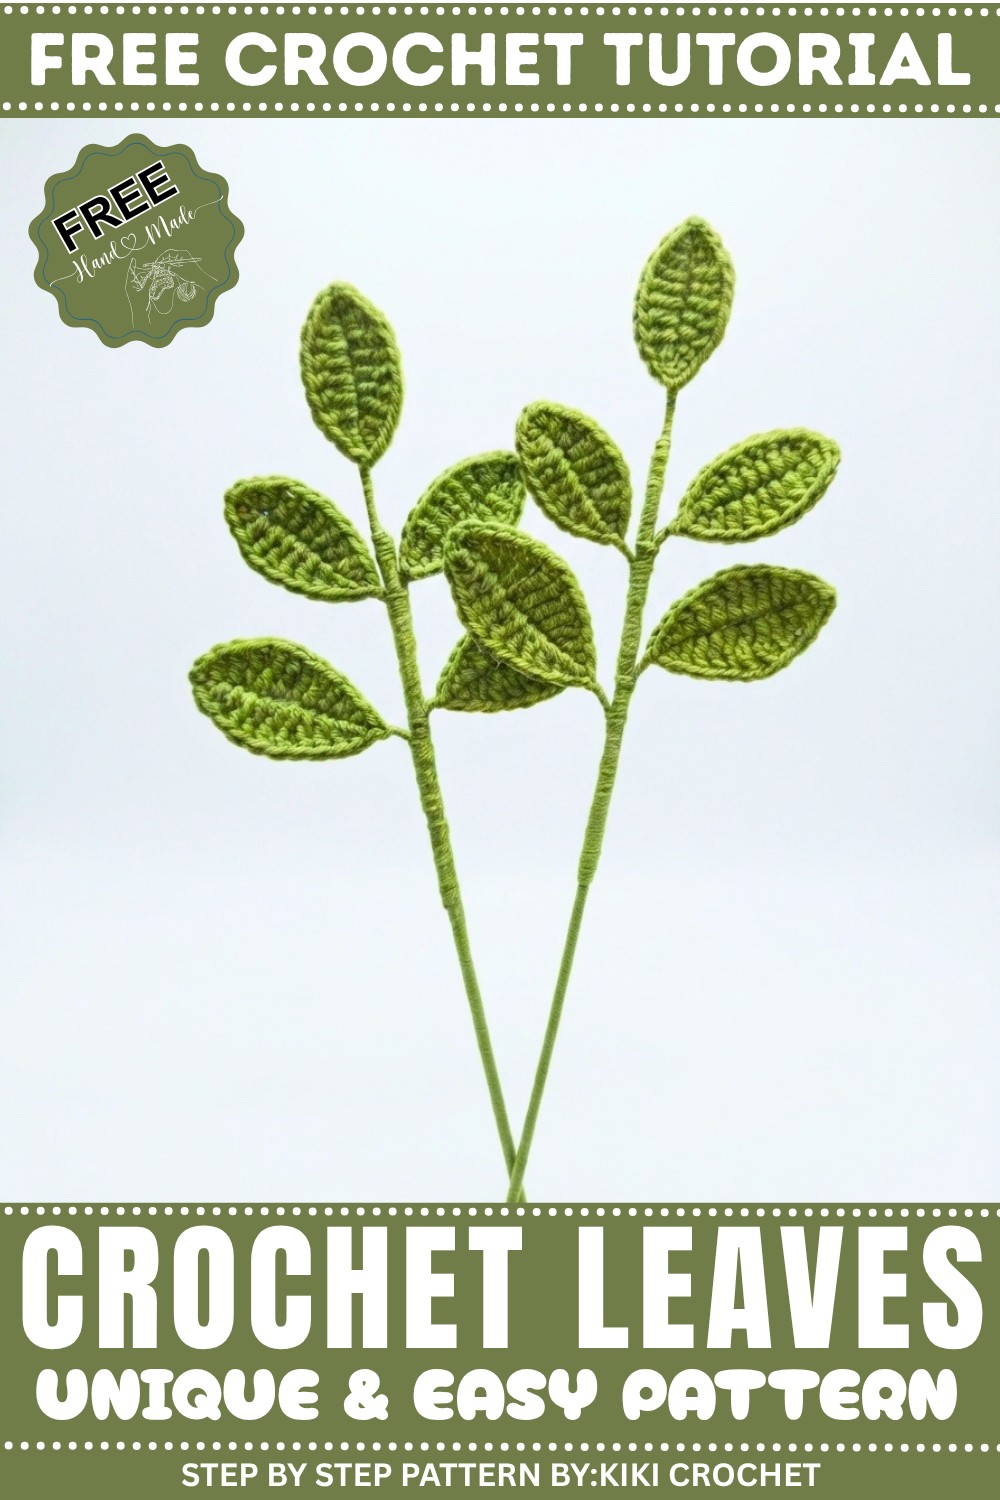
Starting with a magic ring and working in rounds allows you to build each leaf in a balanced way. You’ll learn to create stitches on the front and back of your work, adding depth and symmetry to the leaves. The pattern is beginner-friendly, introducing stitches step by step, and you can easily customize the size by adjusting the number of stitches or the yarn type. Crocheting these leaves is a fun and calming experience, and once finished, they’re ready to be attached to branches, bouquets, or even used as appliques.
These leaves are versatile and can brighten up many creative projects. They’re great for adding a natural touch to home décor or handmade gifts. You can make small clusters for table centerpieces or larger arrangements for wreaths and garlands. The sturdy wire core allows for bending and shaping, so you can customize your leafy designs to fit any space or style.

Crochet Branch with Leaves Pattern
This step-by-step pattern will help you crochet a decorative branch laden with leaves, ideal for home décor, bouquets, and craft projects. The pattern includes small and large leaves, which are crocheted separately and assembled onto a base wire for a realistic effect. Whether you’re looking to create standalone decorations or embellish floral arrangements, this pattern gives you a versatile and elegant design option.
Uses of This Pattern:
- Bouquet Decoration: Add these branches to artificial bouquets or flower arrangements.
- Home Décor: Use these crocheted branches as table centerpieces or wall décor.
- Ornamental Crafts: Great for wreaths, garlands, and handmade gifts.
Skill Level & Terminology
Skill Level: Beginner to Intermediate
Terminology: US Crochet Terms
Materials & Tools
- Yarn: Cotton yarn in green or natural leaf colors. You can use other types of yarn to vary leaf sizes.
- Hook: 2.5 mm crochet hook.
- Support Materials:
- Zinc wire (for structuring the branch and leaves).
- Pruning shears (to cut the wire).
- Scissors.
Gauge
Gauge is not critical for this project. However, tension consistency ensures your leaves look neat and symmetrical.
Abbreviations
- CH: Chain.
- SC: Single Crochet.
- HDC: Half Double Crochet.
- DC: Double Crochet.
- SLST: Slip Stitch.
- PICOT: Chain 2 and slip stitch into the previous stitch to form a decorative tip.
Special Stitch Instructions
- Half Double Crochet (HDC): Yarn over, insert hook into stitch, pull up a loop, yarn over again, and pull through all three loops on the hook.
- Double Crochet (DC): Yarn over, insert hook into stitch, pull yarn through, yarn over, pull through two loops, yarn over again, and pull through the remaining two.
- Picot: Make 2 CH, then SLST into the previous stitch to form a small pointed tip.
Finished Size
The branch size depends on the number and size of leaves used. A branch with five leaves will measure approximately 7-8 inches in length, allowing for the wire structure.
Crochet Branch With Leaves Pattern
Part 1: Small Leaves
- Start with the Base Chain:
- CH 10. Adjust the chain length for larger/smaller leaves as needed.
- Work Down the Chain:
- In the second CH from the hook, crochet:
- 1 SC.
- In the next CH, work 1 HDC.
- In the second CH from the hook, crochet:
- Build the Leaf’s Center:
- In the next 5 CH:
- Crochet 1 DC in each CH.
- In the next 5 CH:
- Add Leaf Tip and Symmetry:
- In the next CH, work:
- 1 HDC followed by 1 SC in the same CH.
- At the tip of the leaf, make:
- 1 PICOT (work 2 CH and SLST into the single crochet).
- In the next CH, work:
- Work Down the Other Side of the Chain:
- Mirror the stitches from the first side:
- 1 SC, 1 HDC, and 5 DC into corresponding chains.
- Complete the leaf by working 1 SC into the last CH and SLST into the base.
- Mirror the stitches from the first side:
- Secure with Wire:
- Insert the zinc wire into the center of the leaf for strength and flexibility.
- Wrap the excess thread around the base of the leaf to secure it.


This section forms a small, symmetrical leaf. Repeat these steps to make three small leaves.
Part 2: Large Leaves
- Base Chain for Larger Leaves:
- CH 12.
- Work Down the Chain:
- In the second CH from the hook, crochet:
- 1 SC.
- In the next CH, work 1 HDC.
- In the second CH from the hook, crochet:
- Build the Leaf’s Larger Center:
- In the next 3 CH:
- Crochet 1 DC in each CH.
- In the next 2 CH, work:
- 1 DC and 1 PICOT in the first CH.
- 1 DC in the second CH.
- In the next 3 CH:
- Add the Opposite Side:
- Mirror the stitches from the first side by working 1 DC, 1 PICOT, and 1 HDC into the corresponding chains.
- Finish with 1 SC and SLST into the base to complete the larger leaf.
- Secure with Zinc Wire:
- Insert a wire through the center of the leaf and wrap the leftover thread around the base for security.
This section creates a larger leaf shape to complement the smaller leaves. Repeat these steps to make two large leaves.
Assembly & Finishing
- Combine the Leaves:
- Take your small and large leaves and attach them to the zinc wire base. Start from the top with small leaves and move downward, ending with the larger ones.
- Wrap the Wire:
- Using extra yarn, wrap tightly around the zinc wire to cover it completely and secure the leaves in place.
- Adjust the Shape:
- Shape the leaves and branches to your liking by bending the zinc wire. Ensure each leaf faces outward for a natural look.
- Trim Excess:
- Use pruning shears to cut any excess wire pieces or yarn.


What You’ll Learn
- How to crochet different-sized leaves with symmetrical patterns.
- Adding support to crochet projects with zinc wire.
- Assembling and securing multiple crochet elements to form a cohesive design.
Troubleshooting and Solutions
Challenge: Keeping the chains consistent for symmetrical leaves.
Solution: Count your stitches carefully on both sides of the chain and use a stitch marker to mark the tip of the leaf.
Challenge: Securing the leaves to the branch.
Solution: Wrap the yarn tightly around the zinc wire and use fabric glue if additional support is needed.
Final Thoughts
A crochet branch with leaves is a timeless and versatile project that adds beauty to any setting. You can adjust the number and size of leaves to suit your décor, making this a flexible go-to pattern for various purposes. With just a few materials and techniques, you’ll create a stunning, naturalistic decoration.
Why I Love This Pattern:
I love how this simple project lets me imitate nature while using crochet techniques. The addition of wire gives the branch strength and flexibility, making it feel real and ensuring it will last for years.
Leave a Reply