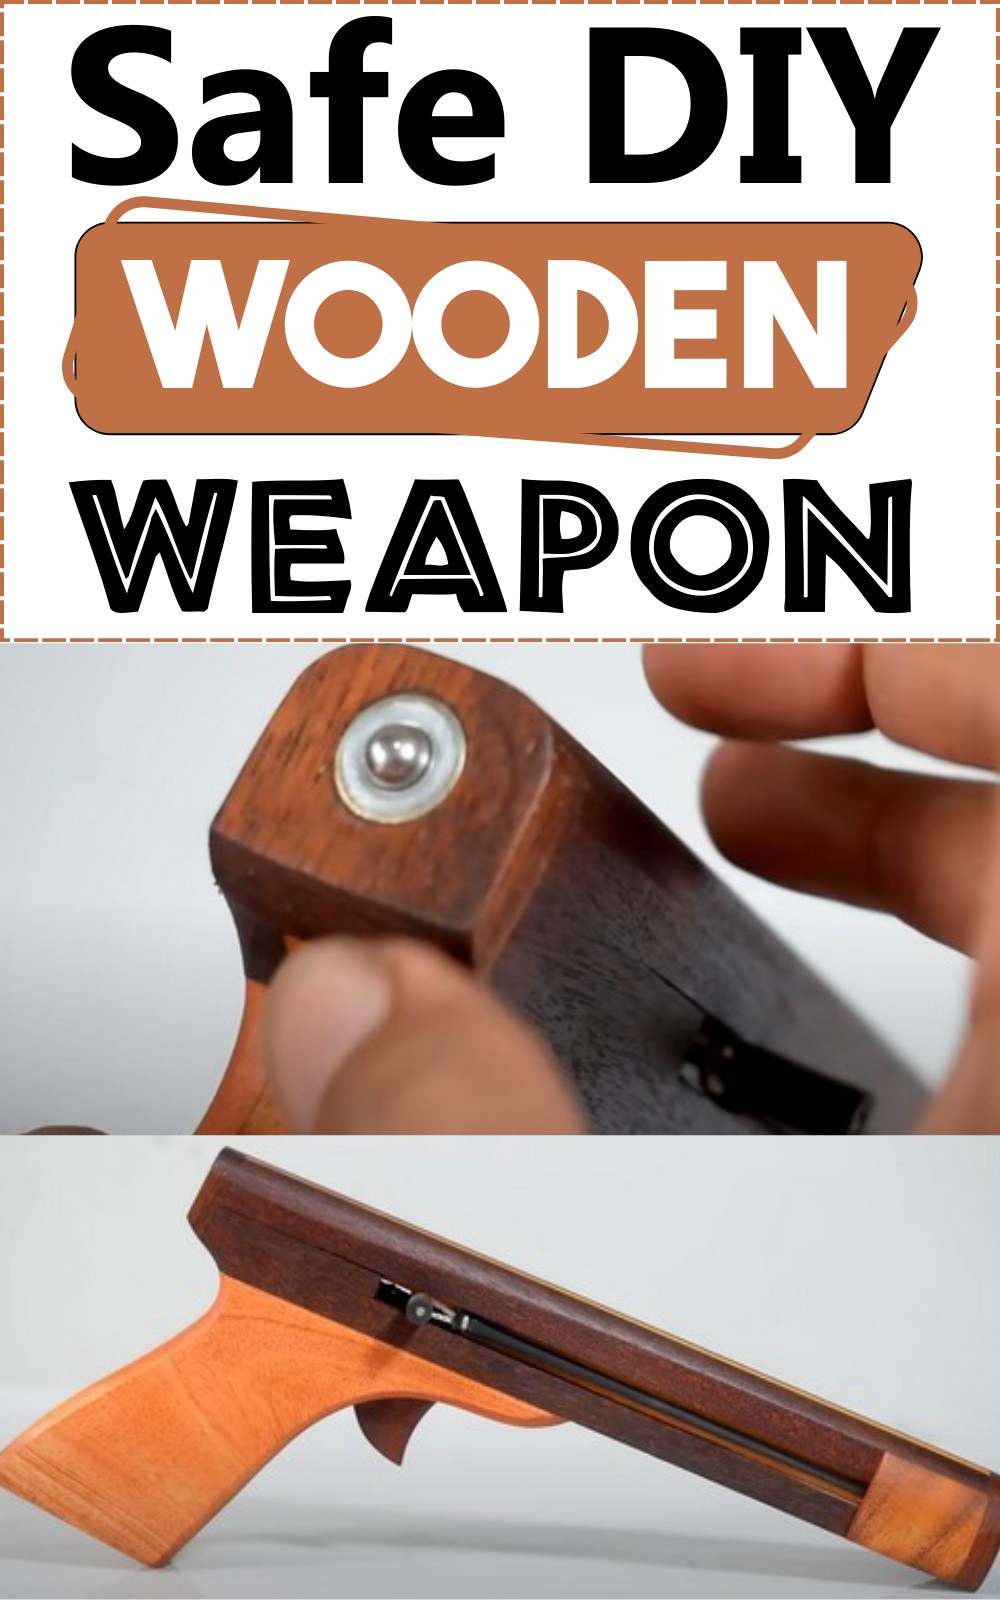
Creating a DIY wooden weapon using wood is a simple process that combines elements of basic carpentry and practical creativity. This DIY project is an approachable activity that can result in tools for self-defense, outdoor survival, or even just as an exercise in self-reliance. Please remember, while creating these items can be a fascinating and educational practice, they should only be used responsibly and with respect for the safety and rights of others.
Safety First:
- Never Point at People: Never point the homemade wooden gun at anyone, even in jest. It can still cause injury, especially if shot at close range.
- Avoid Aiming at Animals: It can be harmful or distressing for animals. Misuse could potentially have legal consequences.
- Misfire Risks: Accidentally, misfires can occur as the gun doesn’t have a safety lock. Always handle the gun as if it’s loaded and ready to fire.
- Only Use in Safe Environments: Make sure to only use the gun in a controlled environment where you are sure of a safe backdrop, far from unsuspecting people or animals.
- Keep It Unloaded When Not in Use: To prevent accidental discharge, store the gun unloaded.
- Educate Users: Ensure anyone using the gun understands these safety precautions. Lack of awareness can lead to unnecessary accidents.
- Respect Privacy and Property: Avoid using the gun in places where you could breach someone’s privacy or damage property, even inadvertently.
- Stay Within Legal Bounds: Depending upon jurisdictions, homemade guns may have legal implications. Be aware of regional laws and regulations to prevent legal trouble.
- Monitor Children: If children are using the gun, keep a close eye to ensure they are using it safely and responsibly.
- Safe Disposal: Should you wish to get rid of it, do so responsibly to prevent unsafe use by others. Disassemble it before disposal, if possible.
Making your DIY wooden weapon
Materials:
- Wood
- Metal Strip
- Screws
- Super Glue
- Magnet
- Elastic Tubes/Rubber Bands
- Metallic Ball (Bullet)
- Small Nail
- Short Pipe Pieces
- Washer
Tools:
- Jig Saw
- Saw
- Drill
- Screwdriver
- Sandpaper/Sanding Machine
- Polishing Material
Step-by-step Guide
Making the Handle Base:
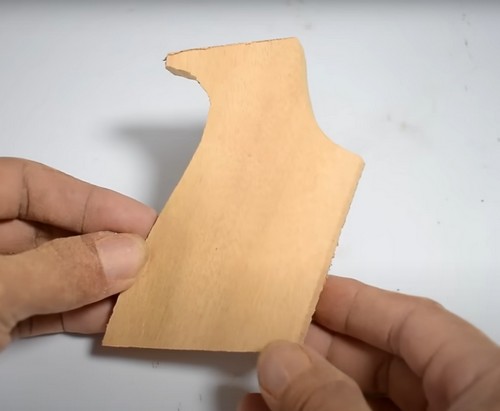
- This is your first step. Using a jig saw, you’ll cut a piece of wood into a comfortable shape that will form the handle of your weapon. This piece will act as the base of your weapon and support all the other parts.
Getting a Metallic Strip and Trigger:
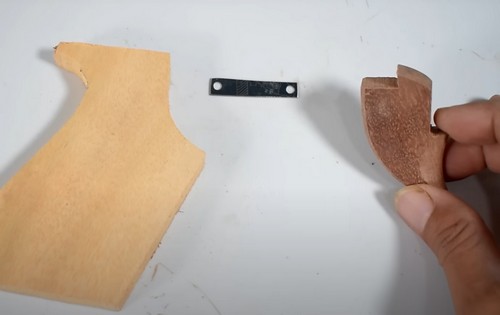
- You will then cut a metallic strip from a larger piece using a saw. Simultaneously, you will fashion a small trigger from some wood. These components will form the crux of your gun’s shooting mechanism.
See also:DIY Wifi Antenna To Boost Your Internet Connection
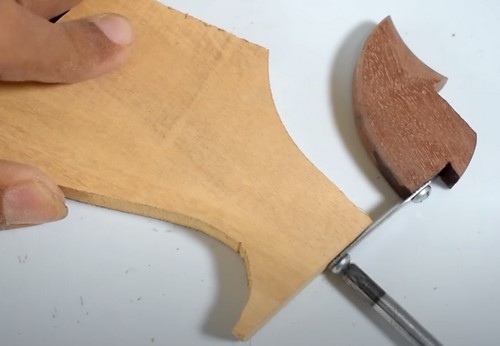
- You’ll take the wood-crafted trigger and, through the application of screws, affix it to the wooden handle base. This attachment will be facilitated by the previously cut metallic strip and is pivotal for the weapons functionality.
Adding Covers Around the Base:
- Next, cut out two additional pieces, which will act as side covers for the handle base, giving it a more refined look. Use super glue to securely attach these covers, affording your weapon an aesthetic enhancement and additional solidity.
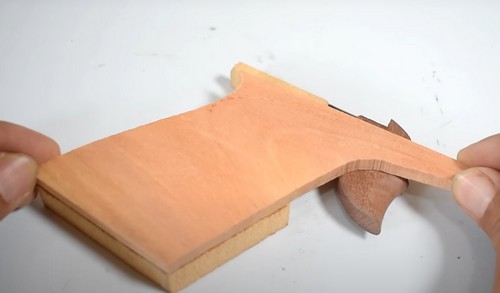
Crafting the Barrel Base:
- Cut pieces of wood according to the provided dimensions and glue them together to form a singular, coherent structure at the base of your weapons barrel.
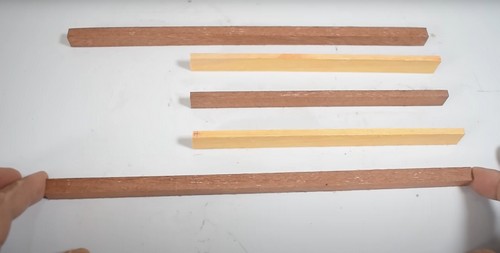
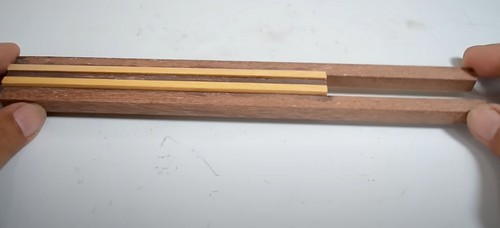
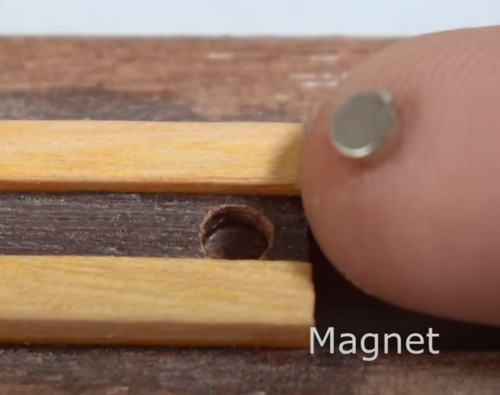
Adding Magnet to the Barrel:
- Drill a small cavity in this newly formed base and place a magnet inside. The magnet will be crucial in holding the ammunition (a metallic ball) in place.
Attaching the Barrel Base:
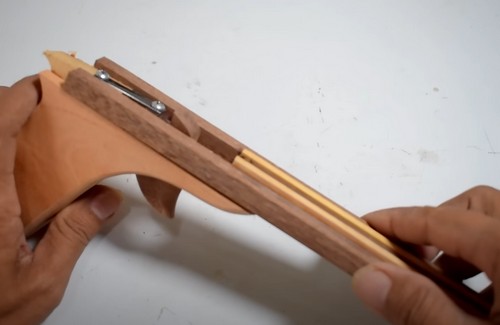
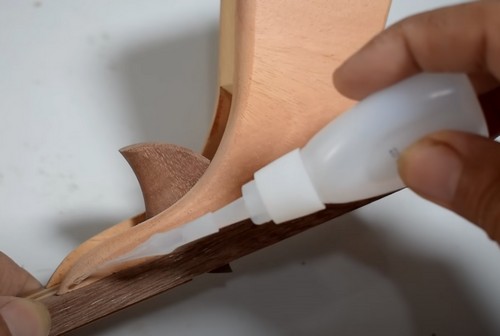
- Using more super glue, affix the barrel base to the handcrafted handle base. Now, your weapons is beginning to take discernible shape.
Making the spacings:
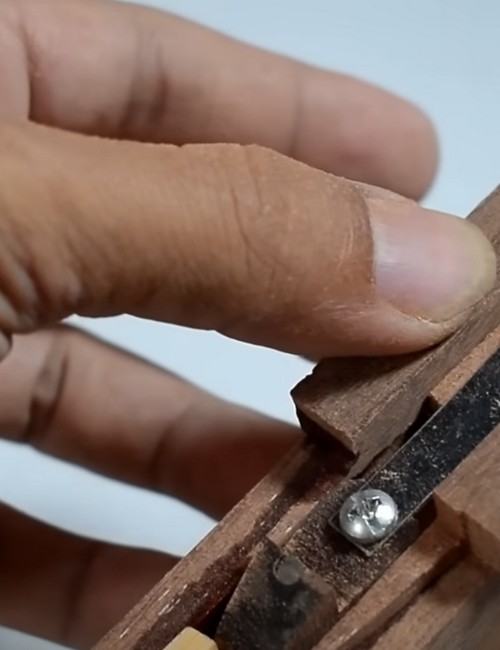
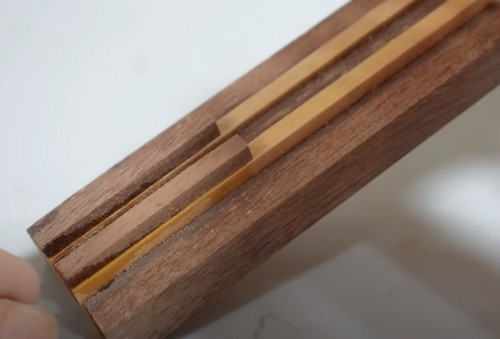
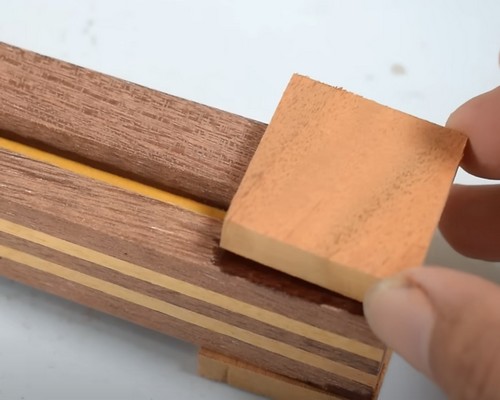
- Now, we’ll attach pieces of wood to the front and back sides. This elevates the barrel cover, creating space for the push mechanism to operate properly.
Making the barrel cover
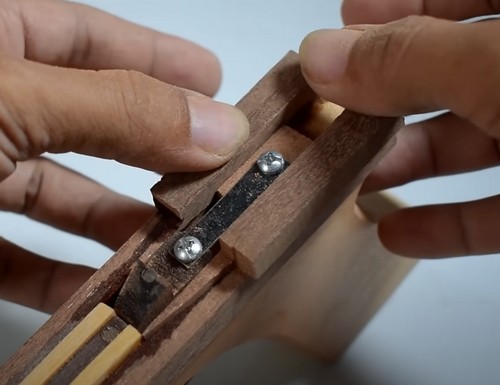
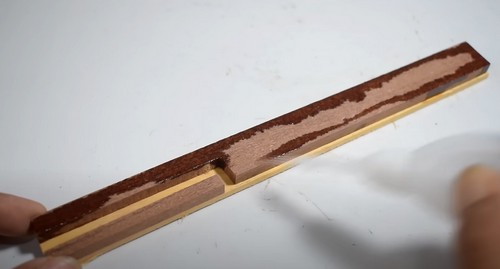
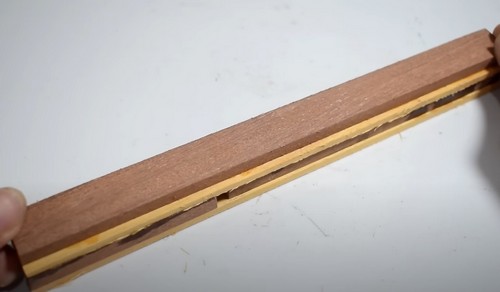
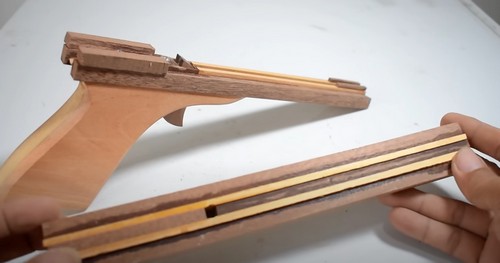
- Craft the cover of the barrel itself by layering pieces of wood until you have achieved the desired thickness, as shown in your reference images.
Affixing Wood Parts to the Front:
- On the front part of the barrel, we’ll attach a piece of wood on both sides. This will make it sturdier.
Creating the Bullet Entry Point:
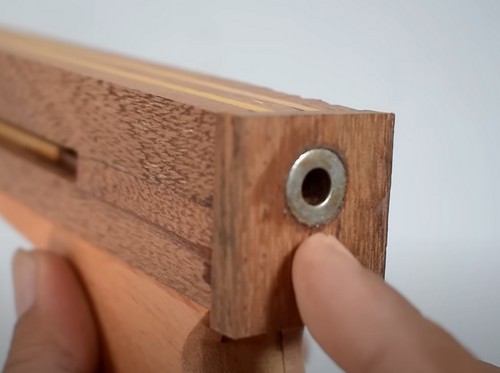
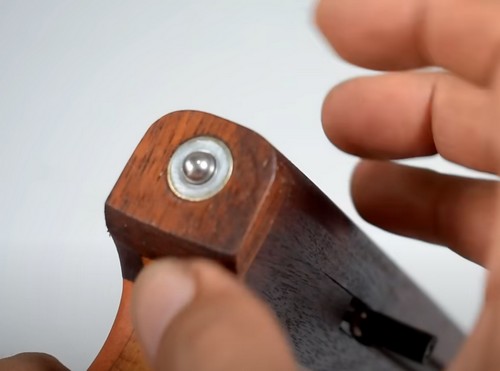
- We’ll now beautify the weapon and create a place for the metallic ball to enter. We will do this by attaching a piece of wood that has a hole in it and is decorated with a washer. This hole will be where the metallic ball, or bullet, goes in.
Crafting the Energy Source:
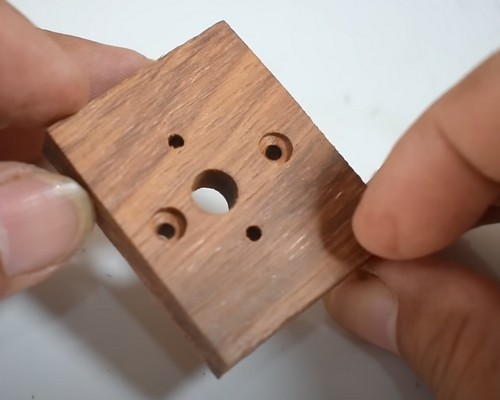
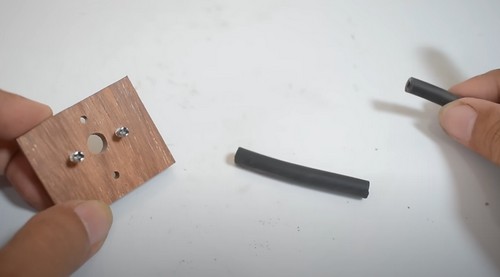
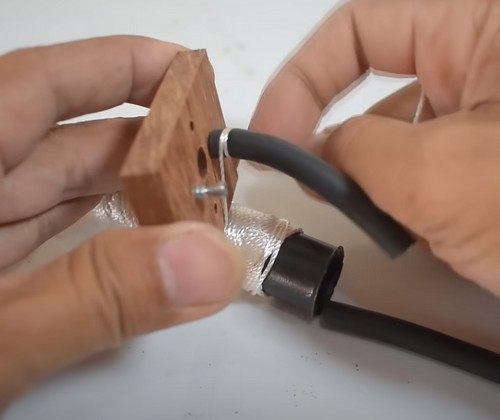
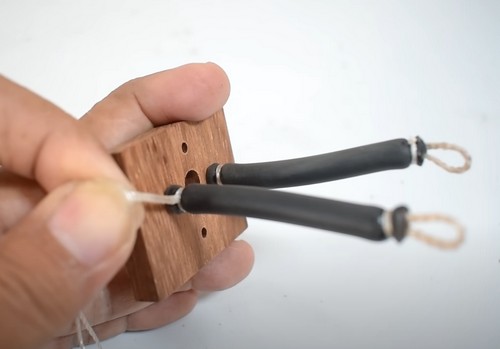
- With the gun’s body complete, it’s time to craft the energy source. It involves creating precise holes in a square piece of wood as per your schematic. Then, you will tightly bind the rubber tubes to screws, creating a push mechanism that is reminiscent of a classic catapult.
Mounting the Energy Source:
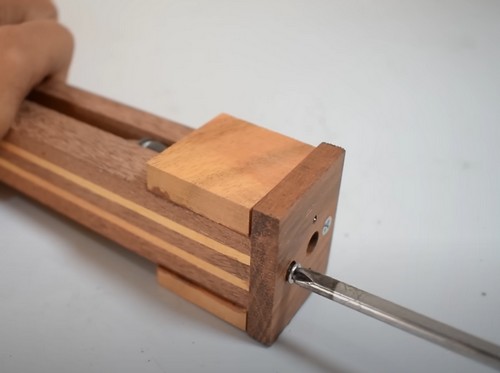
- Using screws, you’ll attach the created energy source to the front of your weapon, situating the propulsion system aptly at the weapon’s forefront.
Sanding the Weapon:
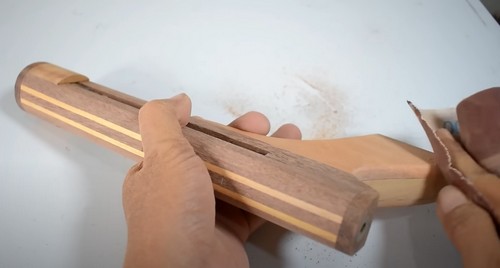
- A critical step in the process, you sand down the entire structure, using sandpaper or a machine, to smooth out any rough patches, or sharp corners. This provides a polished look and comfortable handling.
Attaching the Reload Hook:
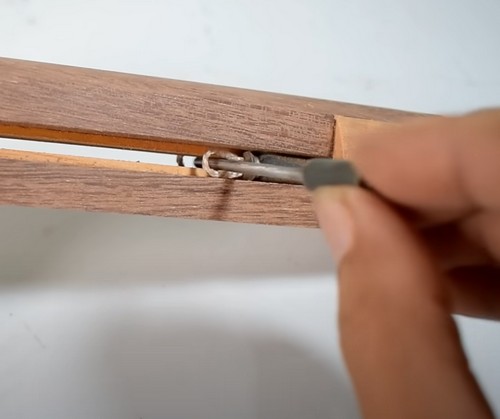
- This step facilitates reloading, making your weapon more user-friendly. Attach a small nail to tiny pipe pieces, which pass through the loops of the tubes, creating a hook for reloading.
Polishing:
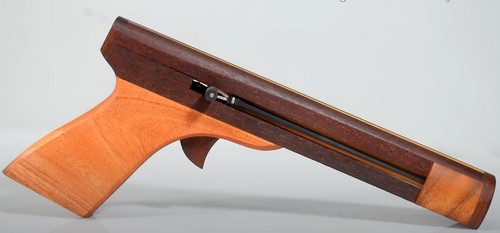
- Now that the structural work is complete, polish your masterpiece. This step not only enhances your weapon’s visual appeal but also provides a protective layer for the wood.
Loading the Weapon:
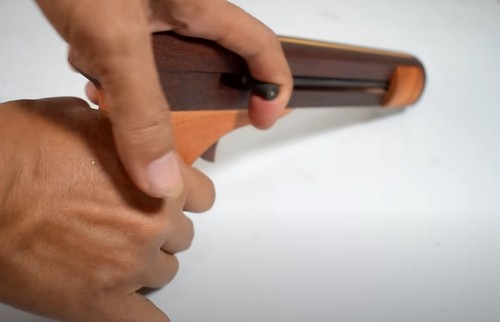
- After all the previous steps, now your weapon is ready to test. To load it, draw the reload hook back, priming the weapon for shooting.
Filling Bullet:
- Finally, load a small metallic ball through the gun’s rear entry point. The magnetic pull will keep the ball in position. When the trigger is pushed, the rubber mechanism is released, propelling the ball forward swiftly.

Leave a Reply