Become the master of your very own DIY weapons, perfect for things like archery and outdoor adventures. Just think once about how awesome it’ll be to show off a bow and arrows you made all by yourself! Our helpful guide will take you step-by-step so you become a DIY weapon whiz in no time. Whether you’re aiming at targets for fun or sharpening your survival skills, we’ve got a bunch of cool ideas that are simple to follow. With each idea, you’ll learn to create something amazing with your hands using materials that are easy to find.
DIY Weapon Ideas
PVC Crossbow DIY
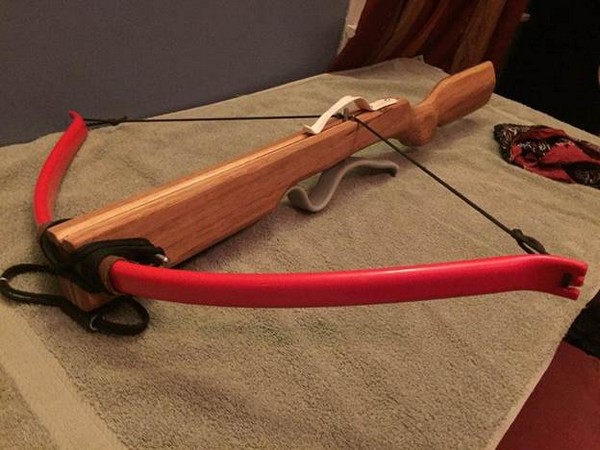
Uses: It’s perfect for those who love to spend their time outdoors and have a passion for shooting targets. Whether it’s to hone skills or just for fun in the backyard, this crossbow ensures a good time without the need for big-game hunting.
Materials:
Red oak, hickory, and mahogany wood
Half-inch diameter PVC pipe
Fiberglass driveway markers
Scrap PVC, gate hinge, and old bolts
Making:
Creating this crossbow brings together the simplicity of PVC and the strength of wood, making it a durable yet easy-to-handle weapon. Start by selecting the right wood and PVC pipe, ensuring both are of good quality for a sturdy build. The construction process involves cutting wood and PVC to size, laminating wooden pieces for the stock, reinforcing the PVC for the bow (prod), and finally, assembling all parts with precision.
Don’t forget to sand for smoothness and apply a protective oil seal on the wood for a beautiful finish. The making process, besides being a learning experience, turns into a wonderfully practical creation.
DIY Cross Branded Axe
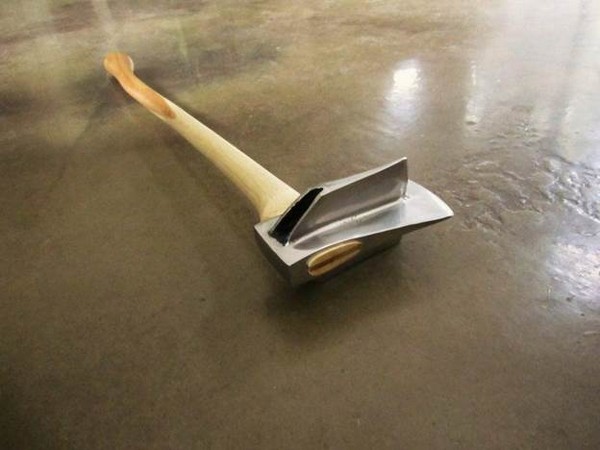
Uses: Traditionally, axes split wood into two, but this modified marvel can divide a single log into multiple pieces in one go. It’s not only efficient but also a joy to use, making the task of preparing firewood or creating kindling easier and more satisfying.
Materials:
2 x axe heads
1 x Axehandle
Angle grinder with cutting discs and flap discs
Welder
Vice
Diamond file
Olive oil
Making:
It begins with the careful cutting of one axe head into two halves, then skillfully welding these halves onto either side of another axe head. The process includes grinding, aligning, and welding with precision to ensure the blades are perfectly shaped and balanced. After welding, the axe head undergoes further grinding and polishing until it gleams like the morning sun.
The final touch involves attaching a sturdy handle and treating it with olive oil for a smooth, comfortable grip. This meticulous process results in an axe that not only looks impressive but performs incredibly well.
How To Make A Flamethrower
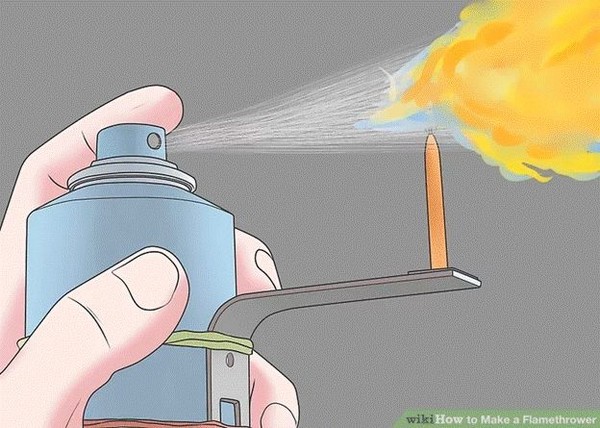
Uses: Whether you aim to impress friends, try something new, or simply alleviate boredom, acquiring the know-how to make a flamethrower fits the bill. Please use extreme caution, as flamethrowers are potentially dangerous and should only be used under controlled and responsible circumstances. They can be used for controlled burning of weeds, clearing excess vegetation, or even entertainment purposes in a safe, regulated environment.
Materials:
An aerosol
Lighter or other ignition source
High-pressure air compressor
Safety equipment, such as gloves and goggles
Making:
Building a DIY flamethrower, fascinating as it sounds, needs careful attention to detail and safety. Begin with a simple design requiring minimum tools. Whether you’re aiming for a basic or a more elaborate version, the steps can vary. The general process primarily involves attaching a fuel source to a controllable ignition device, carefully crafted to create a spray that ignites into flame.
Keep in mind, that a lot of refining and testing is required to ensure a safe and functional design. The entire procedure should be carried out adhering to safety practices and under expert supervision, given the potential risk associated with the process.
Two-Pronged Hunting Spear DIY
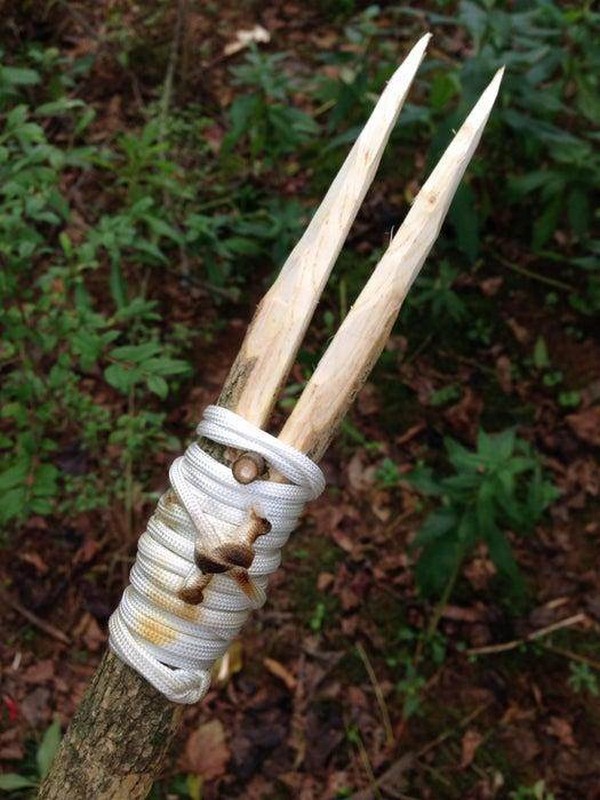
Uses: This Two-Pronged Hunting Spear stands as a testament to the age-old tradition of hunting, offering an effective way to catch smaller game, especially suited for aquatic adventures like frog and fish hunting.
Materials:
A knife
Cord or thick string, like paracord
A long straight stick (about 6 feet works well)
A few twigs (1-2 inches in length)
Making:
Crafting this spear involves a series of straightforward steps, starting with a knife, some paracord, a long stick, and a few small twigs. By shaping the stick’s end and securing it to prevent further splitting, this DIY project evolves into a reliable hunting gear piece. The inclusion of a simple twig to maintain the prong’s separation culminates in a sharp, sturdy weapon. This crafting journey not only endows you with a practical hunting tool but also instills a sense of accomplishment upon completion.
How To Make A Bow And Arrow
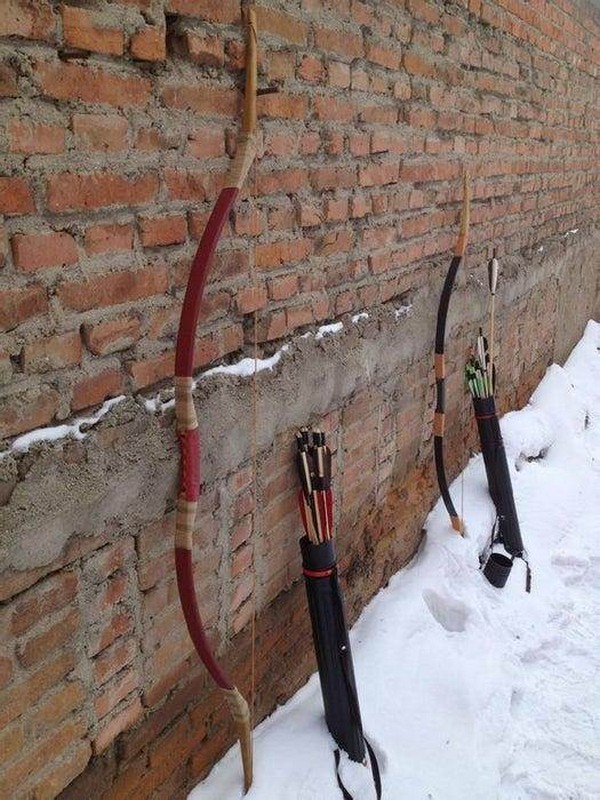
Uses: Making a bow and arrow can bring a deep sense of connection to historical methods of hunting and sport. Whether for target practice in the backyard, competitive shooting, or simply as a beautiful piece of handcrafted art, owning a bow and arrow you’ve made yourself provides both satisfaction and endless hours of enjoyment.
Materials:
Wood for the bow shaft and tip
Glass Fiber Sheet
AB Glue (or Epoxy Resin)
Nylon and Cowhide for wrapping
Protective gloves
G Clamp
Sandpaper
Making:
Creating a bow and arrow involves a step-by-step process, starting from shaping wood to fitting the string. It’s a journey of transforming simple materials into a functional piece, with hands-on work that includes planning, cutting, smoothing, and assembling. Key to successful creation is taking time with each step, ensuring the glass fiber and wood bond well, and the shaft is perfectly aligned. Wrapping, polishing, and painting add the finishing touches to make the bow both durable and visually appealing, culminating in a functional piece that’s ready for action.
DIY Super Soaker
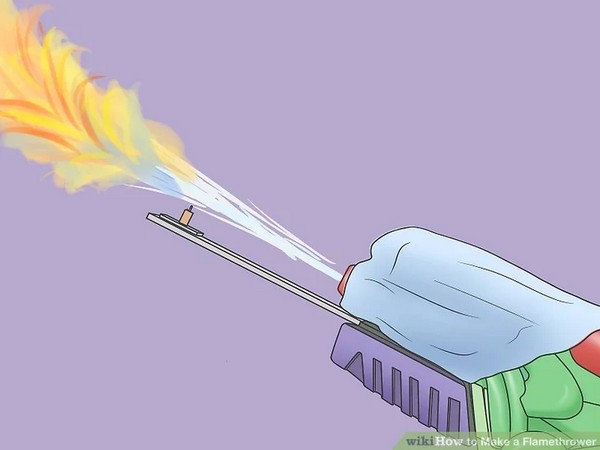
Uses: This homemade marvel is not only great for cooling off on a hot summer day but also serves as an inventive way to engage in playful water battles with friends and family.
Materials:
A sturdy tube
A flexible hose
A large water bottle or a clean, empty detergent bottle
Waterproof sealing tape
A pump mechanism
Making:
The process of putting together your own Super Soaker draws inspiration from the basic principles of constructing a flamethrower, albeit in a much safer, water-based format. It involves assembling a nozzle, a pressure system, and a water reservoir. By modifying these elements for safety and replacing materials with water, one can create a powerful, fun-to-use water-squirting device. Think of channeling water pressure through a controlled nozzle to achieve that satisfying squirt, all made possible by your own hands.
DIY Lighter
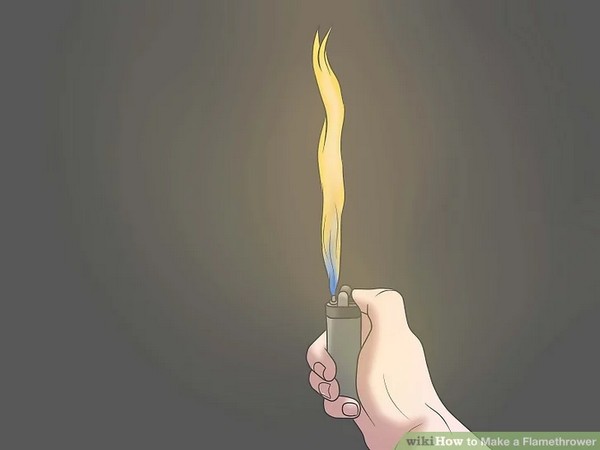
Uses: Creating a DIY Lighter is an impressive feat that blends practicality with a touch of creativity. This homemade gadget serves a variety of purposes, from lighting candles to starting a campfire, making it a must-have in any DIY enthusiast’s toolkit. The joy of flicking a lighter made with your own hands is unmatched, offering a reliable source of fire that’s both handy and satisfying to use.
Materials:
A small metal tube
A flint or similar sparking mechanism
Cotton or any absorbent material
Lighter fluid or a safe, flammable substance
A striking wheel or piezoelectric igniter
Making:
The design of a flamethrower includes a reservoir for the fuel, a propellant system, and an ignition system. The fuel should be easily flammable while the propellant acts to push the fuel out in a spray. The flamethrower is assembled by connecting the pressurized fuel container to a tube or compression system leading to a nozzle. The ignition source is placed at the end of this tube where the fuel exits, allowing it to ignite.
Please remember that creating a flamethrower is dangerous and should not be attempted without proper safety measures and supervision.

Leave a Reply