
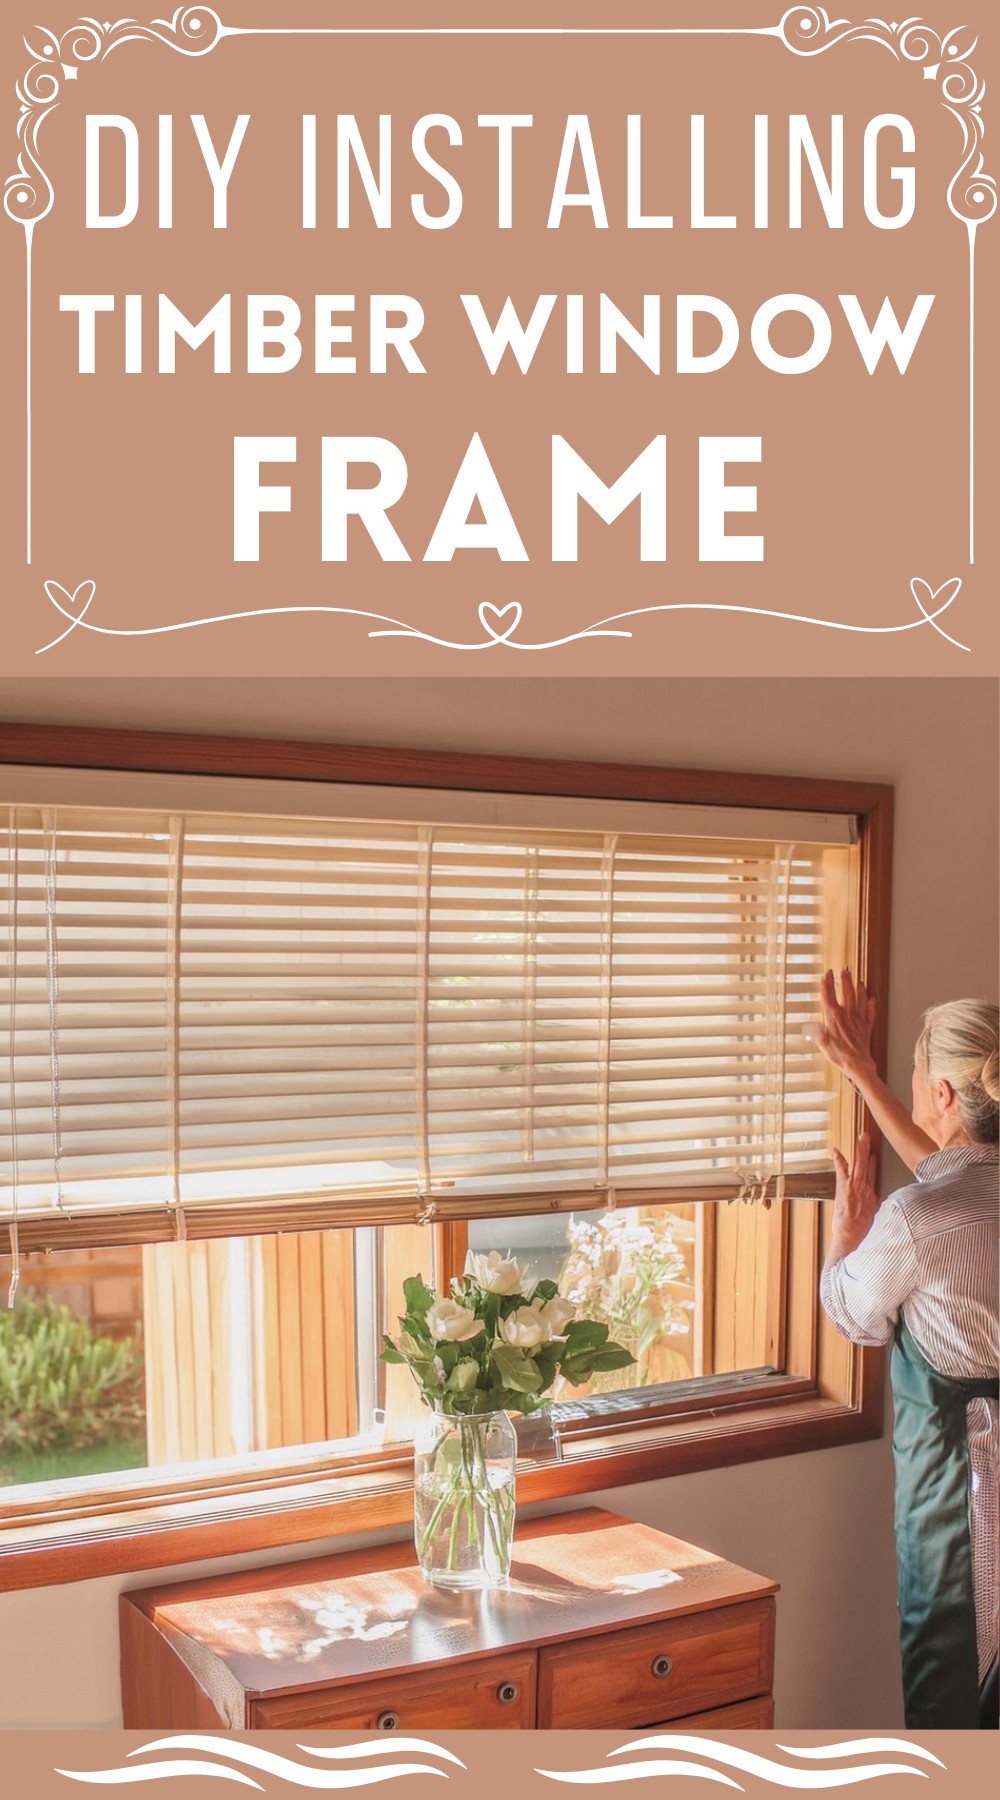
Installing this timber window frame is one of the most incredible ways to upgrade your home’s exterior look. Not only does this kind of frame withstand harsh conditions, but it also adds timeless beauty with its natural and warm look. Plus, the flexibility in designs and sizes allows you to custom-fit your existing window spaces. Going for timber wood also means you’re choosing an eco-friendly alternative, which is a bonus for environment lovers!
DIY Installing Timber Window Frame

Materials Needed:
- T2 Blue pine (90 x 45mm)
- Blueboard
- Insulation
- Plasterboard
- Plastic wall plugs (also known as spaghetti)
- Flashing (300mm wide)
- 240 grit sandpaper
- Sikkens HLS Light Oak stain
- Sikkens Supernatural Top Coat
- Dulux Weathershield paint (for blue board)
- Acrylic wall paint (for plasterboard)
- Timber filler
- Two-part epoxy (for clout heads)
- Paper tape and compound (for setting plasterboard)
Tools Required:
- Saw
- Nail gun
- Drill
- Spirit level
- Hammer
- Fibro cutters
- File (for tidying cut edges)
- Clout punch
- Measuring Tape
- Caulk gun
- Step-by-Step Installation Guide:
Building the Stud Wall:
Begin by sizing up the surplus space beneath the new window dimensions and tailoring the top plates, the base plates, and the studs to fit precisely. Slice the flashing to span the needed length, bending up the ends for a weatherproof seal. Construct two separate frames, an outside and an inside one, and connect each joint via a duo of nails, ensuring sturdiness.
Removing the Old Window:
Drill out the centre mullion rivets and cut through the rails to discard the deteriorated sash. Wiggle out the window stiles to prepare for the new timber addition.
Installing the New Frame:
Drape flashing atop the stud wall plates, tuck the edges, and set the timber frame into its new home. With timber wedges and a trusty spirit level, get the window perfectly upright before securing it in place. Drill clearance holes, plug in plastic spaghetti inserts, and drive-in nails to firm up your woodwork.

External and Internal Cladding:
Measure, cut, and attach the blue board, then tidy the edges. Place insulation within the newly framed space, fit the freshly sized plasterboard and create a seamless finish with stud adhesive, screws (or clouts), paper tape, and ample coats of compound.
Completing the Installation:
Mount the winder on the sill, ensuring it aligns with the rebate and the sash for smooth operation. For a resilient, elegant finish, coat your project in Light Oak and then Supernatural Top Coat. Finally, treat the blueboard with weatherproof Dulux paint.

Upgrade your home with a step-by-step guide to installing a timber window frame. Perfect for those looking to replace old windows with a classic wood design, enhancing their home’s look and feel with a touch of craftsmanship.

Leave a Reply