Are you in need of a super easy and helpful way to make a dog cone at home? You’re in luck! We understand that our furry friends sometimes get boo-boos and need some help to avoid licking their wounds. That’s why we’ve compiled a fantastic series of simple DIY Dog Cone plans for you! Whether you’re crafty or not so much, our ideas are going to be a perfect fit. You’ll be able to whip up a comfy cone for your pup in no time, helping them heal faster while still being the happy tail-waggers they are.
DIY Dog Cone
How To Make A Dog Head Cone
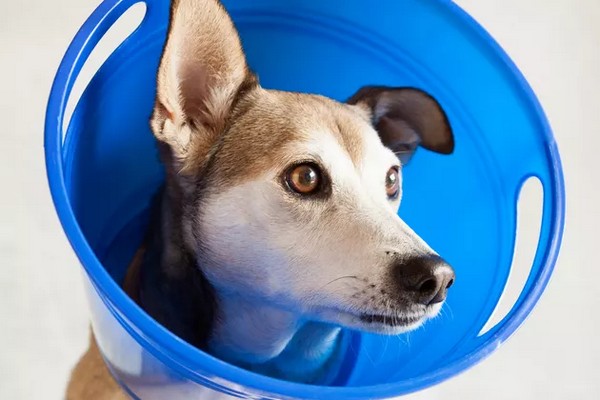
Uses: A dog head cone, often referred to as an “Elizabethan collar” due to its shape, is a very helpful tool for those times when our furry friends have a wound or irritation. A simple cone around their head helps to prevent this by creating a barrier between their mouth and the affected area. It’s a simple, caring device to ensure their quick recovery.
Materials:
Plastic container (flower pot or ice cream bucket)
Measuring tape
Masking tape
Scissors
Making:
The process starts by selecting a suitable plastic container, like a flower pot or an ice cream bucket. You’ll need to measure the distance from a point slightly ahead of your dog’s nose to its neck collar. This measurement serves as the length of the cone. Also, please measure the circumference of the dog’s neck collar without unfastening it. This forms the base of the cone. Next, you’ll cut the plastic container accordingly and cover its edges with masking tape for your pet’s comfort. Lastly, fit the cone around your dog’s head. It should sit so it can slide back slightly when the dog lowers its head to eat or drink.
DIY Dog Cone Collar Alternative
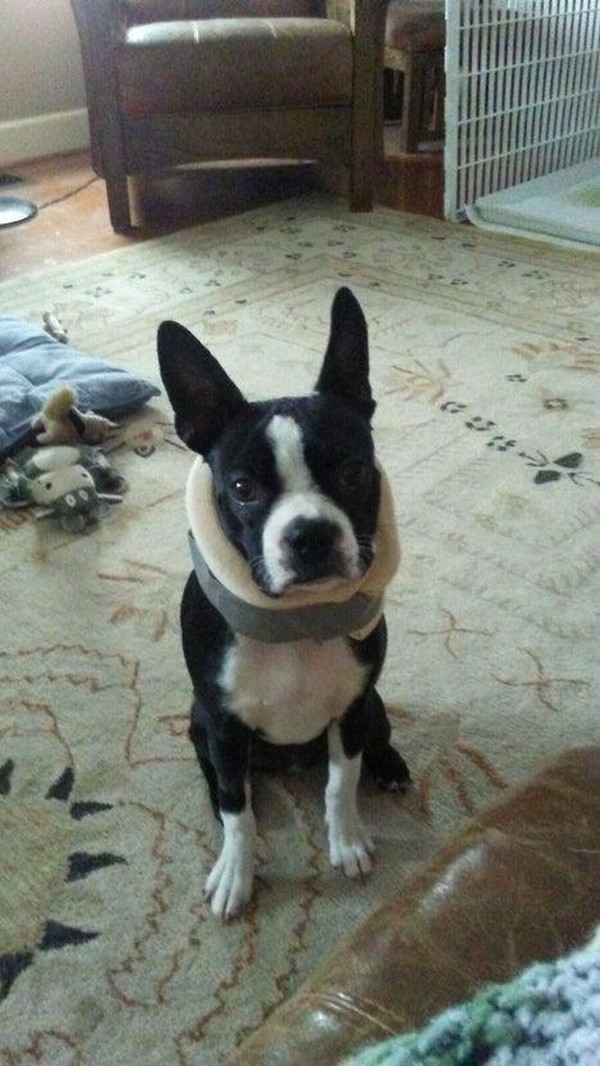
Uses: This alternative collar prevents your beloved pets from reaching sensitive areas after medical procedures, ensuring a smooth healing without impeding their general comfort or mobility.
Materials:
Foam cervical collar
Standard duct tape
Making:
The main component is a foam cervical collar, which will be adjusted to fit snugly around your dog’s neck. Ensuring the collar is not too tight or loose is vital for its comfort and effectiveness. Once the fit is correct, the collar is secured using standard duct tape, creating a robust collar that supports your pet’s activity while providing the necessary protection for their healing process.
DIY Homemade Dog Cone Alternative
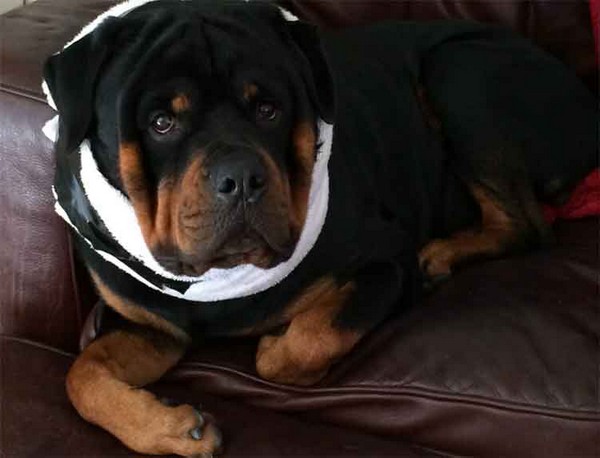
Uses: This kind of cone is easy for dogs to wear, letting them rest better, eat and drink without a hard cone getting in their way. It’s a very simple solution to make sure your furry friend gets better faster while still being able to enjoy their everyday activities.
Materials:
A thick towel
Duct tape
Peanut butter (without xylitol) for distraction
A friend to help
Making:
To create this softer cone, you’ll take a big towel and roll it up until it’s snug but not tight around your dog’s neck. The towel is then kept in place with strips of tape. You can easily adjust it to ensure it doesn’t squeeze your dog’s neck too much. Give the towel a fresh roll each day to keep it nice and padded. And if it gets dirty, switching out for a clean one is a breeze.
DIY Replace the Cone of Shame
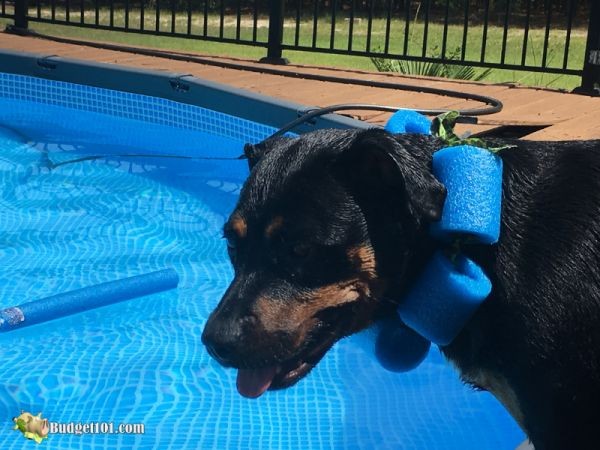
Uses: The pool noodle collar offers a more comfortable and mobile alternative and keeps your pet from pulling stitches. Unlike the typical pet medical collar, the pool noodle version doesn’t interfere with the ability to eat, drink, or sniff about, potentially lessening the misery your pet may feel during recovery.
Materials:
A pool noodle
Kitchen shears
Your dog’s collar or wide piece of ribbon
Making:
Cut 2-3 inches long pieces off a standard pool noodle. You then thread these cut-outs onto your dog’s collar or on a wide piece of ribbon. If you’re using a ribbon, looping it back through the noodle can keep the pieces from sliding around. Adjust the number and size of pieces according to your dog’s size. Ensure that the noodle collar is thick enough to stop your dog from getting to the area you’re trying to protect but not too thick to make them uncomfortable.
DIY Cardboard Cone Collar
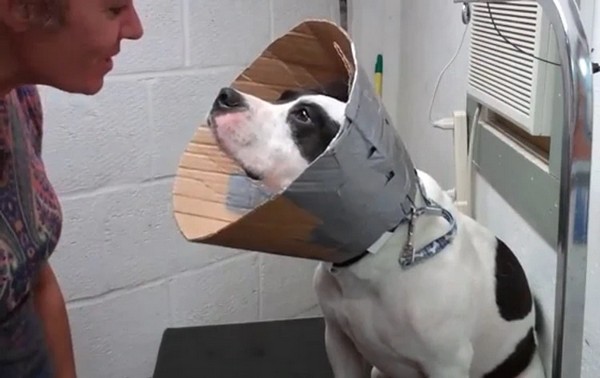
Uses: Your dog’s healing is the top priority, and the DIY Cardboard Cone Collar is just the right helper. It’s a compassionate alternative to the hard, plastic cones, allowing your pet to move easily and rest comfortably while staying safe.
Materials:
Cardboard
Vinyl or durable fabric strips (or duct tape)
Dog’s regular collar
Shoelaces or zip ties
Tape (if needed)
Making:
Begin by shaping the cardboard into a ‘rainbow’ that will comfortably wrap around your dog’s neck. Next, create smooth loops using vinyl strips and secure them onto the collar for your dog’s regular collar to slide through. Once your dog’s collar is in place, adjust the cardboard cone for a good fit and use shoelaces or zip ties to hold the overlapping edges together.
DIY Homemade Dog Cone

Uses: A cost-effective, comforting alternative to store-bought cones, often hard on the pets and the owner’s pocket. An added advantage of a homemade dog cone is the flexibility to customize it, ensuring it perfectly suits your dog’s size and comfort.
Materials:
Measuring Tape
Pen and Paper
Thick foam
Felt
Needle and Thread
Velcro
Making:
Start by measuring your dog’s neck circumference from the back of his ear to his shoulder for a perfect fit. Now, cut a thick foam to these measurements, with an additional six inches for overlap. Then, create a felt sleeve that snugly accommodates said foam, adding four to five inches to the length for Velcro attachment. Once ready, insert the foam in the felt sleeve, secure it with Velcro, and it’s ready!
DIY Soft Alternative to Elizabethian Collar for Dog
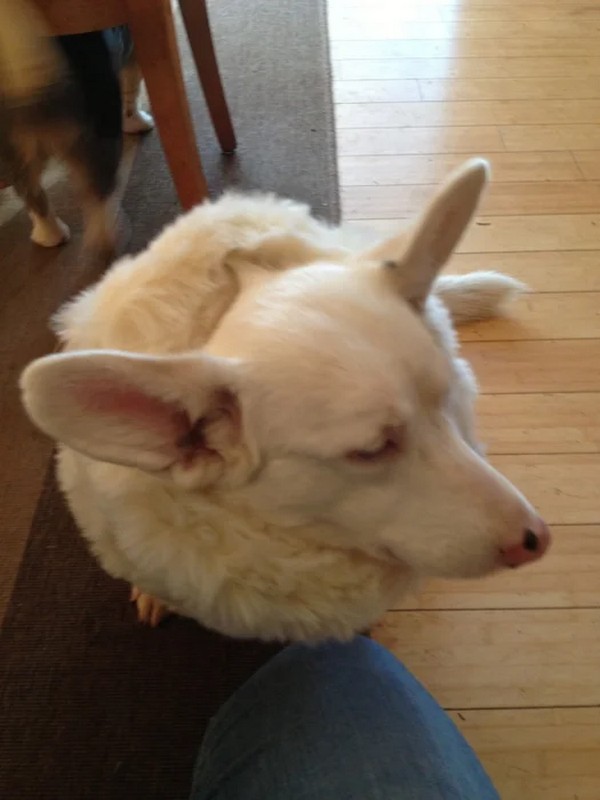
Uses: If your beloved pet finds the traditional cone scary or uncomfortable, this soft collar could be your answer. It’s a caring, comfortable solution that prioritizes your dog’s peace of mind while ensuring their health remains in check.
Materials:
Measuring tape
Thick foam
Fake fur or other soft fabric
Velcro
Needle and Thread
Making:
After obtaining measurements, trim a piece of thick foam to size, ensuring a little extra for overlap. Wrap this foam in a sleeve of fake fur or soft fabric, measuring the material slightly longer than the foam for your Velcro closure. It’s like dressing up a foam tube in a cozy coat with a Velcro fastening. Once assembled, it’s ready to provide comfort and security for your recovering pet.
DIY Elizabethan Dog Collar Tutorial
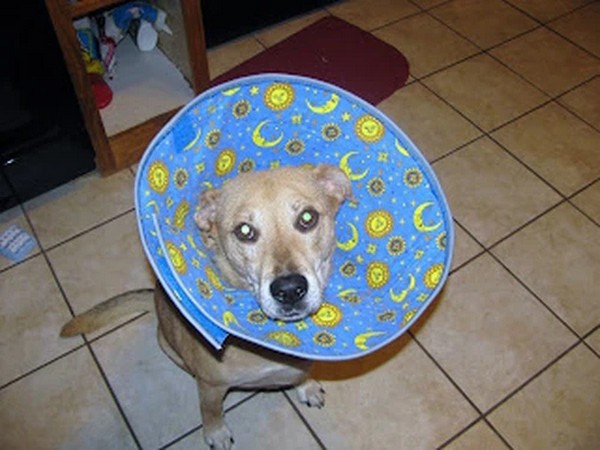
Uses: By creating a homemade version, not only do you save on costs, but you provide a more personalized and comfortable solution for your dog, contributing positively towards the healing process. Your pet will be able to eat, sleep, and move around more naturally and be far less stressed with this DIY Elizabethan Dog Collar.
Materials:
Paper for drawing your pattern on
An oversized sun visor
Vinyl (1 yard)
Fabric for a liner (1 yard)
Pencil
Scissors
Touch Tape or other hook-and-loop fasteners
Sewing machine and thread
Making:
Initially, measure up the size you need using an oversized sun visor, adjusting it around your dog’s neck to get the necessary width and height. Next, use these measurements to cut a circle out of vinyl and another of liner fabric. One cut, slit the vinyl across the radius so that you can form it into a cone matching your earlier measurements. Attach the liner fabric to the back of the vinyl cone to make it more comfortable for your dog. At the joining slit, secure with ‘Touch Tape’ or other hook and loop fasteners, ensuring they’re positioned outward to prevent abrasion against your dog’s skin. Finally, add a vinyl strip around the cone’s edges to reinforce the collar’s structure.


Leave a Reply