
This DIY project will extend the life of discarded materials while providing a practical solution for sustainable living can be incredibly rewarding. This DIY chicken coop project is not just about saving money, but it’s also an exercise in resourcefulness and environmental responsibility. Follow along to learn how to create a cozy and functional home for your chickens using almost entirely reused or repurposed materials. Whether you’re an experienced builder or a first-timer, this guide will help you through crafting a strong, weather-resistant coop that your feathered friends will love.
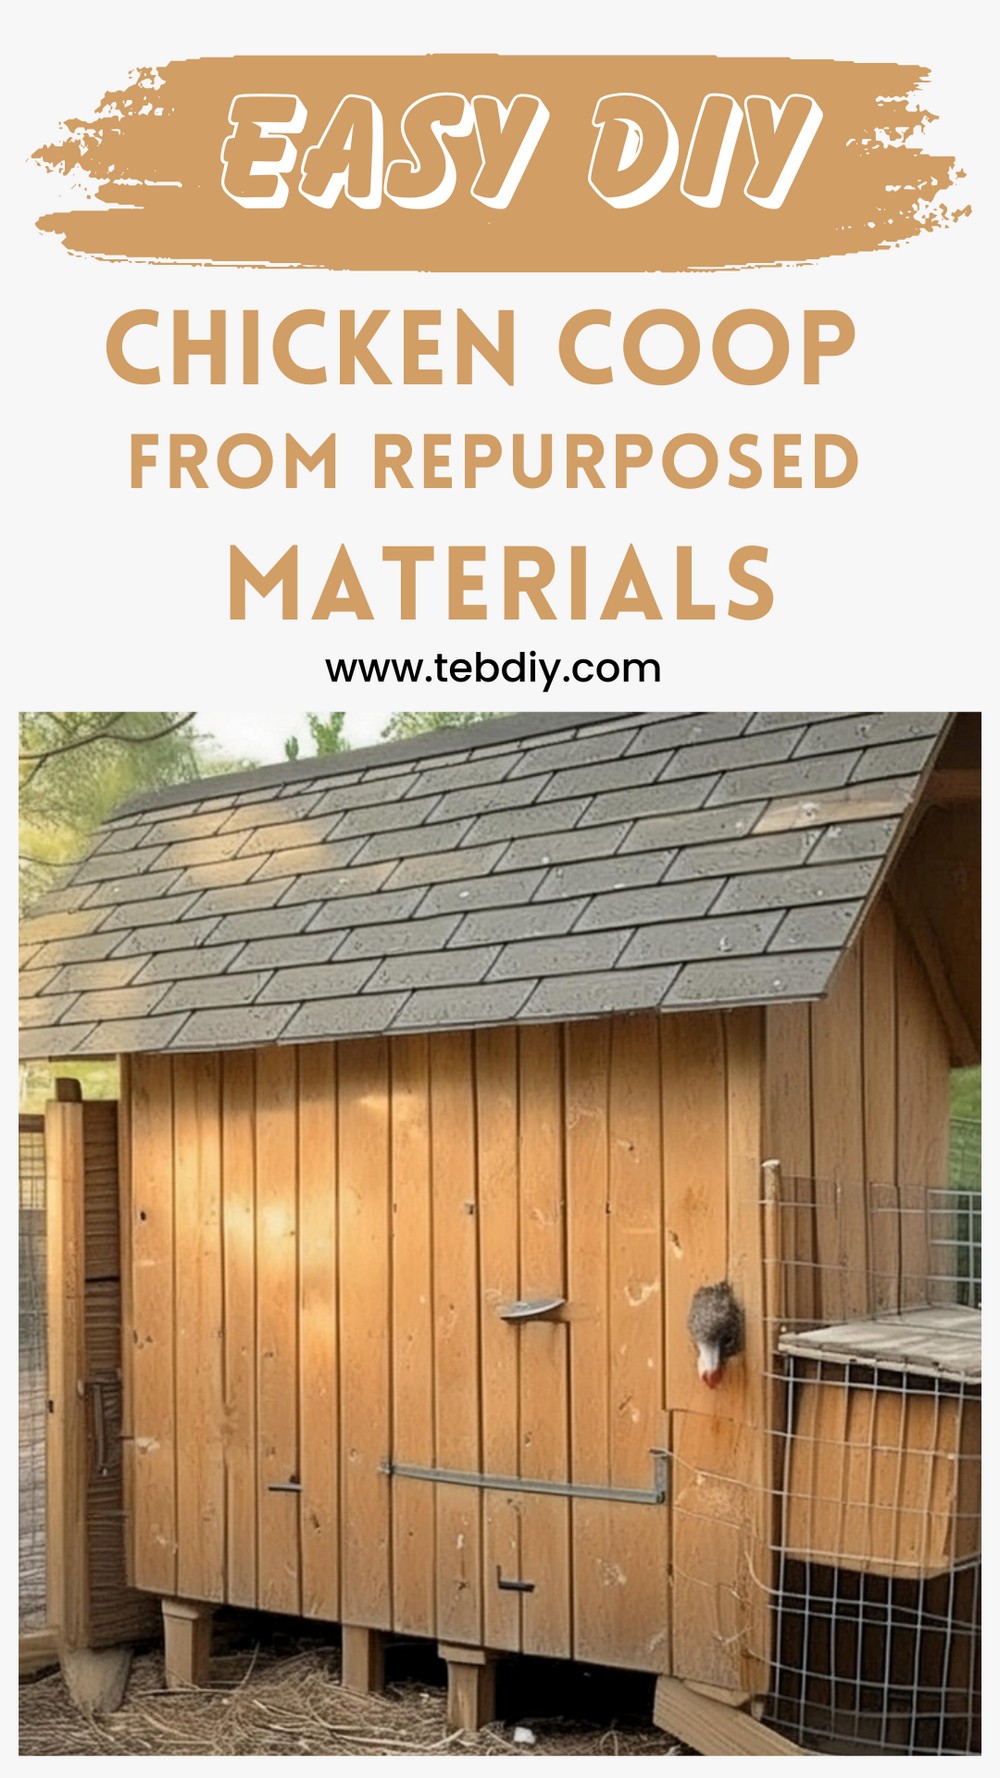
DIY Chicken Coop
Materials Needed:
- Scrap planks (for sides, trusses, screen windows, and doors)
- Plywood (for roofing, base/floor, and nesting boxes)
- Pallets
- Hinges and window locks (from old windows)
- Weatherproofing stain and varnish
- Concrete or cinder blocks
- Pressure-treated fence posts
- Bricks (for exterior fencing)
- Specialized heavy-duty lumber pallets
- Asphalt shingles
- Chicken wire/fencing material
- Nails, wood/drywall screws
- Other materials for chicken care (like automatic watering devices, grass clippings, and chicken feed)
Tools Used:
- Hammers
- Rechargeable 18V drill
- Table saw
- Shovels (for digging post holes)
- Jigsaw
- Heavy-duty staple gun with long staples
- Screwdrivers & pliers or nail removers
- Standard toolbox (for various other tasks)
Step-by-Step Guide to Building an Awesome Chicken Coop
Select the Perfect Location
The first step to building your chicken coop is choosing a strategic location in your yard. We recommend a spot with a serene view, minimal vegetation (chickens will handle the rest), and a balance of sun and shade. This helps in ensuring the chickens are comfortable and the coop is stable.
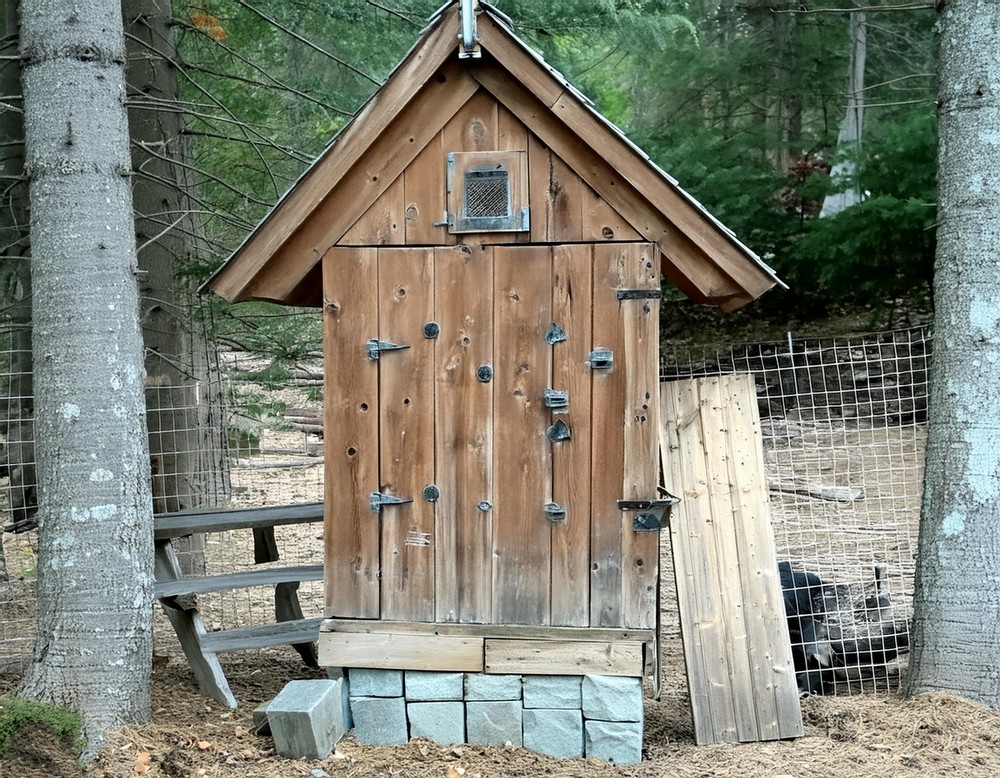
Establishing a Solid Foundation
Begin by preparing the ground; you might need to sieve out rocks and sand if necessary. We opted for stability with concrete blocks over decorative bricks. Layering these blocks and ensuring they are well-leveled creates a sturdy base. Two pallets are then placed atop the prepared blocks to form the floor of the coop.
Prep and Safety Check
Ensure the safety of the coop by removing any nails or splinters from used materials. This is essential to prevent injuries to both you and your chickens.
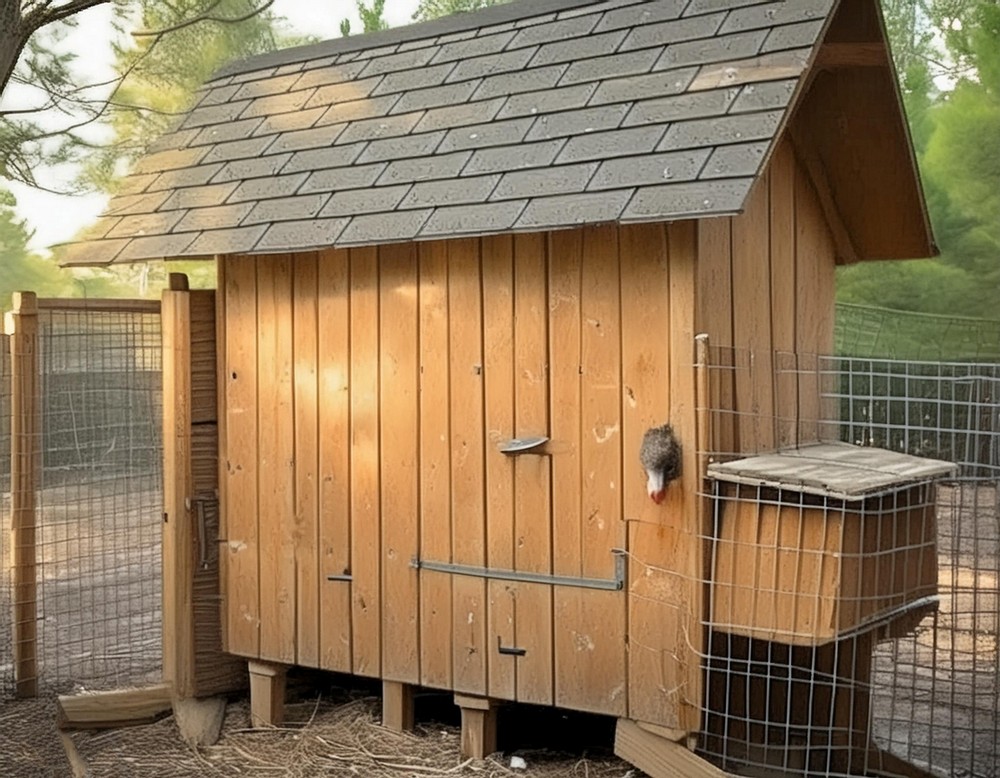
Construct the Sides and Roof Trusses
Mount the several specialty pallets cleared of nails to form the walls of the coop. Strengthen these sides by using robust lumber. Next, craft trusses for the roof using strong scrap planks and precise cuts. It’s advisable to involve a mock-up process to perfect the fit.
Assemble the Roof
With the sides and trusses in place, mount the trusses to the coop and balance a center beam for additional support. Secure everything tightly with wood screws. Afterwards, fix the plywood to the trusses for roofing. Ensure all joints and gaps are properly sealed to prevent predator access.
Waterproofing the Coop
Before the weather tests your craftsmanship, apply a weatherproofing stain on the roof followed by laying asphalt shingles. This shields your coop against rain and snow, ensuring durability through harsh weather conditions.
Paint and Protect
To further ensure longevity, stain and varnish all outer and exposed wooden surfaces, which helps in protecting against the elements and also adds to the aesthetic of your coop.
Doors and Windows
Craft a chicken door and install screened windows for ventilation. Use sturdy planks and secure fittings to ensure these components not only function well but also enhance the coop’s security.
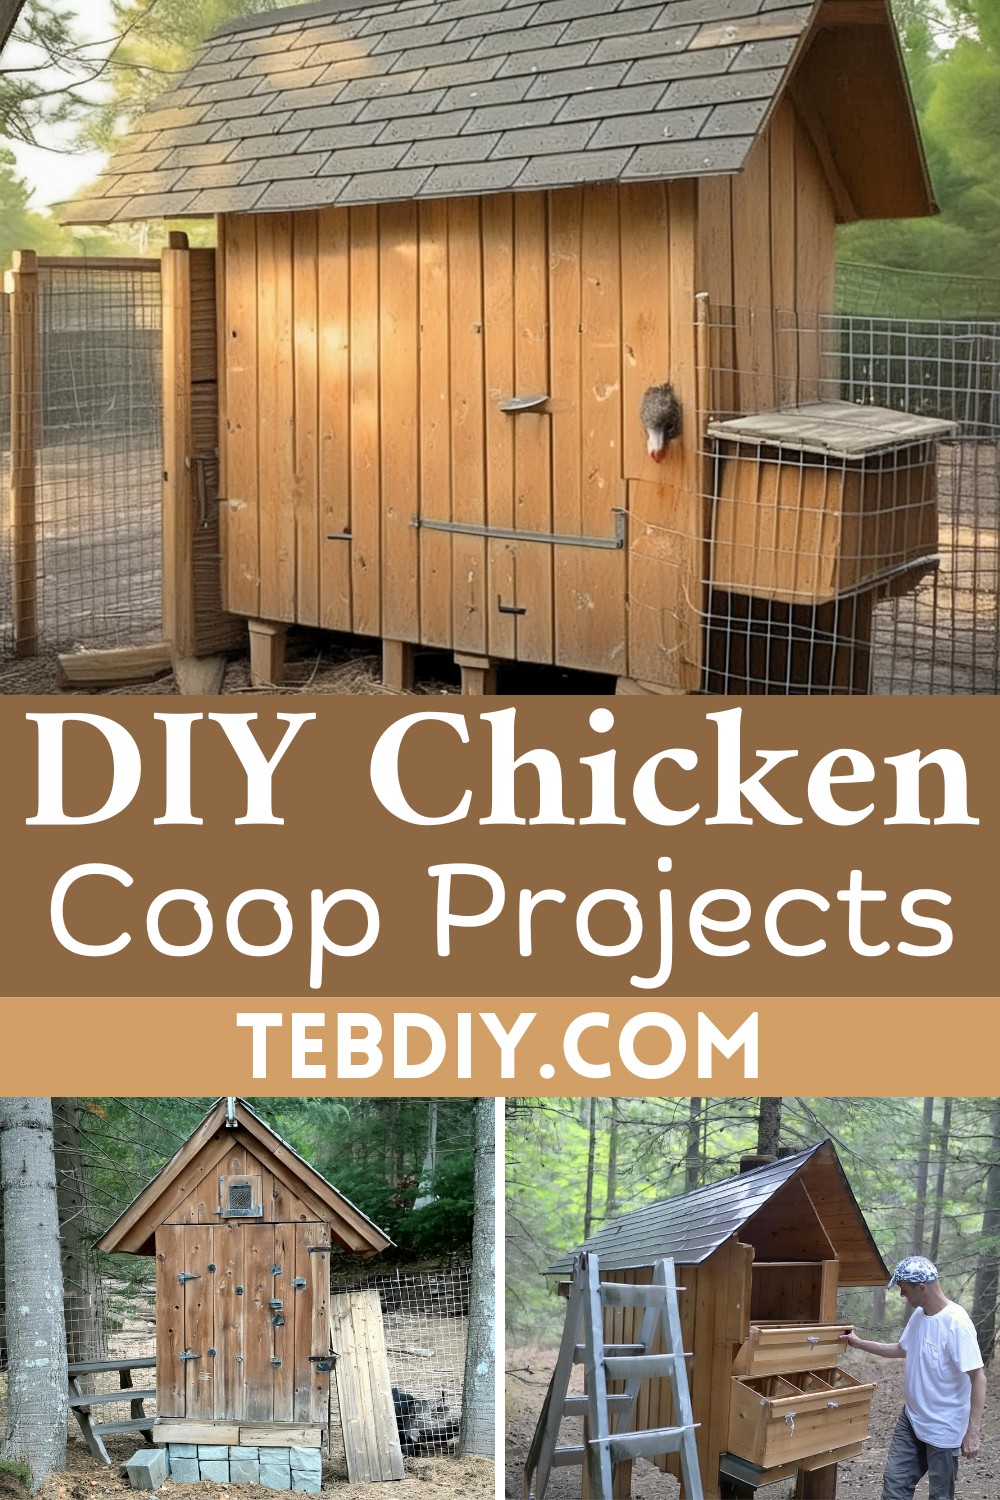
Nesting Area and Interior Set-up
Construct a multi-division nesting box with entry points adjusted for ease of access and comfort for the chickens. Equip the coop with grass and materials for nesting and foraging.

Final Enclosures
Construct a secure fence around the coop, using chicken wire and a hearty amount of repurposed materials to create a dual-layer security against predators but also allowing enough space for the chickens to roam freely.
By following these detailed steps, not only will you create a functional and secure habitat for your chickens, but you’ll also contribute to environmental conservation through thoughtful repurposing of materials.
Leave a Reply