
Hook your way to a stylish and airy V-neck blouse with this free crochet guide, perfect for relaxation and adding a touch of charm to your wardrobe.
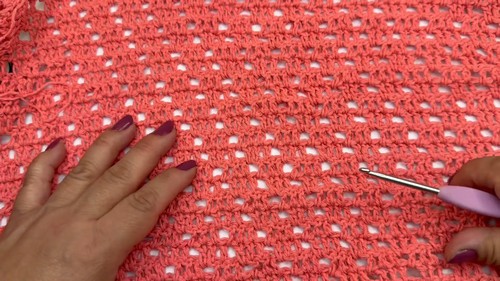
A light blouse that feels gentle on the skin can be a joy to wear, especially when it has a graceful V-neck that outlines the neckline in a flattering way. This free crochet V-neck blouse pattern uses a ladder-style stitch that forms small steps across the fabric, giving it a special look without being too complicated. The open, airy texture keeps the body cool on warm days, and it also works well over a top during cooler weather.
Free Crochet V-Neck Blouse Pattern for Quick Projects
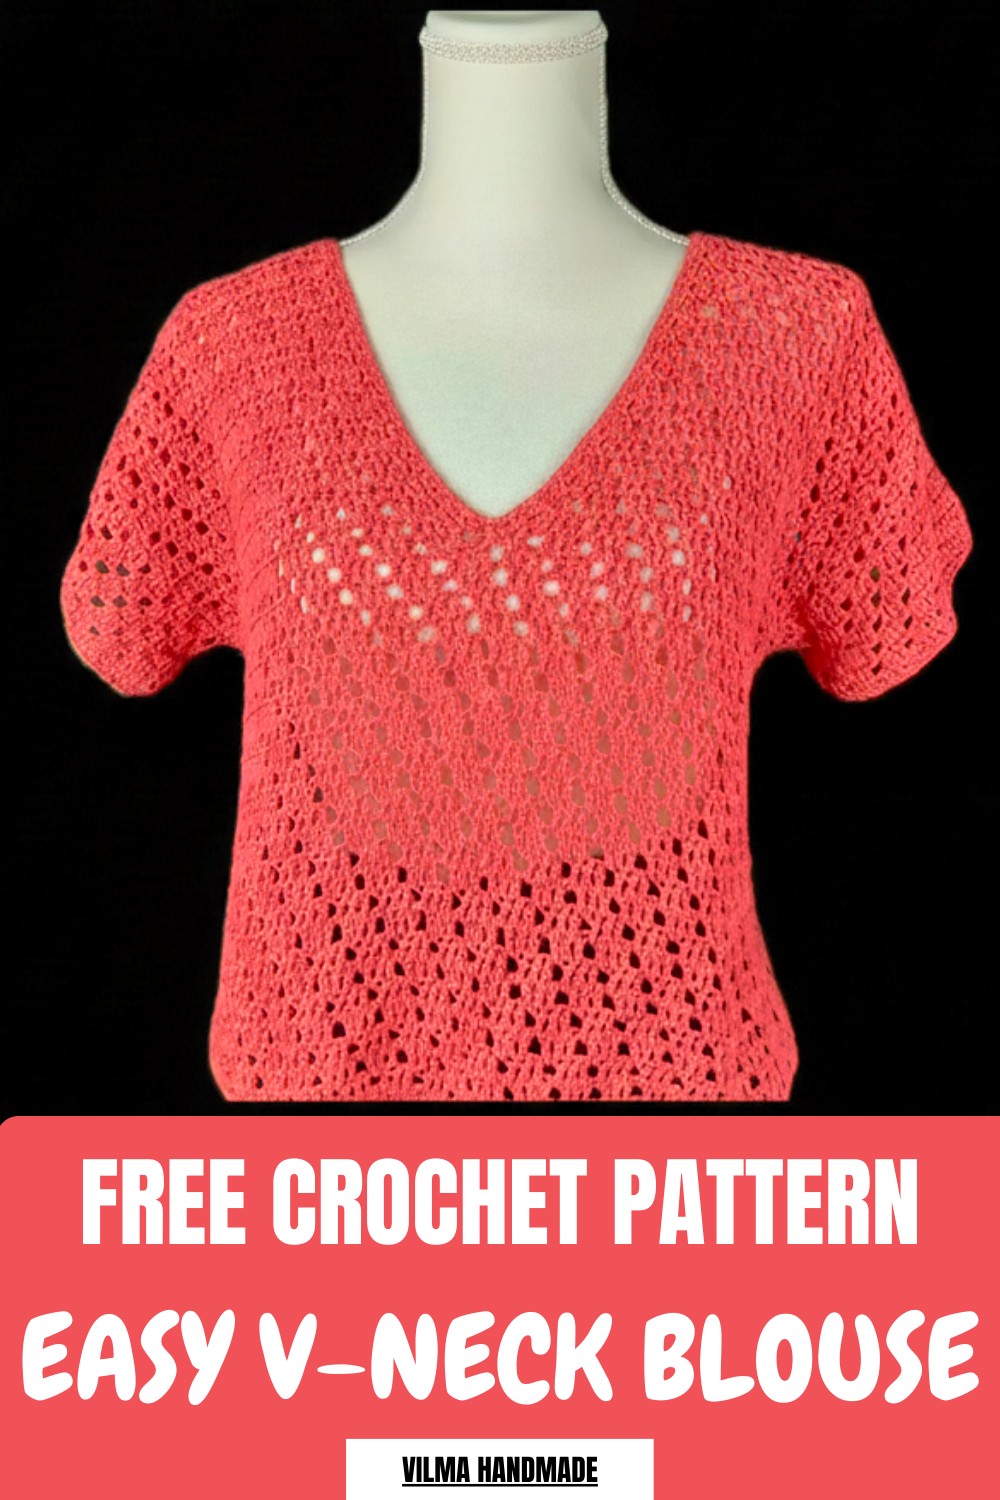
Its shape follows the body softly while still allowing free movement, so it suits daily wear, work, or relaxed evenings. The length and width can be adjusted, so it fits many body types and styles. This blouse pairs easily with jeans, skirts, or shorts, and its simple, neat appearance helps the wearer feel neat and put together in any setting.

Crochet Pattern: Ladder-Stitch V-Neck Blouse
Materials
- Yarn:
- Approx. 250 g of yarn suitable for a 4 mm crochet hook.
- Example used: 100 g skeins, 245 meters each (total: ~735 meters).
- Yarn thickness used: ~1 mm.
- Crochet Hook:
- Size US G/4.0 mm (metric 4 mm).
- Additional Tools:
- Tapestry Needle for seaming and weaving in ends.
- Scissors for cutting yarn.
- Stitch Markers for neckline shaping and shoulder placement.
- Measuring Tape for checking dimensions.
Skill Level
- Intermediate
- Skills required:
- Working rows and turning work.
- Double Crochet (dc)
- Single Crochet (sc)
- Understanding stitch repeats and shaping techniques (reductions).
- Seaming and finishing techniques.
Abbreviations (US Terms)
- ch: Chain
- sl st: Slip Stitch
- sc: Single Crochet
- dc: Double Crochet
- sp: Space
- YO: Yarn Over
Special Notes
- Stitch Multiple:
- The ladder stitch pattern is worked in a multiple of 4 + 3 chains.
- Starting Chains:
- Sizes:
- Small (S): 72 + 3 = 75 chains (front/back)
- Medium (M): 80 + 3 = 83 chains
- Large (L): 88 + 3 = 91 chains
- Extra Large (XL): 96 + 3 = 99 chains
- Sizes:
- Construction Overview:
- Two rectangles (front and back) are worked flat in ladder stitch.
- Shaping for the neckline begins at Row 24 (front only).
- Pieces are seamed at shoulders and sides, leaving openings for sleeves.
- Sleeves are crocheted directly onto armholes.
Pattern Instructions
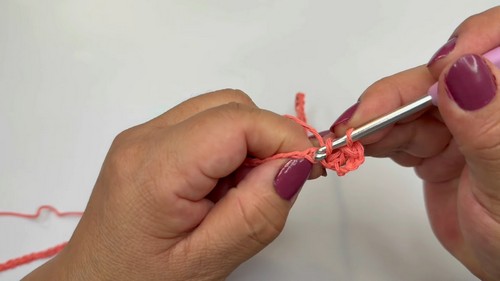
1. Starting the Foundation Chain
- Choose size and chain based on the size chart above. For L, chain 91.
- Ensure chain tension is consistent—not too tight or loose.
2. Front Piece
Row 1 – Establish Base
- Ch 3 (counts as first dc), skip the first 4 chains, then work dc into the 5th chain.
- Dc in each chain across.
- At the end, turn your work.
Row 2 – Begin Ladder Stitch
- Ch 3, dc in the next 2 sts (3 dc total, counting the chain).
- Ch 1, skip next st, then work dc into the next 3 sts.
- Repeat pattern (3 dc, ch 1, sk next st, 3 dc) across the row.
- Finish with exactly 3 dc.
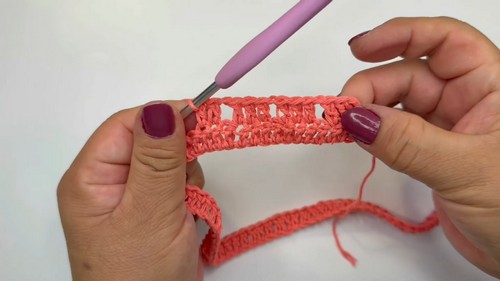
Row 3
- Ch 3, dc in the next 2 sts.
- In the first ch-1 sp, work dc.
- Continue the ladder pattern repeating dc in next 3 sts, ch 1, sk next st.
- When you reach the end of the row, finish with 4 dc.
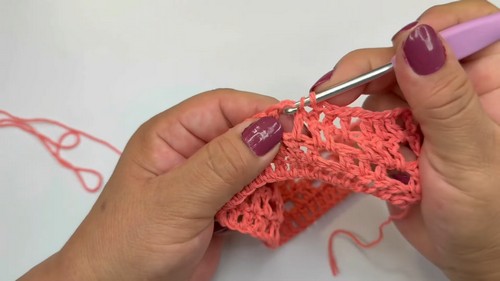
Rows 4–5
- Row 4: Start row with 4 dc, then continue ladder stitch pattern (dc in 3 sts, ch 1, sk st).
- Row 5: Start with 2 dc, dc in the next ch-1 sp, complete the ladder stitch pattern as usual.
Tip: The number of starting and ending dc will alternate slightly based on row, with some rows starting or ending with 2 dc, others with 3 or 4 dc.
Rows 6–24 – Pattern Repeat
- Repeat rows 2–5 until you have completed 24 rows.
- The front piece now measures approximately 50 cm across and 24 rows tall.
3. Neckline Shaping (Front Piece)
Row 25 – Mark Neck Split
- Divide work in half at 45 sts (midpoint), leaving the center stitch unworked for the neckline separation.
- Place stitch markers at the midpoint (45th stitch).
Rows 26–42 – Shaping
- Continue working only one side of the neckline, reducing at the beginning of every even-row and at the end of every odd-row as follows:
- Reduction Technique:
- Start with ch 3, dc2tog (decrease two sts into one) at the beginning (or end) of the row.
- Follow by the ladder stitch pattern (3 dc, ch 1…) for the rest of the row.
- Reduction Technique:
- Continue weaving rows maintaining the ladder stitch along the neckline edge.
Rows 43–44 – Final Neckline Edge
- Work two rows of dc only, evenly spacing stitches to square off the edge.
4. Back Piece
Work Rows 1–41
- The back piece is worked identically to the front piece up to Row 41, with no neckline shaping.
Row 42 – Shaping for Back Neckline
- Leave 28 sts unworked for shoulders (mark them), then work only 28 sts on each side.
- Complete final rows (Rows 43–44) to square off shoulders as in the front piece.
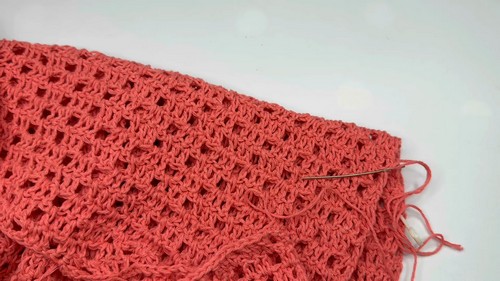
5. Assembly
- Seam Shoulders:
- Place front and back pieces with right sides together.
- Use yarn and tapestry needle to sew shoulder seams securely.
- Seam Sides:
- Count 20 rows from shoulders and mark on both sides.
- Seam sides below the marker, leaving openings for armholes.
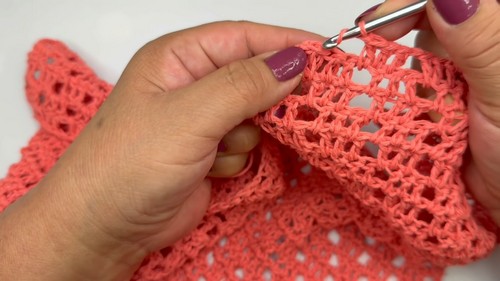
6. Sleeves
Round 1 – Single Crochet Base
- Attach yarn at armhole edge.
- Work 2 sc into each row of the armhole edge to create an even base round (approx. 80 sc total, depending on size).
Rounds 2–5 – Ladder Stitch for Sleeves
- Starting with ch 3, work ladder stitch (3 dc, ch 1, sk st) pattern around the sleeve edge.
- Adjust slightly at the beginning/end to balance stitch counts.
- Work successive rounds in ladder stitch for a total of 5 rounds.
Final Sleeve Round – Double Crochets
- Ch 3, dc in each st around the sleeve edge without skipped stitches or chain spaces.
Optional Edging – Single Crochet
- Finish sleeve edges with one round of sc for a clean edge.
Repeat entire sleeve process for the second sleeve.
7. Neckline Finishing
- Attach yarn at any point on neckline edge.
- Work evenly spaced sc around the neckline for two rounds.
Final Words
Conclusion:
Congratulations on completing your ladder-stitch V-neck blouse! This versatile design works beautifully in a variety of yarns and is simple to adjust for custom sizing.
Pattern Corrections:
- Ensure foundation chain matches stitch multiple of 4 + 3 to align the ladder stitch pattern properly.
- For clean shaping at the neckline and sleeve edges, carefully count decreases and ensure symmetry.
Tips:
- Custom Fit:
Adjust width, length, or neckline depth by adding rows or chains. - Tension Control:
Keep consistent tension, especially with ladder stitch to retain clean edges and shape. - Blocking:
Lightly block finished pieces for smooth edges.
Leave a Reply