
Store your must-haves with a colorful burst of fun using this free crochet fruits pouch pattern that blends cheerful design and practical storage.
Are you in search of a creative and practical crochet project that combines functionality with style? The Free Crochet Fruits Pouch Pattern offers just that—a delightful accessory to organize and carry your small essentials such as coins or trinkets. Guided by the expertise of DIY Maycraft, this pattern is ideal for both personal use and gifting, adding a splash of vibrant charm to any accessory collection.
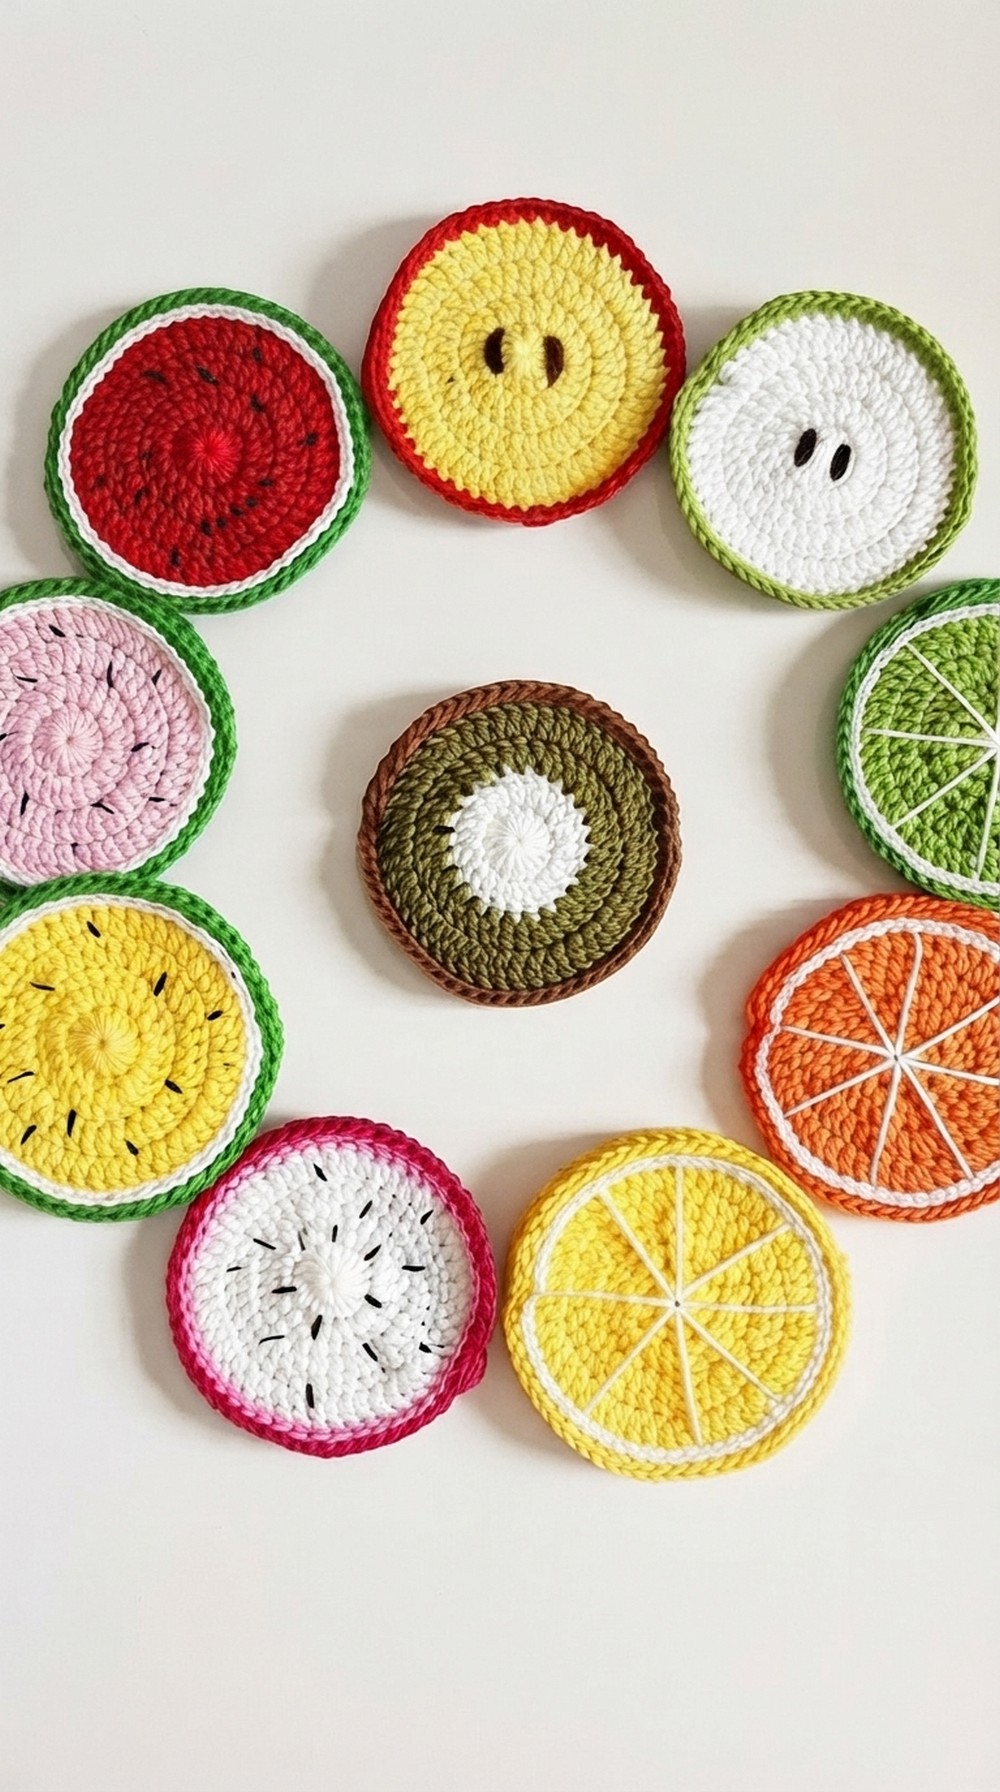
The fruits pouch stands out with its array of vivid colors and innovative designs, resembling popular fruits such as strawberries, watermelons, and oranges. Its design is compact yet spacious, ensuring a secure place for your small items while serving as an eye-catching accessory.
Easy Free Crochet Fruits Pouch Pattern for Beginners
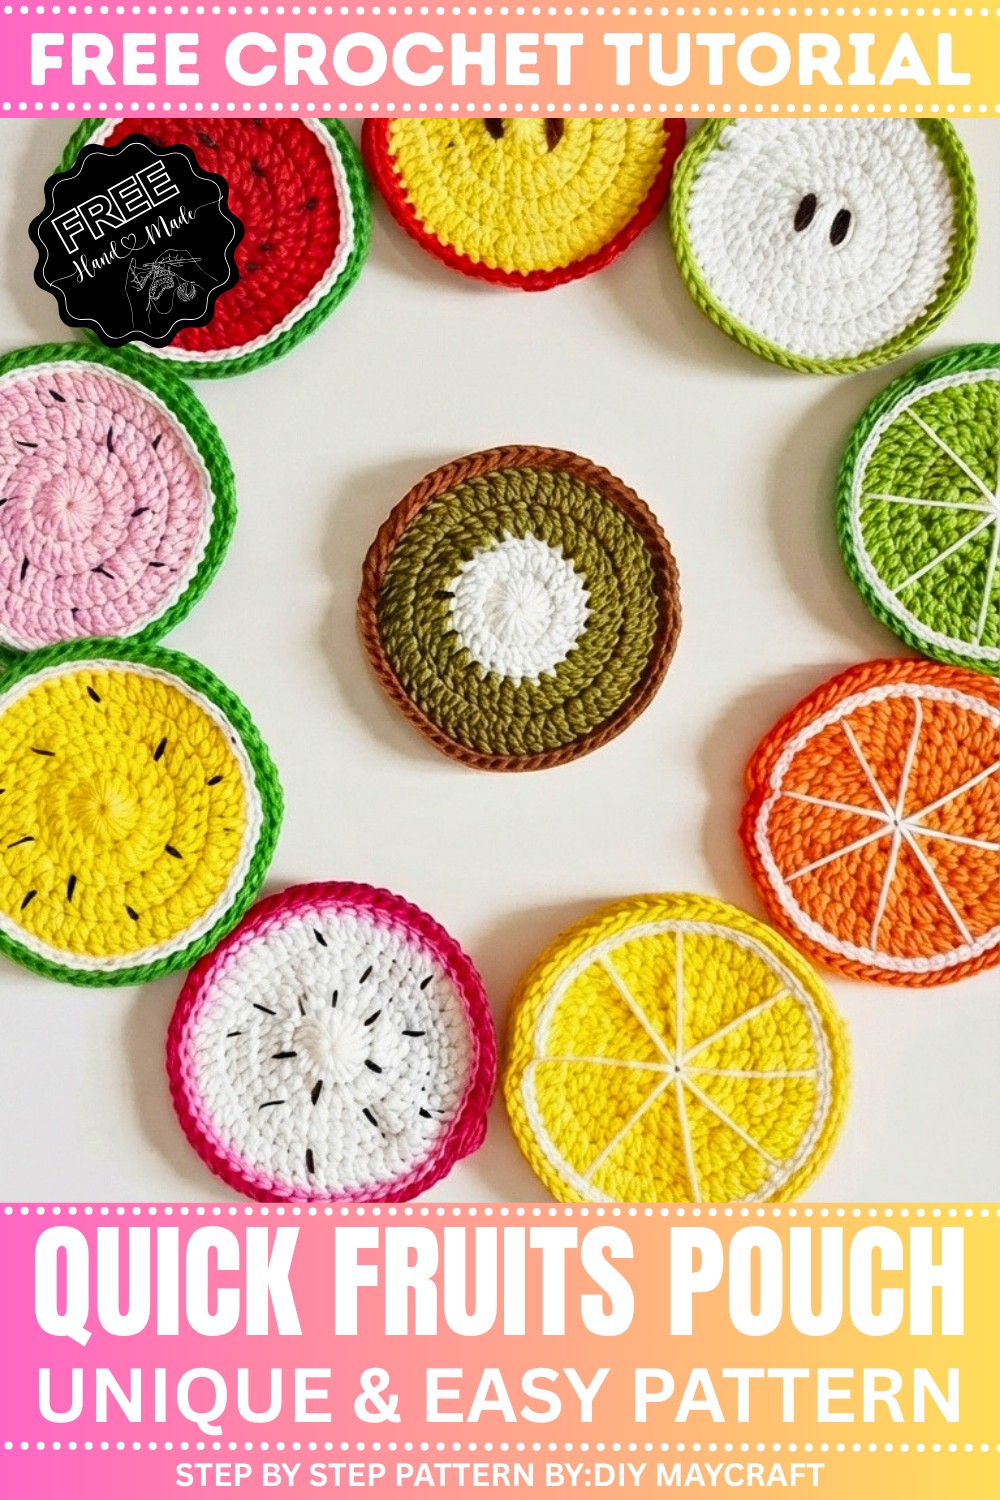
The lively colors and playful shapes not only highlight your crochet skills but also inject personality into everyday use. Whether used as a standalone accessory or as a decorative item, this pouch enhances the aesthetic appeal of your handbags or backpacks.
This project is well-suited for beginners and experienced crocheters alike, offering a perfect balance of creativity and usability. It serves as an exceptional handmade gift option, allowing you to share the joy of crocheting with friends and family. Imagine the delight of recipients as they receive a skillfully crocheted, fruit-themed pouch that is both practical and whimsical.
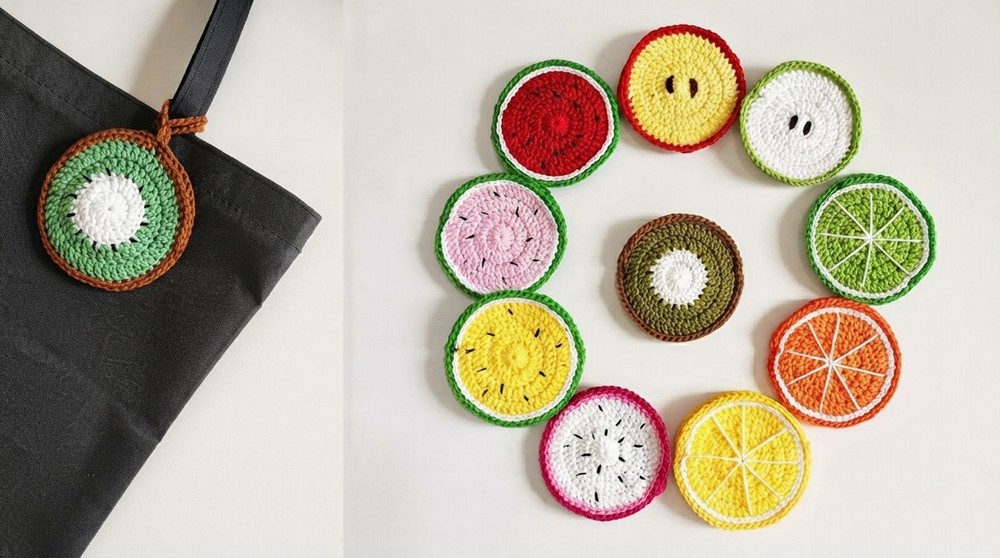
Its versatility ensures that it’s more than just a pouch; it’s a distinctive addition to any ensemble. Engage with the DIY Maycraft community and embark on a fulfilling handmade journey with this exquisite and useful project. Enjoy the satisfaction of creating a piece that brings both utility and a touch of playful sophistication to daily life.
Kiwi Fruit Keychain Crochet Pattern
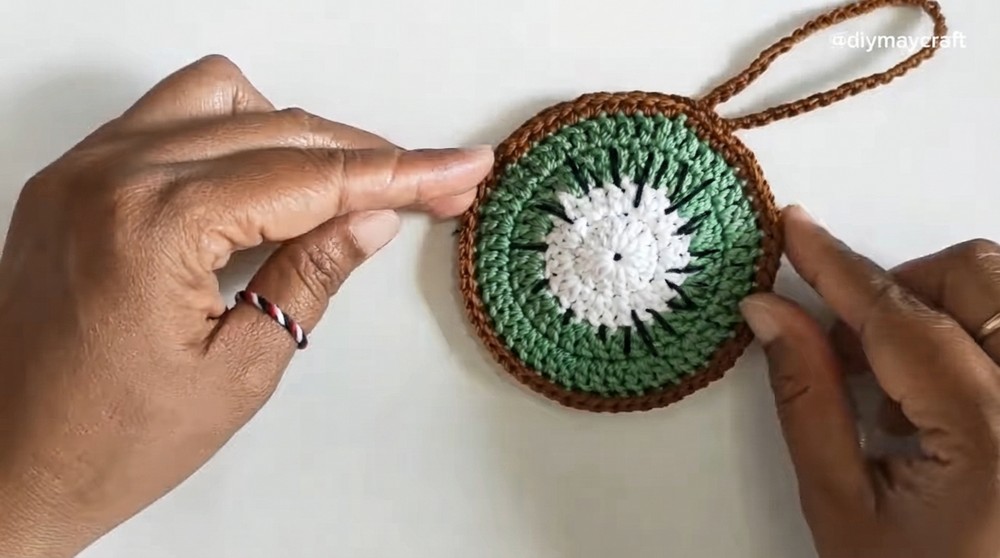
The kiwi fruit keychain is a delightful and compact crochet project that brings vibrant texture and whimsy to your accessories. Using medium-weight Polycherry yarn paired with a fine 4/0 Tulip crochet hook, this pattern produces a small, rounded kiwi motif featuring layered stitches that mimic the fruit’s sections and signature seed patterns. By working in rounds with increases, change of colors, and finishing with embroidered seeds, this keychain offers both beginner-friendly techniques and a fun design element. Following this step-by-step pattern will guide you through the entire process, ensuring a polished and charming result.
Quick Overview of the Pattern
- Start with a magic ring foundation to secure a tight center.
- Work double crochet stitches in rounds, gradually increasing to create a convex circular shape.
- Introduce color changes that represent the kiwi’s flesh edge and skin.
- Embroider black seeds on the flesh using yarn and tapestry needle.
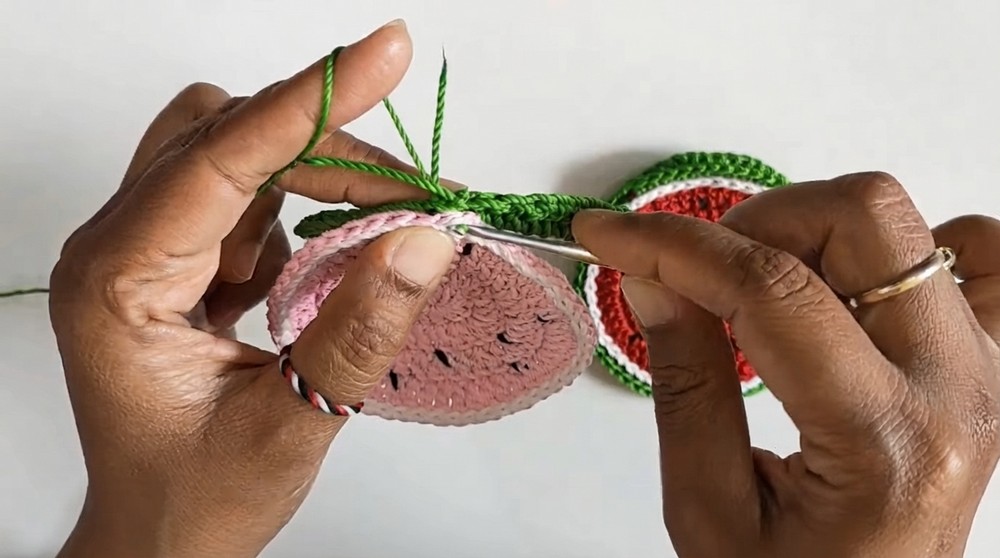
- Assemble two identical halves joined together with single crochet stitches forming a 3D keychain piece.
Notes
- Maintain consistent tension for smooth round shapes.
- The magic ring foundation ensures no gap in the center of your circle.
- Color changes should be fastened off neatly to avoid bulk inside the keychain.
- Embroidery seeds are worked on the third round, which is the kiwi’s “flesh” area.
- Joining two halves with single crochet stitches creates a firm, three-dimensional keychain body.
- This pattern can be adjusted for other fruits by modifying colors or stitch counts slightly.
Skill Level
Beginner to Intermediate. This pattern is suitable for crocheters comfortable with:
- Working in rounds using the magic ring (adjustable ring) technique.
- Basic stitches such as double crochet (dc) and single crochet (sc).
- Performing increases in crochet.
- Switching yarn colors mid-project.
- Basic embroidery for seed details.
Materials
- Polycherry yarn in white (for the kiwi core), green (for the kiwi flesh), and black (for seeds).
- Tulip brand size 4/0 crochet hook (approximately 2.5 mm).
- Tapestry needle for sewing and embroidery.
- Scissors and a lighter (or other method) to secure yarn ends.
Measurements / Sizing
- The finished kiwi keychain piece measures approximately 2.5 to 3 inches (6.35 to 7.5 cm) in diameter when joined.
- Thickness is about 0.6 to 1 inch (1.5 to 2.5 cm), making it perfect for a compact keychain.
- Size may vary slightly depending on yarn tension and hook size.
Gauge and Stitch Pattern
- Gauge is not critical but aim for a firm fabric to maintain keychain shape.
- The pattern uses rounds of double crochet (dc) stitches with strategic increases to maintain a smooth circular shape.
- Color change occurs after the second round, transitioning from the core white to kiwi green flesh.
- Seeds are embroidered after crocheting rounds.
Stitch Abbreviations
- MR = Magic ring (adjustable ring)
- ch = chain
- dc = double crochet
- sc = single crochet
- sl st = slip stitch
- inc = increase (2 stitches worked into the same stitch)
Special Stitches
- Magic Ring (MR): Creates a tight adjustable ring as the starting point for working in rounds. Wrap yarn around your fingers to form a ring, hook into ring to pull up loops, and chain to start first stitches.
- Increase (inc): Work two double crochet stitches into the same stitch to expand the round evenly.
The Crochet Pattern!
Foundation and Round 1
- Begin by creating a magic ring (MR).
- Chain 2 to begin (counts as the first double crochet of the round).
- Work 11 double crochet (dc) stitches into the magic ring for a total of 12 dc including the initial ch 2.
- Pull the magic ring tight to close the center hole completely.
- Join with a slip stitch (sl st) to the top of the starting chain 2.
- (12 stitches total)
Round 2
- Chain 2 (counts as first dc).
- Work 1 double crochet increase in every stitch around. This means working 2 dc in each of the 12 stitches from the previous round.
- Total stitches at the end of this round = 24 dc.
- Join with a slip stitch to the top of the starting chain 2.
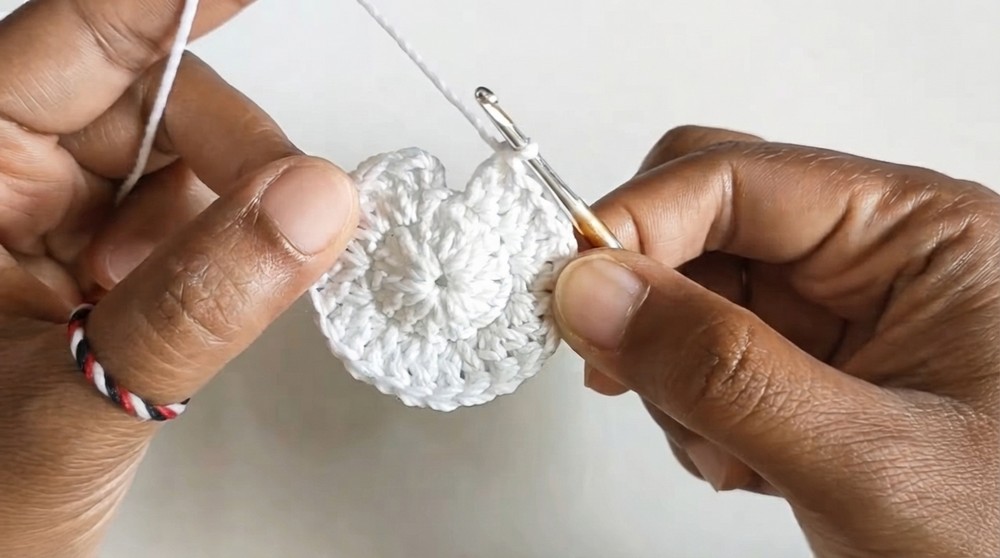
Round 3 (Change yarn color to green)
- Join the green yarn in any stitch.
- Chain 2 (counts as first dc).
- Work the following pattern 12 times around:
- 1 double crochet (dc) in the next stitch.
- 1 double crochet increase (2 dc) in the next stitch.
- This creates an alternating pattern of single dc and increases, expanding the round.
- Total stitches after Round 3 = 36 dc.
- Join with a slip stitch to the top of the starting chain 2.
Round 4
- Chain 2 (counts as first dc).
- Work the following pattern 12 times around:
- 2 double crochet (dc) stitches in consecutive stitches.
- 1 double crochet increase (2 dc) in the next stitch.
- This pattern expands the round further and forms visible “layers” of kiwi flesh.
- Total stitches after Round 4 = 48 dc.
- Join with a slip stitch to the top of the starting chain 2.
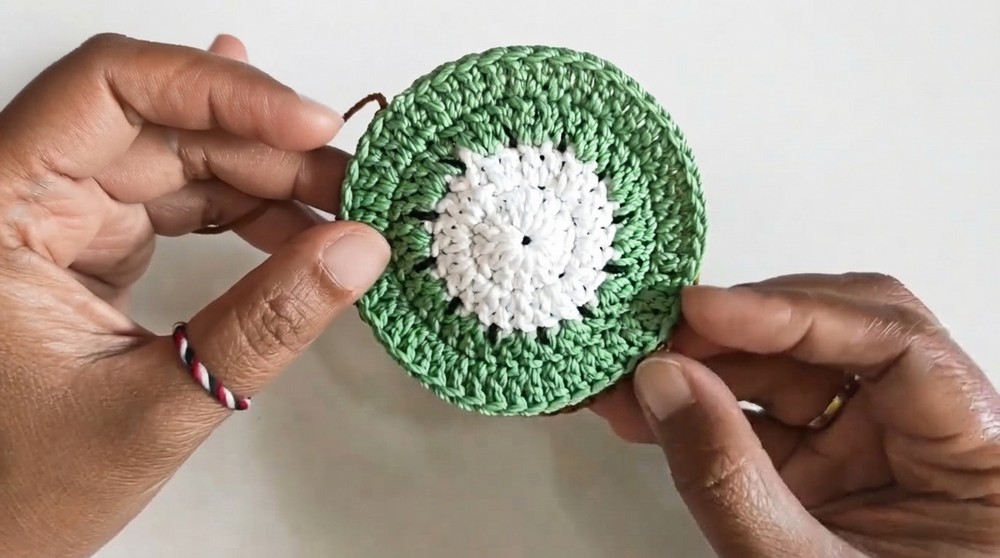
Finishing Details – Seeds
- Using black yarn and a tapestry needle, stitch the kiwi seeds onto the third round (the flesh area).
- Place the seeds sporadically and evenly spaced in this green round to mimic kiwi seed patterns.
- Embroidery is recommended to avoid bulky stitches and maintain smooth fabric.
Creating the Back Piece
- Repeat all the above steps (Foundation through Round 4) to create a second identical kiwi piece.
Assembly of Keychain
- Place the two pieces together with their right sides facing outwards.
- Using your crochet hook and yarn, join the two halves by working single crochet (sc) stitches evenly through both layers around the edges.
- Keep the stitches tight but not too tight to avoid puckering.
- Leave a small space if you want to insert stuffing or a keychain hardware before fully closing the edge.
- Secure and fasten off the yarn ends neatly.
Finished Size
- The assembled kiwi fruit keychain measures approximately 2.5 to 3 inches in diameter.
- Thickness depends on how tightly you join and whether you insert stuffing or keychain hardware inside.
- The keychain is compact, lightweight, and suitable for bags, keys, or decorative uses.
Conclusion
This kiwi fruit keychain crochet pattern combines simple double crochet rounds, gentle increases, and basic embroidery to form a vibrant and textural accessory. The use of magic ring foundation ensures a neat core, and the alternating stitch increases produce a soft dome shape resembling a kiwi slice. Embroidering the signature seeds brings realistic detail to the project, while joining two halves with single crochets completes the three-dimensional look. Perfect for beginners improving their technique or more advanced crocheters seeking a quick and cute project, this keychain makes an enjoyable gift or personal accessory.
Leave a Reply