
Create stunning and versatile ceramic baskets with clay to elevate your décor, organize essentials, or craft thoughtful, one-of-a-kind gifts.
Creating something with your hands that is both functional and breathtakingly beautiful. A ceramic basket with clay is just that, a harmonious blend of artistry and practicality that speaks volumes about your creativity. You don’t need expertise to make it, just a little clay, a touch of imagination, and the willingness to explore. This handmade piece is a wonderful way to embrace slow crafting while producing something extraordinary that can both adorn your space and serve a purpose.
Whether you’re weaving memories through handmade gifts or crafting for the joy of expression, a ceramic basket offers endless possibilities. It’s perfect for holding fruit in your kitchen, adorning your coffee table with flowers, or even serving as a conversation-starting décor piece. Its versatility and aesthetic appeal mean it can truly shine in any setting. The best part? You can design it in any shape, pattern, or size that aligns with your style preferences, making it truly one of a kind.
Benefits of Crafting a Ceramic Basket
- Customizable: Design patterns, textures, and sizes to suit your space and taste.
- Eco-friendly: Handmade and sustainable, using natural clay materials.
- Relaxing Activity: A therapeutic DIY project that reduces stress and sparks creativity.
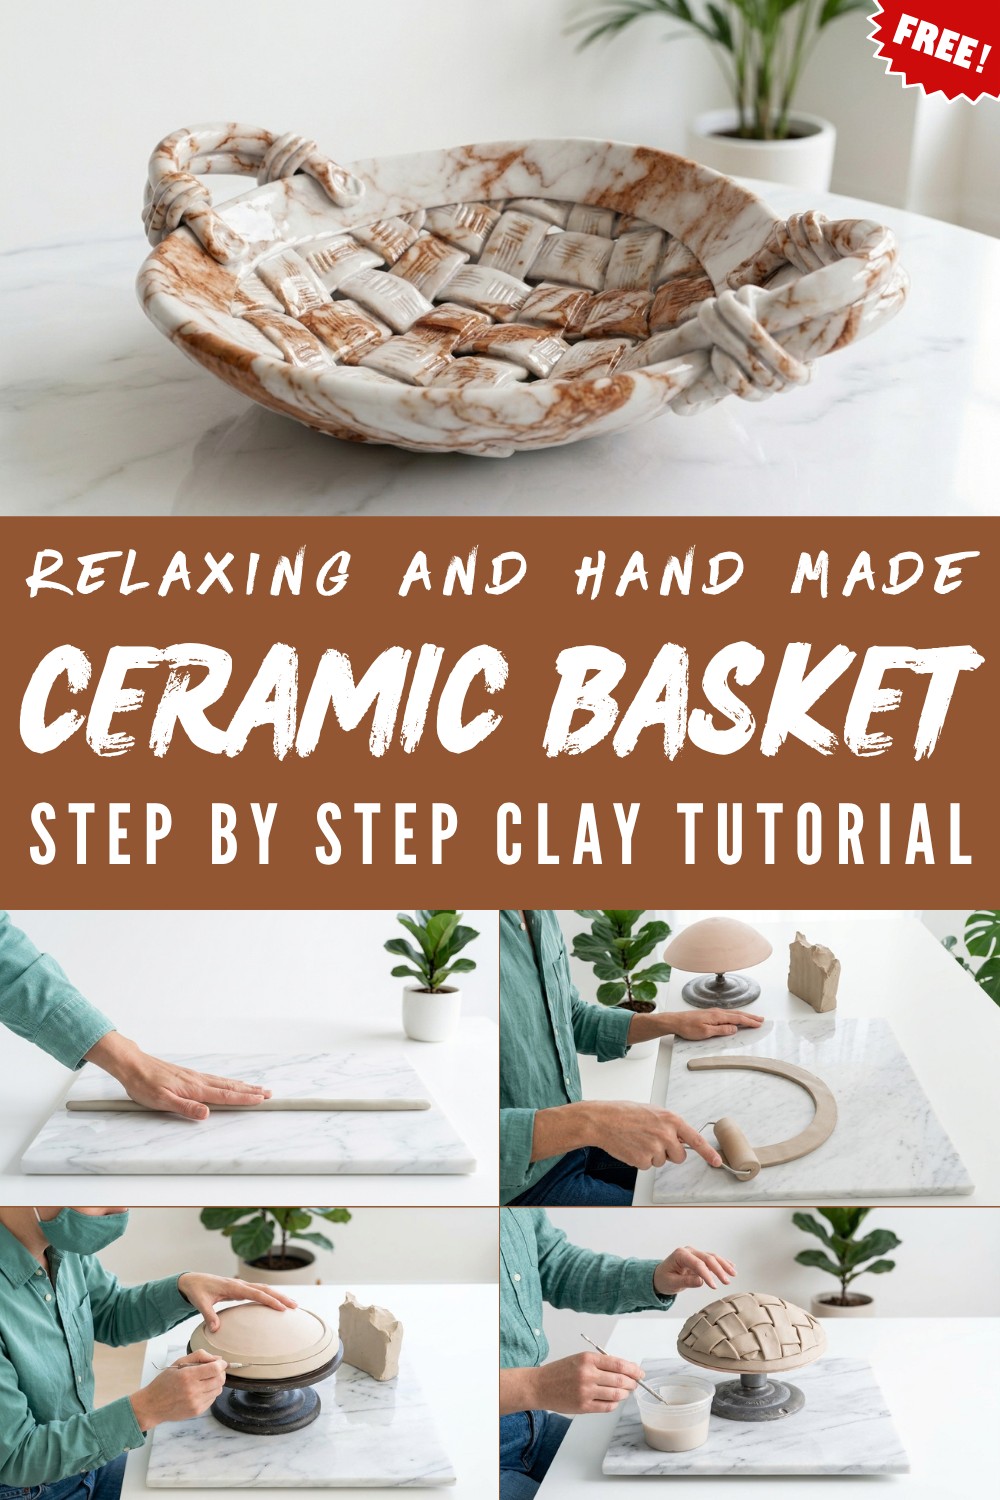
Ways to Use Ceramic Baskets
- Home Décor: Use as a statement centerpiece or wall décor.
- Storage: Perfect for organizing small items like keys, jewelry, or yarn.
- Gifts: Create thoughtful, handcrafted presents for loved ones.
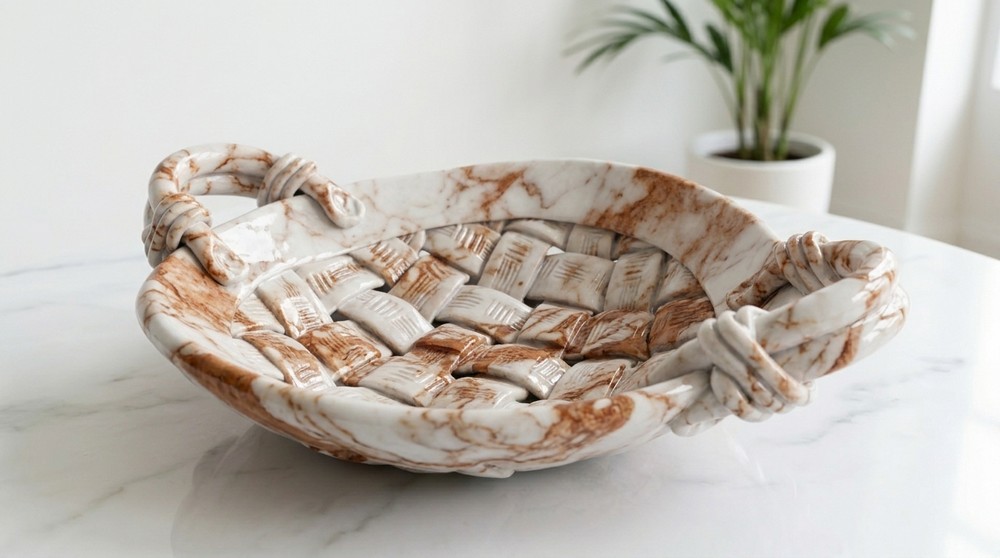
How to Make It
- Start with soft clay: Roll it into coils or slabs.
- Shape it: Weave the clay into a basket form over a mold or freehand.
- Add texture: Use tools to carve patterns or designs.
- Dry and finish: Fire the basket in a kiln or let it air dry before adding color or glaze.
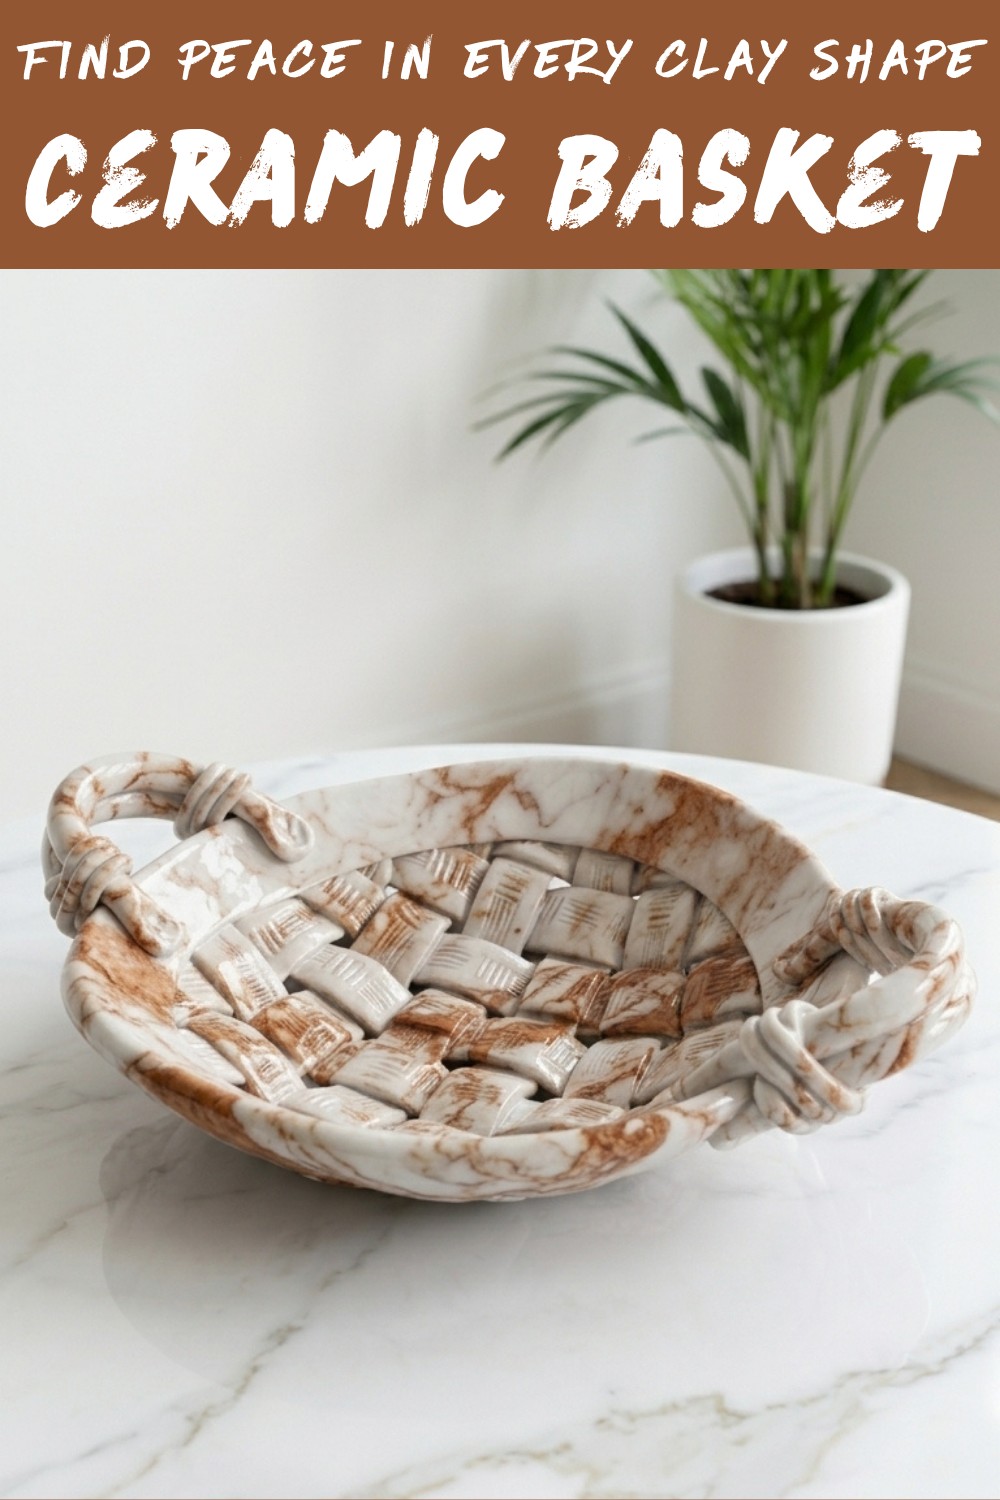
Step-by-Step Detailed Guide To Create Ceramic Basket With Clay
This guide explains how to create a woven ceramic basket, using pottery carving techniques and weaving concepts. The process includes using coils, flattened strips, and optional carvings for additional detail and flair. Below are step-by-step instructions offering crafting techniques, materials, and ideas for detailing and finishing.
Materials
Clay
- Loafer’s Glory clay (recommended): Flexible and ideal for bending, connecting, and weaving.
- Alternative: Any soft, pliable clay that holds shape well without cracking.
Primary Tools
- Rolling pin (for flattening coils and slabs).
- Exacto knife or a sharp clay knife (for cutting and trimming).
- Texture wheels or stamps (for decorative patterns).
- Scoring tool (can substitute with a fork or toothpick bundle).
- Slip or water-vinegar mixture (for connecting and securing pieces).
- Lazy Susan (optional): Makes working on the mold easier.
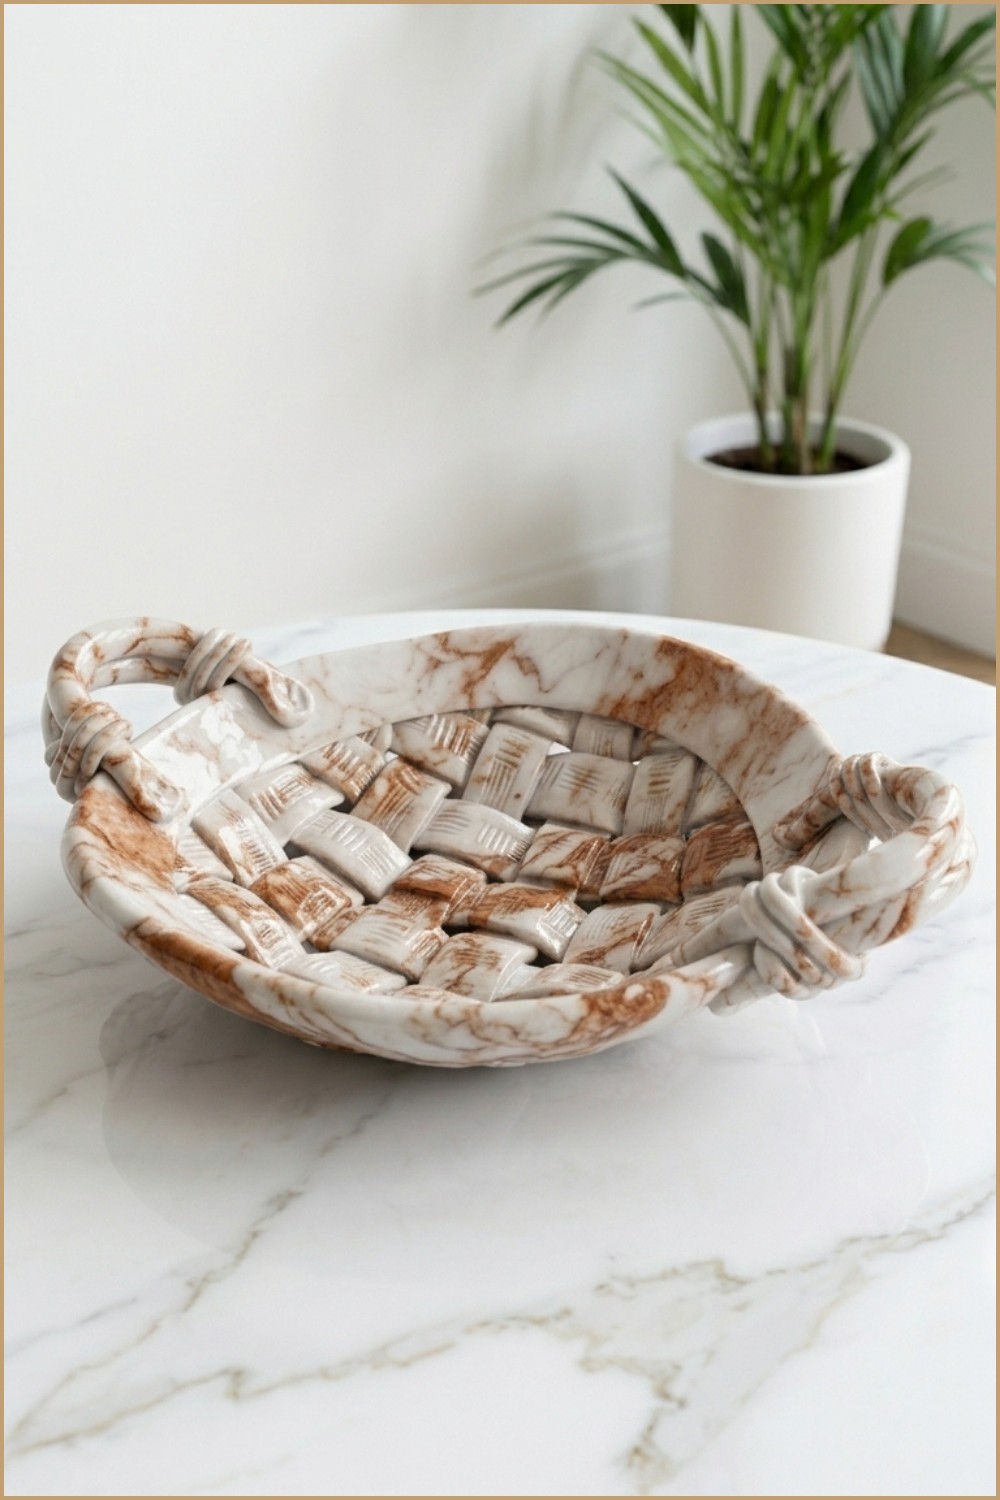
Additional Tools & Materials
- Bowl mold: To shape the basis of the basket (use an upside-down bowl).
- Plastic sheet or bag: To prevent sticking while working with flat clay.
- Sponge: For smoothing and refining edges.
- Handles (optional): Created from additional clay coils or strips.
Preparing the Clay
- Choose the Clay:
- Start with a soft, pliable clay like Loafer’s Glory or a similar type. Avoid overly wet or stiff clay to ensure smooth bending and manipulation.
- If the clay is too wet, leave it out for a few minutes to firm slightly.
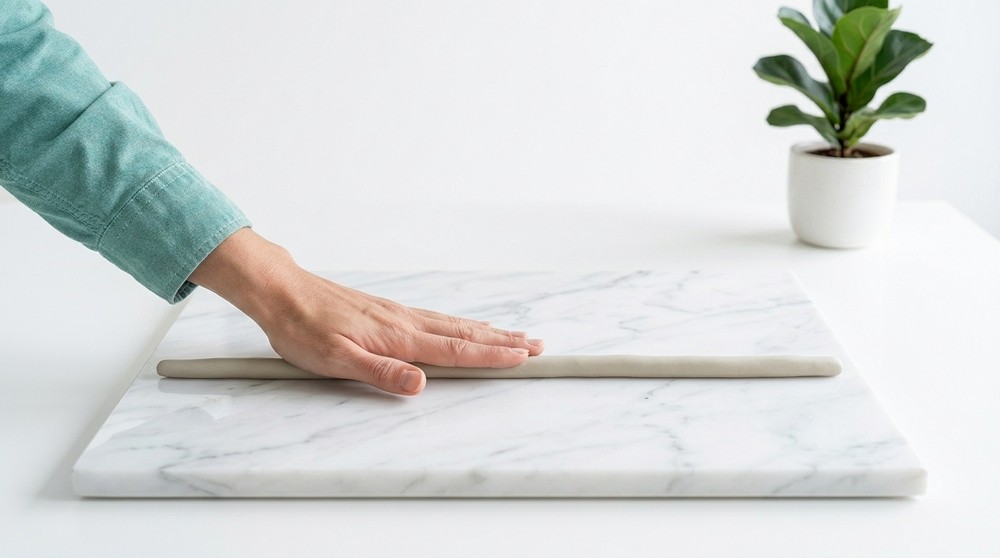
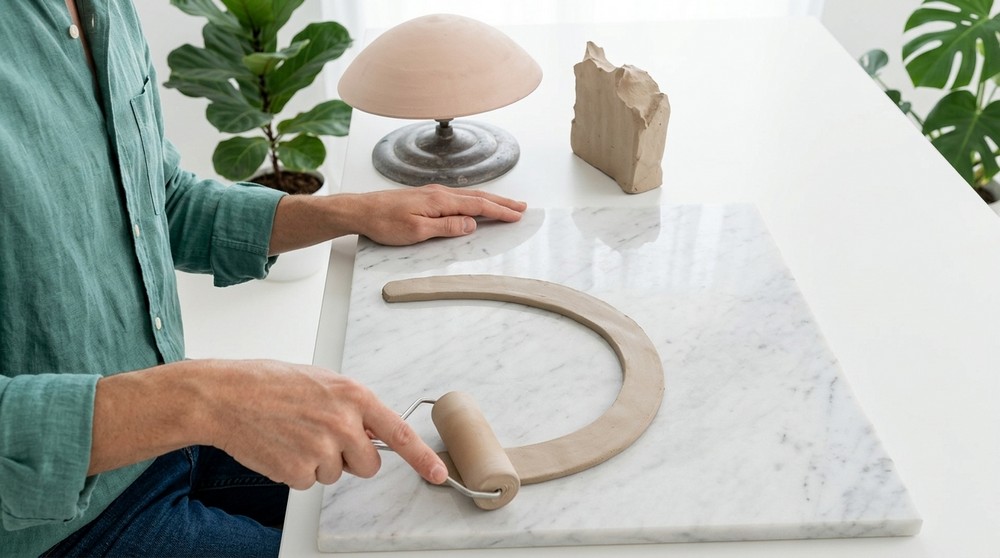
- Roll the First Coil:
- Roll a large, even coil (thickness of your choice depending on basket size).
- Use a small roller to flatten the coil into a long, ribbon-like strip.
- Keep the coil on a slight curve while rolling to ensure it forms a circular rim easily.
- Prepare the Mold:
- Use an upside-down bowl (or similar mold) as the base for shaping your basket.
Complete Making Instructions
Step 1: Create the Basket Rim
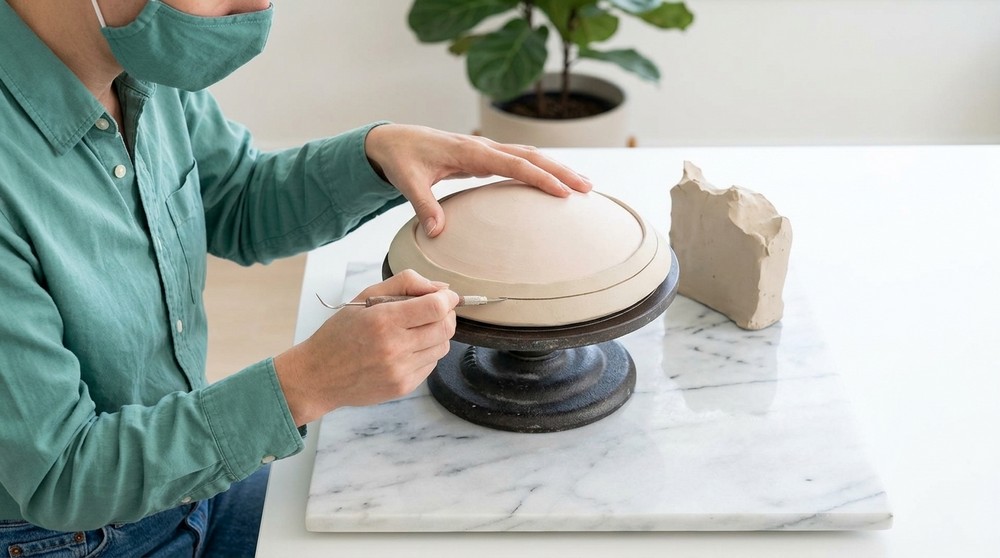
- Place the flattened coil around the mold and overlap the ends slightly.
- Cut the ends at a diagonal to create a seamless connection point.
- Slip and score the overlapping ends to secure them. Smooth out the connection with a tool or fingers.
Step 2: Weaving the Basket Body
- Roll Out Coils:
- Roll 12 even coils with the following lengths:
- 4 coils: ~6 inches (smallest).
- 4 coils: ~8 inches (medium).
- 4 coils: ~10 inches (longest).
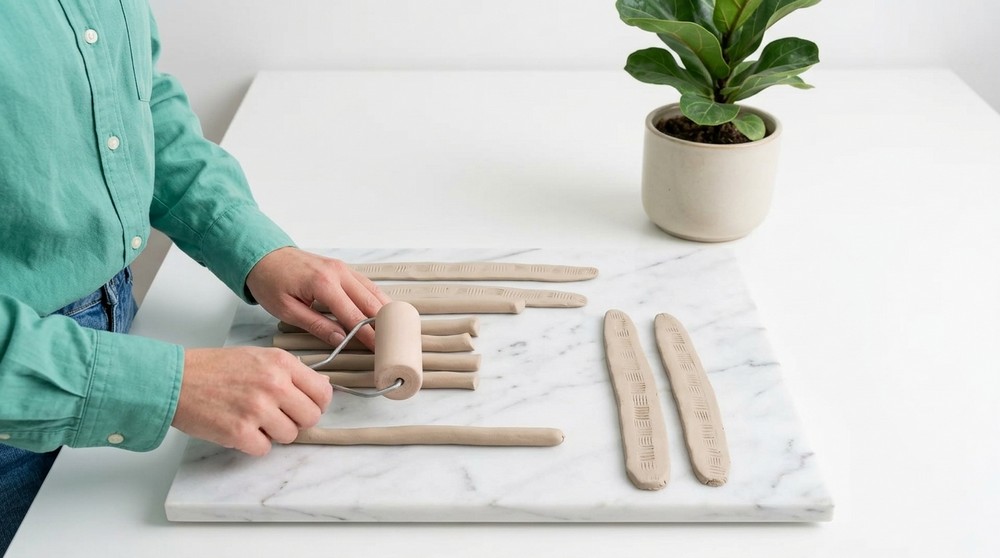
- Flatten each coil into long strips using a roller. This increases their length slightly.
- Roll 12 even coils with the following lengths:
- Add Texture (Optional):
- Use texture wheels or tools to create designs down the center of the strips. This adds flair to your weaving pattern.
- Weaving Process:
- Start with the four longest strips and place two of them across the center of the mold to form a cross.
- Use the other two long strips to weave perpendicularly, creating a traditional over-under weave pattern resembling a tic-tac-toe.
- Add the Medium and Shorter Strips:
- Gradually weave medium and smaller coils around the basket, following the same over-under pattern. Ensure they lie flat and maintain even spacing.
Step 3: Assemble and Refine the Basket
- Trim the Edges:
- Use a knife to trim overlapping or uneven edges. Smooth out imperfections with a sponge for a clean finish.
- Connect the Weave:
- Slip and score all points where the flat strips meet the top rim of the basket.
- Support Weaving Ends:
- Add a thin coil along the top rim to secure all strips. Flatten this coil with a roller to create a “ribbon-like” strip, then slip and score it over the connected weave to seal and decorate.
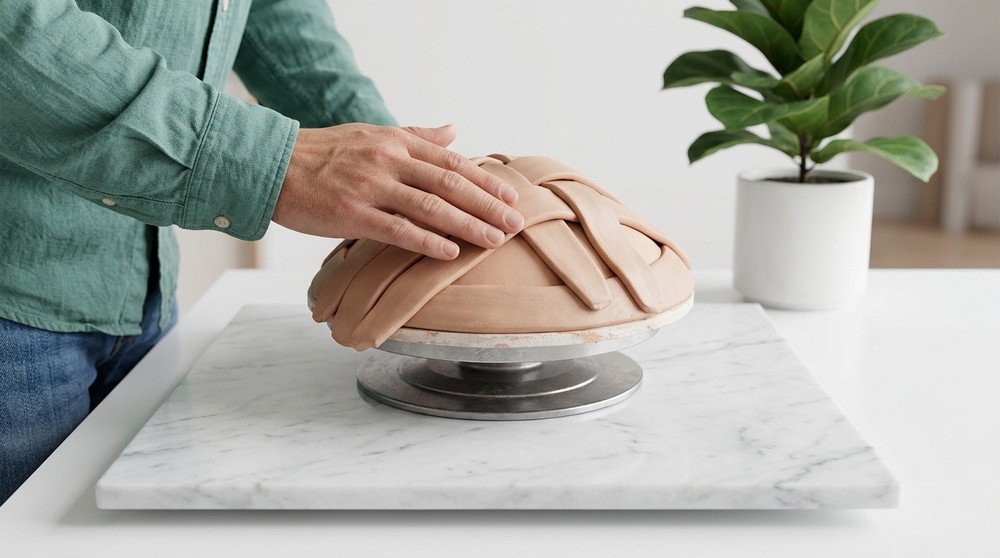
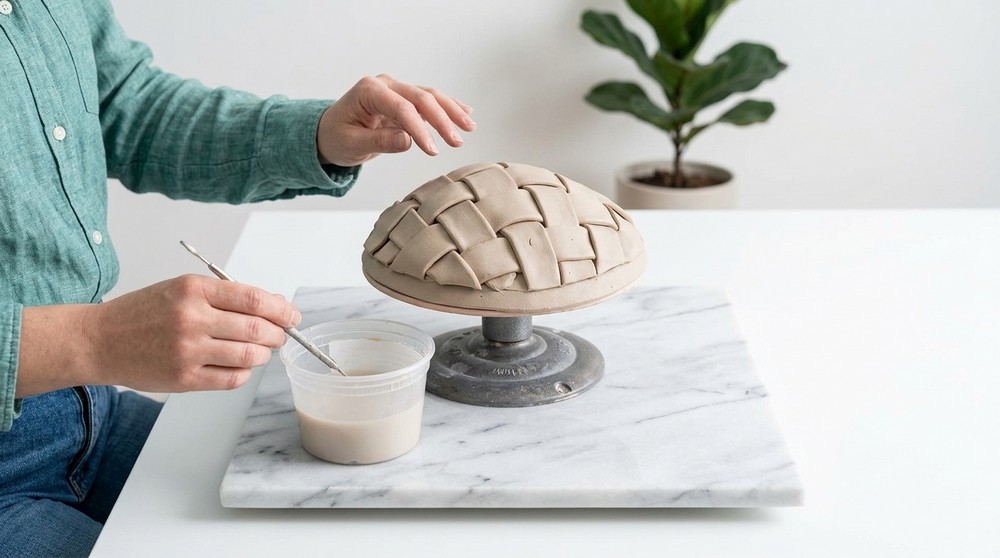
Features
- Flexible Design: The basket can be shaped into various molds (round, oval, etc.).
- Sturdy Build: Proper connections and sealed seams ensure durability.
- Customizable Weave: Add decorative textures or alternate patterns to create unique designs.
Detailing
Adding Handles (Optional)
- Make Coils for Handles:
- Roll two even coils. Use your hands to fold each coil into arches.
- Attach one handle to the front of the basket and the other to the back.
- Decorative Wrapping:
- Roll a thin coil and wrap it around the base of the handles where they connect to the basket.
- Slip, score, and press the wrapping in place to mimic tied string. Add stamps or textures to enhance the design.
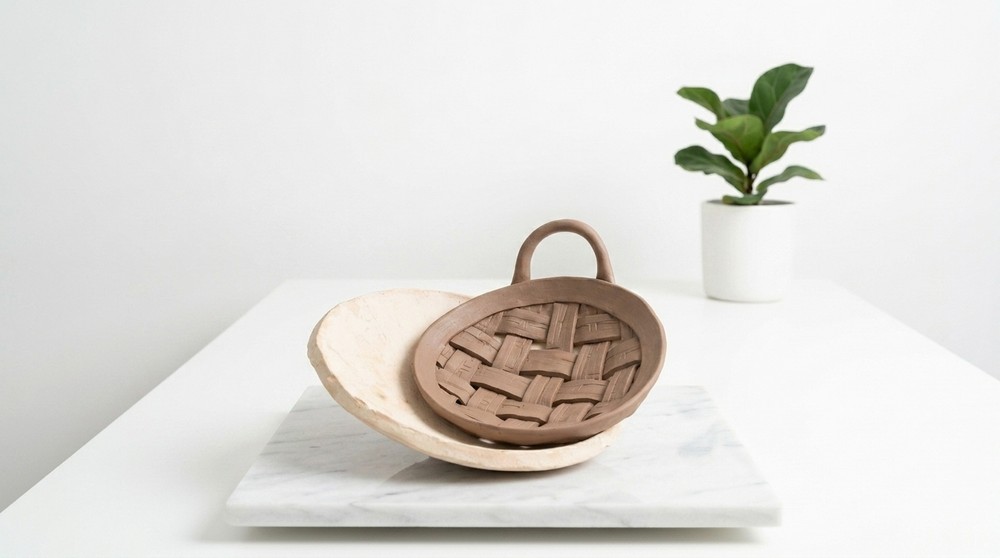
Final Refinements
- Flip the basket upright after curing the clay slightly and smooth the interior bottom and edges with a sponge or tool.
- Add impressions, personal stamps, or initials for customization.
Finishing & Decor
- Sanding (Optional):
- After drying, lightly sand any rough edges to refine the basket’s texture.
- Glazing or Painting:
- Use underglaze or stain to add color before firing. Alternatively, glaze after the bisque firing for a glossy finish.
- Experiment with combinations (e.g., textured areas with muted tones, handles in contrasting glazes).
- Sealing:
- Apply a sealant if you prefer a matte finish or to protect painted designs.
Leave a Reply