
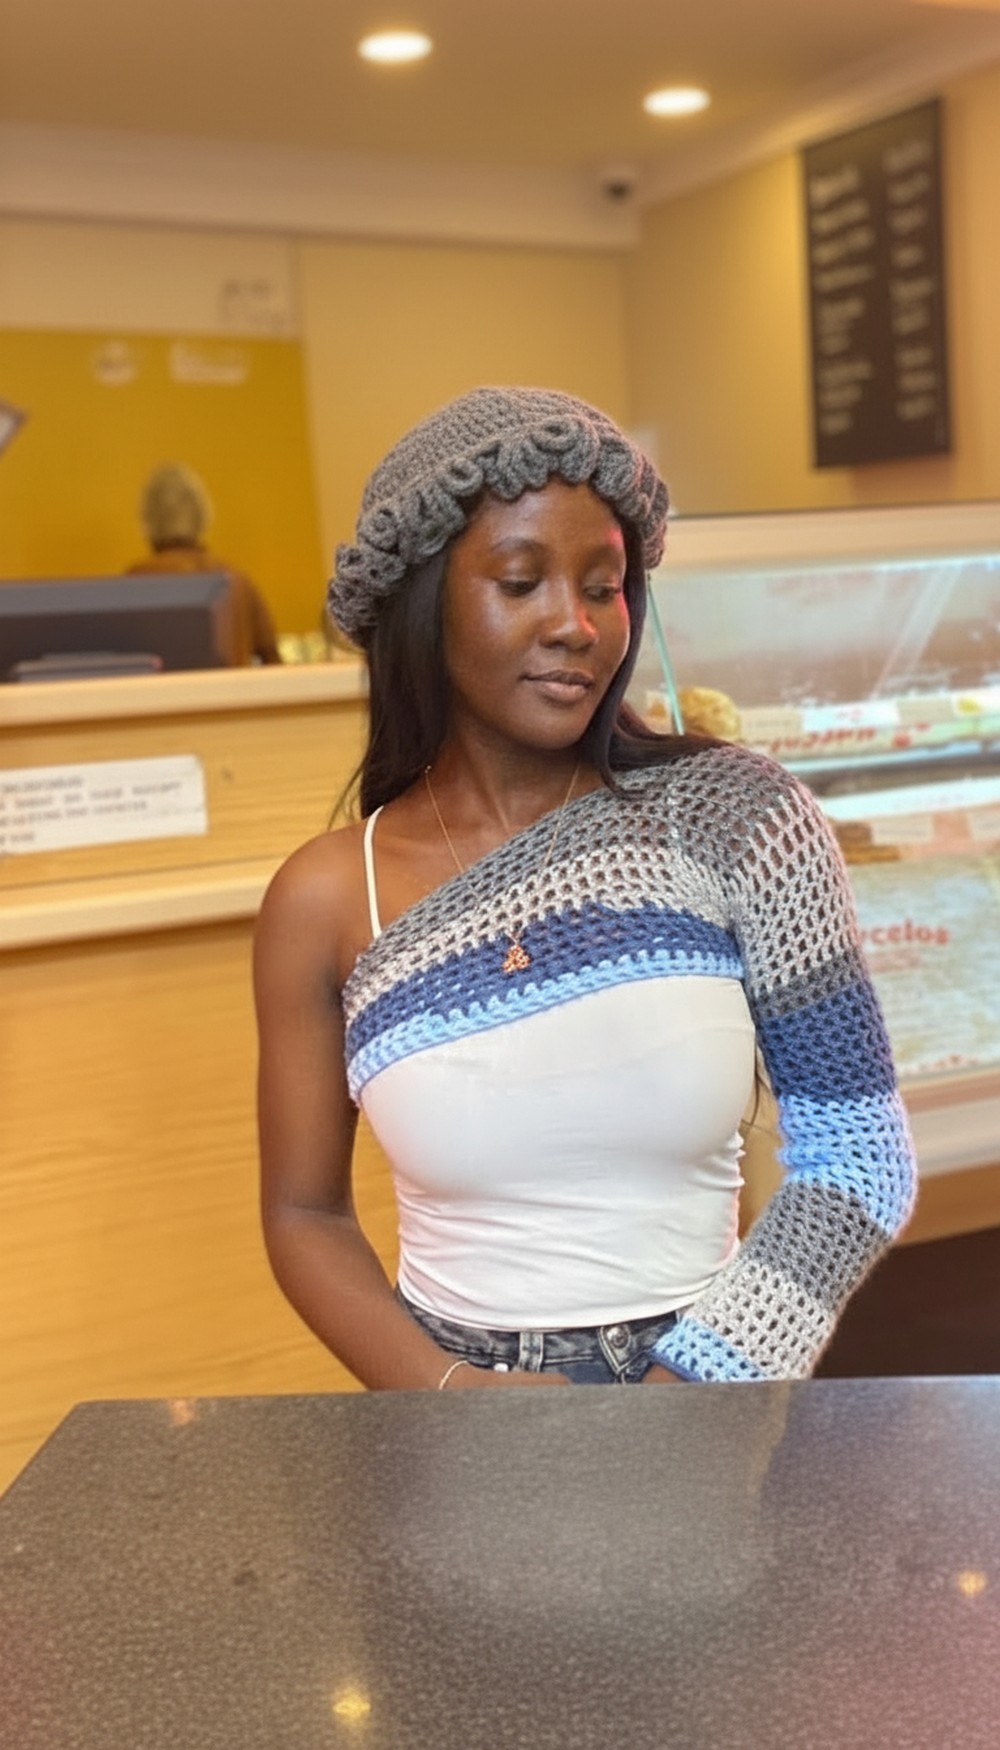
Wrap yourself in cozy charm with this easy, unique one-hand shrug crochet pattern that adds style and warmth to any outfit in no time.
A cozy and stylish little wrap that fits comfortably over one shoulder, this shrug is perfect for adding a touch of warmth and charm to any outfit. Its simple yet elegant design drapes beautifully, making you look effortlessly fashionable whether you’re at home, going out, or enjoying a cool evening. Made with soft yarn, it feels gentle on the skin and is easy to wear throughout the day.
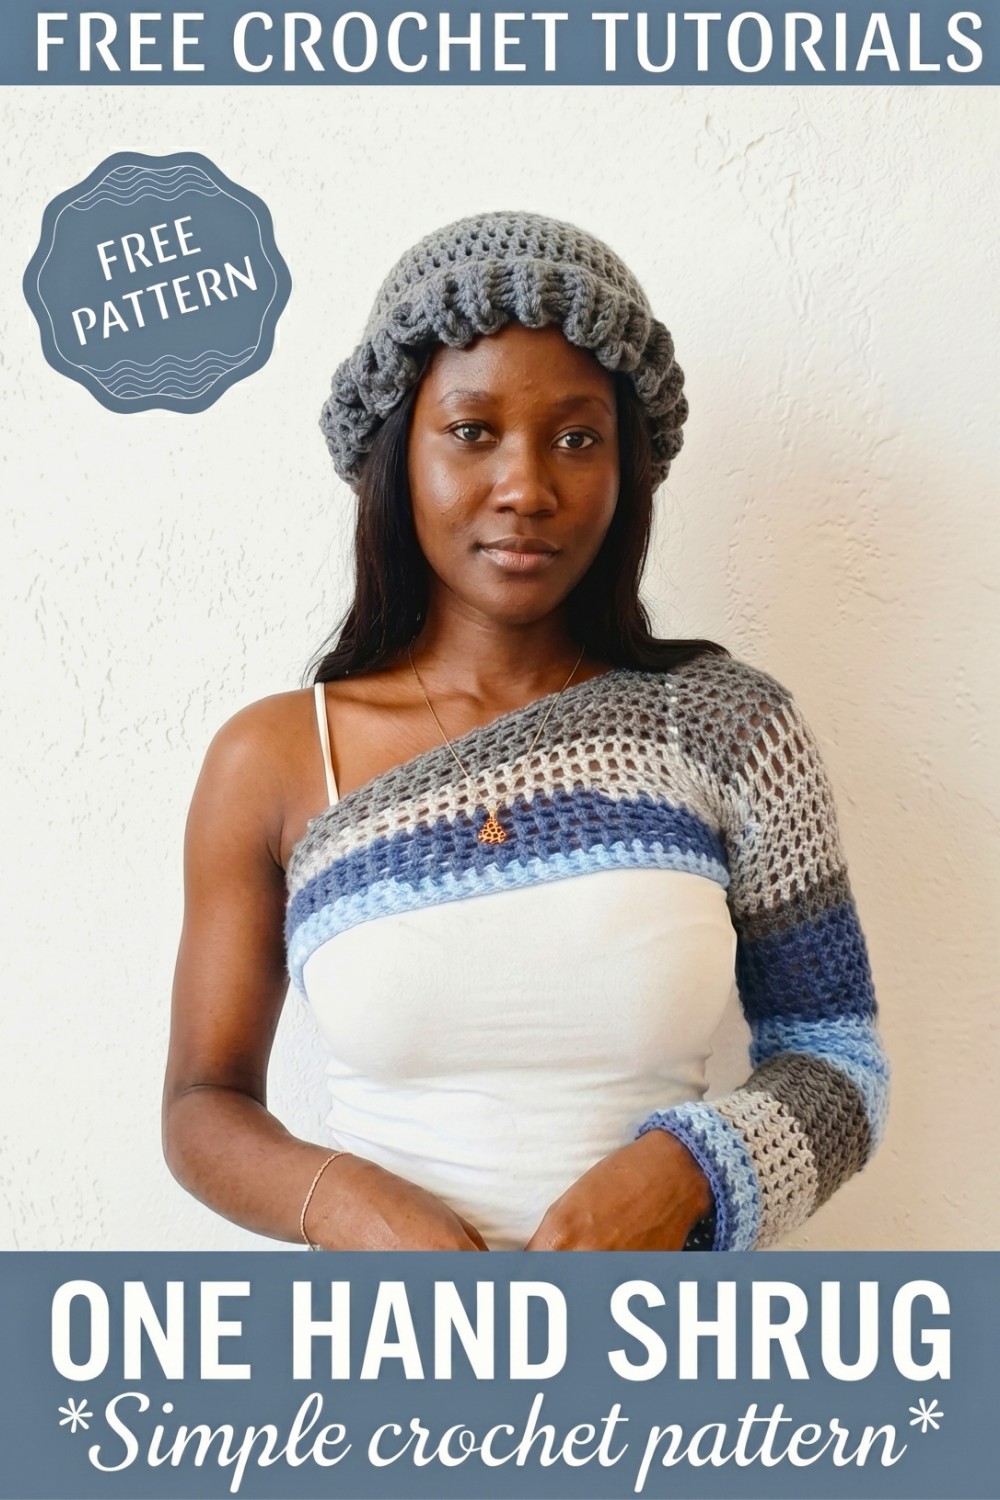
Fun & Fast One Hand Crochet Shrug Pattern to Brighten Days
This shrug adds a lovely layer without the bulk of a full sweater, giving you freedom of movement while keeping you warm. The one-hand style makes it unique and eye-catching, a piece that draws compliments wherever you go. Whether paired with a dress or casual clothes, it brings a cozy charm and a handmade touch that stands out. It’s a wonderful way to enjoy comfort, beauty, and warmth in a small, stylish package that anyone can easily wear and love.
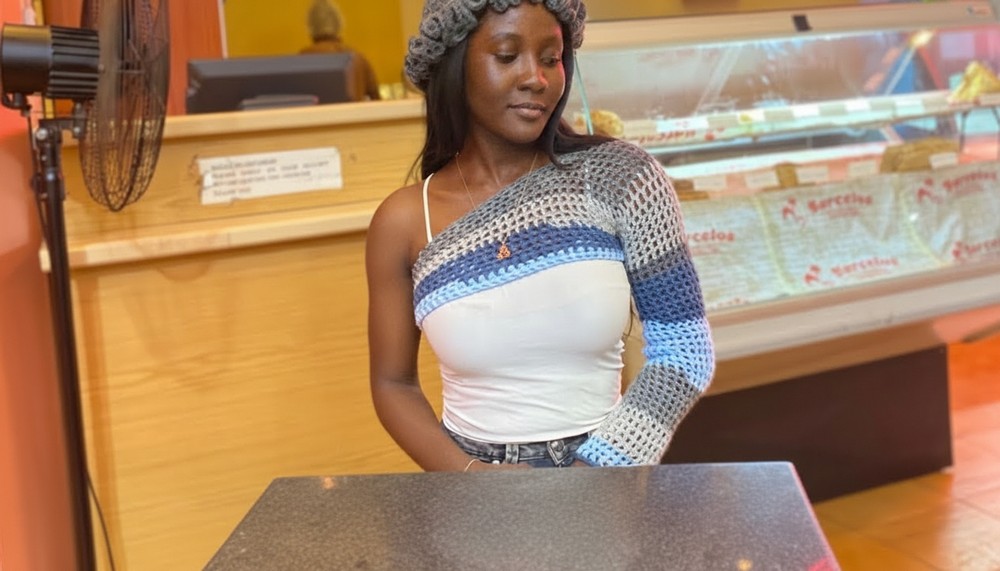
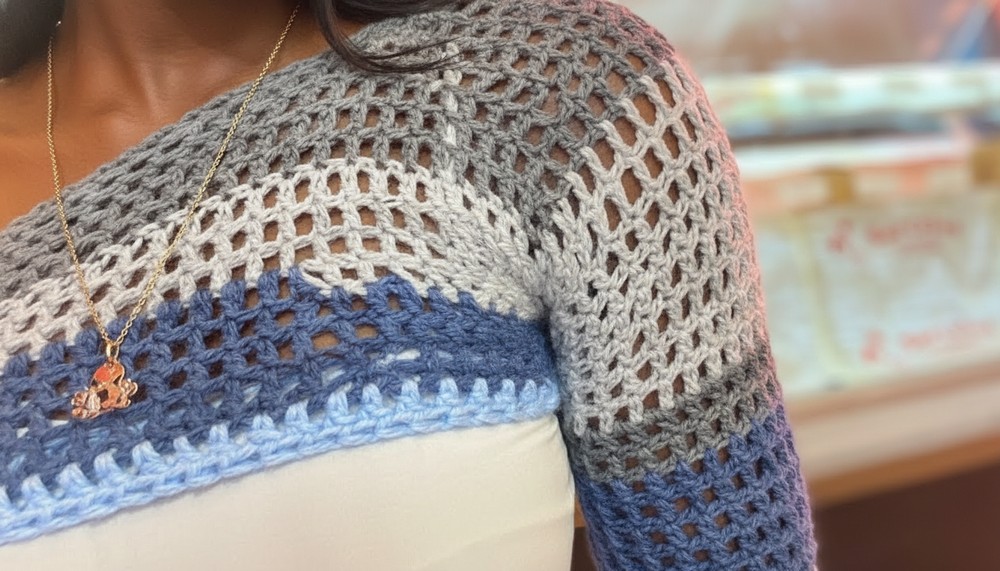
Crochet Colorful Mesh Top Pattern with One Sleeve
Special Features
- Uses leftover yarn, reducing waste.
- Mesh stitch pattern for breathability.
- Color changes can be made anytime.
- One shoulder with a supporting band for firmness.
- Single sleeve with an option to add length.
- Customizable length and width.
Difficulty Level
Intermediate – You’ll need to know how to chain, double crochet, slip stitch, change yarn colors seamlessly, and join pieces.
Materials
- 4 mm crochet hook
- Various yarn colors / leftover yarn
- Stitch markers
- Yarn needle for weaving ends
Pattern Instructions
Step 1: Foundation Chain
- Make a slip knot.
- Chain 70 stitches (or adjust based on your size).
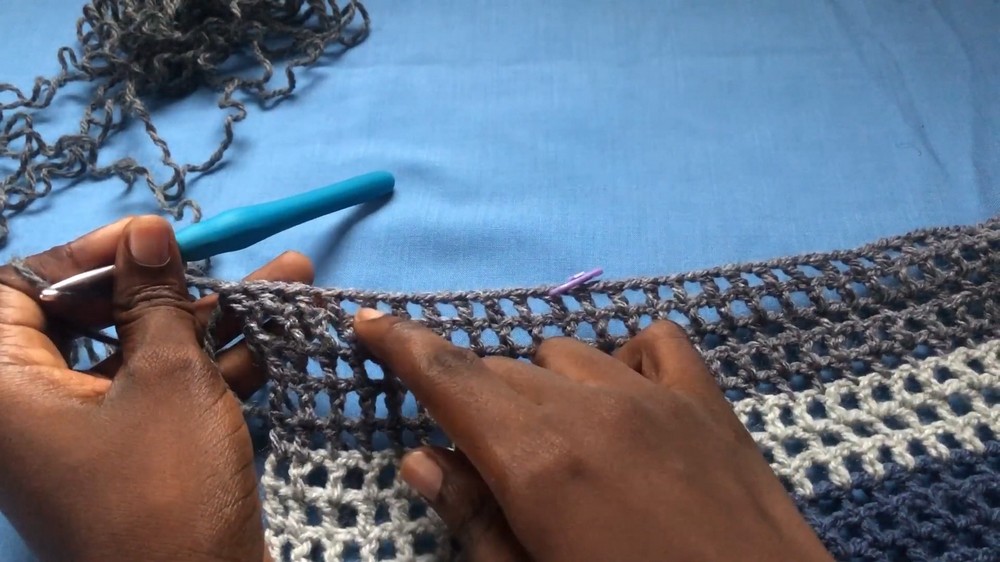
Step 2: Row 1 – Mesh Stitch Base
- Yarn over, skip the first 3 chains.
- Into the 4th chain from hook, make a double crochet (dc).
- Chain 1, skip 1 stitch, double crochet into the next stitch.
- Repeat step 3 to the end of the row.
- End the row with a double crochet into the last chain space.

Step 3: Row 2 and Following Mesh Rows
- Chain 4 and turn.
- Make a double crochet into the first double crochet space.
- Chain 1, skip 1 space, then make a double crochet into the next space.
- Repeat step 3 across the row.
- End with a double crochet into the last stitch space.
Step 4: Color Changes (Optional)
- You can change yarn colors at the beginning, middle, or end of any row.
- To change colors, start your last double crochet of the row with the old color but do not finish the last yarn over.
- Grab the new color, finish the double crochet with it, chain 1, and continue.
- Weave in yarn ends later; the mesh stitch conceals them well.
Step 5: Continue Mesh Rows
- Repeat step 3 for a total of 12 rows (or more for desired length).
- Feel free to alternate colors every few rows.
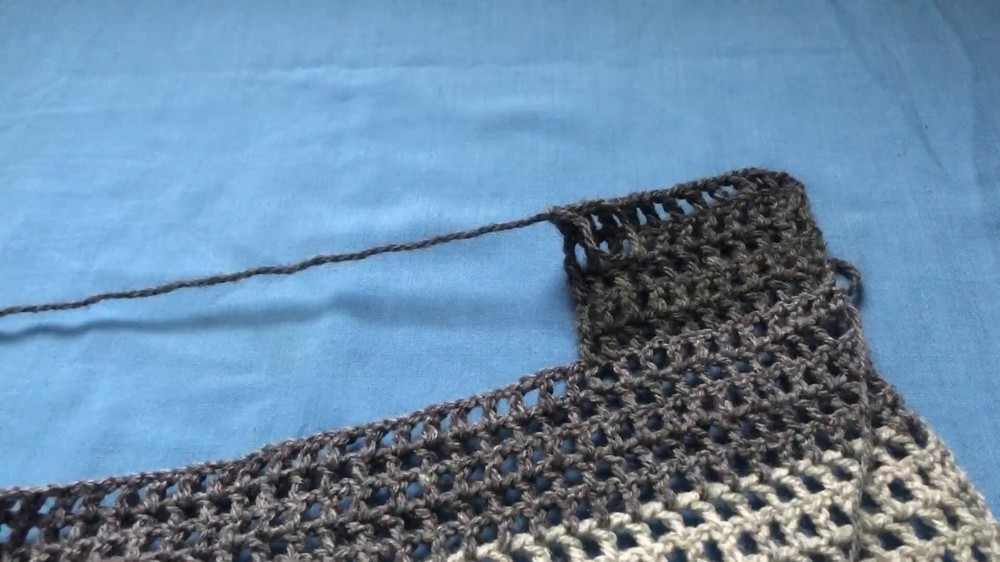
Step 6: Single Shoulder Support
- At approximately row 15, mark your stitches to work a firmer shoulder band for one side.
- Count 10 stitches, place a stitch marker for the boundary.
- Work mesh stitches up to the marked stitch and then finish the row stopping at the marker — this forms one shoulder.
- Repeat this for 4–5 rows to create a firm shoulder section.
Step 7: Back Base
- Chain 46 stitches (or measurement of your back width).
- Join yarn if changing colors.
- Work mesh stitch rows in the same way as previous steps for 15 rows.
- This piece can be used as the back or front depending on your preference.
Step 8: Sleeve Creation
- Make a slip knot, chain 50 chains (or measure around your upper arm for fit).
- Into the 4th chain from the hook, make a double crochet.
- Chain 1, skip 1, double crochet into the next, repeat to end (mesh pattern).
- Join the ends of the chain to form a circle (do not cut yarn).
- Continue working mesh stitches in rounds for 3–5 rows, adjusting length as desired.

Step 9: Joining Sleeve to Body
- Join your yarn to the marked stitch on the body where the sleeve will be attached.
- Slip stitch through the sleeve and the body edges one stitch at a time.
- Continue slip stitching evenly around to join sleeve to armhole.
- Once joined, chain 2, work a round of mesh stitches around sleeve edge.
- Finish off with single crochet rounds for a clean edge if desired.
Step 10: Finishing Touches
- Weave in all loose yarn ends using a yarn needle.
- Add an optional edging with single crochet or slip stitches for a polished look.
- Block your top lightly if desired to smooth and shape.

Tutor’s Suggestions
- Change colors as you please to personalize your look.
- Don’t cut your yarn too early when joining to avoid confusion and rejoining.
- Use stitch markers to keep track of shaping areas like shoulder and sleeve attachment points.
- Try on as you go, especially for sleeve length and body fit.
Uses
- Chic and breathable summer top.
- Stylish layering piece.
- Upcycles leftover yarn into wearable art.
- Perfect for casual outings or beach days.
Tip
If you find joining sleeves tricky, try sewing them on with a yarn needle instead of slip stitching for more control.
Conclusion
This colorful mesh crochet top with ruffles provides a fresh, fun, customizable wardrobe piece that celebrates leftover yarn with a unique one-sleeve design. Intermediate crocheters will enjoy the rhythm of the mesh stitch combined with creative colorwork and shaping.
Leave a Reply