
Stay Warm and stylish with crochet beanie pattern offers a cozy accessory filled with charm and personality for your cold-weather wardrobe.

Nothing warms the soul quite like the comforting feel of something designed with care and wrapped in vibrant colors. A beautifully made beanie isn’t just practical—it’s a little treasure that adds personality and warmth to your wardrobe. Perfect for chilly winter walks, cozy nights indoors, or as a thoughtful gift for someone you care about, it blends comfort and charm in the most wonderful way. With endless options of colors and patterns, each one reflects a unique personal touch.
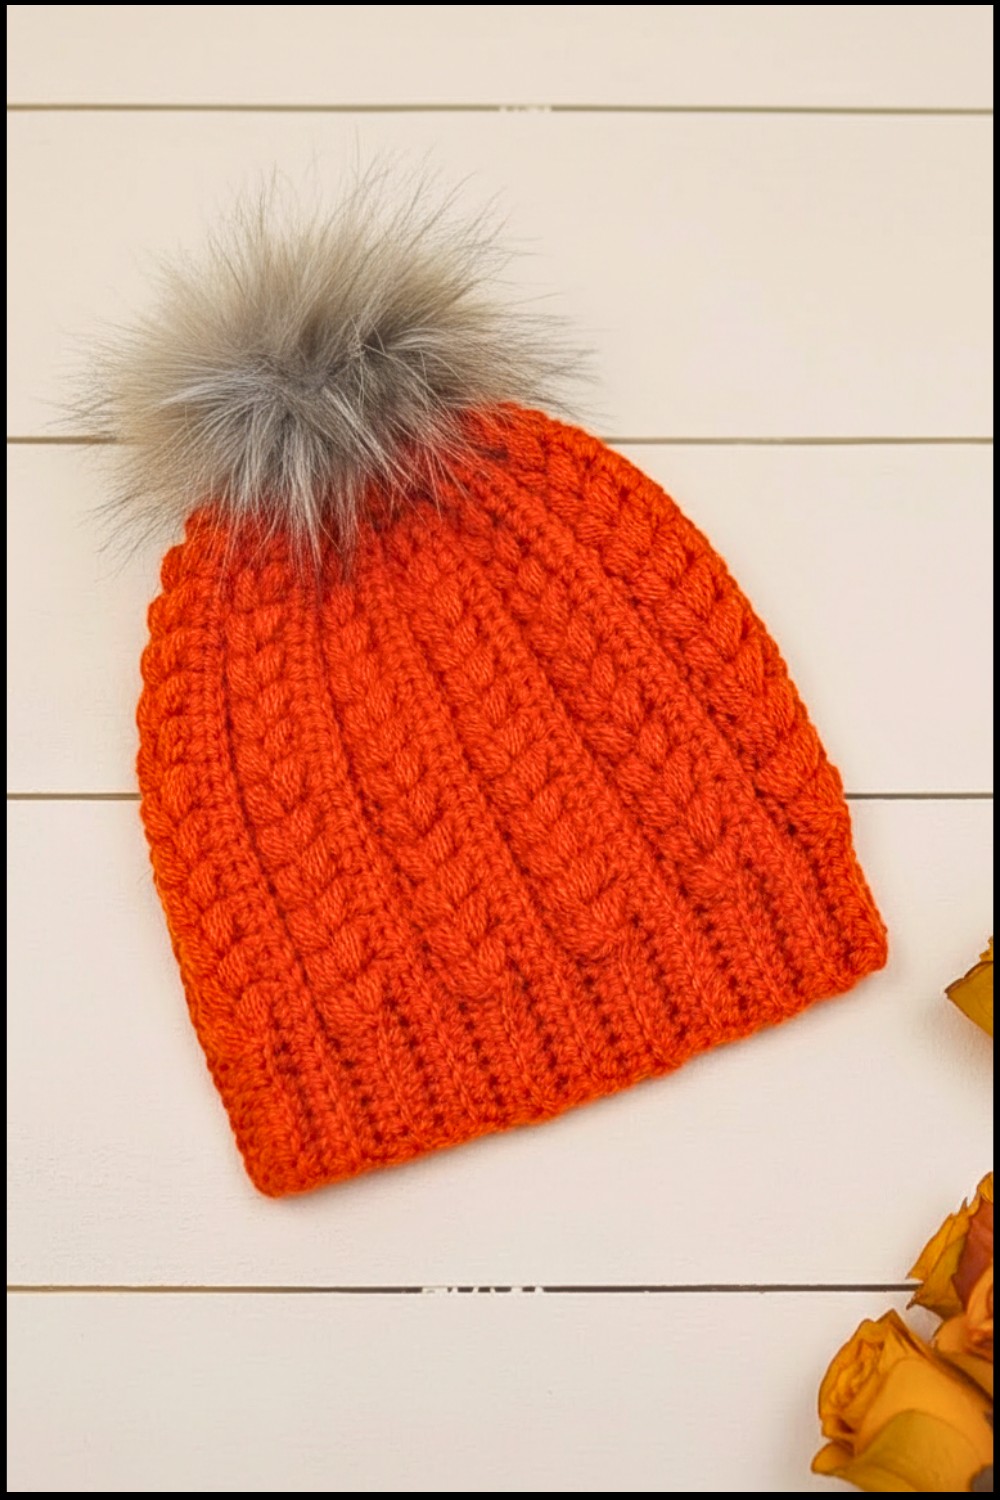
Simple Crochet Beanie Pattern Perfect for Winter Vibes
The process of bringing it to life is simple and enjoyable, allowing even beginners to make something special with ease. Every detail speaks of warmth and love, turning ordinary threads into something extraordinary. Whether it’s worn for style, warmth, or both, it’s a delightful reminder that the simplest things often carry the most meaning, adding beauty and joy to your everyday life.

Materials
Yarn
- Medium-weight yarn (worsted weight or DK): ~75–80g.
- Acrylic, wool, or blended yarn recommended for comfort and warmth.
Hook
- Size 4mm crochet hook (adjust based on your yarn).
Other Tools
- Tapestry needle for sewing and weaving in ends.
- Scissors.
- Stitch markers for marking specific points.
Skill Level
Intermediate to Advanced.
Crocheters should be familiar with puff stitches, half-double crochet (hdc), single crochet (sc), and slip stitches (sl st).
Key Abbreviations (US Terminology)
| Abbreviation | Meaning |
|---|---|
| ch | Chain |
| sc | Single Crochet |
| hdc | Half Double Crochet |
| sl st | Slip Stitch |
| yo | Yarn Over |
Special Notes
- Gauge: To ensure a perfect fit, refer to hat sizing charts for the correct circumference and height. Adjust your stitches accordingly.
- Back Loop Only (BLO): Instructions include rows worked in BLO for added texture.
- Tension: Maintain consistent tension, especially during the slip stitch seams and puff stitches, to ensure clean finishing and accurate sizing.
Pattern Instructions
Step 1: Initial Measurements
- Determine the size needed for the ice cap using a hat size chart.
- Example: Adult medium size requires 48 cm circumference and 24 cm height.
- Chain length must equal the height of the beanie (24 cm in this example).
- Ensure the chain count is odd.
Step 2: Foundation Chain
- Chain 35 (or desired odd count) to match your measurement.
- Row 1: Start in the 2nd chain from the hook:
- Work hdc into each chain across. (Total: 34 hdc).
- Mark every 7th stitch to simplify future rows.
- Row 2:
- Ch 1, turn your work. Work sc stitches in BLO for the first 4 stitches.
- Proceed with hdc in BLO for the next 7 stitches, ensuring markers are placed in the 7th stitch.
- Work BLO hdc across all stitches except the last 4, where you complete the row with 4 sc BLO.
Step 3: Establish Puff Stitch Pattern
Puff Stitch Row (Row 3)
- Start with ch 1, turn your work.
- Begin with 4 sc BLO.
- Puff Stitch Sequence:
- Skip one stitch and work sc into the next stitch.
- Yo, insert hook into the skipped stitch (under both loops of the stitch), and pull up a loop. Repeat pulling loops into the same gap four times (total 8 loops on hook).
- Yo and pull through all loops except the last. Yo and pull through the remaining 2 loops to complete the puff.
- Continue working the puff stitch and sc alternately, skipping stitches, until reaching a marked stitch.
- Finish the row with 7 hdc BLO stitches in the last seven stitches.


Step 4: Row Repeats
Row 4 (Simple HDC Row)
- Ch 1 and turn. Begin with 7 hdc BLO, marking the 7th stitch.
- Work hdc BLO across all stitches until the last 4.
- Complete the row with 4 sc BLO stitches.

Step 5: Repeat Pattern of 4 Rows
Repeat the 4-row pattern until your work reaches the required circumference (minus 3–4 cm for slight negative ease to ensure a snug fit). For adult medium size, achieve a length of approximately 48 cm.

Step 6: Joining the Edges
- Fold the work so both edges align with the wrong sides facing outward.
- Using a slip stitch seam, join the edges.
- Insert hook under both loops of the foundation chain edge and into the BLO of the final row, pulling the yarn through both sides for neat finishing.
- Work the seam carefully to ensure no tension disparities.

Step 7: Closing the Top
- Thread your tapestry needle with a long yarn tail.
- Weave the needle through the row ends around the top opening, creating a drawstring effect.
- Pull tight to close the top securely.
- Add additional stitches across the opening to reinforce the closure as needed.
Optional Finishing Touches
- If desired, add a pom-pom or decorative element to the top.
- Use the same yarn, fur, or a contrasting color for personalization.
- Attach the pom-pom and weave in all loose ends.

Conclusion
Congratulations on completing your ice cap! This cozy and stylish beanie is versatile, fitting children and adults alike. Its reinforced texture and snug fit ensure durability and comfort during winter months. Using puff and BLO stitches creates unique visual appeal perfect for gifting or personal wear.
Pattern Corrections
- Puff Stitches: Maintain consistent tension when completing the puff stitches to avoid uneven bubbling.
- Seam Precision: Ensure the edge seam aligns perfectly for a professional finish.
Tips
- Sizing: Measure frequently as you work to ensure ideal hat circumference.
- Customization: Experiment with colors and textures to create unique variations of the ice cap.
- Stretch Factor: Crochet is elastic by nature, so plan for slight stretching after multiple wears.
Leave a Reply