
Cozy up fast with the Crochet Peasy Beanie Pattern that’s quick, and perfect for adding a stylish handmade touch to your chilly day wardrobe.
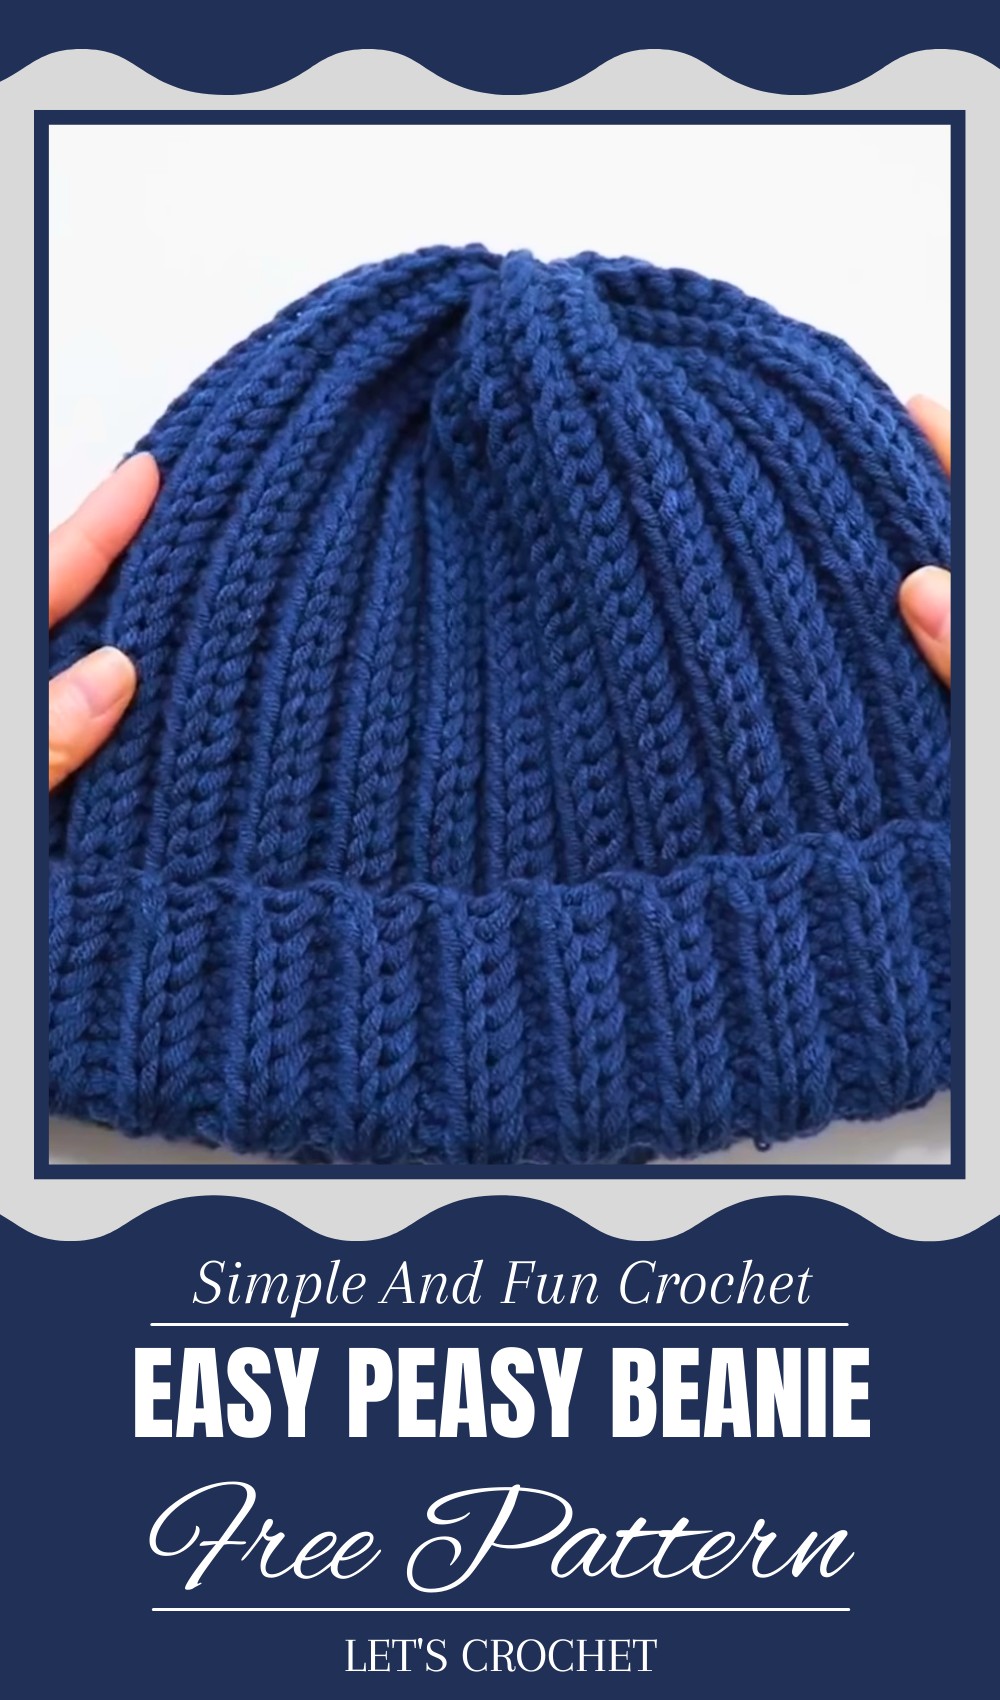
Crochet Peasy Beanie Pattern Everyone Will Love to Wear
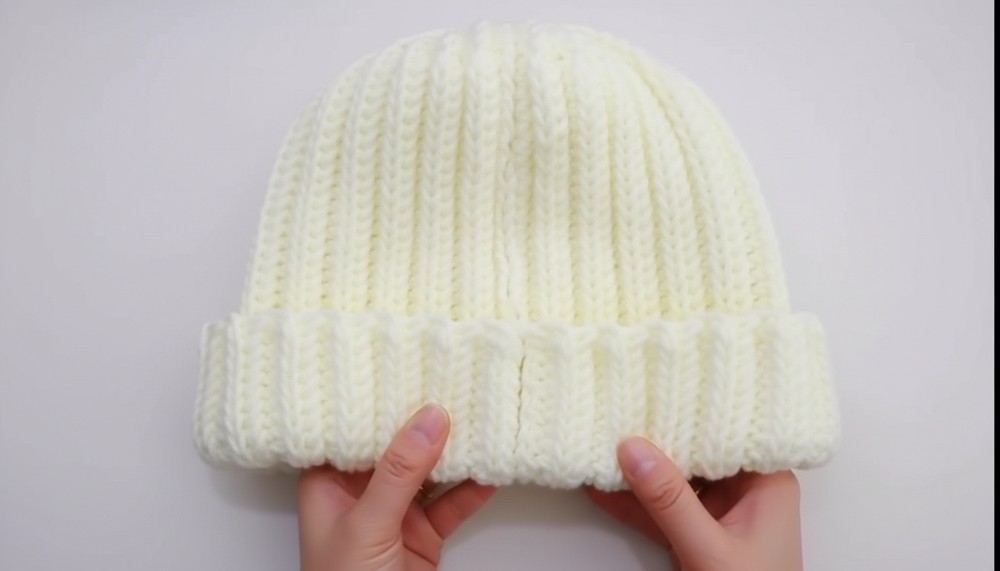
A gentle hug for your head, this beanie keeps you warm and cozy with its soft, smooth texture and perfect fit. Its simple, clean design makes it easy to wear anywhere—whether you’re out for a walk, running errands, or relaxing at home. The beanie’s classic look adds a touch of charm and warmth to any outfit, making you feel both stylish and comfortable.
Light enough to wear all day but warm enough to protect against chilly winds, it suits all ages and head sizes. This beanie also makes a thoughtful gift, sharing comfort and care with loved ones. Its quiet beauty and cozy feel make it a favorite accessory, ready to brighten cold days with warmth and simple elegance.
Fishbone Crochet Hat Pattern – Step by Step Guide
Introduction
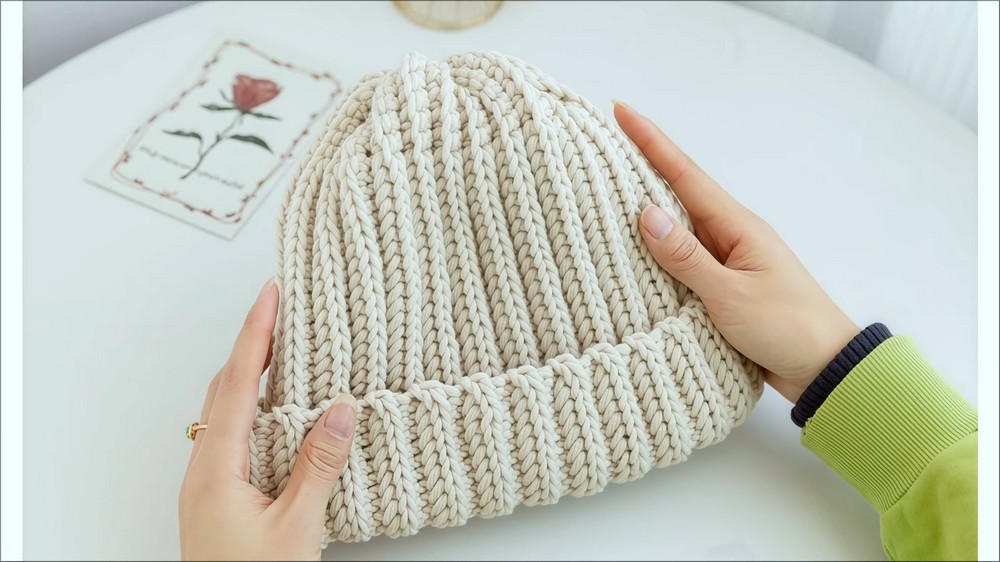
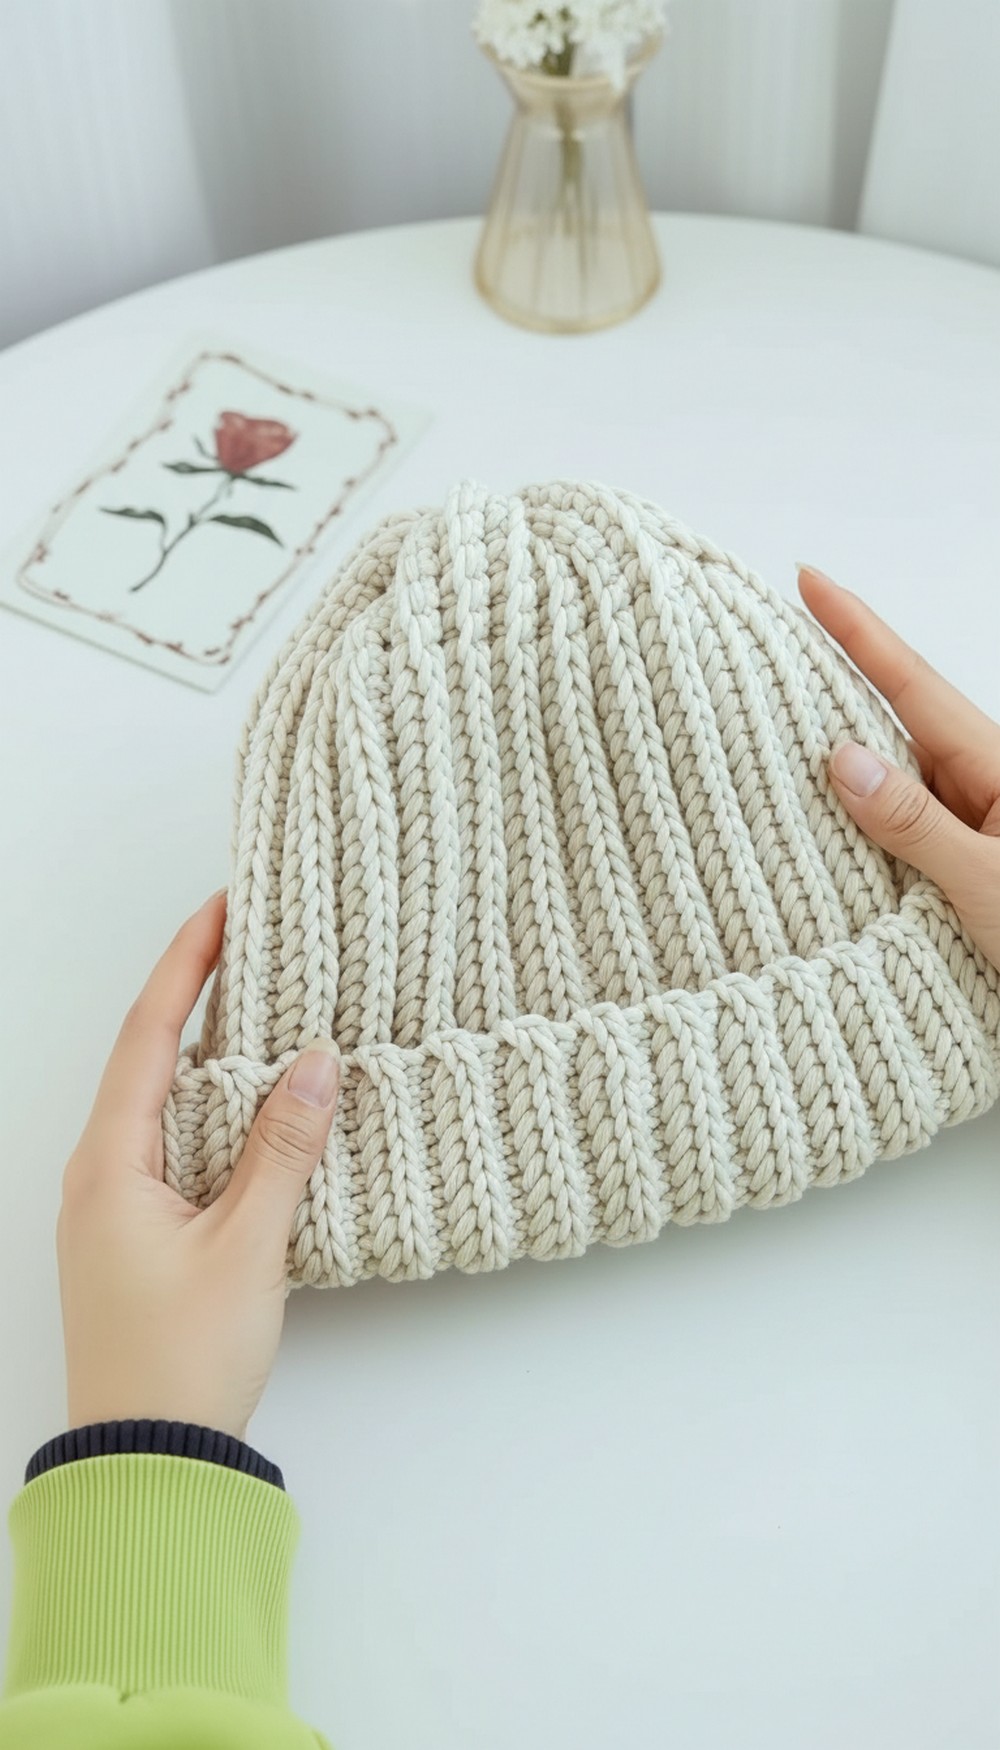
This Fishbone Crochet Hat features a beautiful textured fishbone stitch pattern that adds dimension and style to your cozy hat. Using a combination of short stitches and clever loopwork, this hat offers a snug fit tailored to your size. Ideal for those with intermediate crochet skills, this pattern balances style and warmth perfectly.
Special Features
- Unique textured fishbone stitch with a braided look
- Adjustable sizing based on head circumference
- Combination of short stitches and multi-loop stitches
- Sturdy and warm, great for colder months
Skill Level
Intermediate: Basic understanding of crochet stitches and working with stitch markers is recommended.
Materials
- Medium weight yarn
- Appropriate crochet hook for yarn size
- Stitch marker
- Yarn needle
- Scissors
Step-by-Step Pattern
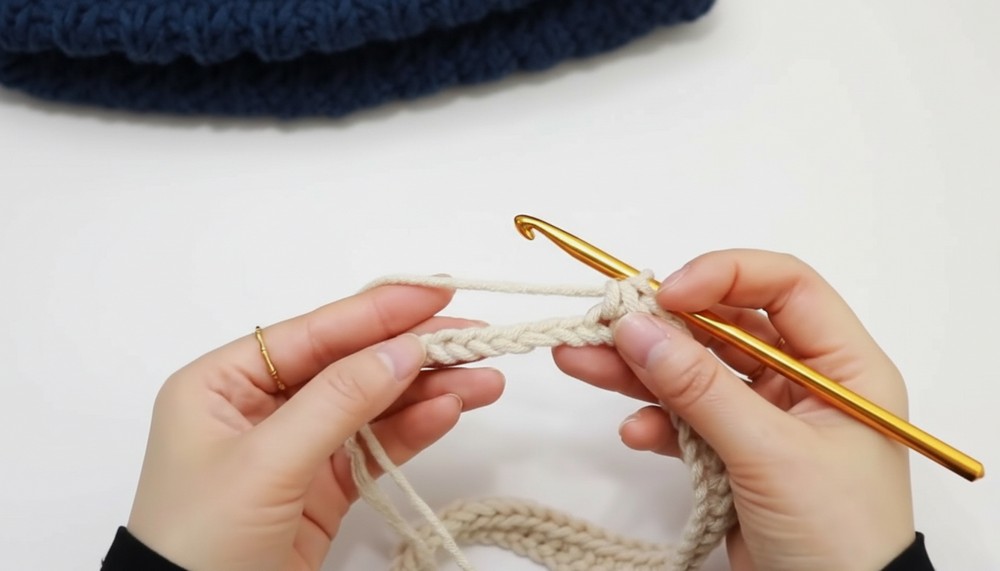
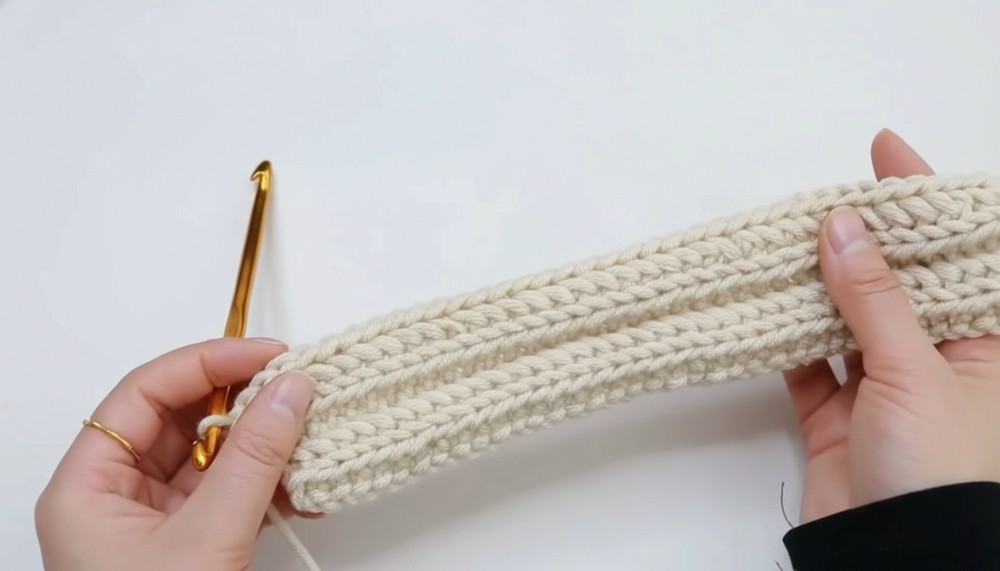
Step 1: Foundation Chain
- Crochet a chain of 45 stitches (each “V” shape corresponds to one stitch).
- This chain determines the height of the hat.
Step 2: Start First Row
- Go back to the 2nd chain from the hook to start.
- Insert your hook into the side of the braid beside the 2nd stitch.
- Yarn over, pull through to have two loops on the hook.
- Yarn over again and pull through both loops to make a short stitch.
- Place a stitch marker on this stitch to mark the beginning of the row.
Step 3: Continue First Row
- For each next stitch:
- Insert hook into the frontmost loop of the next V-shaped stitch.
- Then insert from the side of the braid of the following stitch.
- Pull yarn up through these loops, leaving three loops on the hook.
- Yarn over and pull through all three loops at once (this completes the special fishbone stitch).
- Repeat this process until you reach the top and have 7 stitches remaining.
Step 4: Crochet Top Part of First Row
- Crochet 7 short stitches by inserting the hook directly into the braid stitches and completing the short stitch as before.
Step 5: Complete First Row
- After finishing these 7 stitches, the first row is done.
Step 6: Begin Second Row – Standing Stitch
- Make a standing stitch by winding the yarn on your hook to match the row height.
- Turn your work over to crochet on the other side.
- Crochet 7 short stitches into the braid, always working on the outside side of the braid to keep texture consistent.
- Mark the first stitch again with the stitch marker.
Step 7: Second Row Fishbone Stitches
- Repeat the fishbone stitch method from Step 3 across the row.
- Continue until the end, leaving 7 stitches at the top for the short stitches.
Step 8: Crochet Hat Body
- Alternate between the fishbone pattern rows and the 7 short stitches rows as explained above.
- Keep crocheting until the width of the hat fits your head circumference comfortably.
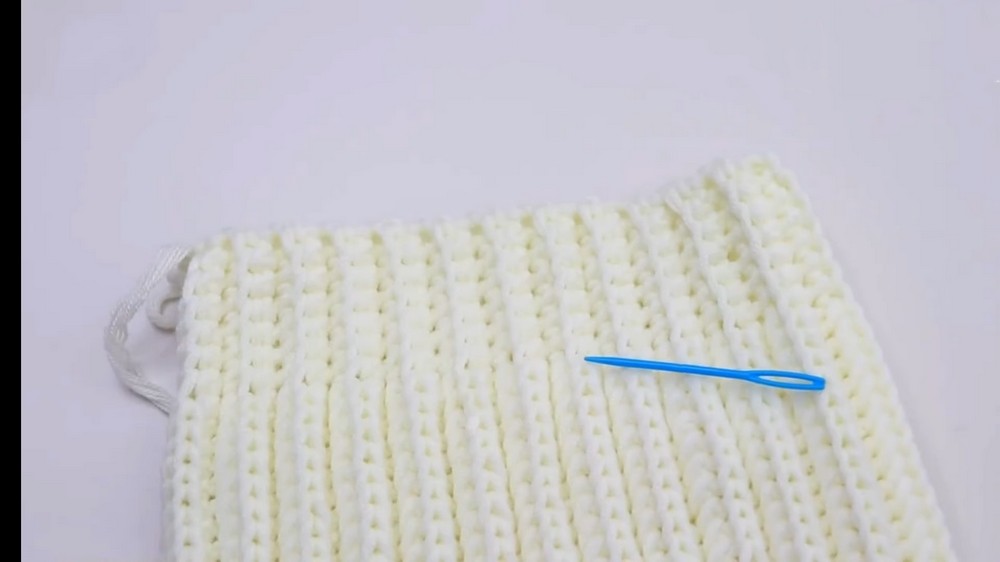
Step 9: Final Touches on the Body
- After reaching desired width, fasten off.
- Compare the height and width to ensure comfortable fit.
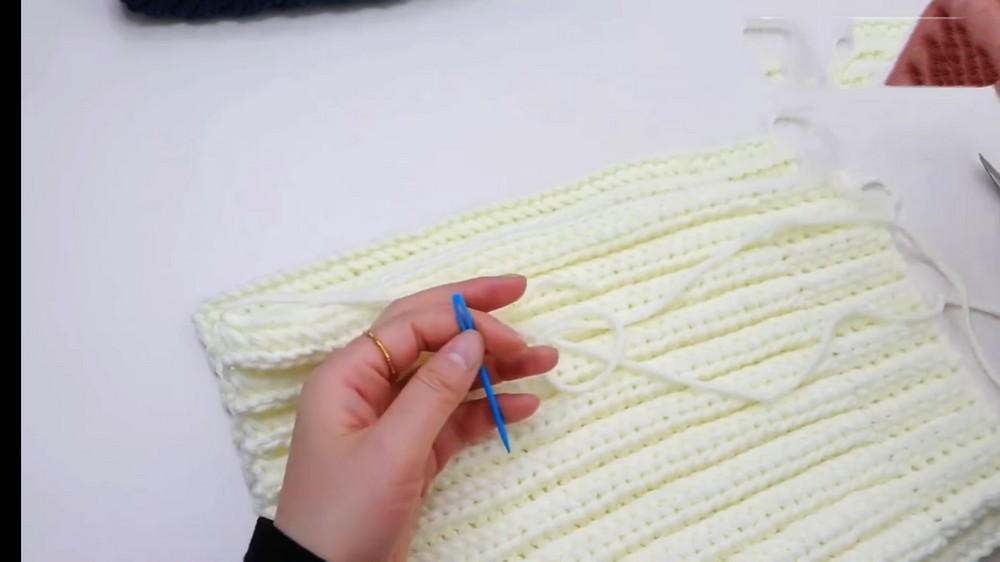
Step 10: Sewing the Hat Together
- Sew both sides of the hat body starting from the long end using a yarn needle and matching yarn.
- Pass needle carefully through the V-shaped stitches to align edges perfectly.
- Make sure any loose threads are pointed outwards to keep the inside neat.
- Sew stitches one by one and reinforce the seam by going over twice.
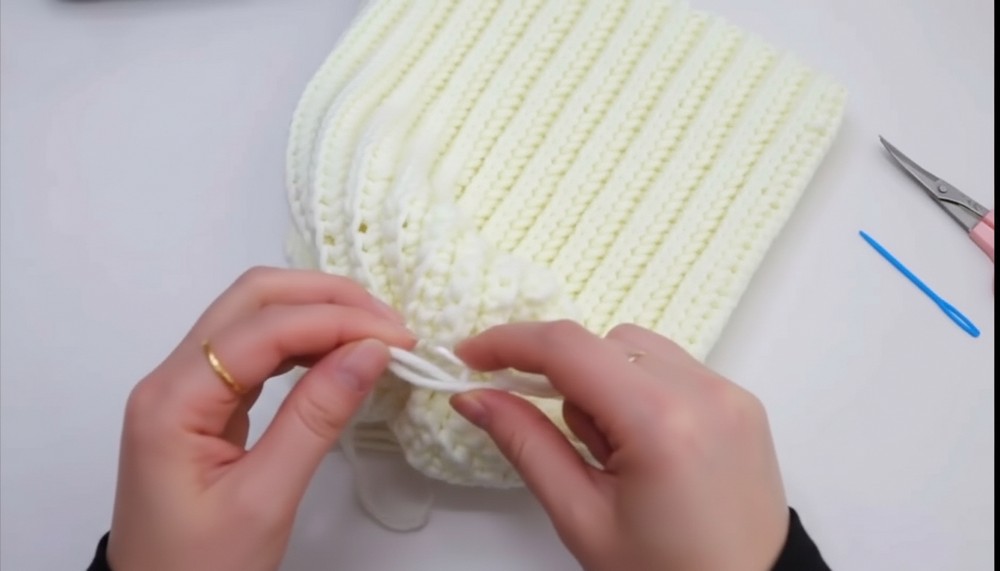
Step 11: Close the Top Hole
- Using a separate length of yarn, sew through the small holes around the top edge.
- Pass yarn back and forth through adjacent stitches to draw the opening closed tightly.
- Tie firmly to secure and weave in ends.
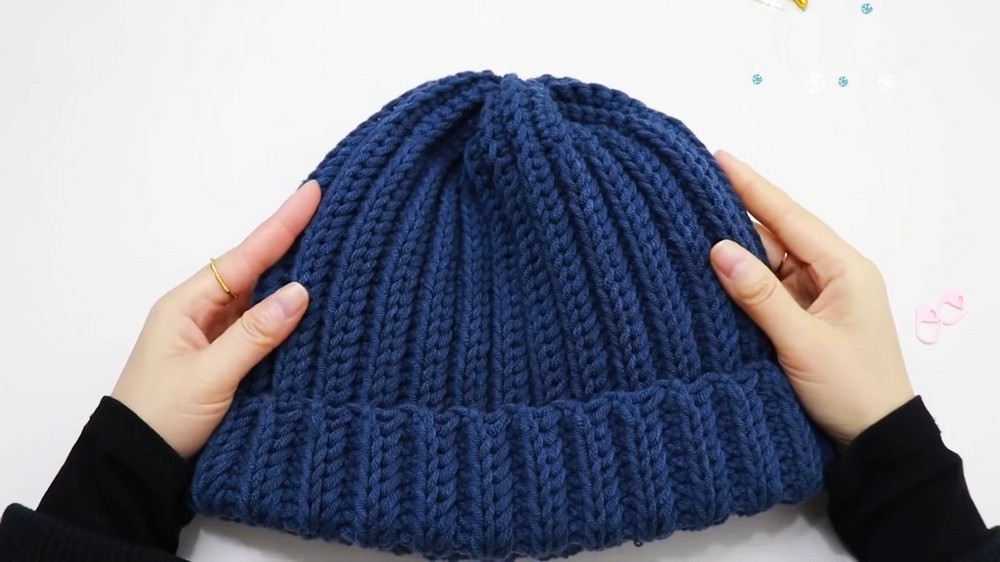
Step 12: Shape the Hat
- Turn the hat right side out and adjust the shape at the top.
- Fold the brim upward slightly for a stylish finish.
Tutor’s Suggestions
- Always use a stitch marker on the first stitch of each row to keep track easily.
- Maintain consistent tension while pulling through multiple loops to avoid uneven stitches.
- Frequently measure head size during body crochet to get a perfect fit.
Uses
This hat is perfect for cool climates as a stylish and warm accessory. It’s suitable for yourself or as a thoughtful handmade gift. Its textured design works well for casual wear or outdoor activities.
Tip
When closing the top hole, tighten the yarn slowly and evenly to avoid puckering. Secure with multiple knots for lasting durability.
Conclusion
This Fishbone Crochet Hat beautifully combines texture and function. Following the steps carefully will help you produce a cozy, charming hat ready to wear or gift. The textured fishbone stitch adds a unique touch making this project truly special.
Leave a Reply