
Lift cozy vibes with this Free Crochet Granny Square Poncho Pattern featuring a colorful design that keeps every outfit lively and welcoming.
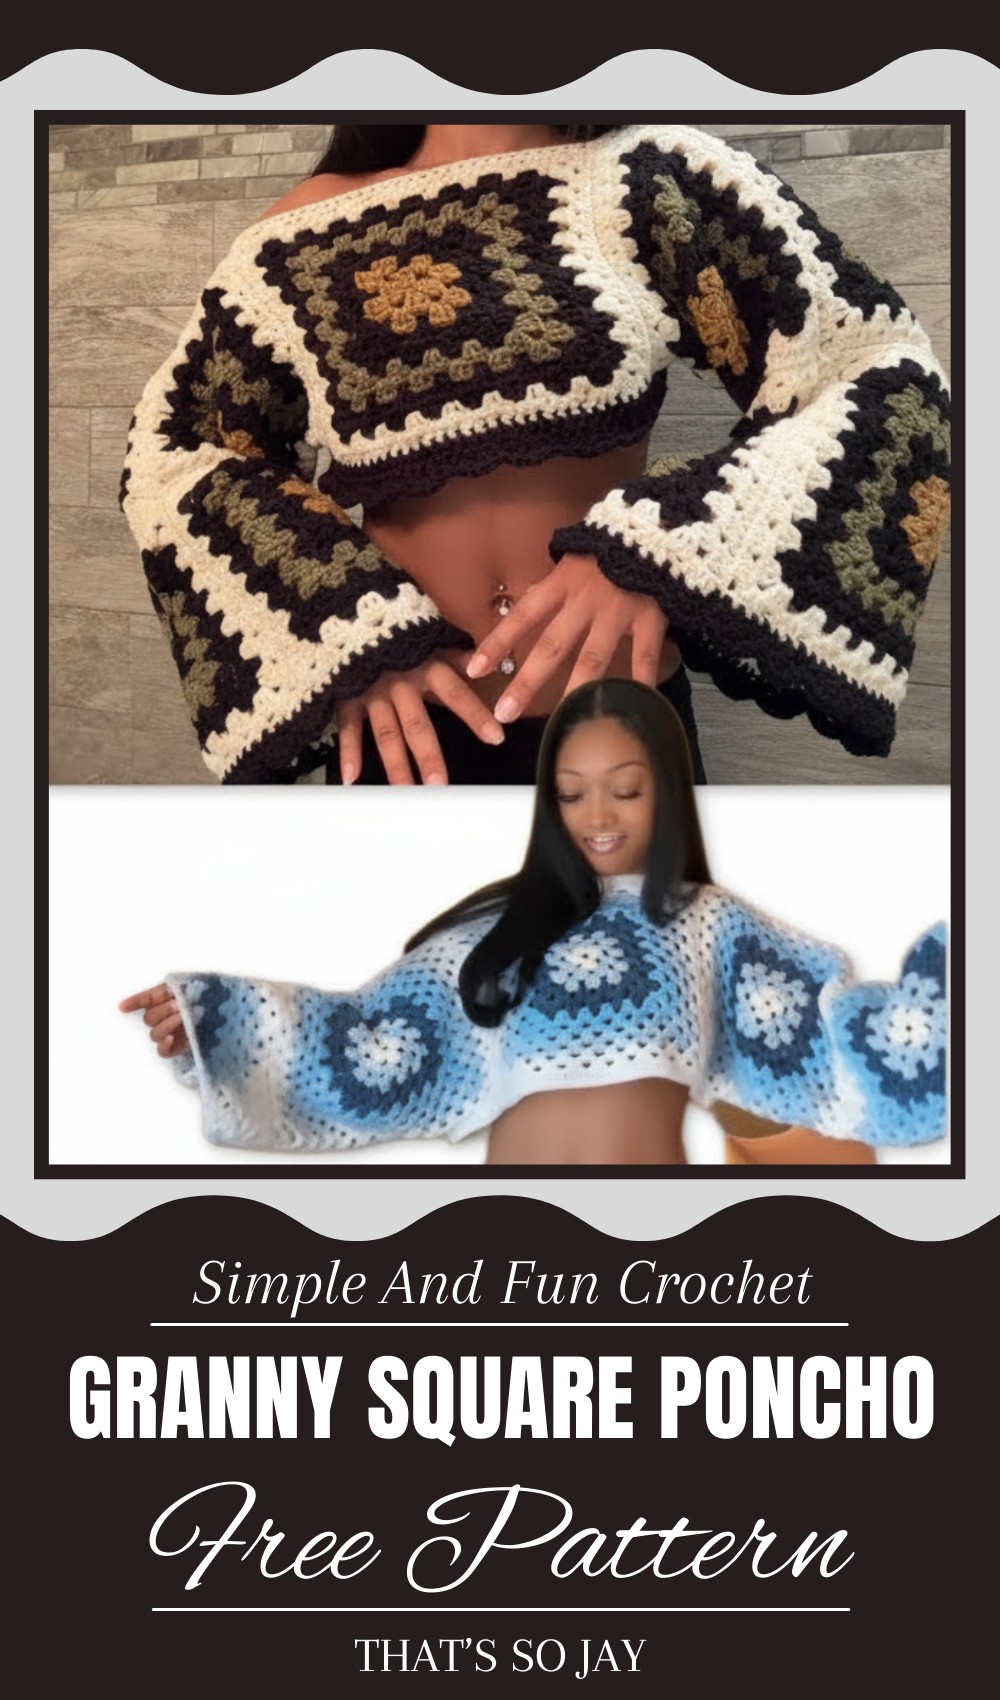
Trendy Crochet Granny Square Poncho Pattern for Street Style Looks
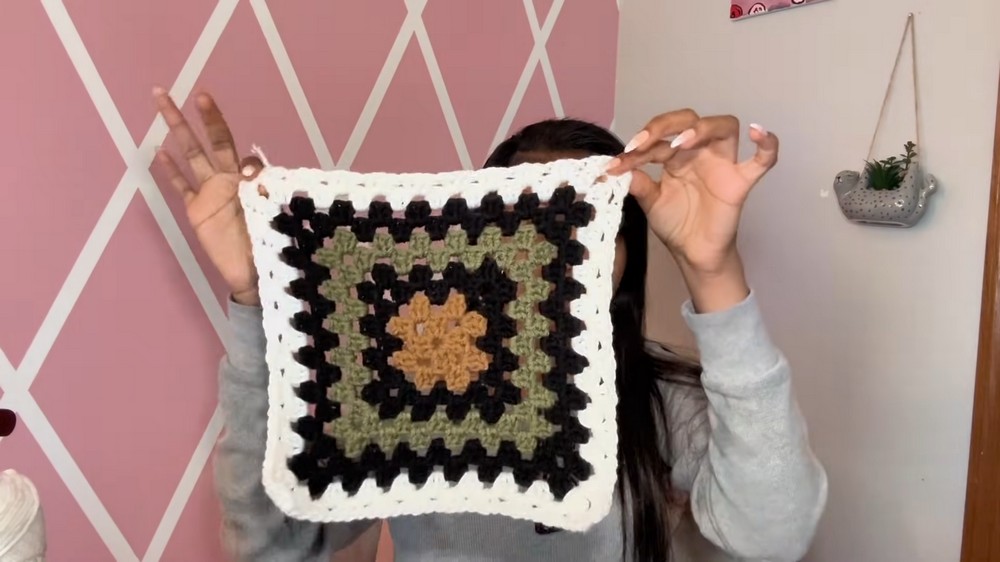
Soft colorful and full of charm this handmade poncho adds a warm cozy touch to any outfit. Each square is carefully crocheted and joined together, creating a unique patchwork of patterns and colors that feels cheerful and lively. The Crochet Granny Square Poncho pattern brings this beauty to life, making it perfect for chilly evenings, outdoor gatherings, or casual strolls. It drapes beautifully over the shoulders, keeping you comfortable while making a stylish statement.
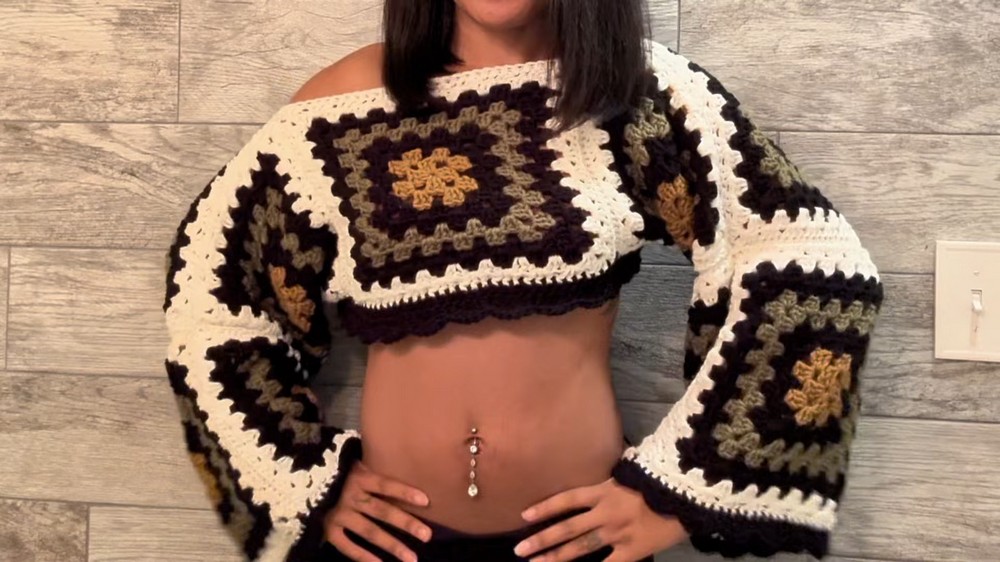
Its lightweight design makes it easy to wear anywhere—from family get-togethers to market trips or even relaxing at home. The mix of bright and gentle shades brings a playful, happy vibe that suits all ages. Whether layered over simple clothes or paired with your favorite dress, it instantly transforms your look, giving a handmade charm that stands out. This poncho isn’t just clothing; it’s a cozy hug, a burst of color, and a touch of creativity you can wear every day.
Materials List
For this project, you will need:
- Yarn: Medium-weight (Category 4) yarn, multiple colors for the poncho body and borders.
- Suggested Colors: Primary color for granny squares, complementary contrast color for borders.
- Hook: 6.0mm crochet hook.
- Scissors: For cutting yarn ends.
- Stitch Markers: For precise square alignment and marking seams.
- Measuring Tape (optional): To ensure appropriate size.
- Blocking Tools (optional): For steaming and shaping your poncho after completing.
Key Abbreviations
- ch: Chain
- sc: Single Crochet
- dc: Double Crochet
- sl st: Slip Stitch
- yo: Yarn Over
- st: Stitch
- sp: Space
Pattern Instructions: Step-by-Step
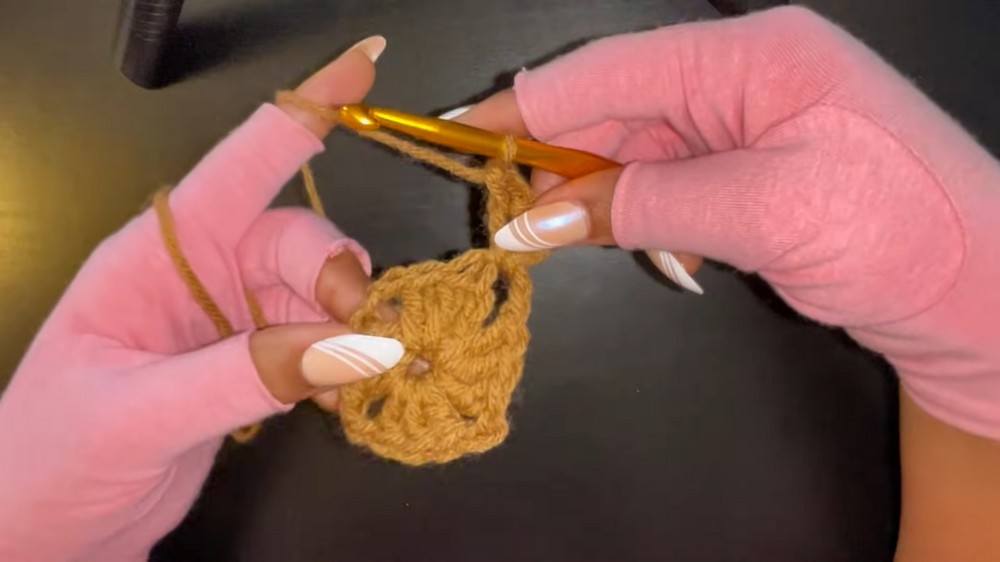
Step 1: Create Granny Squares
Foundation Row for Granny Squares
- Start with a slip knot, then ch 4.
- Sl st into the first chain to create a circle (alternatively, you may use a magic circle).
Row 1
- Ch 3 (counts as the first dc).
- Work 2 dc into the center of the circle. This forms the first granny cluster.
- Ch 2, then create 3 dc into the center of the circle.
- Repeat the pattern (3 dc, ch 2) two more times for a total of 4 granny clusters, spaced by ch 2.
- Finish the row by sl st into the top of the initial ch-3.
Row 2
- Ch 3, then work 2 dc into the same corner space. This forms the first cluster.
- Ch 2, then work 3 dc into the same space (this is your first corner).
- Without chaining in between corners, move to the next corner and repeat the pattern: 3 dc, ch 2, 3 dc into each corner space.
- Finish the row by sl st into the top of the initial ch-3.
Row 3 and Beyond
- Ch 3, then work 2 dc into the first corner space as usual.
- For spaces between corners, work 3 dc clusters into the previous row’s spaces (without any chains in between).
- Continue working corners as 3 dc, ch 2, 3 dc and spaces between corners as 3 dc clusters.
- At the end of each row, sl st into the top of the initial ch-3, chain off, and weave in ends.
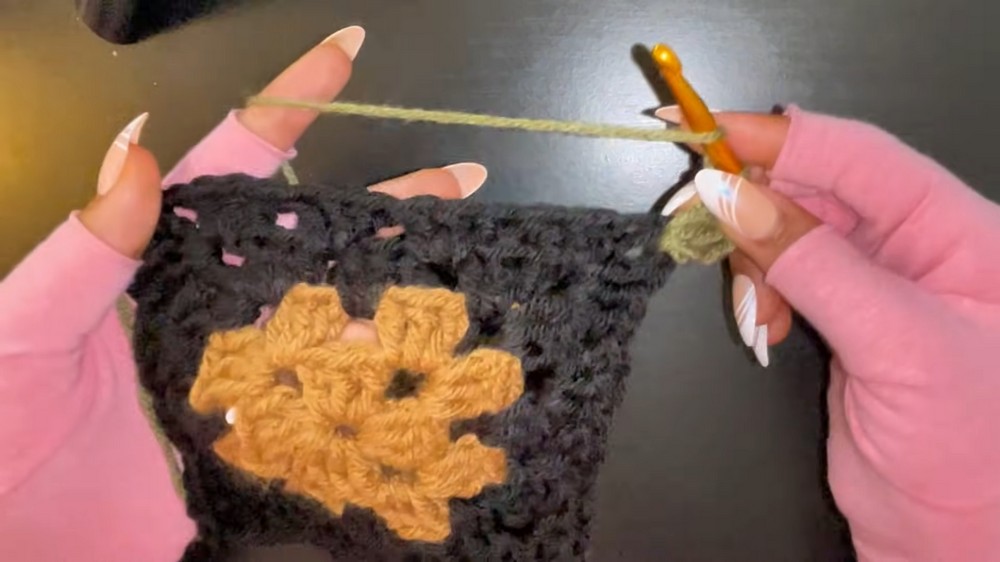
Repeat this process for 10 total rows per granny square (or adjust for size).
Step 2: Make More Squares
- Create a total of 10 granny squares, using different color combinations if desired.
- Measure each square against your chest to ensure coverage. Adjust total rows or square sizing for a better fit:
- Smaller fit: 8 rows per square.
- Baggy/oversized fit: 11 rows per square.
- Keep in mind that the squares will hang off the shoulder; ensure they are large enough to cover your bust comfortably.
Step 3: Assemble Panels
Panel Construction
- Divide the squares into two panels consisting of 5 squares each.
- Lay out each panel so the right sides are facing upward.
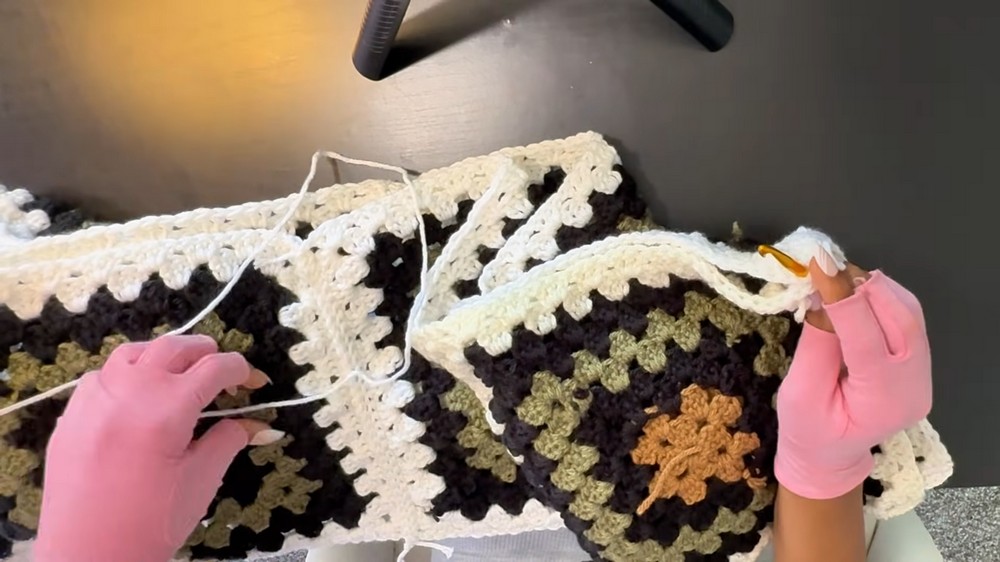
Joining Squares
- Attach yarn to the corner of two square edges.
- Sl st through the back loops only of both squares along the seam.
- Maintain even tension (neither too loose nor tight) to avoid puckering.
- Continue slip stitching all the way down until the squares are joined. Finish the seam by chaining one and knotting off yarn.

Repeat this process to stitch all 5 squares together for both panels.
Step 4: Assemble the Poncho
Joining Panels
- Lay both panels on top of each other with right sides touching and wrong sides facing outward.
- Join the panels along both sides using the same slip stitch method as before:
- Leave openings at the center squares for the neckline.
- Connect seams at the top for the shoulders.
- Leave bottom edges open for the body/waist area.
Size Adjustments
- Test fit before sewing the bottom to ensure proper length and width.
- Smaller sizes may require extra seams for a more snug fit at the waist.
Step 5: Add Neckline and Bottom Borders
Neckline Border
- Attach yarn to any stitch on the neckline.
- Ch 2, then make hdc (half double crochet) in each stitch around the neckline.
- At the end of the row, sl st into the first ch-2, chain off, and weave in ends.
Bottom Border and Scalloped Edge
- Attach yarn to any stitch on the bottom edge.
- Row 1: Ch 2, make dc into each stitch around the entire edge.
- Row 2: Repeat another row of dc stitches.
- Row 3 (Scalloped Border):
- Ch 1, make sc in same stitch, skip 1 stitch, then make 5 dc into the next stitch.
- Skip 1 stitch, make sc into the next stitch, and repeat this pattern all the way around.
- Finish by slip stitching into the first sc and chaining off.
Step 6: Sleeve Borders
Repeat the scalloped border method on both sleeve openings:
- Attach yarn, ch 1, then work sc and scalloped clusters (skip 1, 5 dc) in alternating stitches around.
- Slip stitch into the first sc, chain off, and weave in ends.
Customization Ideas
- Color Play: Use contrasting colors for the squares and borders to add texture and visual interest.
- Oversized Fit: Increase the number of rows per square or add extra squares for greater drape.
- Shorter Poncho: Use fewer squares and adjust fitting at the waist.
Conclusion
Congratulations on completing the Teresa Granny Square Poncho! This pattern is beginner-friendly, customizable, and makes for an elegant, stylish poncho perfect for all seasons. Remember to test fit as you go and block the final project for a polished look.
Pattern Corrections
Ensure edges are aligned and tension is consistent while slip stitching squares and panels together. This avoids uneven seams that may compromise the overall fit.
Tips
- Weave Ends Securely: Hide yarn tails neatly for a professional finish.
- Steam Blocking: Blocking can smooth out uneven edges and give the poncho its final drape.
- Mark Seams: Use stitch markers to align squares accurately before joining.

Leave a Reply