
Cozy style awaits in this Crochet Granny Square Poncho Pattern with bold squares, relaxed drape, and a fun layering piece for cool days and casual outings.
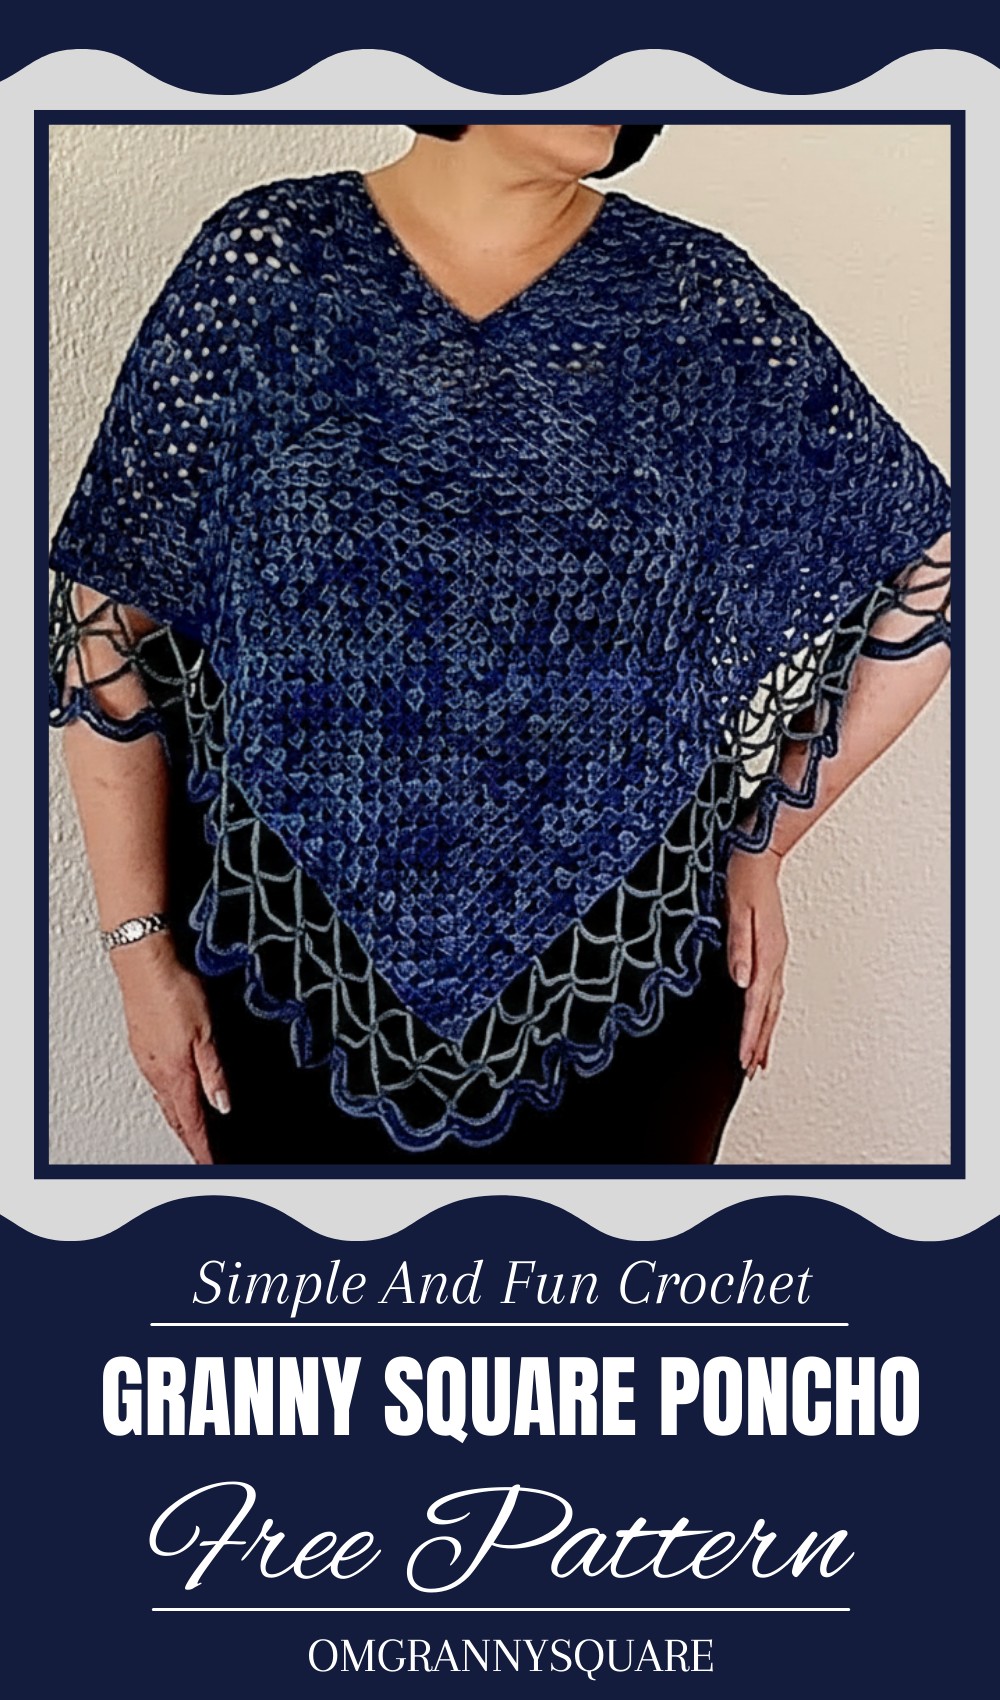
Stylish Crochet Granny Square Poncho Pattern for Daily Comfort
Sometimes finding a beginner-friendly crochet project that is both beautiful and practical can feel overwhelming. This granny square poncho pattern, however, breaks that mold by offering a simple yet stunning design that anyone can create. Featuring classic granny squares joined to form a loose, flowing poncho, it brings a timeless charm with a modern edge. Its colorful geometric patterns add a lively touch to your wardrobe, while the comfortable fit flatters all body shapes.
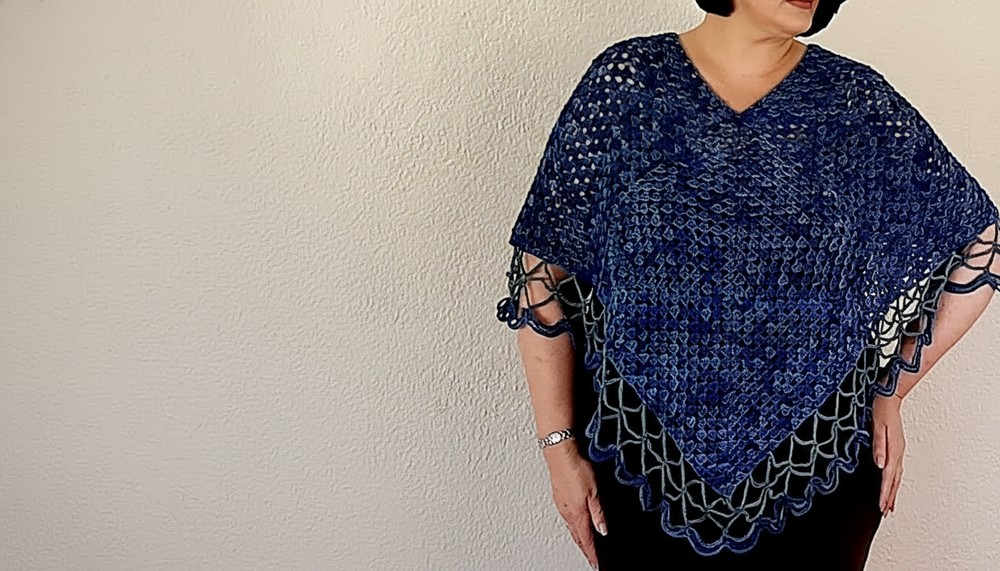
Perfect for layering, this poncho can be dressed up or down, making it versatile for many occasions. The repetitive stitch pattern helps beginners build their skills without frustration, turning the process into a calming and rewarding experience. Combining effortless beauty, cozy warmth, and easy construction, this granny square poncho is an ideal project for those new to crochet who want to craft something stylish and functional.
Lace Poncho Crochet Pattern
Materials
- Yarn: 100% cotton DK/light worsted yarn (e.g., Venice’s colors or similar), approx. 50g balls, 119 meters per ball
- Hook: 4 mm crochet hook
- Accessories: scissors, yarn needle for weaving ends
- Colors: Multicolor variegated for the main squares (e.g., scarab), solid color (e.g., green slate) for neckline and fringe
Special Features
- Large granny squares tailored to your desired poncho size
- Join-as-you-go method for neat, seamless construction
- Beautiful lace edging fringe with weighted chains for elegant drape
- Customizable neckline depth by adjusting square rounds
- Lightweight and breathable, ideal for warm weather
Level of Difficulty
Beginner to Intermediate — Basic granny square skills needed; the join-as-you-go and fringe techniques are explained clearly for those growing their skills.
Pattern Steps
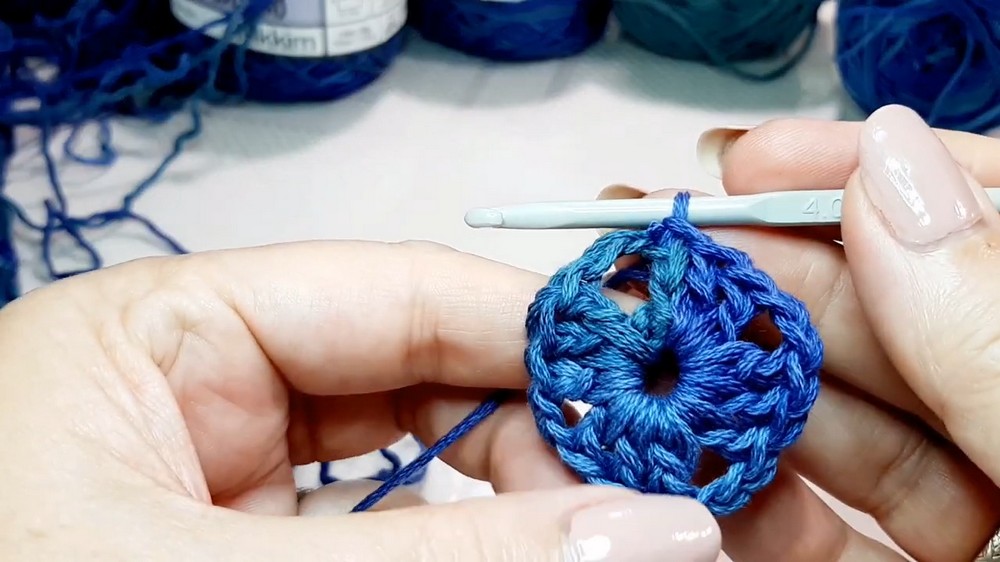
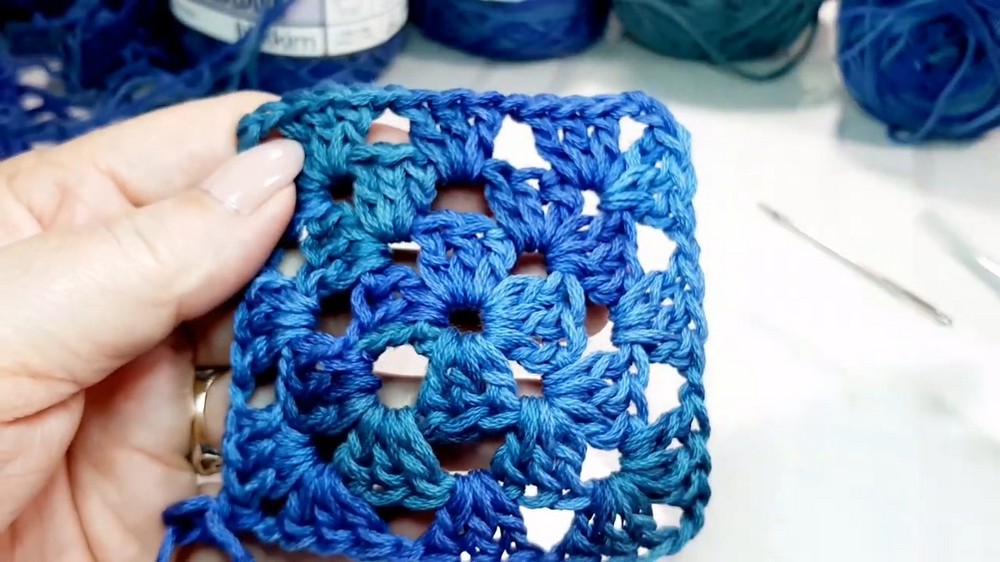
Step 1: Make Granny Squares
- Start with a slip knot and chain 5.
- Join with a slip stitch to form a ring.
- Chain 5 (counts as 1 double crochet + chain 2 corner space).
- Work 3 double crochets into the ring.
- Chain 2 for the corner space.
- Repeat 3 double crochets, chain 2 three more times for the other corners.
- Join round with a slip stitch into the 3rd chain of the starting chain 5.
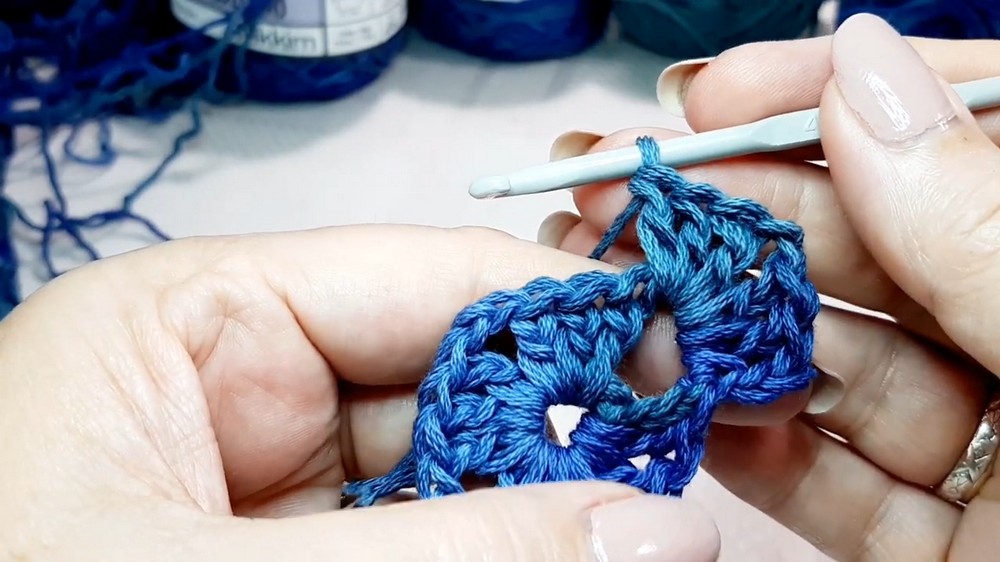
- For subsequent rounds, work 3 double crochets, chain 2 (corner), and 3 double crochets in corner spaces; 3 double crochets per side chain space; chain 1 between groups on the sides.
- Continue rounds until your square reaches the desired size (e.g., 17 rounds as per tutorial), adjusting based on personal measurements by comparing in front of a mirror.
- Weave in working ends as you go to keep the square tidy.
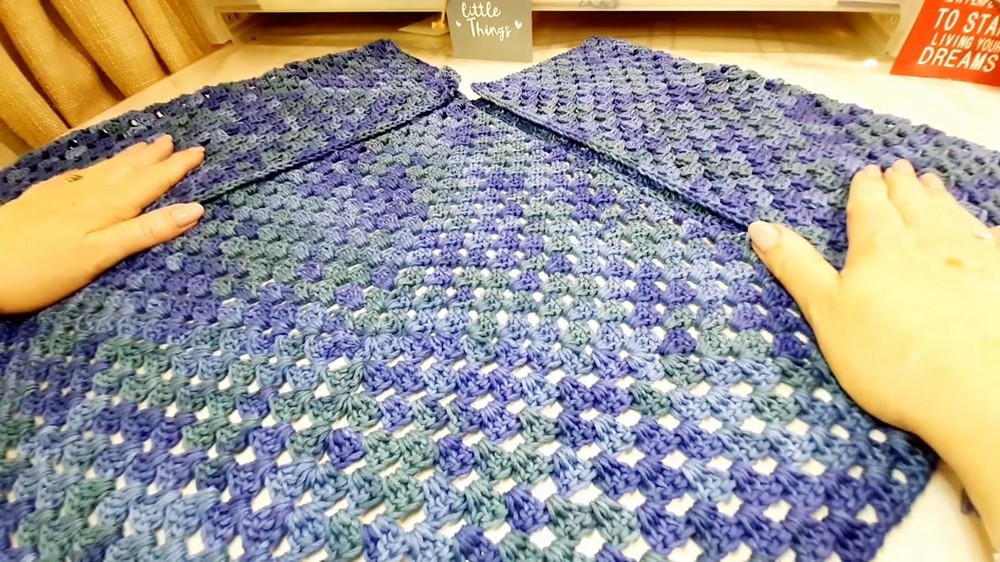
Step 2: Make Two Shoulder Squares
- Make two squares without joining them, these will form the shoulders. They remain loose for comfort.
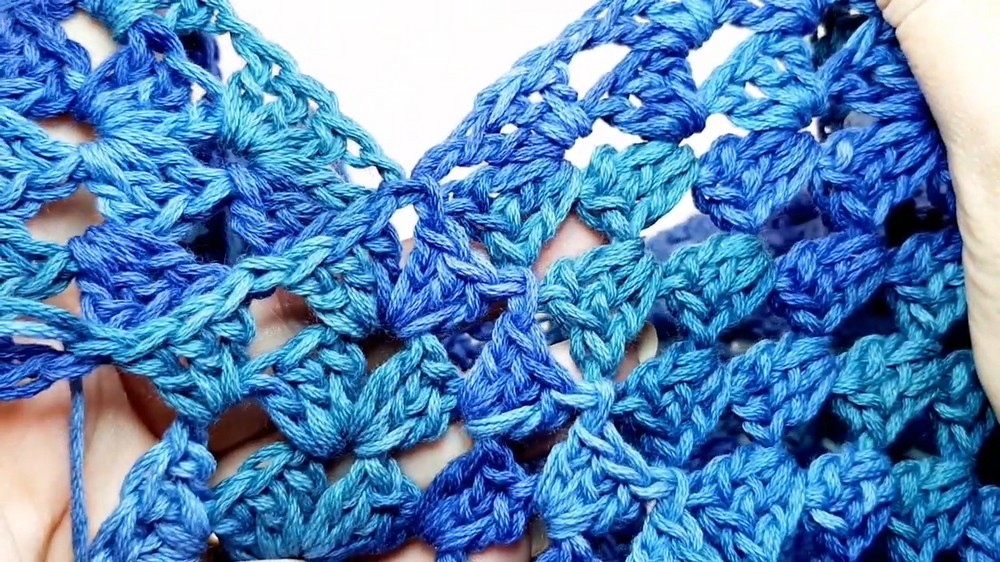
Step 3: Join-As-You-Go for the Poncho Body
- After making two shoulders, create the third square starting to join two sides to the shoulder squares as you crochet the last round.
- Join the squares on two adjacent sides while working the last round:
- Instead of chain spaces (between clusters), slip stitch into corresponding corner/chain-2 spaces of the neighboring square to connect.
- Do not create chain spaces during the joining round to keep the join tight and neat.
- Continue joining subsequent squares similarly to form the poncho body.
- Keep the join side facing the wrong side for a neater appearance on the right side.
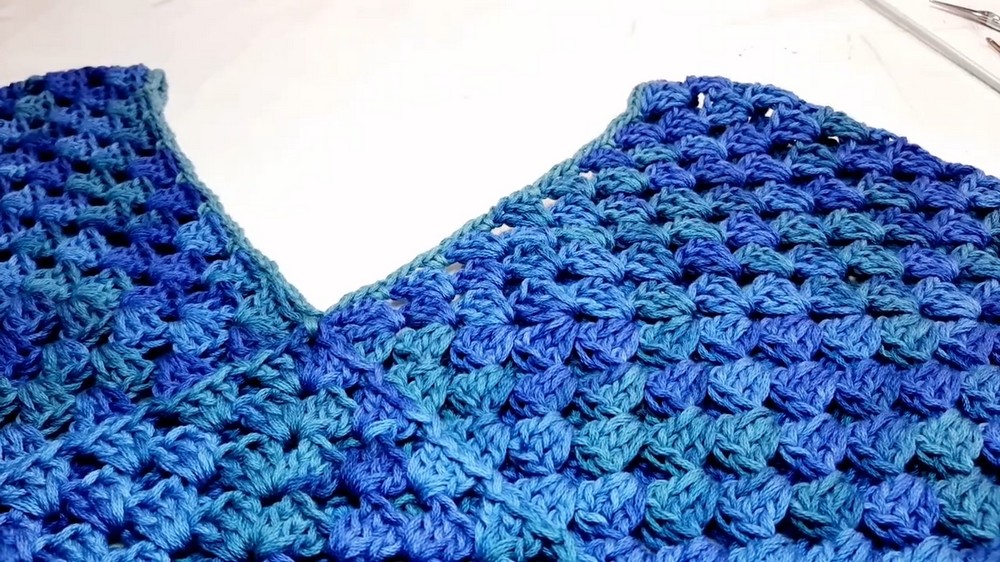
Step 4: Finish the Neckline Edging
- Use the solid contrast color yarn (green slate) for the neckline.
- Starting at one shoulder, work single crochets into the corner chain spaces around the neckline, chaining 3 between each single crochet to create an airy edging.
- At the ‘V’ neck dip, chain 3, work a single crochet into the center corner to soften the point and shape the neckline nicely.
- Continue this edging evenly all around the neckline, ending with a slip stitch join.
Step 5: Add the Lace Poncho Fringe
- Begin the fringe at a pointed ‘V’ corner of the poncho.
- Attach the fringe yarn (same as neckline color).
- Single crochet into a chain space, chain 15, skip next chain space, single crochet into the next chain space; repeat this ‘1 sc, 15 chains, skip 1, sc in next’ pattern all around.
- When fringes align with corners or joining points, continue the same pattern unabated.
- Slip stitch to join the round.
- Work 1 row of single crochets in each chain space along this fringe round.
- In the next rounds (2 more), to add weight to the fringe and help it hang well:
- Work 2 single crochets before and after the 15-chain loops to create stiffness and length.
- Chain 15 between each paired single crochet stitch.
- Finish with a slip stitch in the starting single crochet.
Tutor’s Suggestions
- Adjust the number of granny square rounds to fit your body comfortably and decide neckline height.
- Keep tension consistent when joining as you go to avoid loose seams.
- Weave in ends as you go for a tidy finish and less hassle.
- The fringe weight ensures a graceful drape instead of curling or flipping up.
- The join-as-you-go technique simplifies construction and ensures an elegant final result.
Uses
- Stylish layering piece during warm weather—covers shoulders while allowing airflow.
- A casual, feminine poncho for spring or summer outings.
- Can be used as a lightweight cardigan substitute or accessorized over sundresses.
Tip
When joining squares, skip creating chain spaces on the joining round to prevent looseness and uneven edges. Always join on the wrong side so your right side looks neat and smooth.
Conclusion
This lace poncho combines classic granny square charm with modern layering fashion. Its airy design and elegant fringe make it a beautiful addition for anyone wanting to create a handmade wardrobe piece that’s both practical and pretty. Beginners will find the step-by-step join-as-you-go technique approachable, and the customizable size lets you make it perfect for yourself.

Leave a Reply