
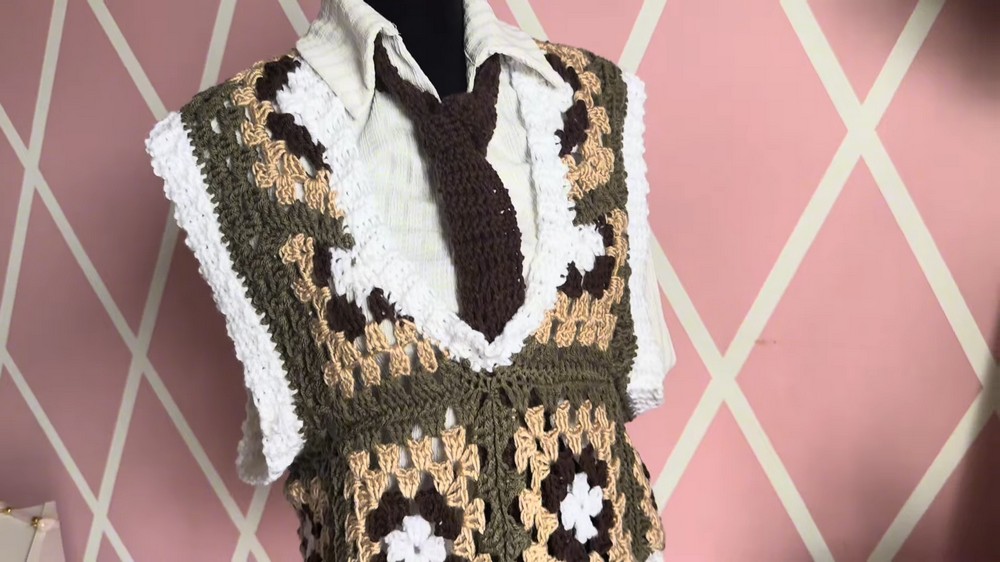
Wear with confidence and style this Crochet Granny Square Vest Pattern as a playful layer that brings personality and fun to any outfit.
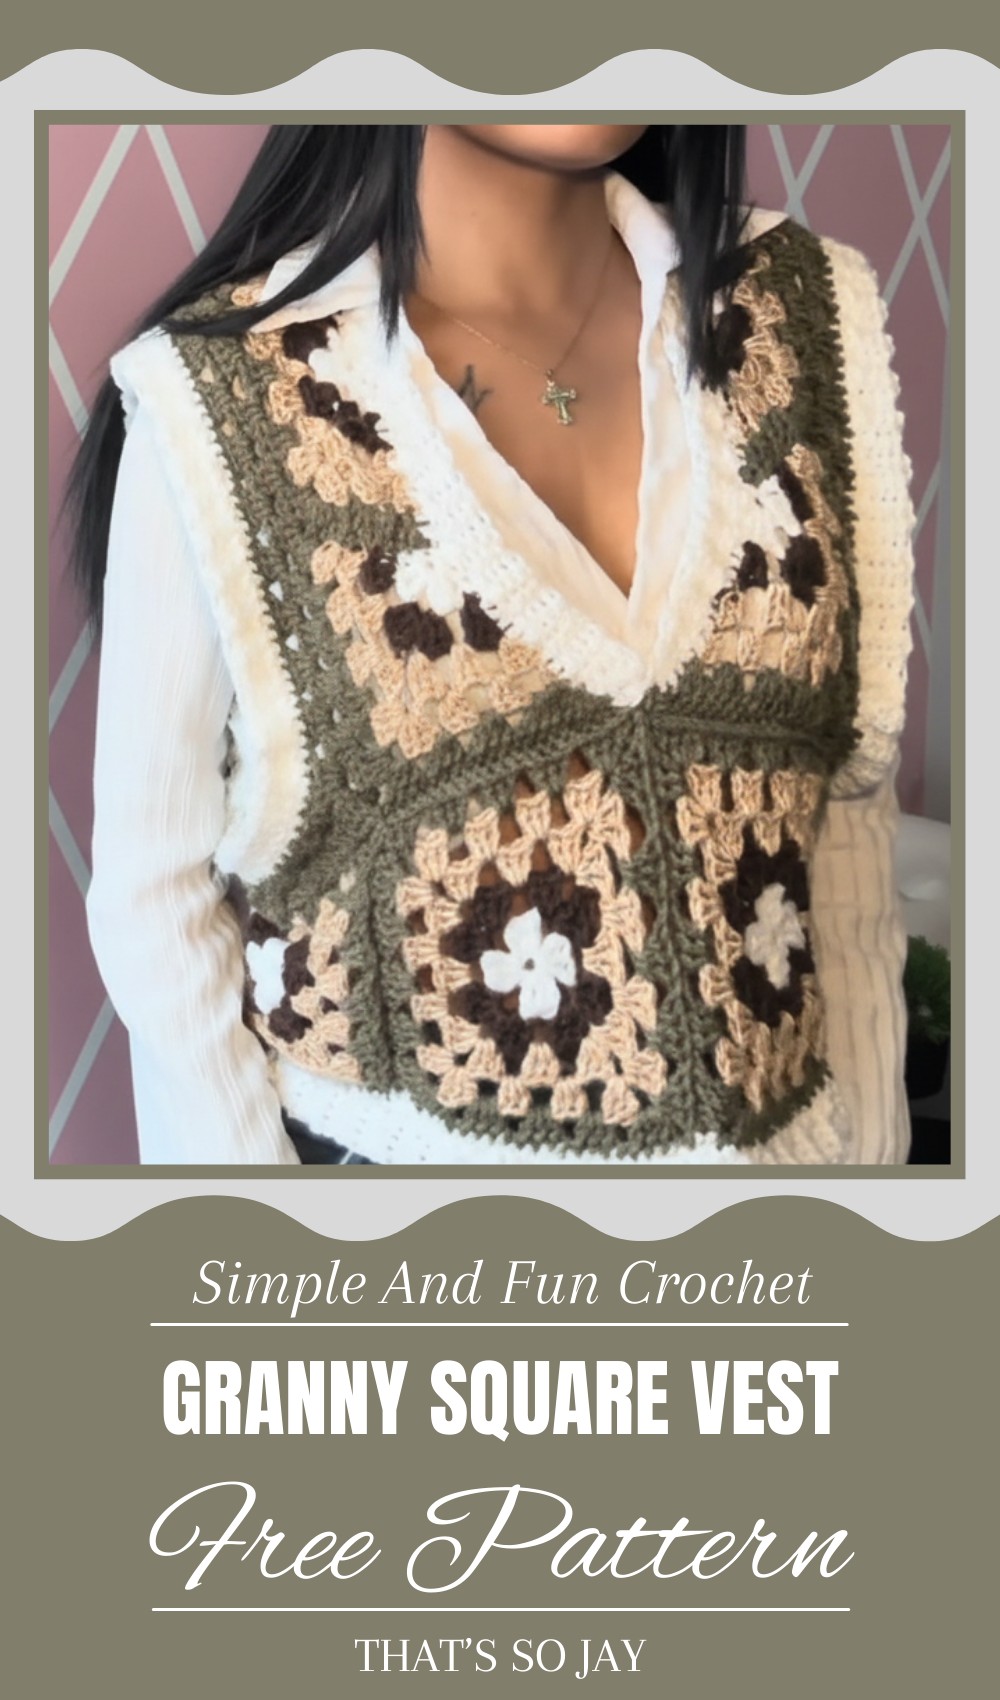
Bright Crochet Granny Square Vest Pattern for Vibrant Layers
Every person can feel truly special by wearing a soft and colorful piece of handmade clothing. Using a Crochet Granny Square Vest pattern is the best way to turn simple yarn into a stunning and bright outfit. This lovely vest is made by joining small squares together to create a light top that fits any body shape. You can wear this pretty layer over a plain shirt when you go to a market or visit a dear friend.
Its beauty comes from the many happy colors and the soft feel of the fabric against your skin. It makes a simple look feel fresh and very artistic because each square is a tiny work of art. This style stays in fashion for a long time and always brings a big smile to your face. It is a wonderful project that shows how much care you put into your own unique style.
Materials List
To complete this project, you will need:
- Yarn: Medium-weight yarn (Category 4) – you can use any color(s) you prefer for the panels and borders.
- Hook Size: 5.0mm crochet hook.
- Scissors: For cutting the yarn.
- Measuring Tape: To check panel sizes.
- Yarn Needle: For weaving in ends.
- Optional: Blocking tools (steam or pins) for shaping the vest for a better drape.
Key Abbreviations
- ch: Chain
- dc: Double crochet
- sc: Single crochet
- sl st: Slip stitch
- st: Stitch
- back loop: Refers to working into just the back loop of a crochet stitch
Step-by-Step Instructions
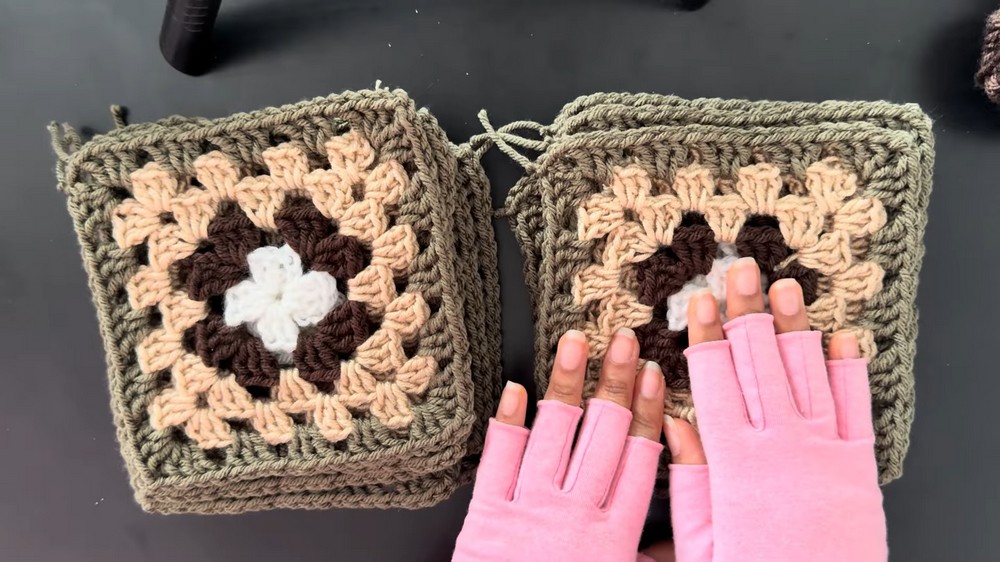
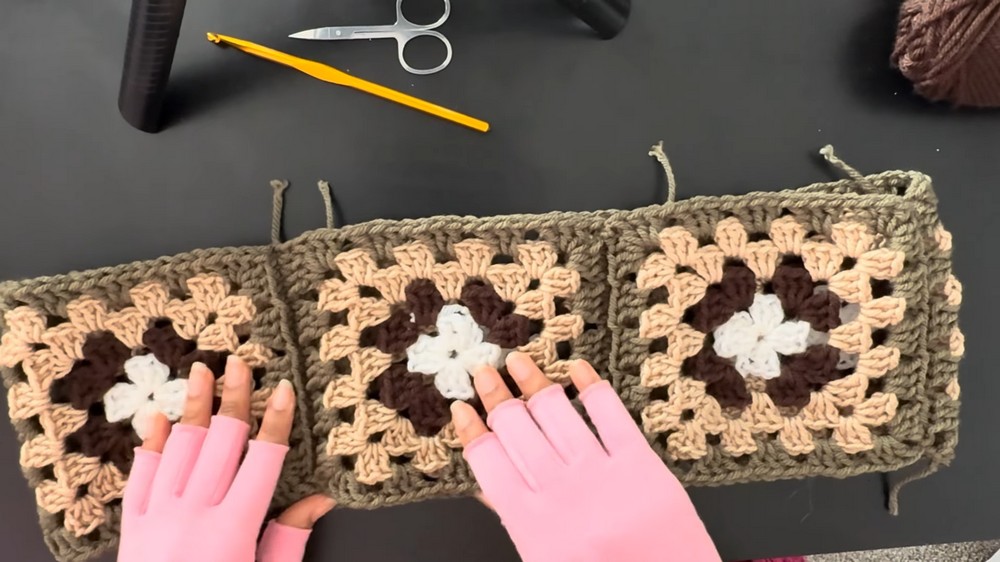
A. Preparing Squares, Rectangles, and Triangles
- Make 10 regular squares, 2 rectangles, and 2 triangles following the granny square method.
- Each square will have 5 rounds for a medium fit. Adjust sizes based on customizations detailed below.
- Smaller Fit: 4 rounds per square
- Larger Fit: 6 rounds per square, and 7 rounds for an XL size.
- Refer to patterns on Pinterest if you need guidance for granny squares and triangles.
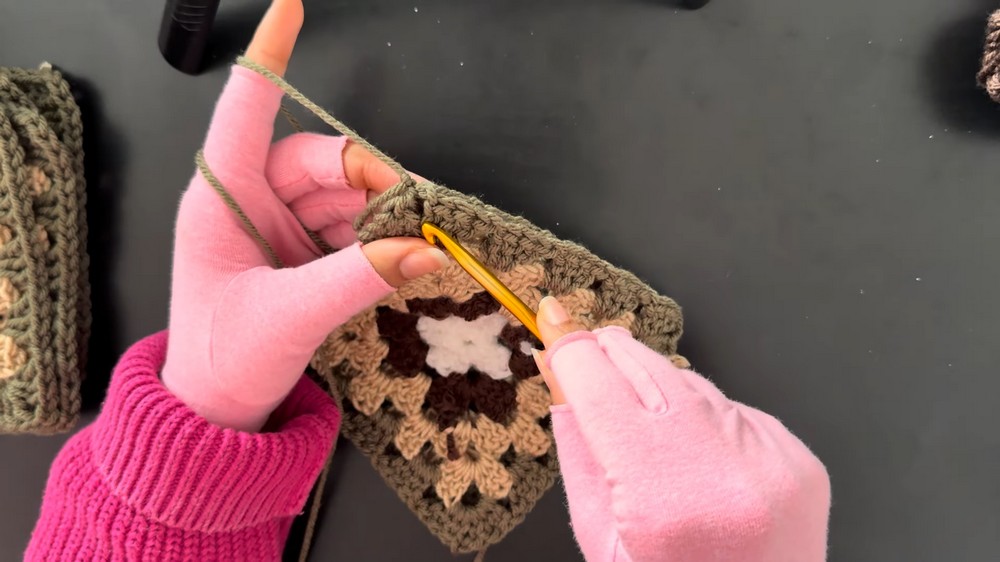
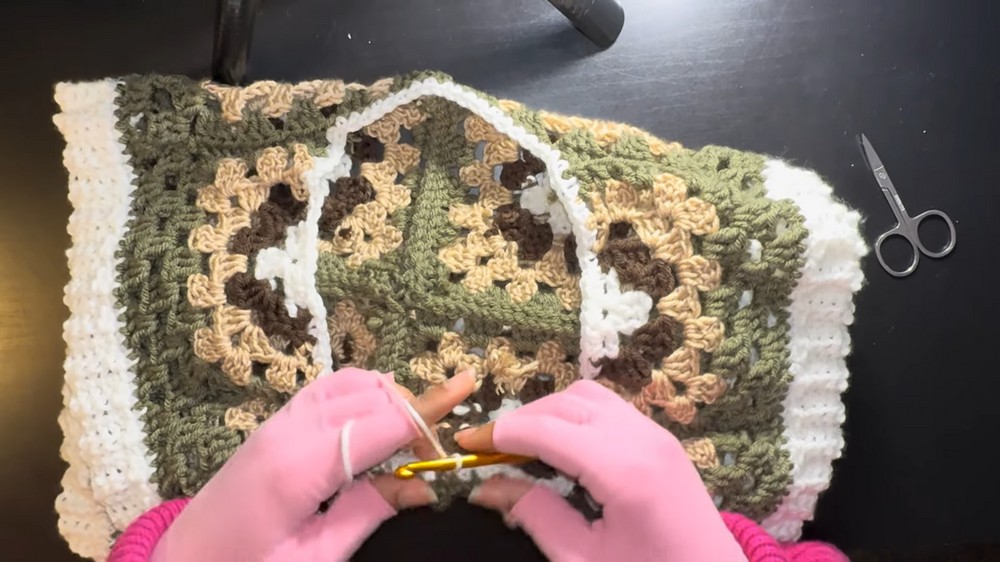
B. Stitching Squares Together
Front Panel Work
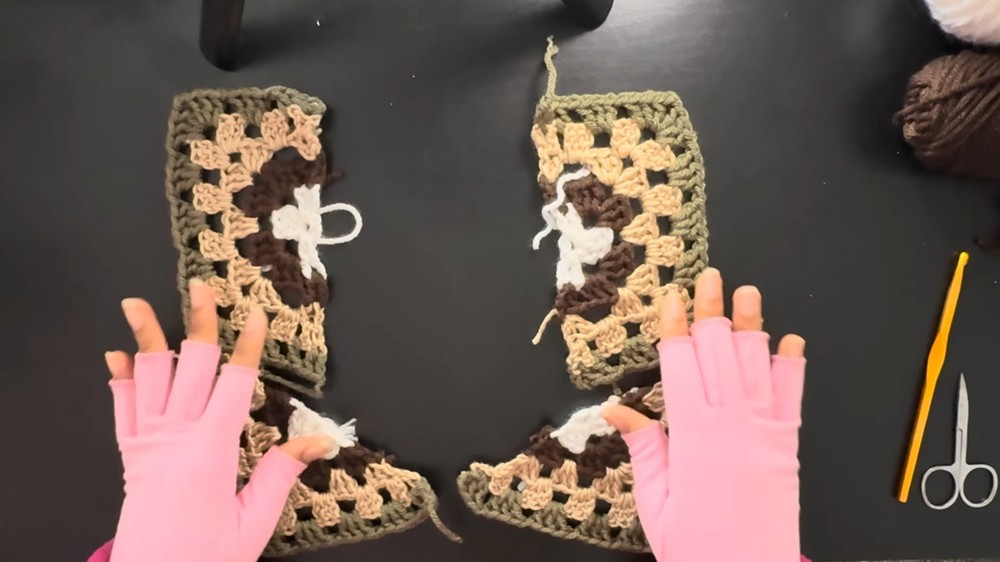
- Lay 2 squares together with the right sides facing each other.
- Attach yarn into any corner of both squares.
- Insert hook through both panels into the corner.
- Pull yarn up and chain 1.
- Work into the back loop only of the first square’s first stitch and the second square’s first stitch.
- Slip stitch to join both stitches. Repeat the process across the panel to join the squares.
- Chain 1 at the end and cut the yarn.
- Repeat the same process for the remaining 4 squares, then join to create a panel of 6 joined squares.
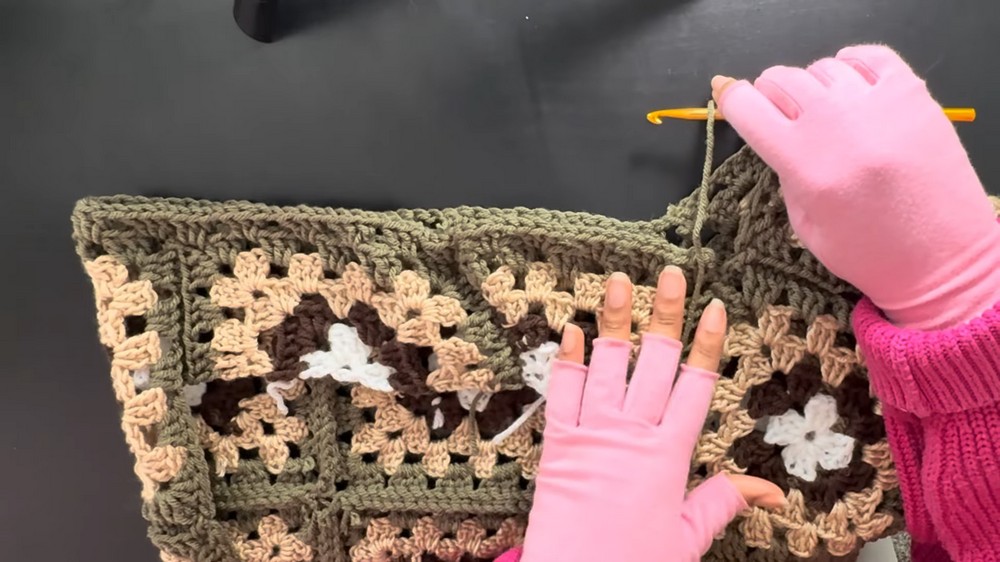
Back Panel Work
- Take 4 squares and stitch them together similarly by working in pairs until they form a large square.
- Attach the back panel to two squares from the front panel by stitching along one side across.
- Repeat on the other side.
C. Adding Triangles and Rectangles
- Use two triangles and two rectangles for the angled shapes around the front panel.
- Attach yarn at each corner, aligning one triangle to a square.
- Work back loop only slip stitches along the straight side of the triangle, using the rectangle stitches or approximate placement for guidance.
- Attach the remaining two triangles and rectangles using the same method, ensuring alignment with the front and back panels.
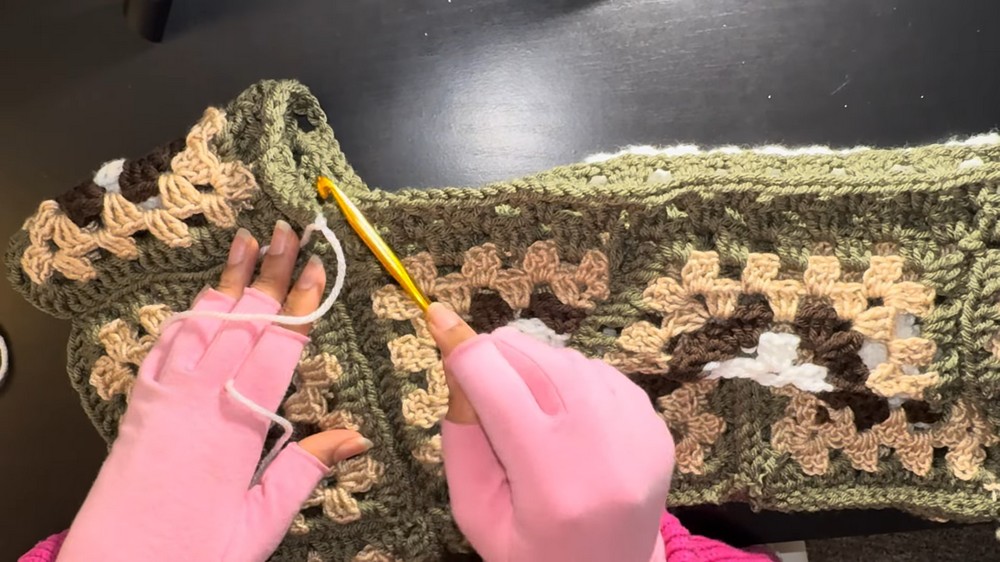
D. Adding the Border
- Outer Border:
- Attach yarn to the corner of the rectangle.
- Chain 3, create 3 dc cluster into the same stitch, then chain 1.
- Work granny clusters (3 dc) across each space along the perimeter.
- At corners: Create two granny clusters in the corner spaces with chain 1 between them to smoothly go around the edges.
- Work around the L-shaped parts of the edges by skipping corners at specific points to add structure and reduce bulkiness.
- Second Border Row:
- Attach yarn and repeat the granny cluster pattern all the way around for a second row.
E. Armhole Trim
- Attach yarn near the armpit area to keep the seam hidden.
- Foundation Trim: Create sc stitches into each stitch around the armhole.
- Rib Stitch Trim:
- Chain 5 to begin.
- Skip the stitch closest to the hook, then work 4 sc into the back loops across the chain.
- Slip stitch into the next 3 foundation stitches from the previous row.
- Turn work and create 4 sc in the back loops only; chain 1 and repeat.
- Continue working the rib stitch all the way around the armhole. Join at the end with slip stitches and knot off the yarn.
Repeat the same process for the other armhole.
F. Neckline Trim
- Attach yarn at one corner where the triangles meet at the neckline edge.
- Create 2 sc stitches in every space (double crochet or chain spaces).
- For direct stitches (like the granny square top portion), work 1 sc per stitch.
- Smoothly work across all edges, ensuring even tension.
- Keep the trim loose but structured—2 sc ensures it is stable without being too tight or bulky.
- Work around and finish this row by slip stitching into the first sc and knotting off.
G. Bottom Trim
- The trim for the bottom follows the same rib stitch method as the armhole and neckline borders.
Customization Ideas
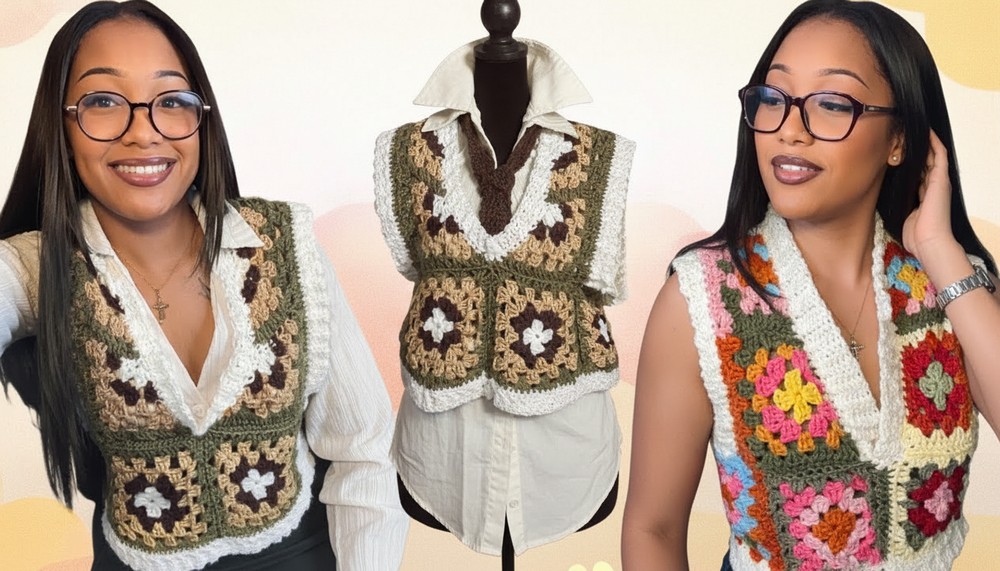
- Color Blocking: Use different colors for the squares, rectangles, and triangles to create an eye-catching design.
- Oversized Look: Add more rows to each square and extend the border width for a cozy, oversized fit.
- Textured Patterns: Use a textured yarn to make the vest stand out.
Conclusion
Congratulations on completing your crochet vest! This project combines simplicity with creativity, allowing room for personal adjustments. Keep in mind, blocking the vest gives it a polished look and enhances its drape.
Pattern Corrections
- Ensure all squares are equal size for seamless stitching.
- Double-check your tension during slip stitching and trim work—it should be consistent to avoid uneven shaping.
Tips
- Use markers to label corners or sections as you piece together panels.
- Steam blocking before stitching enhances the accuracy of measurements for panels.
- Practice working with back loops if you’re unfamiliar—it will make stitching look cleaner!

Leave a Reply