
Snuggle into style with a Crochet Turtle Neck Hoodie Pattern that’s bursting with texture and personality, blending warmth, fashion, and creative fun.
Warmth meets personality in the charming Turtle Neck Hoodie, a must-have for crochet enthusiasts seeking comfort and style. With its stretchy ribbed turtleneck and roomy hood, it’s perfect for chilly days when you want to wrap yourself in something cozy yet standout. The alternating front and back post stitches produce a textured effect that’s both timeless and eye-catching.
Crochet Turtle Neck Hoodie Pattern for Playtime Warmth
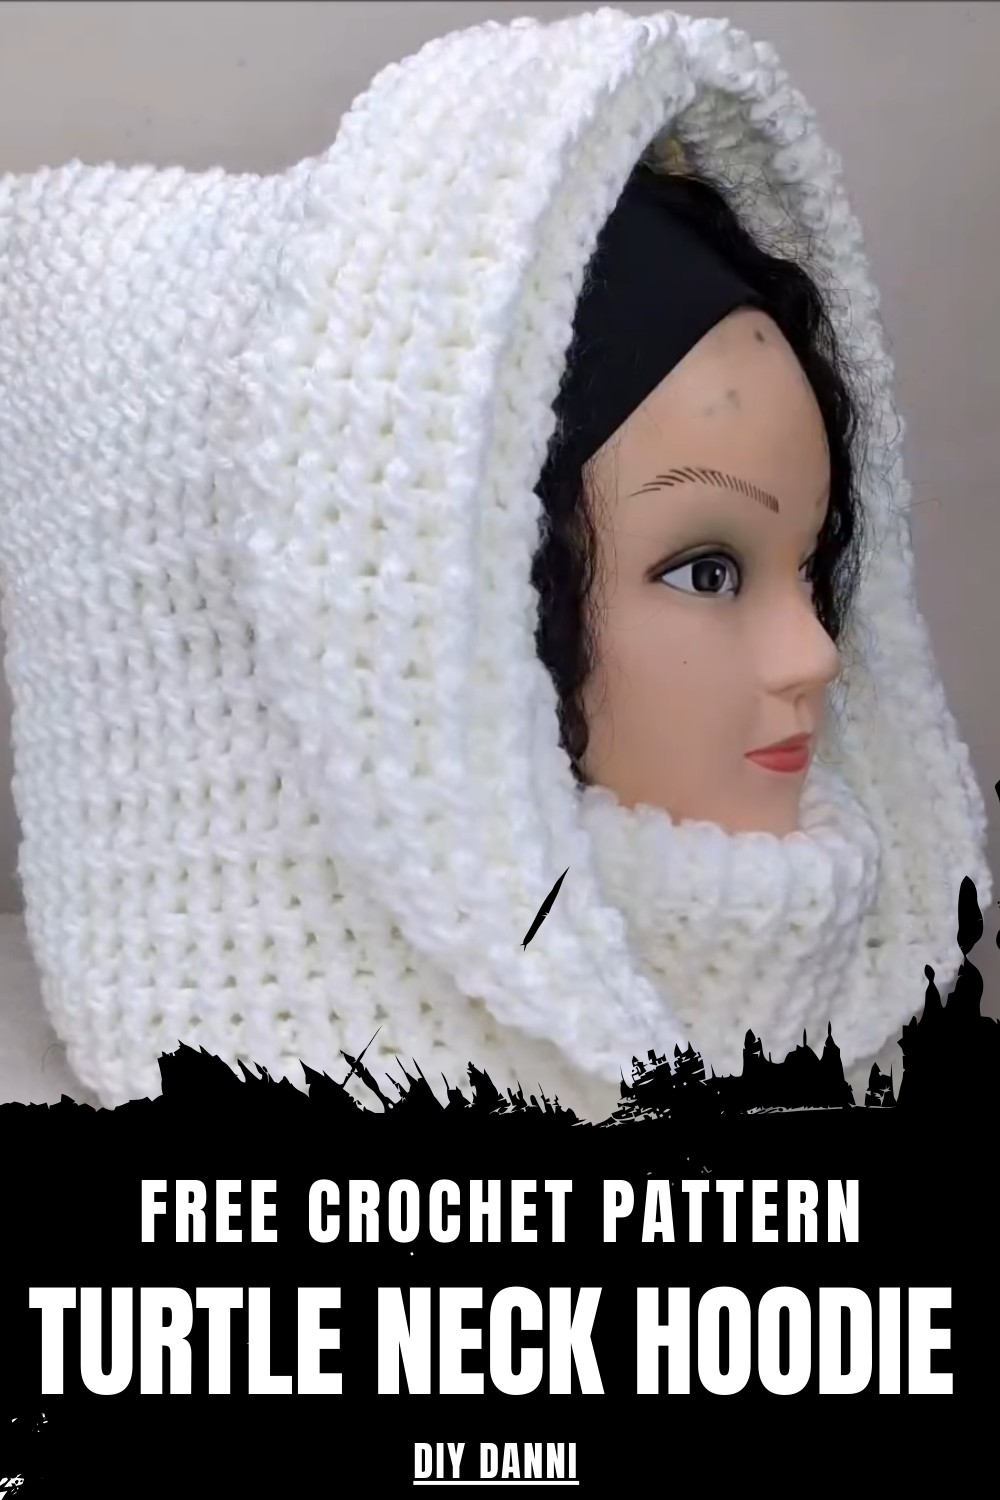
Whether folded for a traditional neckline look or pulled up for extra snugness, this hoodie adapts to any mood. Ideal for layering during brisk mornings or showing off as a unique handmade statement, it’s a useful piece that feels personal and delightful every time you wear it. Comfortable, functional, and irresistibly satisfying, this hoodie is a labor of love worth every stitch.

Crochet Ribbed Turtleneck Hoodie Pattern
Materials
- Yarn:
- Bernat Premium Yarn (Medium-weight, #4; 50% Acrylic).
- Approx. 800 yards; 3 skeins of 360 yards each.
- Color used in the tutorial: White.
- Hooks:
- 5 mm crochet hook (US H/8) for the turtleneck.
- 6 mm crochet hook (US J/10) for the hoodie.
- Additional Tools:
- Scissors.
- Yarn needle (for weaving in ends).
- Stitch marker (optional, for marking rows).
Skill Level
Intermediate – This pattern includes basic stitches, post stitches, and increasing techniques.
Key Abbreviations (US Crochet Terminology)
- CH: Chain
- DC: Double Crochet
- FPDC: Front Post Double Crochet
- BPDC: Back Post Double Crochet
- HDC: Half Double Crochet
- ST: Stitch
- SLST: Slip Stitch
- YO: Yarn Over
Special Notes
- Turtleneck Fit: The starting chain should fit loosely over your head. Adjust if needed.
- Increases for Hoodie: Increases are placed in the 7th stitch (or based on your stitch count).
- Double Crochet Ribbing: Alternate between FPDC and BPDC to achieve the ribbed texture.
Pattern
Step 1: Turtleneck Section
- Foundation Chain:
- Using 5 mm hook, CH 70 stitches (or a length long enough to slip over your head comfortably).
- Ensure this chain lies flat, then SLST to the first chain to create a circle.
- Row 1 (Base Row):
- CH 2 (does not count as a stitch).
- Work 1 DC into each chain around.
- Total stitches: 70 DC.
- SLST to the first DC to join the row.
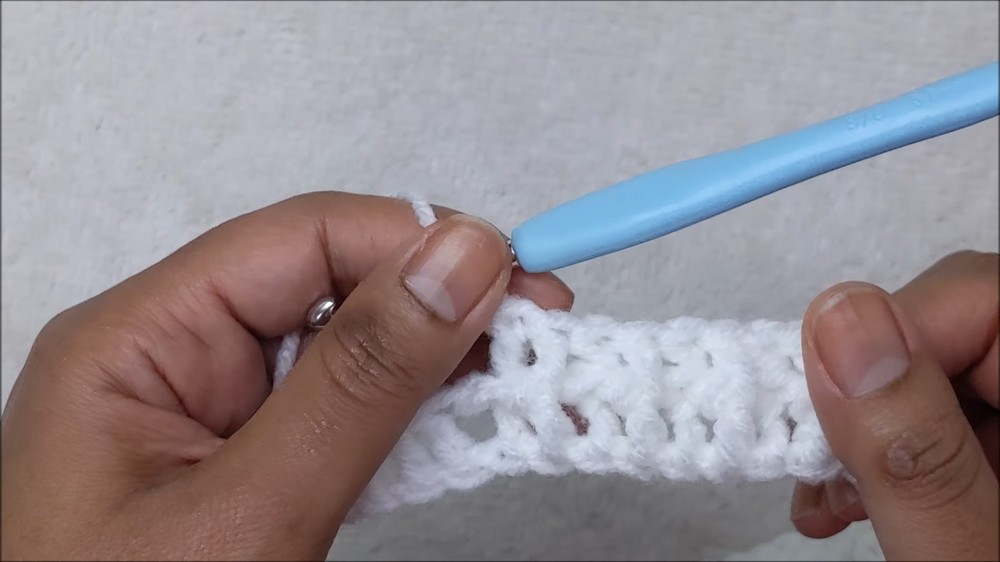
- Row 2 (Start of Ribbing):
- CH 2 (does not count as a stitch).
- Work 1 FPDC into the first stitch.
- Work 1 BPDC into the next stitch.
- Continue alternating FPDC and BPDC stitches around the row.
- SLST to the first FPDC to join the row.
- Row 3–20:
- Repeat Row 2 (FPDC and BPDC alternations) for a total of 20 rows.
- Final Measurement for the Turtleneck: Approximately 8 inches (20 cm) in length.
Step 2: Transition to Hoodie
- Switch to 6 mm Hook:
- CH 2 (does not count as a stitch).
- Work 1 DC into each stitch around, increasing in the 7th stitch:
- Work 2 DC into every 7th stitch.
- Total stitch count after row: 80 DC (if starting with 70 stitches).
- Important Note on Stitch Counts for Hoodie:
- If your initial chain was not 70 stitches:
- Divide your total stitch count (e.g., 60 or 80) by 10 to calculate how many increases you need.
- For example: If working with 80 stitches, increase in every 8th stitch.
- If your initial chain was not 70 stitches:
- Do Not Join the Row:
- Instead, turn your work and continue working back and forth.

Step 3: Hoodie Ribbing with Increases
- Row 1 (Start Hoodie Ribbing):
- CH 2, turn.
- Work 2 DC into the first stitch for an increase.
- Begin the ribbing pattern:
- FPDC in the next stitch, BPDC in the following stitch, and alternate across the row.
- End the row with 2 DC into the last stitch for another increase.
- Row 2 – Completion of Increases:
- Repeat Row 1 for each subsequent row:
- Increase 2 DC in the first and last stitch of each row.
- Maintain the FPDC/BPDC ribbing for the rest of the row.
- Repeat Row 1 for each subsequent row:
- Hoodie Height with Increases:
- Work rows with increases until the hoodie measures 8 inches from the neckline.
Step 4: Hoodie Ribbing Without Increases
- Row 1 (Stop Increasing):
- CH 2, turn. This counts as the first stitch.
- Do not increase in the first or last stitch.
- Continue the ribbing pattern (FPDC and BPDC) across the row.
- Subsequent Rows:
- Continue working in the established ribbing pattern without increases.
- Stop when the hoodie’s flat panel measures 7 inches from the stopping point of previous increases.

Final Hoodie Measurements:
- 15 inches total height (8 inches with increases + 7 inches without increases).
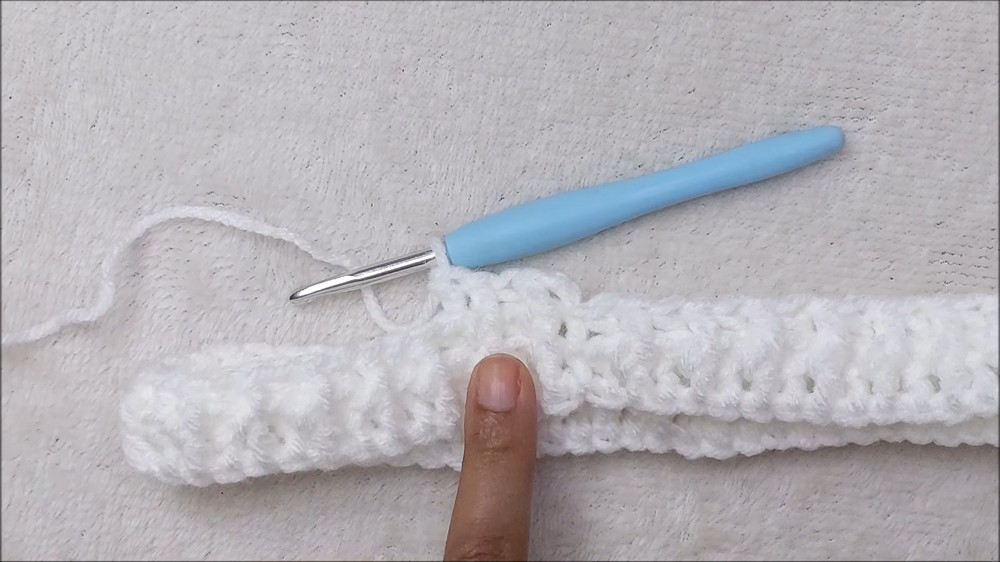
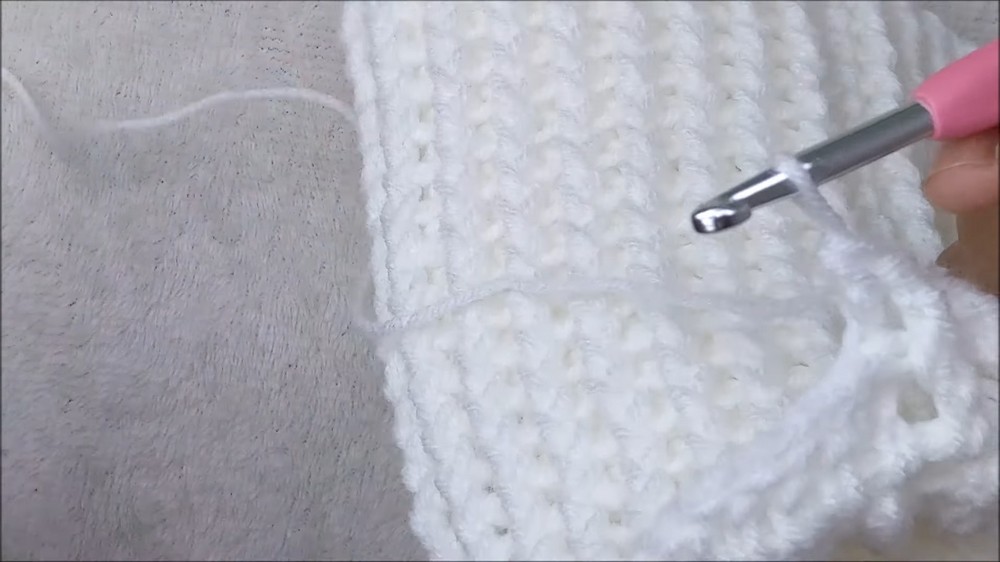
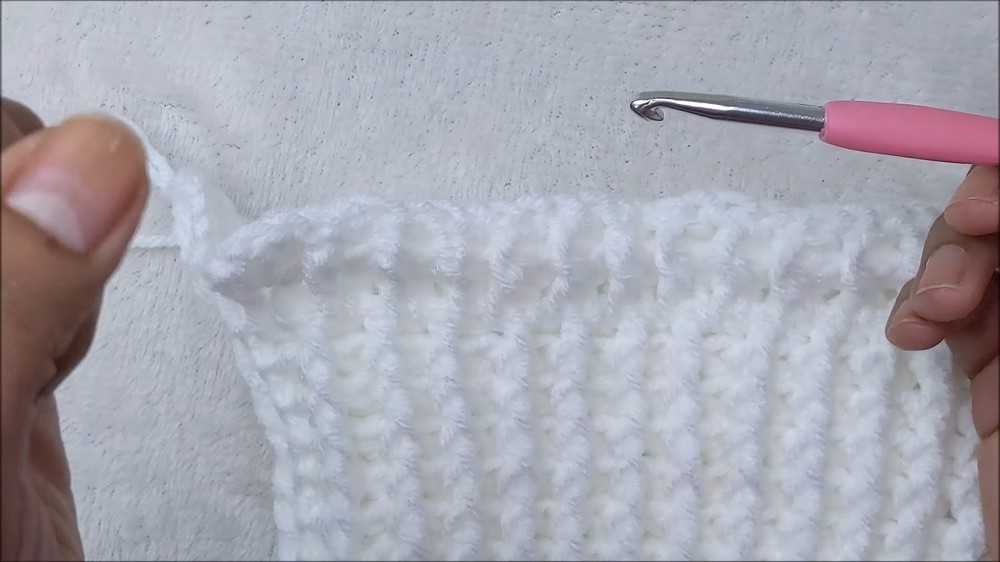
Step 5: Closing the Hoodie Top
- Slip Stitch The Top Closed:
- Fold the hoodie panel in half lengthwise.
- Align the edges evenly.
- Start with CH 1, then join the two edges using the following method:
- Insert the hook through the back loop of one edge and the front loop of the opposite edge.
- Work SLST through both loops to create a flat seam.
- Finish the Seam:
- Continue slip stitching across the row until the top is completely joined.
- Fasten off and weave in the ends.
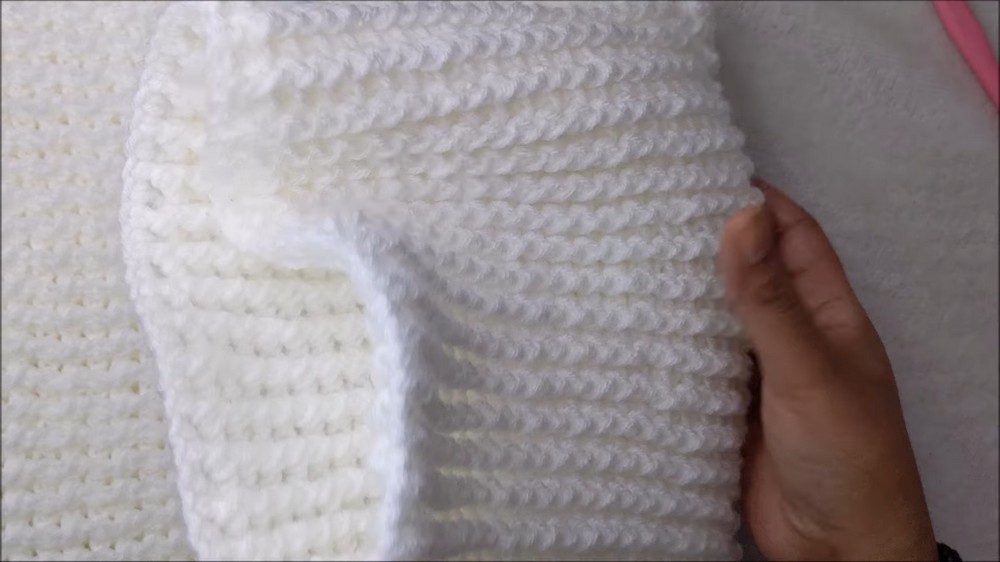
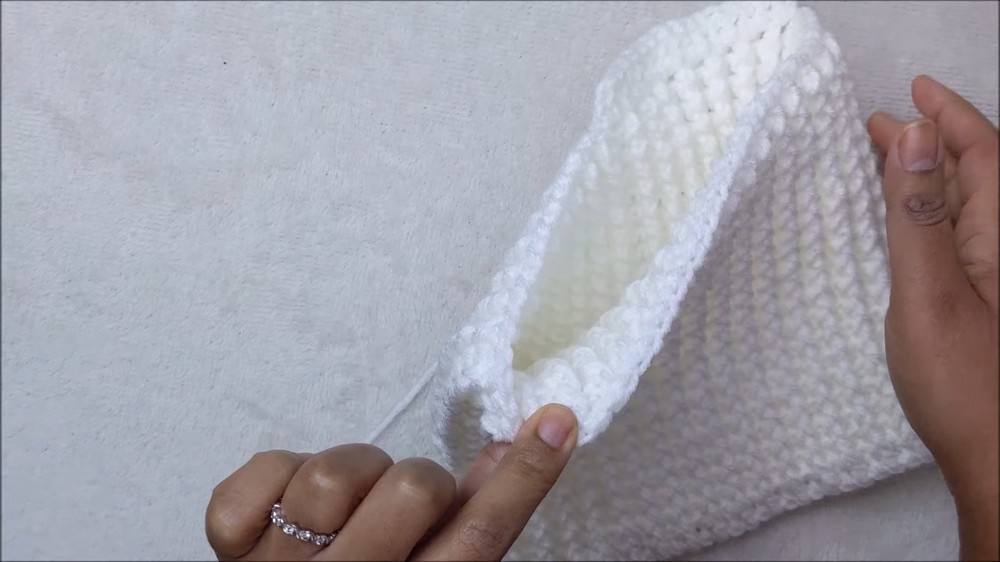
Step 6: Final Touches
- Turn Inside-Out:
- Turn the hoodie inside-out to hide the seam.
- Fold the turtleneck section inside or downwards for styling.
- Weave In Loose Ends:
- Carefully weave in all loose ends with a yarn needle for a tidy finish.

Conclusion
Congratulations on completing your ribbed crochet turtleneck hoodie! This piece is both functional and stylish, providing warmth and comfort. The ribbed texture adds stretch and structure, ensuring a snug yet flexible fit.
Pattern Corrections
- If your ribbing stitches (FPDC/BPDC) do not align row by row, ensure you are consistently alternating FPDC into FPDC and BPDC into BPDC for the ribbed texture.
Tips
- Check Fit Frequently:
- Ensure your turtleneck fits loosely over your head and adjust the chain length if necessary.
- Prevent Twisting:
- Double-check the foundation chain before slip stitching to avoid twisting the base.
- Customize Sizing:
- Add or subtract rows for the turtleneck and hoodie to suit your preferences.
Leave a Reply