
Upgrade your accessory game with this free crochet tote handbag pattern that blends fashion and practicality for errands outings or style.
Ever wondered how a simple bag can turn into something both beautiful and practical? Bright colors and a cheerful shape make this handbag stand out in any crowd. Strong handles make it easy to carry groceries, a favorite book, or small items for a friend. You get to choose the colors and patterns that make you smile, and every stitch adds a cozy touch that feels friendly and real.
Must-Try Free Crochet Tote Handbag Pattern
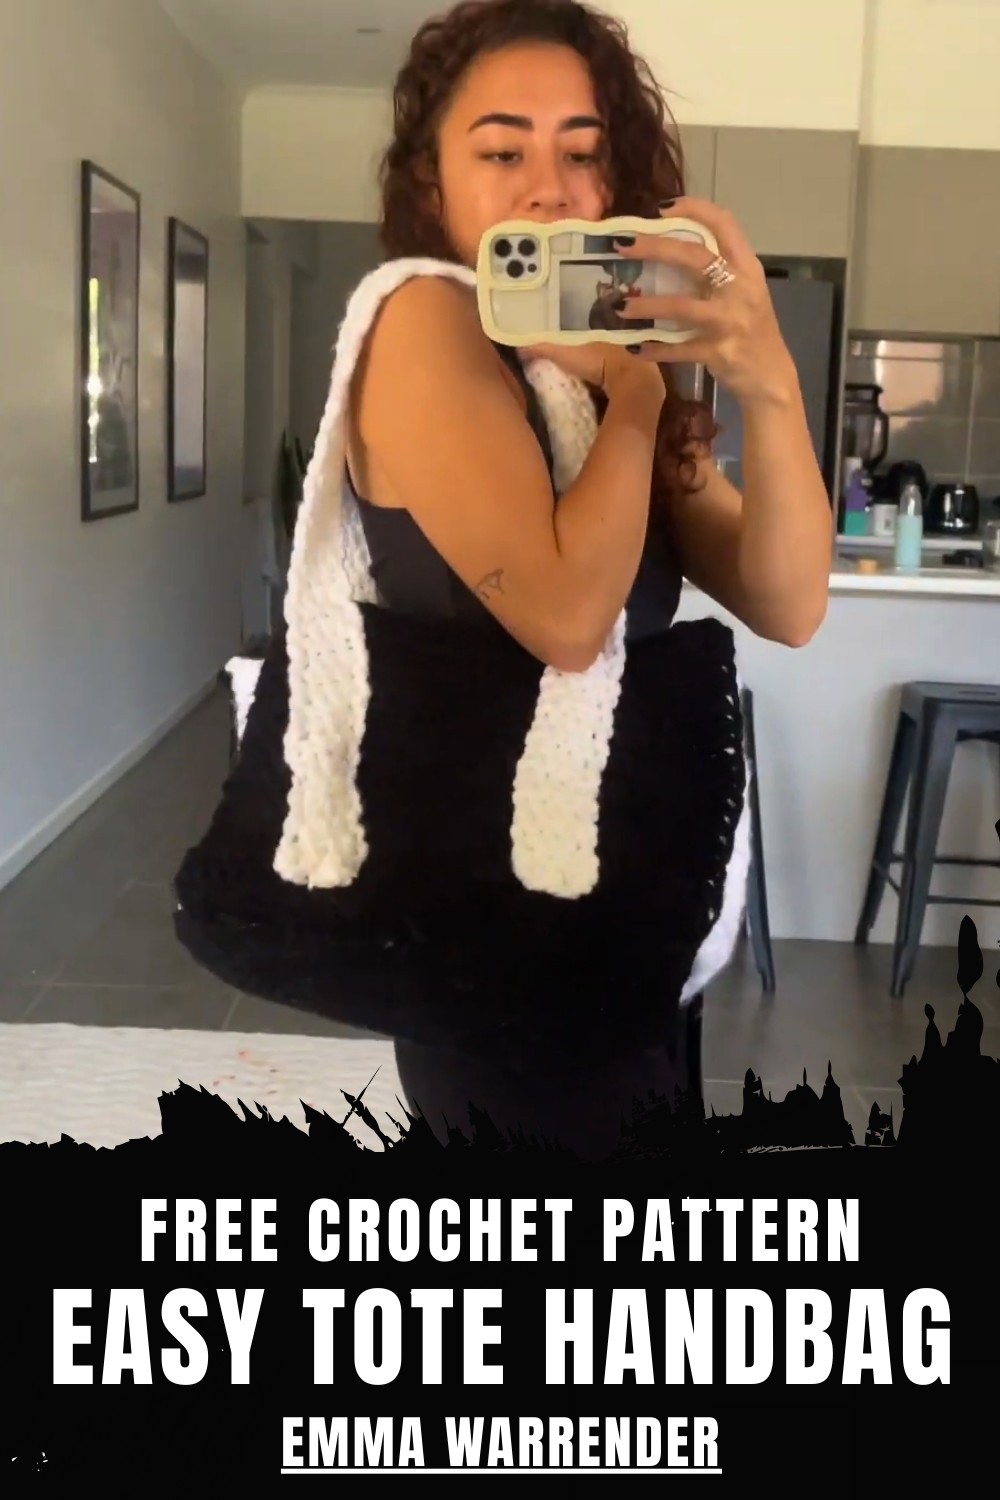
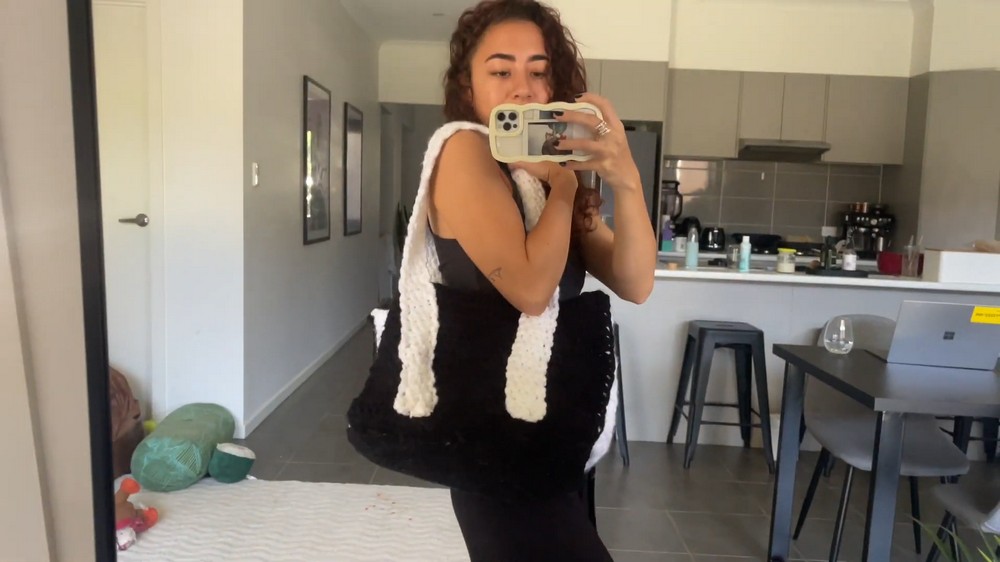
This crochet tote handbag pattern helps you make a bag that is both pretty and made for daily life—something useful for all ages and easy to match with anything you wear. It folds up small for travel and always brings a bit of homemade charm wherever you go. Simple to follow and always stylish, this handbag gives you a way to show your own style and enjoy something made with care, right at your side.
Rectangular Panel Tote Bag Crochet Pattern
Materials
- Yarn:
- Bulky acrylic (sample uses monochromatic theme); adjust for color block or contrast stitching as desired
- Hook:
- 7 mm crochet hook
- Notions:
- Scissors
- Yarn needle (for weaving ends)
- Tape measure or ruler
- Stitch markers (optional, for aligning panels/straps)
Abbreviations (US Terms)
| Abbreviation | Meaning |
|---|---|
| ch | chain |
| hdc | half double crochet |
| sc | single crochet |
| sl st | slip stitch |
| st(s) | stitch(es) |
| FO | fasten off (finish, cut yarn) |
Special Notes
- The bag is made up of three rectangular panels (main body, base/side, straps); all are crocheted in half double crochet stitches.
- Adjust length and width of panels for custom bag sizing.
- Straps can be made thicker, thinner, longer, or shorter to personal preference.
- All joins are worked with slip stitch or single crochet for durability.
- All measurements are based on a finished bag approx. 39–40 cm wide x 71 cm tall x 15 cm deep.
Pattern Instructions
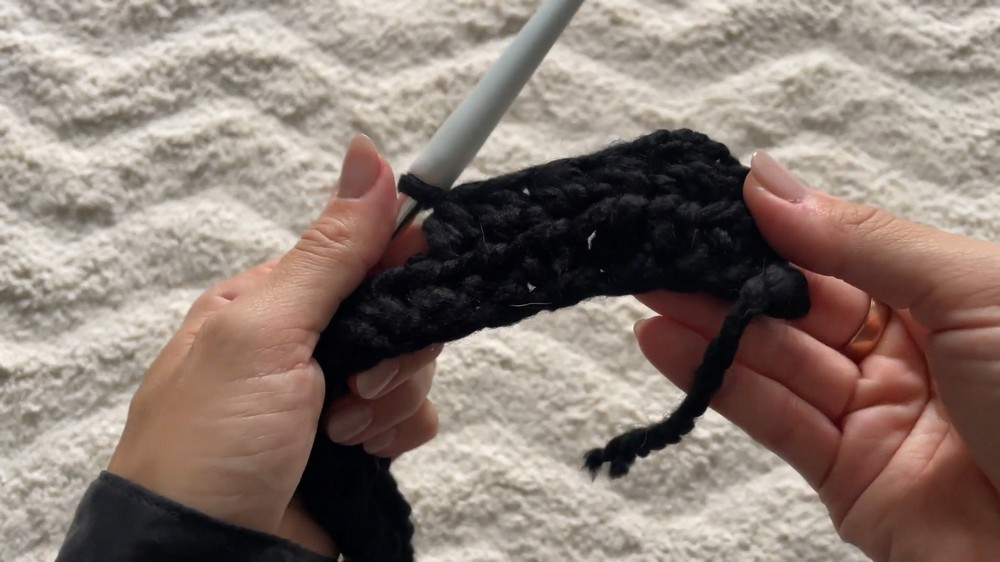
1. Main Body Panel
- Foundation:
- Ch 30 (for approx. 39–40 cm width; adjust for your desired width).
- Row 1:
- Ch 2 more (acts as turning ch).
- Yarn over, hdc in the 4th ch from hook and each ch across.
- (You should have 30 hdc in total.)
- Rows 2–29:
- Ch 2, turn.
- Hdc in each st across.
- Repeat until you have 29 rows (or until panel measures approx. 71 cm in length).
- FO and weave in ends.
2. Base & Side Panel
- Foundation:
- With second color (optional), ch the length to match the desired depth; sample: ch for 16 cm length.
- Row 1:
- Ch 2 more, hdc in 4th ch from hook and each ch across.
- Continue Rows:
- Ch 2, turn, hdc across.
- Repeat until your panel is 15 cm wide x 85 cm long (matches around the body panel from one edge, under the base, and up the other edge).
- FO and weave in ends.
3. Straps (Make 2)
- Foundation:
- Ch 5 (for approx. 5 cm wide strap; adjust for preferred strap width).
- Row 1:
- Ch 2 more, hdc in 4th ch from hook and each ch across.
- Continue Rows:
- Ch 2, turn, hdc across.
- Repeat until your strap is 88 cm (or desired length for shoulder/cross-body strap).
- FO and weave in ends.
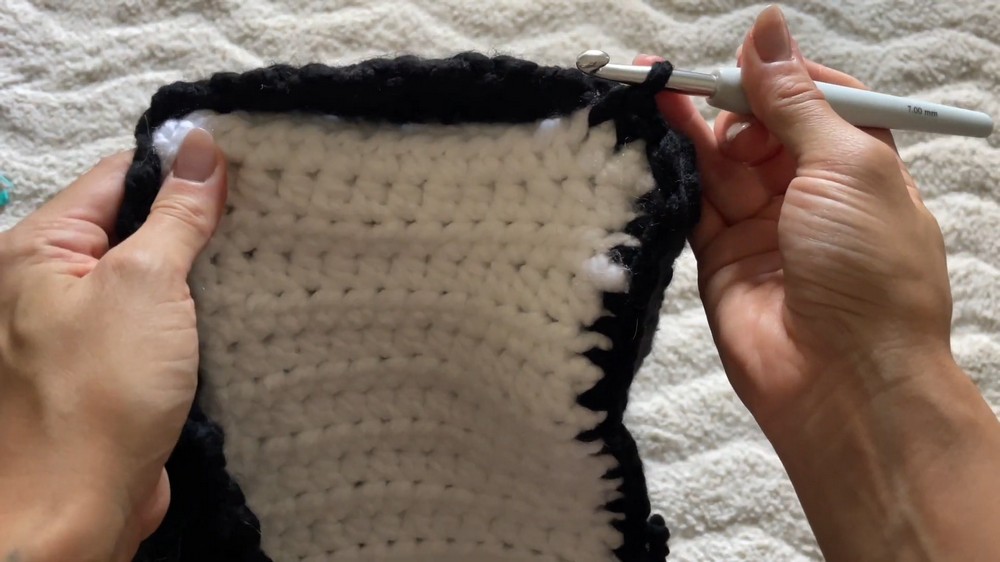
4. Assembly
A. Attaching Base/Side Panel to Main Body Panel
- Position:
- Lay your main body panel flat.
- Find the center and arrange the long base/side panel so it matches up evenly (fold in half and mark with stitch markers if desired).
- Place stitch markers at corners to ensure even joining.
- Joining:
- With matching or contrasting yarn, join at one corner with a slip knot.
- Align both panels at the edge and work single crochet through both layers at each matching stitch/row end, all around the base/side and up both sides.
- Use stitch markers to hold pieces in place while working.
- Move up each side, around the bottom/base, and to the top edge of bag; FO and weave in ends.
Optional:
- For extra strength or neatness, you can slip stitch around the inside base panel.
B. Attaching Straps
- Measure:
- Decide how far from the bag’s edge to place handles (sample: 7 cm from outer edge on both front and back panels).
- Align and Attach:
- Lay one strap in place, use stitch markers to hold both ends.
- From inside the bag, insert hook through both layers (strap and bag body), and slip stitch securely across the width of the strap.
- Move up and around, working slip stitches through both strap and bag for secure joining.
- Repeat:
- Repeat with second strap on the other side, making sure straps are parallel and untwisted.
Finishing
- Weave in all ends securely on the inside using a yarn needle.
- Double-check all strap and base joins for security.
- Block lightly if desired for neater edges.
Conclusion
You have now completed a sturdy, rectangular panel tote bag, fully customizable in size and color. All construction relies on easy half double crochet stitches, making this a practical project for beginners and advanced crocheters alike.
Great for a gym bag, reusable shopping tote, or casual carryall!
Pattern Corrections & Tips
Pattern Corrections:
- All measurements and stitch counts are standardized for easy reference.
- “Half double crochet” is abbreviated as hdc throughout.
- Recommending working in rows (not in the round) for all panels.
Tips:
- If using cotton or natural fiber, bag will stretch—make straps slightly shorter if needed.
- Use contrasting yarn for joins and straps for a modern color block look.
- Use tight tension for stronger, denser fabric if bag will carry heavy items.
- Slip stitching for all joins adds strength but can also be a design feature (in a different color).
Leave a Reply