
Transform your style with this Free crochet handbag pattern that offers a stunning accessory perfect for cozy everyday essentials and charm.

Why settle for an ordinary bag when you can carry something truly special? A crochet handbag pattern is a beautiful way to add personality and charm to your everyday life. With its soft texture, unique stitches, and vibrant design, this bag isn’t just practical—it’s a stunning piece of art. Whether you’re heading to a picnic, shopping, or even a casual gathering, it’s perfect for carrying essentials like your phone, wallet, and other small must-haves.
Gorgeous Crochet Handbag Pattern to Upgrade Your Style
Its beauty lies in the handmade touch, making it unique and extra meaningful. A crochet handbag isn’t just an accessory—it’s a reflection of your creativity and style. It can match any outfit, add flair to your wardrobe, and stay fashionable no matter the trend. Perfect for gifting to a loved one or creating your own statement piece, it’s ideal for anyone who loves a blend of function and artistry.

Materials List
Required Items:
- Yarn:
- Ganga Olivia 3-ply yarn (or similar thick yarn).
- Quantity: Two colors, approximately 200–300 grams each (depending on the size chosen).
- Crochet Hook:
- 3 mm hook.
- Lining Fabric: For the inside of the bag (optional, but recommended).
- Tapestry Needle: For sewing the handle and weaving in ends.
- Measuring Tape: To ensure proper dimensions.
- Stitch Markers (optional): To mark the beginning of rounds.
- Scissors: For cutting yarn.
Key Abbreviations (US Terms)
- Ch – Chain
- Sl st – Slip Stitch
- Sc – Single Crochet
- Dc – Double Crochet
- Fpdc – Front Post Double Crochet
- Rep – Repeat
Special Notes
- Bag Dimensions: Finished bag dimensions are 11 inches wide and 10.5 inches long, with customizable length based on your preference.
- Tension: Keep a consistent tension while crocheting to ensure even stitching throughout the bag.
- Customization: You can make the bag shorter or longer by adjusting the foundation chain or the number of rounds. Similarly, the handle length can also be modified as per your style preference.
Pattern Instructions
Step 1: Foundation Chain
- Start with a slip knot on your hook.
- Ch 45. Ensure the chain is loose and evenly tensioned.
- The length of this chain should measure 9 inches.
- Turn your work to begin the first row.
Step 2: First Row (Base of the Bag)
- Skip the first three chains (these count as the first Dc).
- In the 4th chain from the hook, work 1 Dc.
- Continue working 1 Dc in each chain until you reach the last chain.
- In the last chain, work 6 Dc to form a curve for the bottom edge.
- Working along the opposite side of the foundation chain, continue making 1 Dc in each chain.
- At the end of the row, work 3 additional Dc into the last space (align with the 6 Dc from the opposite curve).
- Join the row to the first chain at the top with a Sl st.

Step 3: Second Round (Adding Height)
- Mark your starting point using a stitch marker or scrap yarn.
- Ch 1, then work 1 Sc in each Dc all the way around.
- Ensure you create smooth, even stitches throughout.
- When you reach the end of the round, slip stitch into the first Sc.
Step 4: Creating the Bag’s Pattern
Round 1: Front Post and Double Crochets
- Ch 2 (counts as the first Dc).
- Alternate stitches as follows:
- Fpdc: Yarn over, insert your hook around the post of the previous round’s Dc, yarn over, pull through, yarn over and pull through the loops to complete the stitch.
- Dc: Work 1 Dc into the next stitch.
- Continue alternating 1 Fpdc, 1 Dc all the way around.
- Join the round to the first Ch 2 with a Sl st.
Round 2: Single Crochet
- Ch 1, then work 1 Sc in each stitch (whether it’s an Fpdc or a regular Dc).
- Join to the first Sc with a Sl st.

Round 3: Repeating Pattern
- Alternate Fpdc and Dc again as in Round 1: 1 Fpdc, 1 Dc across the round.
- Work Sc in the next round.
Repeat: Alternate between these two rounds (Round 1 and Round 2) until the bag reaches your desired height.
- Suggested height: 9 inches, with an additional 1.5-inch border.
Step 5: Top Border (Optional)
- Once your bag reaches the desired height, work 2 additional rounds of Sc to make a sturdy upper border.
- Fasten off and weave in the ends.

Step 6: Adding Fabric Lining (Optional)
- Cut your fabric to match the inside dimensions of your bag (leave a 0.5-inch seam allowance).
- Sew the sides and bottom of the fabric to create a pouch.
- Hand-sew or machine-sew the fabric lining into the bag using a matching thread.
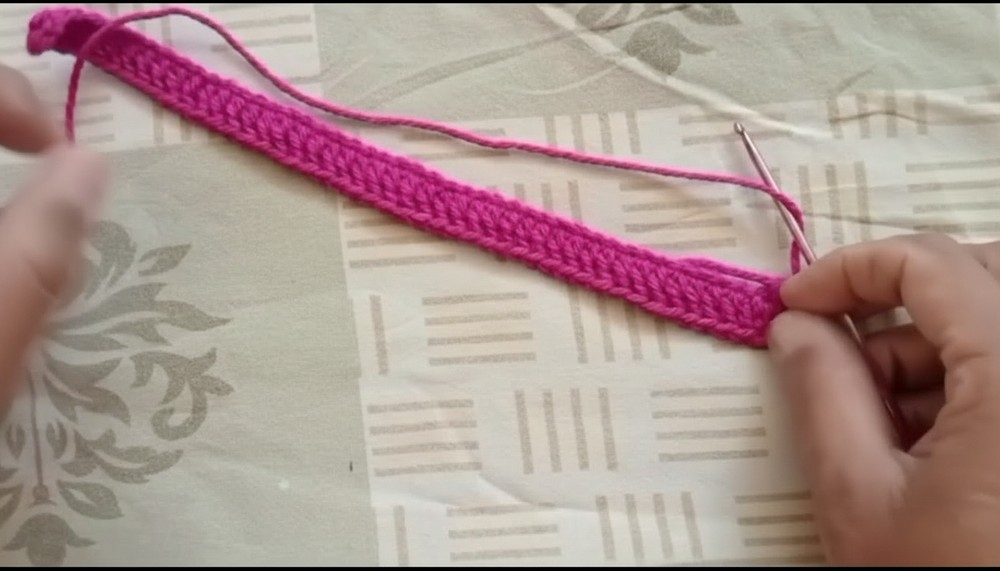
Step 7: Making and Attaching the Handle
Handle Instructions
- Start with a slip knot, then Ch 7 for the width of the handle.
- Work as follows:
- Row 1: Insert your hook into the second chain from the hook and make 1 Sc in each chain (total 6 Sc).
- Row 2 and Beyond: Continue working 1 Sc in each Sc until the handle reaches your desired length.

Assembling the Handle
- Attach the finished handle to both sides of the bag’s opening.
- Use a tapestry needle and matching yarn to sew the handle securely in place.
Conclusion
This handmade crochet bag is versatile, functional, and stylish. It is ideal as a handbag, shopping bag, or lightweight purse and can be customized in size, color, and style to meet your preferences. The addition of the fabric lining enhances durability, making it perfect for carrying everyday essentials.
Pattern Correction
- Avoid overly tight stitching in the foundation chain, as it will distort the bag’s base.
- Ensure consistent join points when transitioning between rounds to maintain the bag’s shape and symmetry.
Tips for Beginners
- Use stitch markers to track the beginning or end of each round.
- If you’re new to Fpdc stitches, practice them on scrap yarn to ensure uniformity.
- Block the finished bag gently by misting it with water and shaping it to its final form.

Leave a Reply