
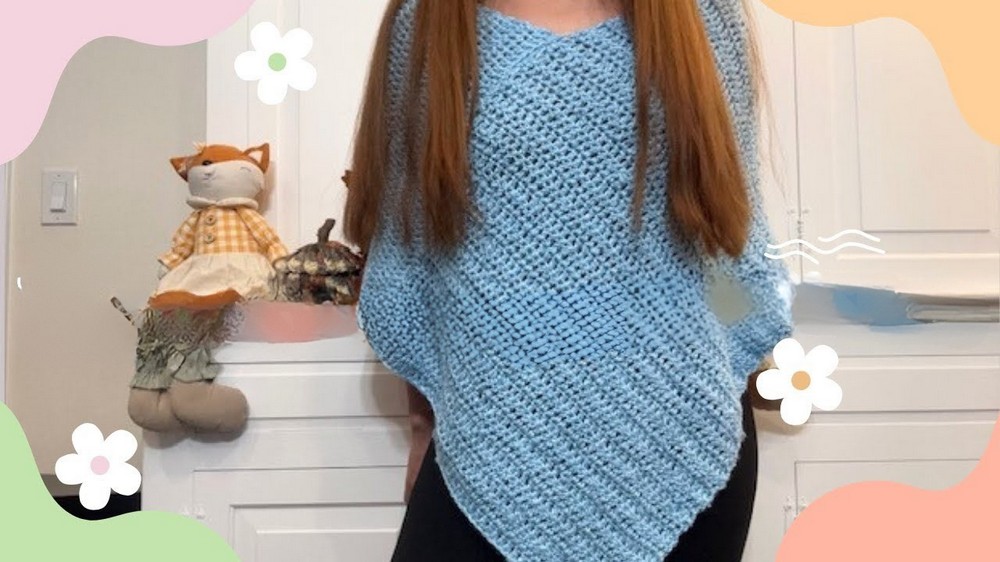
Marvel at how this free crochet poncho pattern helps you create an effortlessly stylish and cozy accessory perfect for any season.
Sometimes a special wrap changes everything. With cheerful colors and soft yarn, even a simple shape can become a beautiful part of your day. Using a crochet poncho pattern helps anyone make a garment that sits gently on the shoulders and keeps arms free to move. This poncho offers warmth when it’s cool and comfort when life feels busy. Its pretty design adds style without effort, making each person feel unique wherever they go.
Free Crochet Poncho Pattern You’ll Want to Wear Everywhere

Some poncho designs feature wide stitches for fresh air, while others feel thick and snug for extra coziness. It’s easy to choose the length and look you like, so every person finds the perfect fit. Wearing a poncho brings gentle beauty, lets you stay comfortable, and adds a sweet touch to any outfit. This handy piece makes all ages feel welcome and cared for in every moment.
Simple Crochet Poncho Pattern
Materials
- Yarn: Worsted (medium #4) weight yarn (e.g., Kon Funfetti Cakes or similar)
- Sample used approx. 2 skeins for a 49″ x 18″ panel
- Hook: 6 mm crochet hook
- Yarn Needle: for seaming and weaving ends
- Scissors
- Stitch Markers or Clips: (optional) for holding pieces together during assembly
- Tape Measure: (optional) to check sizing
Abbreviations
- ch – chain
- dc – double crochet
- sl st – slip stitch
- st(s) – stitch(es)
- rep – repeat
Special Notes
- Pattern is written in US crochet terminology.
- The finished rectangle for a standard adult is approx. 49″ long x 18″ wide, but you can add or subtract rows for a custom size.
- You may sew the seam as directed or use slip stitches for a completely crocheted finish.
- Optional trims (edging, fringe) may be added if desired.
Pattern Instructions
Poncho Rectangle
Foundation:
- Make a slip knot.
- Ch 51 (or desired width; you can adjust for different sizes).
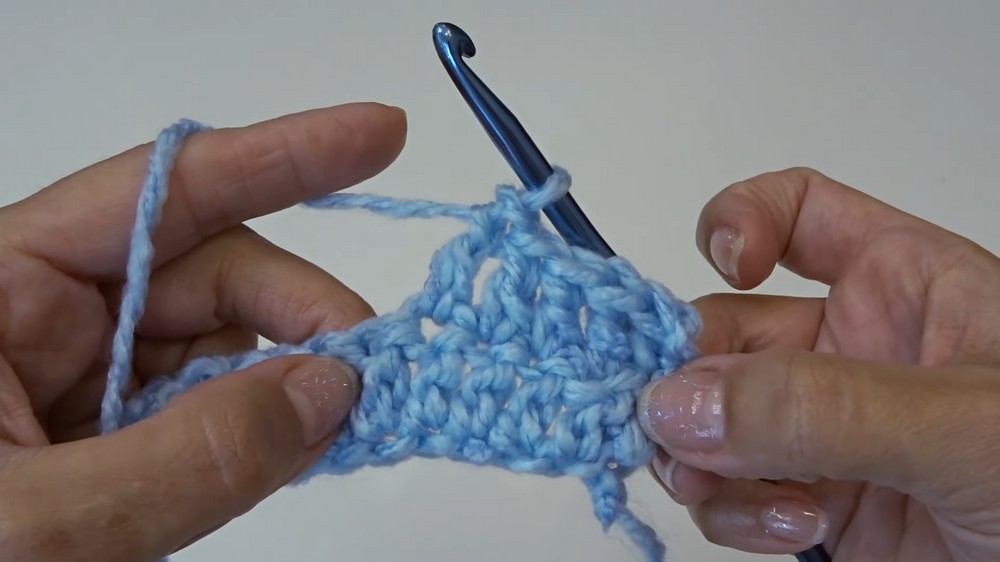
Row 1:
- Dc in 2nd ch from hook (do not count the loop on hook as a ch).
- Dc in each ch across.
- You should have 50 dc at the end of the row.
- (Sample measures approx. 17″ at this point.)
Row 2:
- Ch 1, turn.
- Dc in first dc (insert into very first st).
- Dc in each st across.
- (50 dc)
- Tip: Place a stitch marker in the first stitch if you have trouble seeing it.
Rows 3–77:
- Ch 1, turn.
- Dc in each st across (beginning with the first stitch after the ch-1).
- Continue until your panel measures approximately 49″ long (or desired length).
- (Sample is 77 rows, approx. 49″ x 18″.)
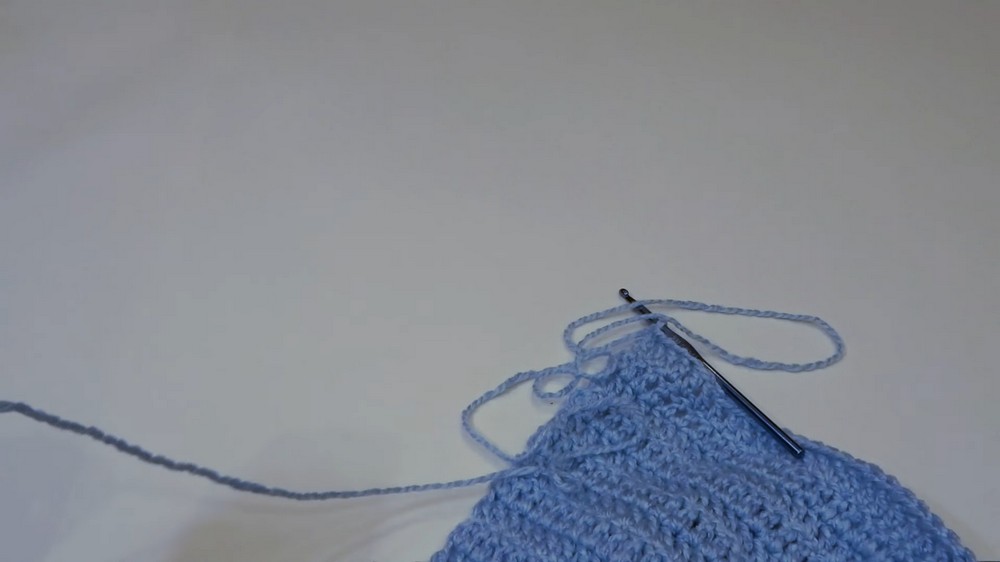
Fasten Off:
- At the end of your final row, ch 1, cut yarn leaving a long tail for sewing (about 2 feet).
- Pull the yarn through to secure.
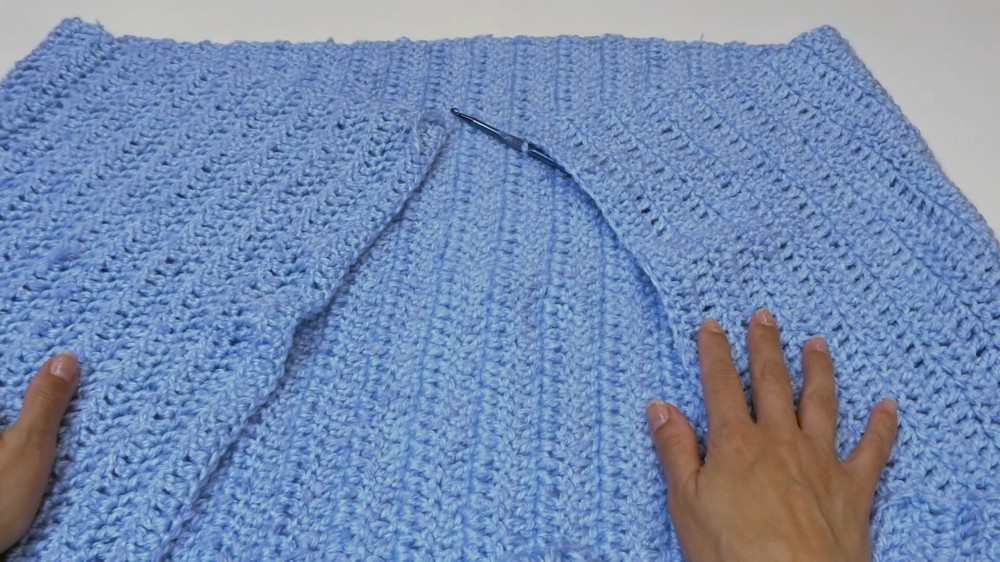
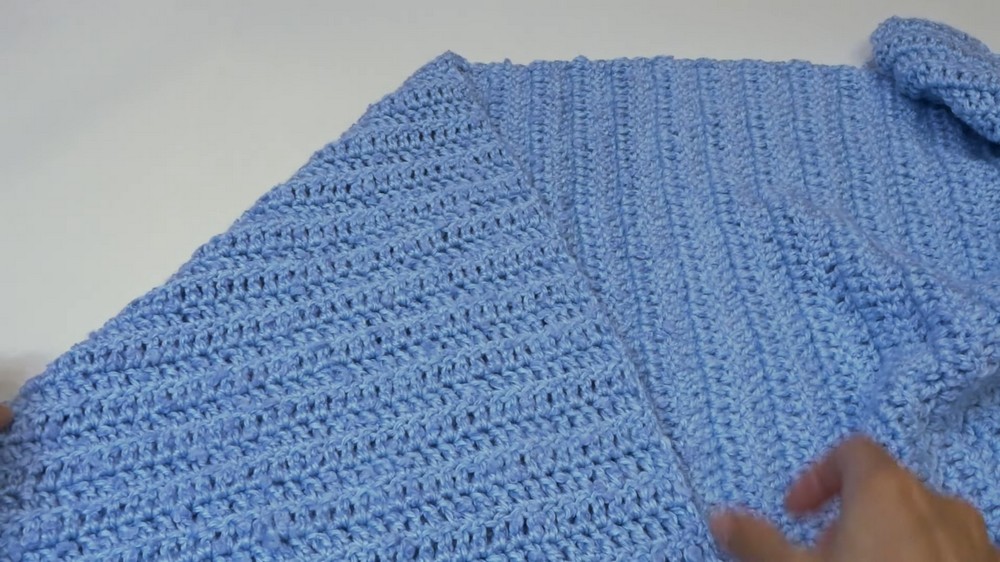
Assembly
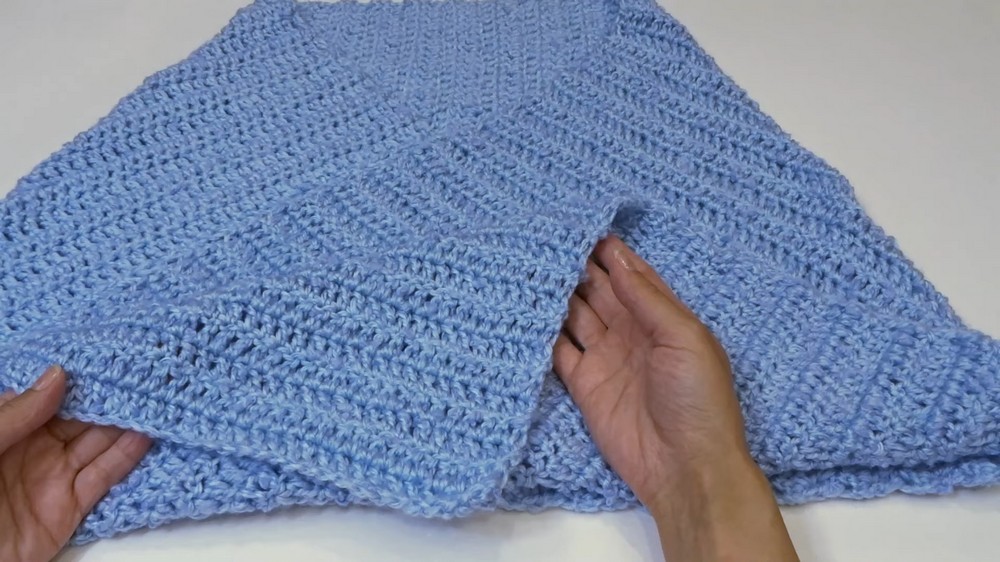
- Fold:
- Lay rectangle flat.
- Fold sideways to form a triangle at one end (see video/photo reference).
- The foundation chain edge should line up with the side of the rectangle to form the neck opening.
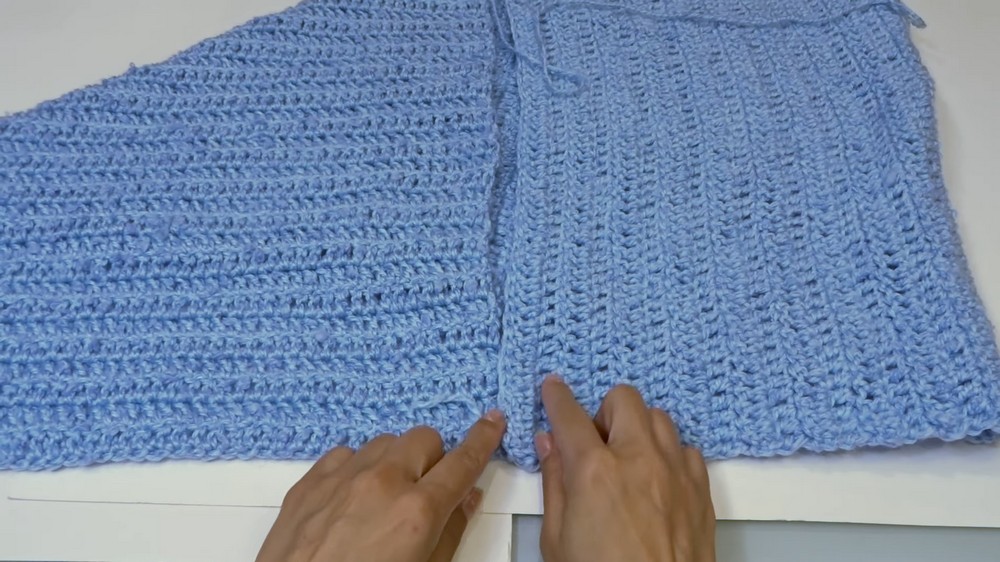
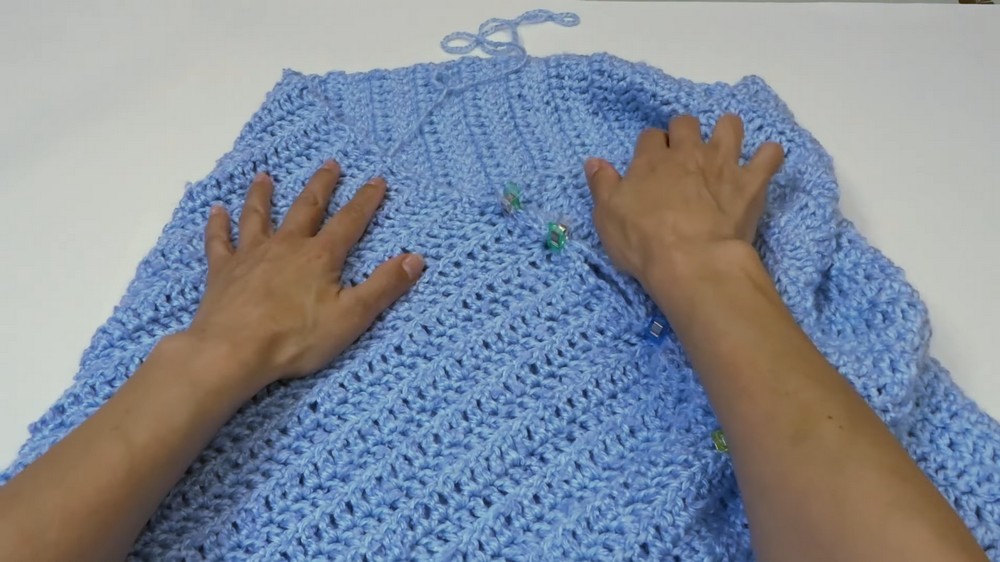
- Seam:
- Use stitch markers or clips to hold the pieces in place.
- Thread your yarn needle with the long yarn tail.
- Sew with a whip stitch through both layers (pick up one loop from each piece), working from the bottom edge up to the neck opening.
- Do NOT sew across the top edge – leave the neck hole open!
- Keep your stitches slightly loose for flexibility/stretch.
- At end, secure and knot, then weave in ends.
Finishing
- Weave in all yarn tails on the wrong side of work.
- (Optional) Work a round of single crochet (sc) along the neckline or bottom edge for a neater finish.
- (Optional) Attach fringe to the bottom edge if desired.
Conclusion
You have completed a simple and stylish poncho! The result is a warm, drapey accessory with an adjustable fit. Make it your own with color changes, edging, or fringe.
Pattern Corrections & Tips
- Stitch Count: Always count your stitches at the end of each row; you should maintain 50 dc per row.
- Adjusting Size:
- To widen, start with a longer chain (multiple of your desired width plus 1).
- To lengthen, add more rows.
- Joining: A slip stitch join can be substituted for sewing.
- Finishing Touches: Single crochet edging and fringe can be added if you have extra yarn.
- Maintain Even Tension when seaming for comfort and consistent stretch.
Leave a Reply