
Make a cute friend with this Crochet Flower Doll Pattern full of bright petals fun details and a sweet handmade look perfect for kids or home decoration.
Unique Crochet Flower Doll Pattern for Colorful Fun
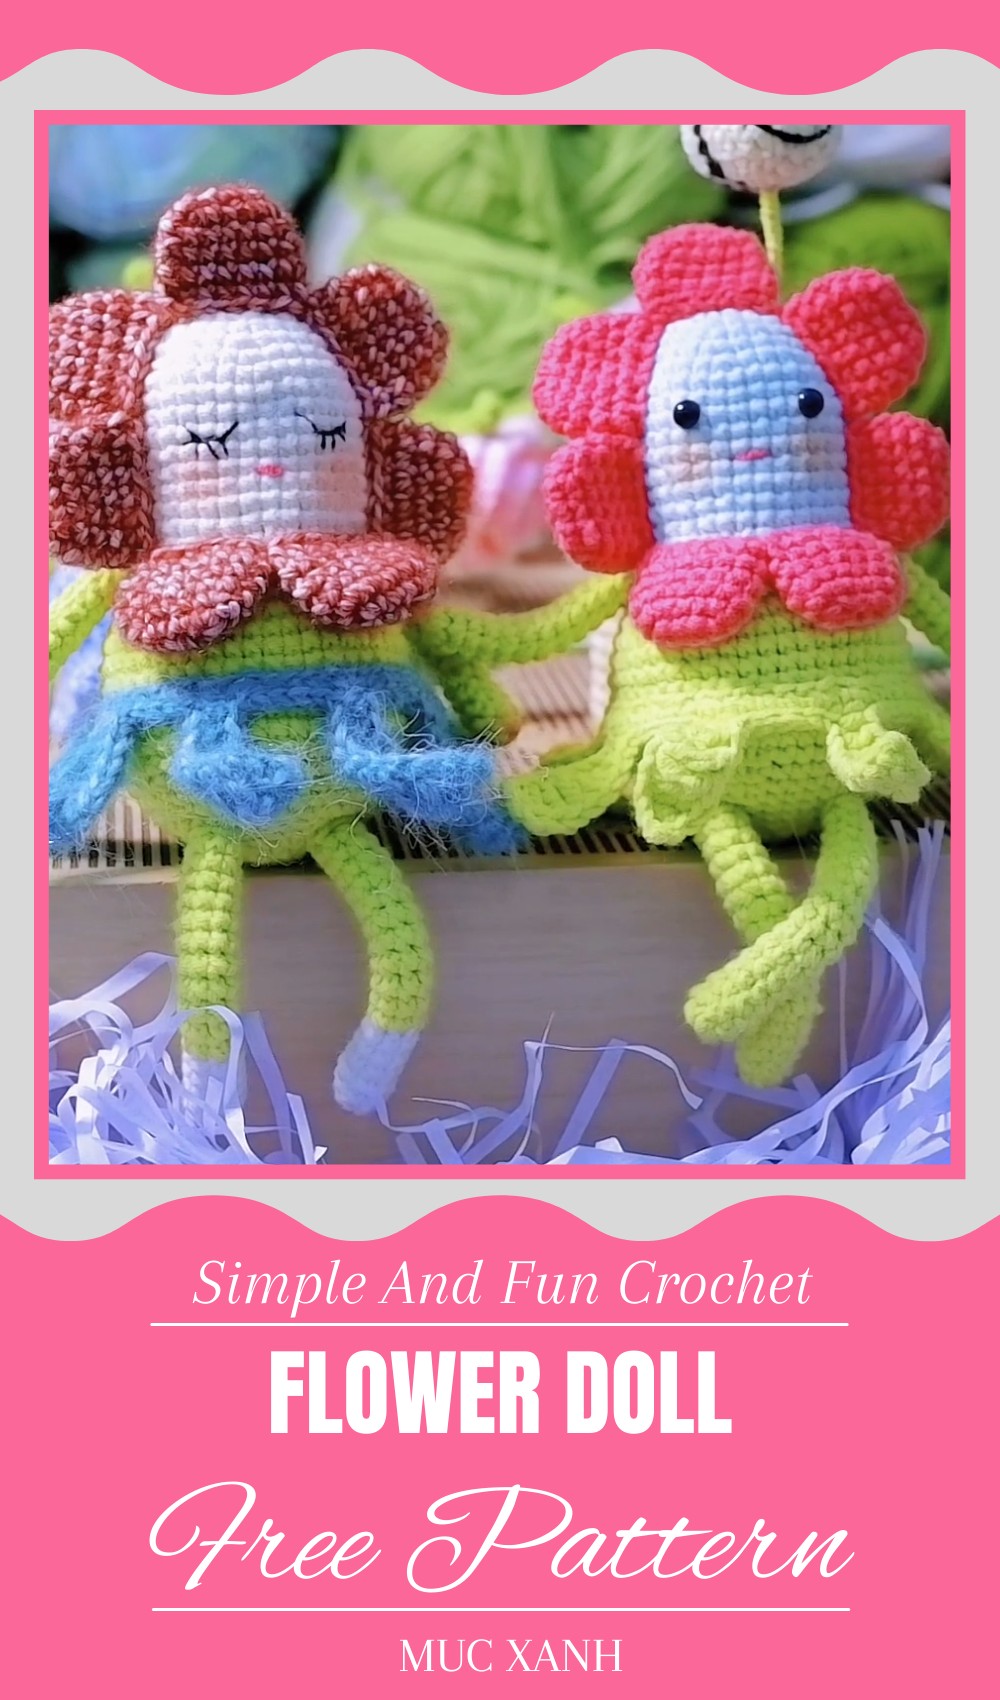
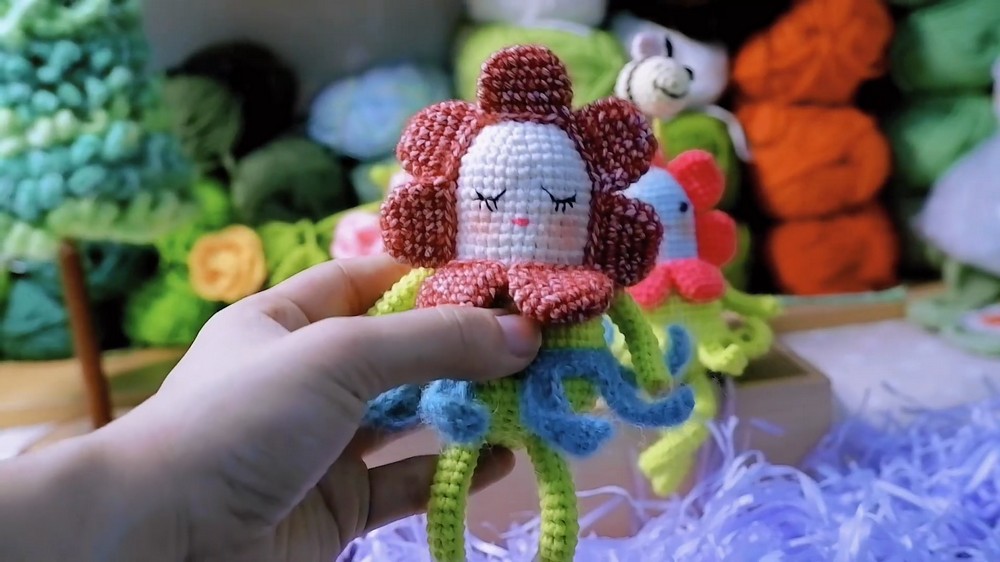
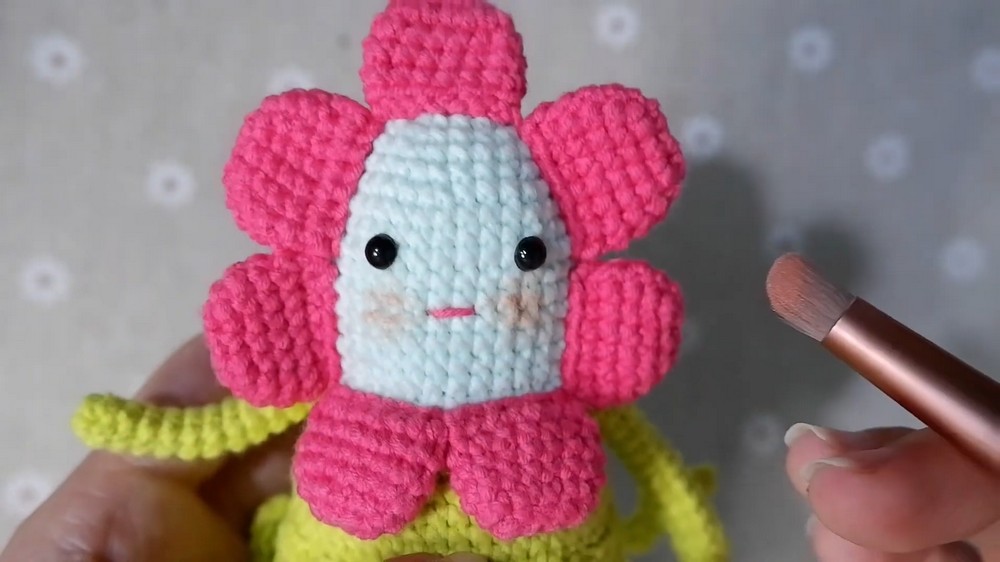
Bring a little magic and happiness into your day with this lovely flower doll! This charming doll looks like a colorful flower come to life, with bright petals and a sweet smiling face that can warm anyone’s heart. It’s soft and cuddly, making it a perfect friend for children or a cute decoration for your home. The doll’s gentle colors and delicate details make it special and eye-catching.
You can use it as a toy, a gift, or even a lovely piece to brighten up any room. It’s made with simple stitches and soft yarn, so it feels nice to hold and easy to care for. Whether you keep it on a shelf or play with it, this flower doll adds joy, color, and a touch of nature’s beauty all around. It’s a delightful handmade treasure that everyone will love!

Crochet Flower Doll – Step-by-Step Pattern and Guide
Materials Needed
- Yarn in desired colors (sample uses pale blue for head/body, green for legs/skirt, pink for petals)
- Crochet hook size 1.75 mm (or appropriate for your yarn thickness)
- Stitch markers
- Scissors
- Tapestry needle for sewing and finishing
- Stuffing fiberfill for doll body
Special Features
- Constructed in parts: head, body, legs, arms, petals (wings), and skirt
- Use of magic circle, single crochet (sc), and increase/decrease techniques
- Clustered petal structure for realistic flower effect
- Adjustable size and colors
- Detailed shaping for symmetry and 3D form
Difficulty Level
Intermediate – Requires knowledge of:
- Magic circle
- Single crochet
- Increases and decreases
- Joining parts via sewing
- Working in rounds and rows
Step-by-Step Pattern
Head and Body (worked in continuous rounds)
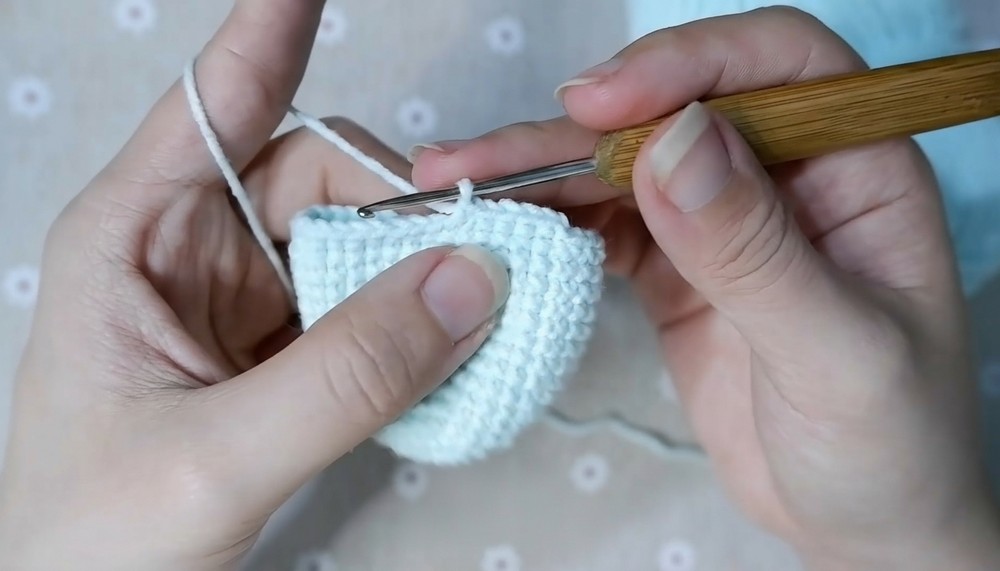
Round 1: Magic Ring and Initial Stitches
- Create a magic circle with blue yarn.
- Crochet 6 single crochet (sc) stitches into the ring. (6 sts)
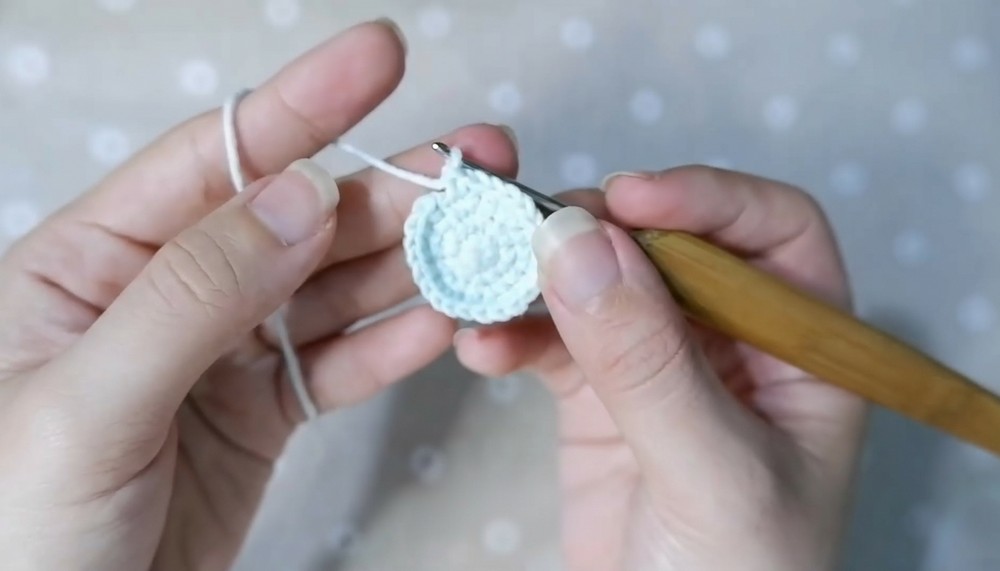
Round 2: Increase
- Work 2 sc in each stitch around to double stitches. (12 sts)
Round 3:
- Work (1 sc, increase) repeated 6 times. (18 sts)
Round 4:
- Work (2 sc, increase) repeated 6 times. (24 sts)
Round 5:
- Work 24 sc (no increase). (24 sts)
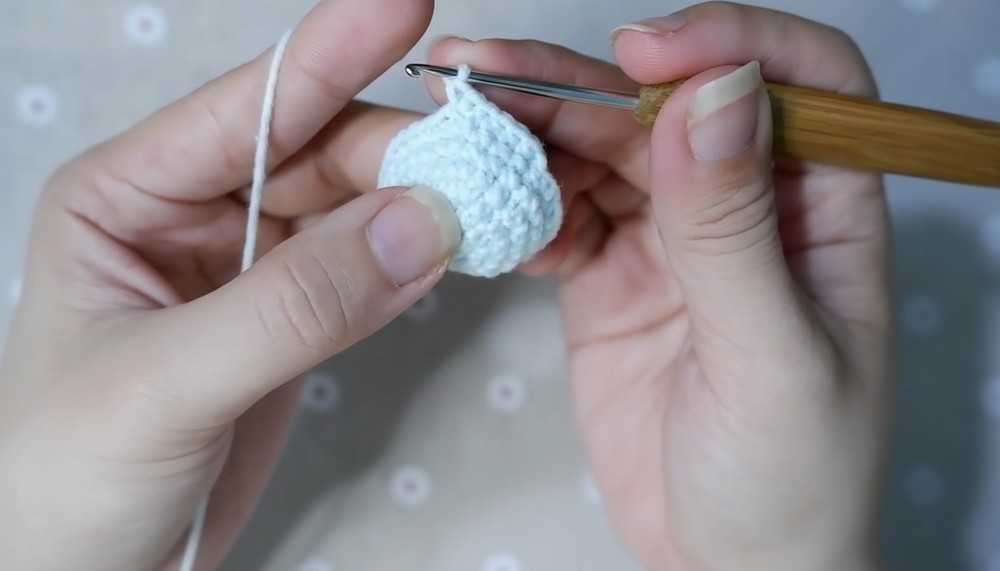
Round 6:
- Work (3 sc, increase) repeated 6 times. (30 sts)
Round 7:
- Work (4 sc, increase) repeated 6 times. (36 sts)
Rounds 8 to 16:
- Work 36 sc each round (no increase). (36 sts)
Round 17: Decrease starts
- Work (4 sc, decrease) repeated 6 times. (30 sts)
Round 18:
- Work (4 sc, increase) repeated 6 times. (36 sts)
Round 19:
- Work 36 sc (no increase). (36 sts)
Round 20:
- Work (5 sc, increase) repeated 6 times. (42 sts)
Round 21:
- Work (6 sc, increase) repeated 6 times. (48 sts)
Rounds 22 to 28:
- Work 48 sc (no increase). (48 sts)
Round 29: Decreasing
- Work (6 sc, decrease) repeated 6 times. (42 sts)
Round 30:
- Work (5 sc, decrease) repeated 6 times. (36 sts)
Round 31:
- Work 36 sc (no increase). (36 sts)
Round 32:
- Work (4 sc, decrease) repeated 6 times. (30 sts)
Stuff the head and body firmly with fiberfill.
Round 33:
- Work (3 sc, decrease) repeated 6 times. (24 sts)
Round 34:
- Work (2 sc, decrease) repeated 6 times. (18 sts)
Round 35:
- Work (1 sc, decrease) repeated 6 times. (12 sts)
Round 36:
- Work 6 decreases to close. (6 sts)
- Finish off leaving a long tail for sewing.
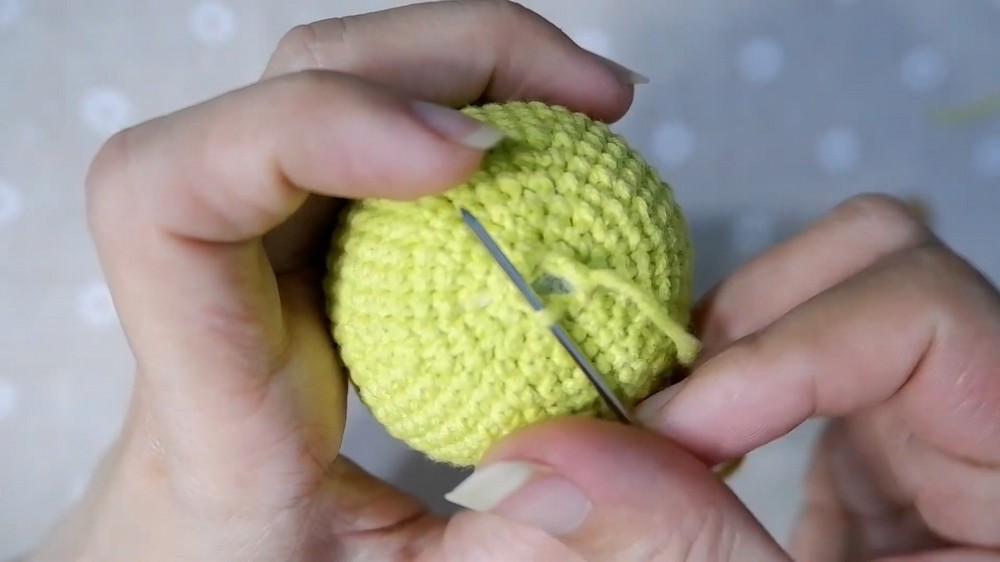
Assembly of Head and Body
- Use the yarn tail to sew the last stitches closed tightly.
- Secure yarn and weave in ends.
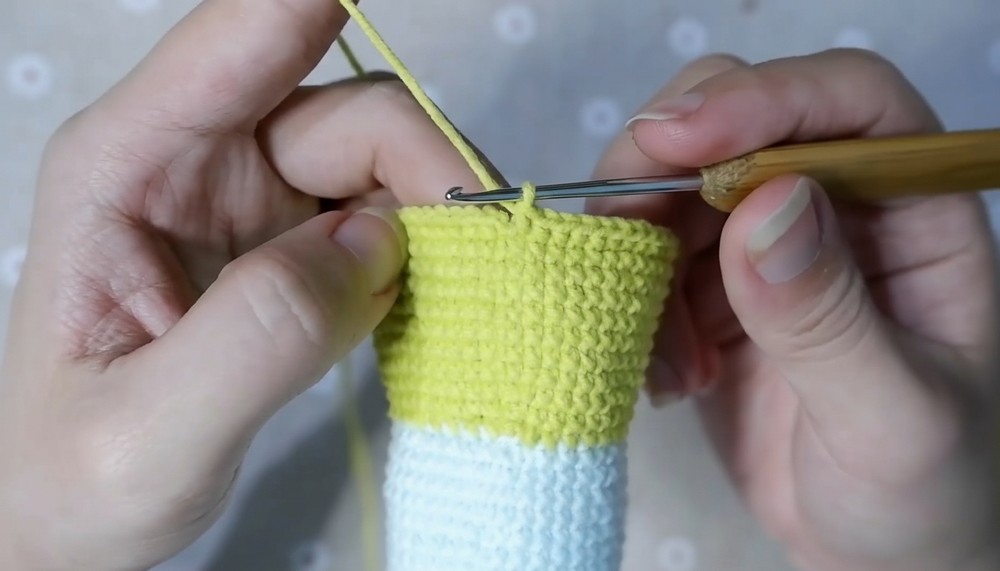
Legs (Make 2)
- Using green yarn:
- Create a magic circle, chain 7 stitches.
- Round 1: Crochet 7 sc into magic circle. (7 sts)
- Rounds 2 to 16: Work 15 sc in each round (increase gradually in early rounds).
- Finish off and stuff lightly.
Arms (Make 2)
- Using blue yarn:
- Create magic circle and start similar to head/body but smaller:
- Rounds 1 to 12: Crochet 6 sc in each round (no increases).
- Finish off and lightly stuff.
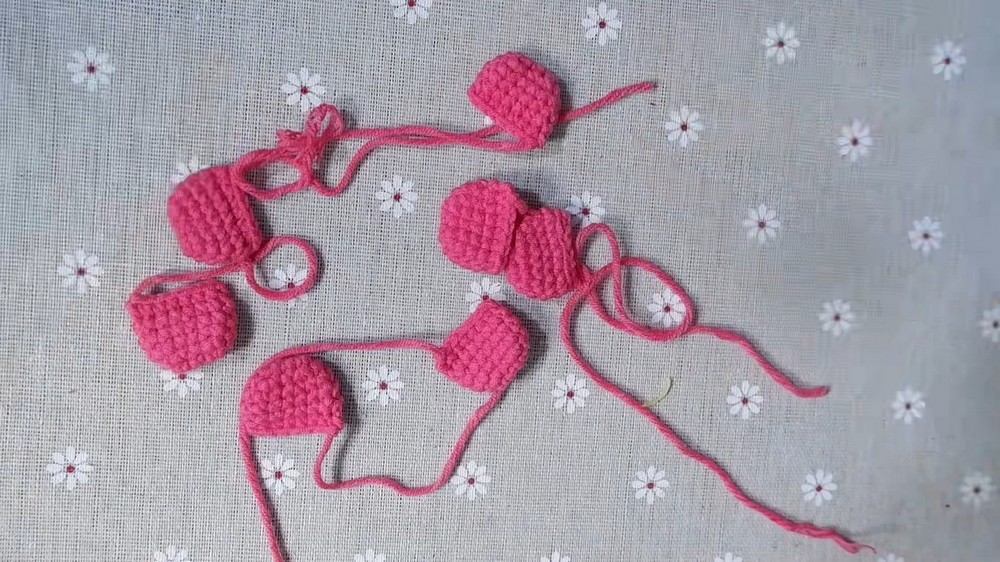
Petals/Wings (Make 7)
- Using pink yarn:
- Chain 4 stitches
- Row 1: Work stitches down second chain from hook to form petal outline (single/double crochet as needed)
- Increase stitches along edges to create curved, layered petals.
- Crochet 3 stitches on final chain to add fullness.
- Repeat rows 3–5 with no increase to maintain shape.
- Sew petals in a circular arrangement to form wings.
Skirt
- Using green yarn:
- Chain 48 stitches to start base round.
- Work in rounds of 48 stitches, slip stitching and increasing as needed for shape.
- Crochet double crochet and single crochet combinations to create a full skirt effect.
- Attach skirt to body securely.
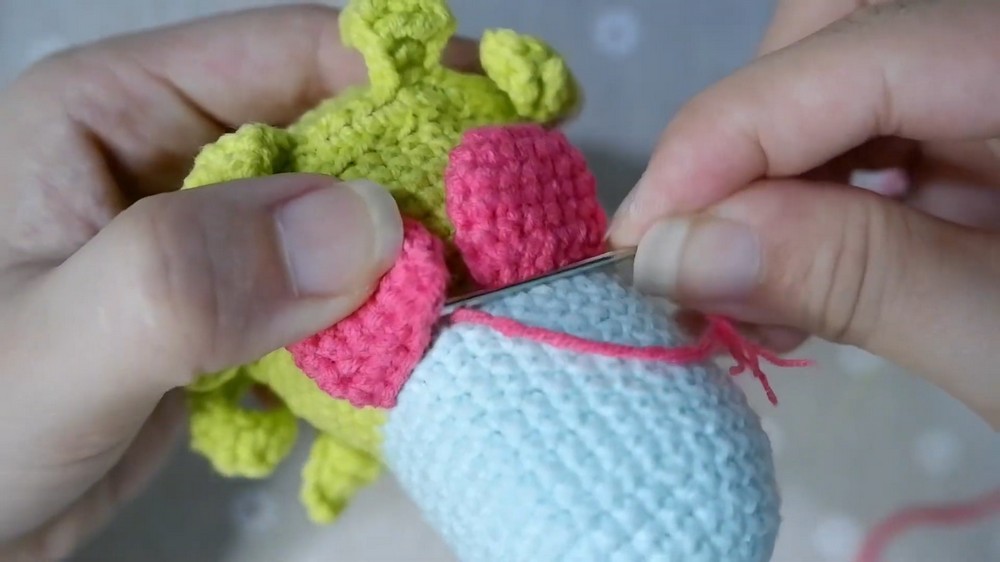
Final Assembly
- Sew legs and arms to body firmly using yarn needle.
- Attach petals (wings) around the back/upper side of body.
- Attach skirt around waist line.
- Embroider or sew eyes and mouth using yarn or embroidery thread.
- Add blush or details as desired with fabric paint or pastel.
Tutor’s Suggestions
- Adjust yarn colors freely to personalize your doll.
- Stuff parts firmly for better shape retention.
- Use stitch markers to keep track of rounds and stitches.
- If video parts are unclear, search tutorials for baseline stitches (single crochet, increase, decrease) before starting.
- Take your time joining parts for a neat finish.
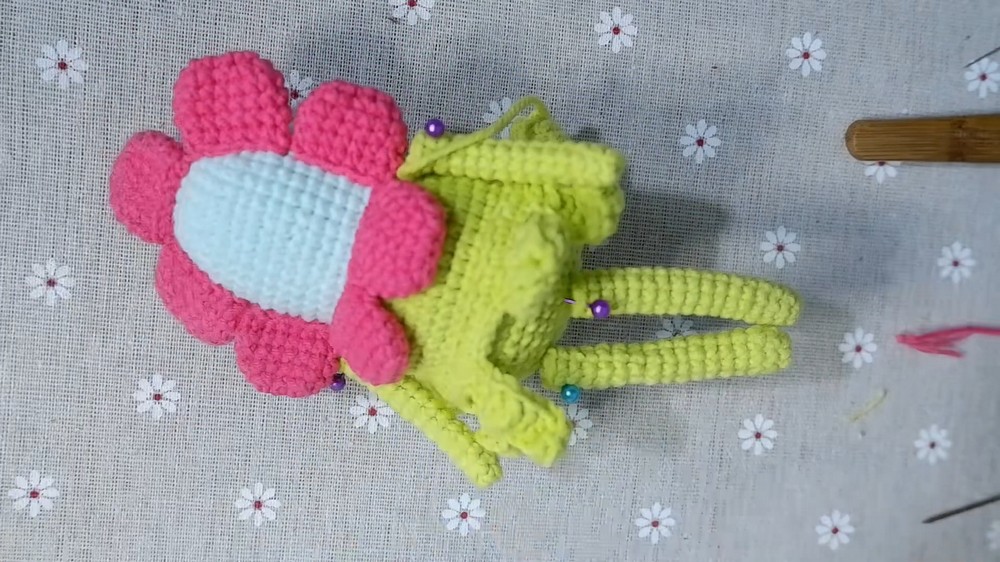
Tip
Before sewing the petals on, lay them out around the body to experiment with spacing and placement. Use pins or stitch markers to fix placement before sewing. This ensures even and aesthetically pleasing wings.
Conclusion
This flower doll crochet pattern brings whimsy and charm to your crochet repertoire! By combining shaping, increases, decreases, and charming petal detailing, you create an enchanting doll perfect as a gift or decoration. With patience and attention, this intermediate-level project will reward you with a delightful floral keepsake.
Leave a Reply