
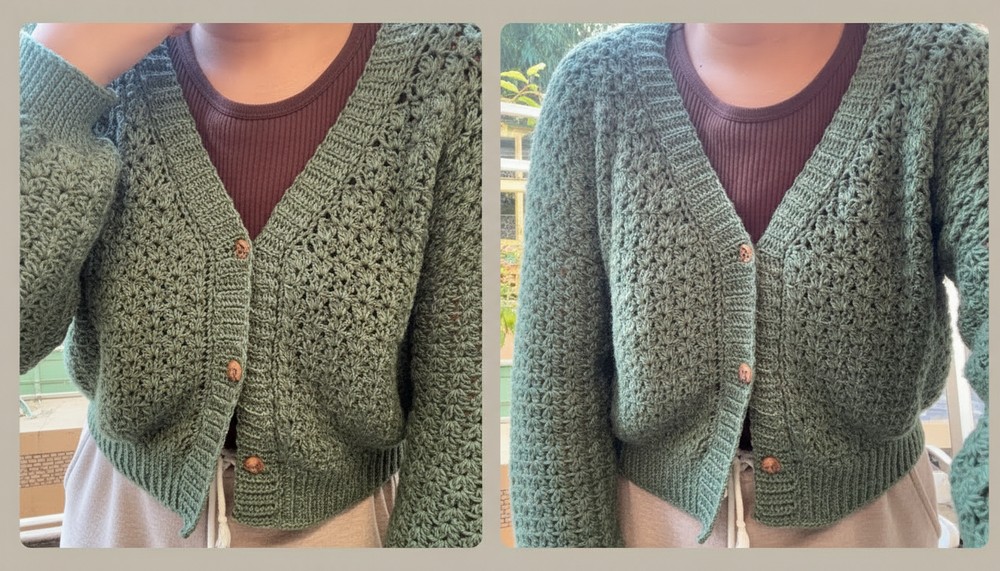
Wrap yourself in cozy charm with this easy crochet cardigan pattern that’s stylish, fun, and perfect for adding warmth to any outfit you love.
Soft yarn flowing through easy loops can turn into something warm and beautiful—a cardigan that feels like a gentle hug on chilly days. This handmade piece is more than just clothing; it’s a cozy friend that keeps you snug and stylish. With simple stitches, a crochet cardigan can be made in many colors and designs, from bright and playful to calm and classic. It’s perfect to wear at home, outside, or even on special occasions, adding comfort and charm to every outfit.
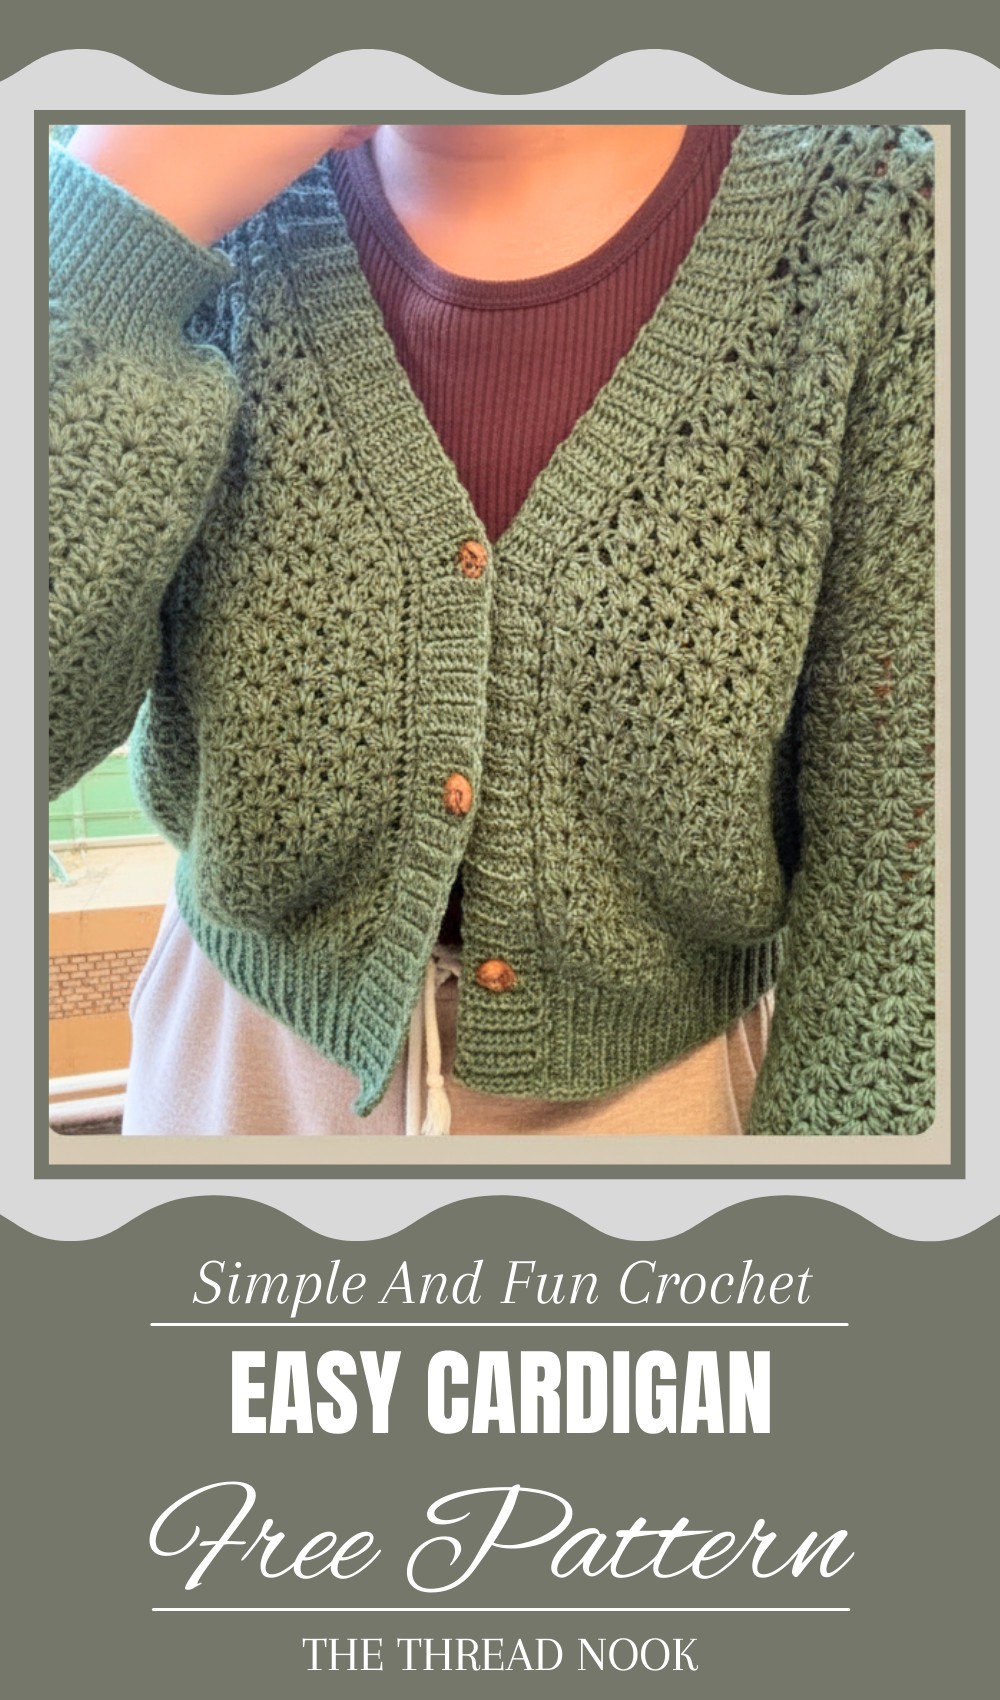
Lightweight Crochet Cardigan Pattern for Year-Round Comfort
The open patterns let the air breathe, so it’s neither too hot nor too cold. Wearing a crochet cardigan feels personal, like wearing your own story made with care. It’s easy to pull on over a dress or shirt, making it a useful piece for all seasons. Making or wearing one brings joy, warmth, and a touch of handmade beauty to anyone’s day.
Crochet Cardigan Pattern – Step-by-Step
Materials Needed:
- Sport weight or DK cotton yarn (500-700g depending on size and yarn weight)
- Crochet hooks: 4mm (body), 3.5mm or 3mm (ribbing)
- Stitch markers
- Yarn needle
- Scissors
- Tape measure
- Buttons (size depends on your preference)
Special Features:
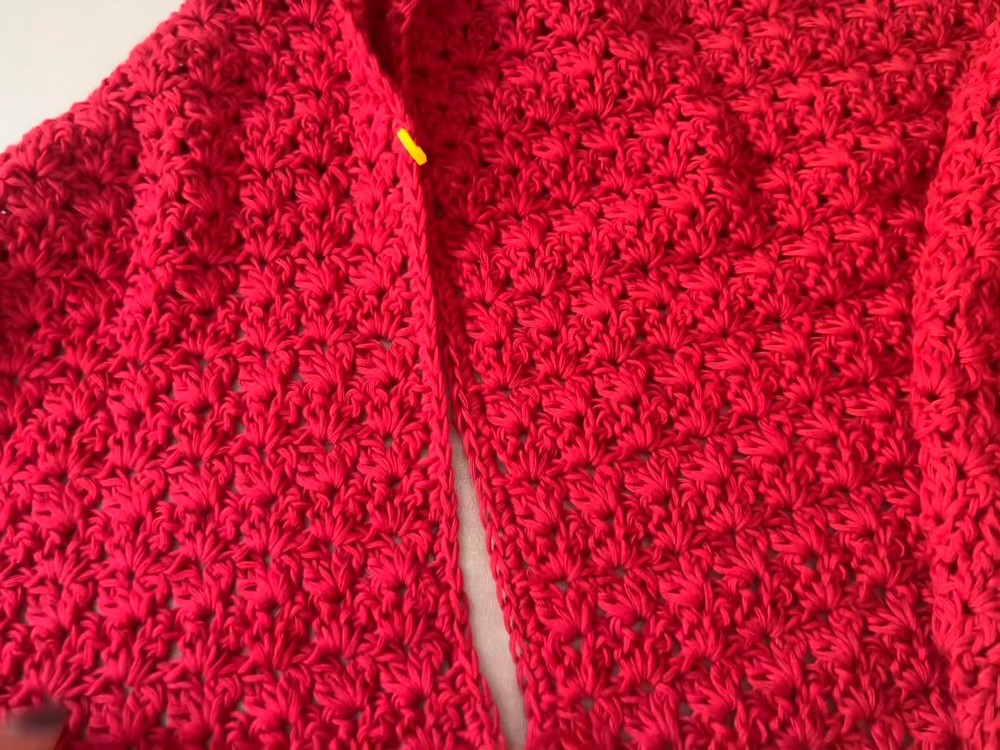
- V-stitch double crochet cluster stitch pattern for a textured look
- Shoulder and side shaping via decreases on one side only
- Beautiful single crochet ribbing for edges and sleeves
- Buttonholes integrated into the ribbing section
- Customizable length and sizing with tailored measurements
Uses:
- Ideal for spring and fall layering
- Lightweight but cozy
- A handmade gift or stylish wardrobe staple
Step-by-Step Crochet Pattern
Step 1: Taking Measurements and Preparation
Before beginning, measure and take note of your:
- Bust circumference (fullest part)
- Body length (shoulder to desired cardigan length)
- Arm circumference and length
- Calculate:
- Measurement A = Bust ÷ 4 (front panel width)
- Measurement B = Bust ÷ 2 (back panel width)
- Measurement C = Body length (from shoulder down, excluding bottom ribbing)
- Measurement C1 = C minus length to nipple/desired decrease start point
- Measurement D = Armhole = Arm circumference ÷ 2
Keep these ready as they’ll guide stitch counts and rows.
Step 2: Starting the Front Panel
- Chain multiples of 3 until you reach Measurement A width (e.g., 48 chains for 12 inches).
- Skip five chains (first 3 chains count as first double crochet), then on the 6th chain:
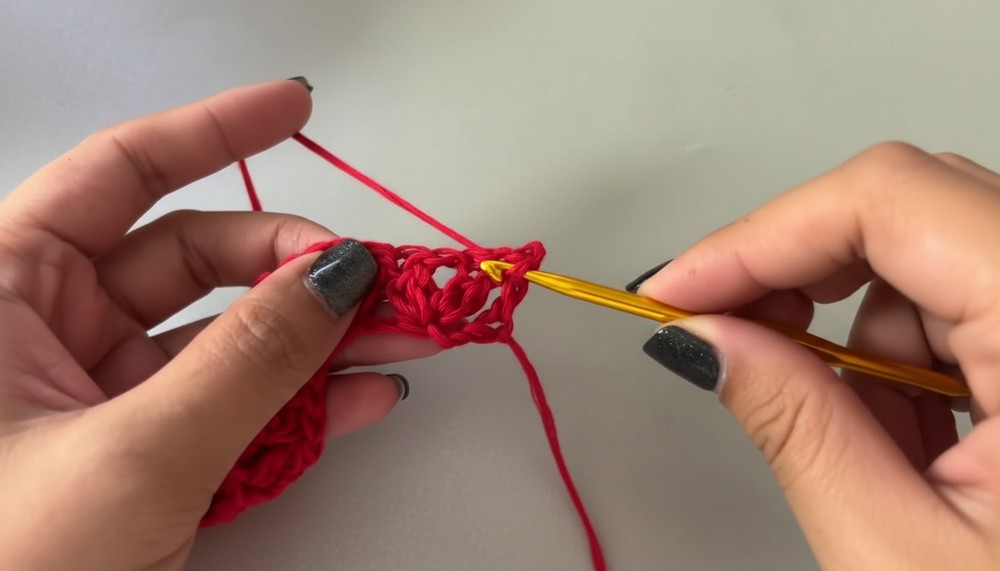
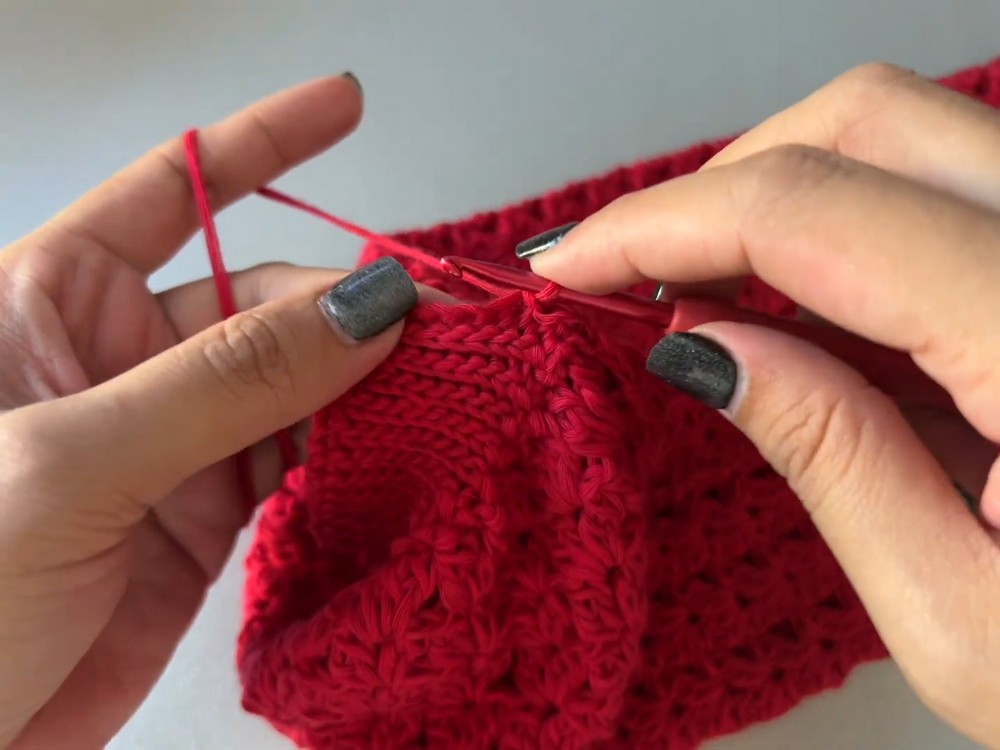
Step 3: Row 1 – V-Stitch Double Crochet Clusters
- Insert your hook into the back bump of the chain to get a clean edge.
- Work a double crochet cluster stitch as follows:
- Yarn over, insert hook, yarn over, pull through (3 loops on hook)
- Yarn over, pull through 2 loops (2 loops remain)
- Yarn over, insert hook in same stitch, yarn over, pull through (4 loops on hook)
- Yarn over, pull through 2 loops (3 loops remain)
- Yarn over, pull through all 3 loops to complete cluster
- Chain 1.
- Repeat the same double crochet cluster in the same stitch (this forms the V-stitch).
- Skip 2 chains, then repeat V-stitch cluster in the next back bump chain.
- Repeat across, ending with one double crochet in the last chain after skipping 2 chains.

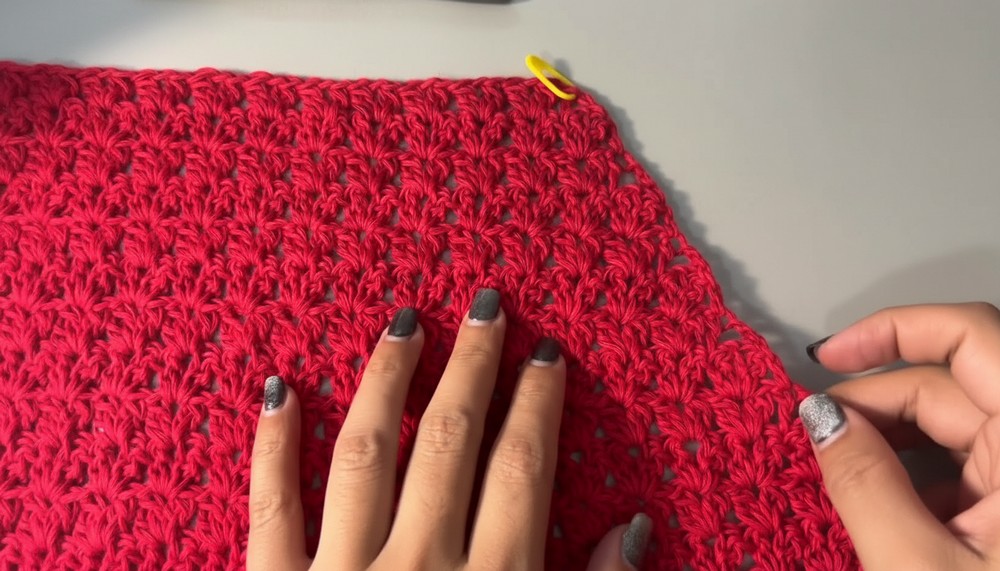
Step 4: Row 2 and Onward – Repeat Pattern
- Chain 3 (counts as first double crochet), turn.
- In each chain-1 space between V-stitch clusters from previous row, work a double crochet cluster V-stitch (cluster, chain 1, cluster).
- End row with a double crochet in the top of the turning chain.
- Repeat this pattern until row height reaches Measurement C (body length before decreases).
Step 5: Decrease Rows
- Begin decrease rows at Measurement C1 (e.g., 15 rows).
- On decrease side only, skip one V-stitch cluster and chain-1 space at start of row, start double crochet on 3rd stitch.
- Continue V-stitch pattern across remaining row.
- On opposite side, continue regular row without decreases.
- Alternate decrease row and no-decrease row to shape cardigan side; repeat decrease every other row for 5 total decrease rows or as desired.
- After decreases, continue no-decrease rows until total length matches Measurement C.
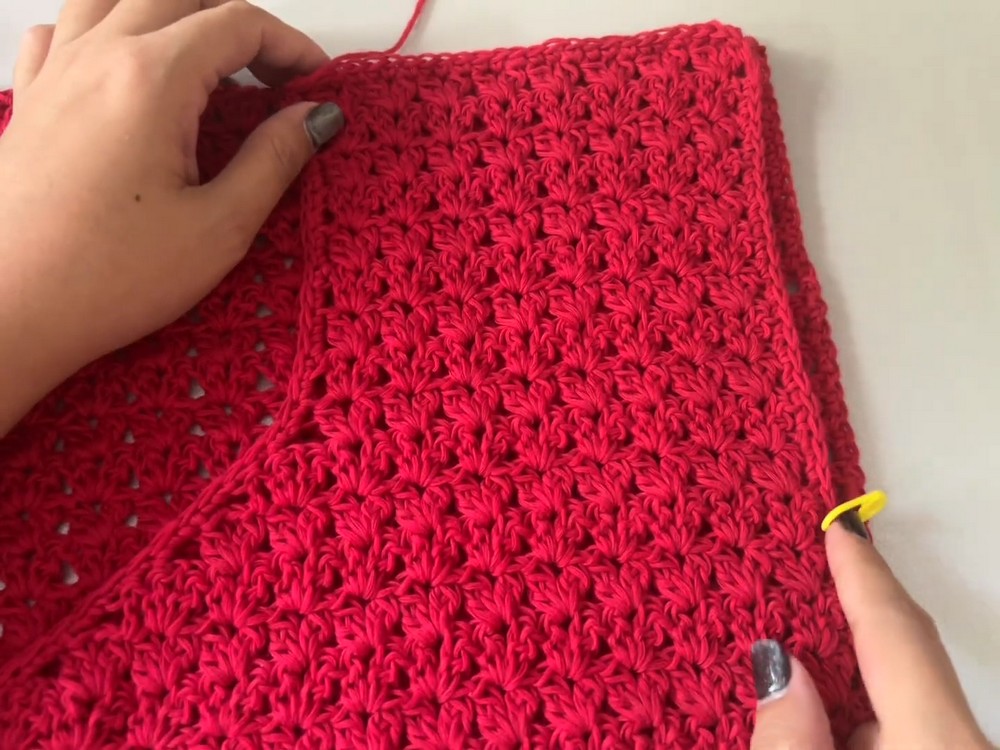
Step 6: Edging the Panels
- Work single crochet around the edges of each panel (front and back) for a clean finish.
- Insert single crochet stitches evenly between double crochets and chain spaces for uniform look.
Step 7: Joining Panels (Shoulders and Sides)
- Use stitch markers to mark armhole width (Measurement D).
- Seam shoulders and sides together using invisible sewing or whip stitch with yarn needle and matching yarn.
- Leave armholes open for sleeve attachment.
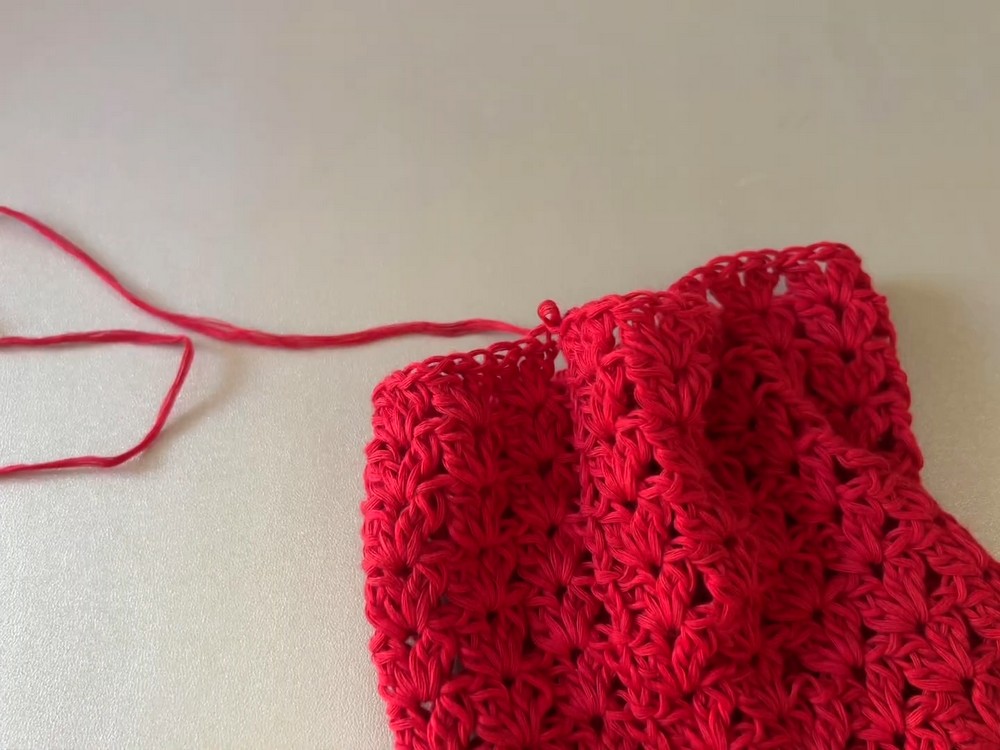
Step 8: Making the Sleeves
- Attach yarn to bottom of armhole, chain 3 (counts as first dc).
- Work same double crochet cluster V-stitch pattern in rounds, skipping 2 chains between clusters.
- Continue until sleeve length equals Measurement E (desired sleeve length).
- Finish sleeve with ribbed cuff using smaller hook (3mm or 3.5mm):
Step 9: Sleeve Ribbing
- Chain 11 (or desired rib width) plus 1 turning chain.
- Slip stitch in each chain across (using back loops for texture).
- In following rows, slip stitch in back loop only, adding stitch marker for first stitch to keep track.
- Continue ribbing until cuff reaches intended length.
- Join sleeve ribbing ends with slip stitch seam.
- Repeat for second sleeve.
Step 10: Bottom Ribbing
- Attach yarn at bottom edge of cardigan.
- Chain desired length plus 1 (e.g., 15 chains).
- Single crochet rib similar to sleeves: back loop only single crochets in alternating rows, slip stitches as base.
- Work ribbing around entire bottom edge of cardigan.
Step 11: Center Ribbing and Buttonholes
- Attach yarn center front edge.
- Chain 8 plus 1 turning chain (can adjust for wider or narrower rib).
- Single crochet rib across length.
- Add buttonholes by chaining 2 or 3 (depending on button size) and skipping corresponding stitches, continuing rib pattern around holes.
- Space buttonholes evenly along front edge.
Step 12: Finishing Touches
- Sew buttons opposite buttonholes on other front panel.
- Weave in all loose ends.
- Block cardigan lightly to even out stitches.
Tutor’s Suggestions
- Always measure as you go, especially before shaping/decreases.
- Use stitch markers to keep track of decreases and join points.
- If yarn is slippery, sew seams carefully or use a whip stitch instead of single crochet joining.
- Customize length and sleeve width for perfect fit!
Tip:
To maintain edge stability, avoid pulling ribbing stitches too tight; keeping tension even will help cardigan drape beautifully.
Conclusion
This Anry Cardigan combines elegance and comfort through V-stitch clusters and smart shaping. With careful measurement and stitch work, you’ll create a flattering, timeless piece perfect for your wardrobe or gifting.
Leave a Reply