
Bring playful fun with this Crochet Pig Tiger Keychain Pattern packed with quirky details colorful design and a tiny accessory that sparks smiles everywhere.
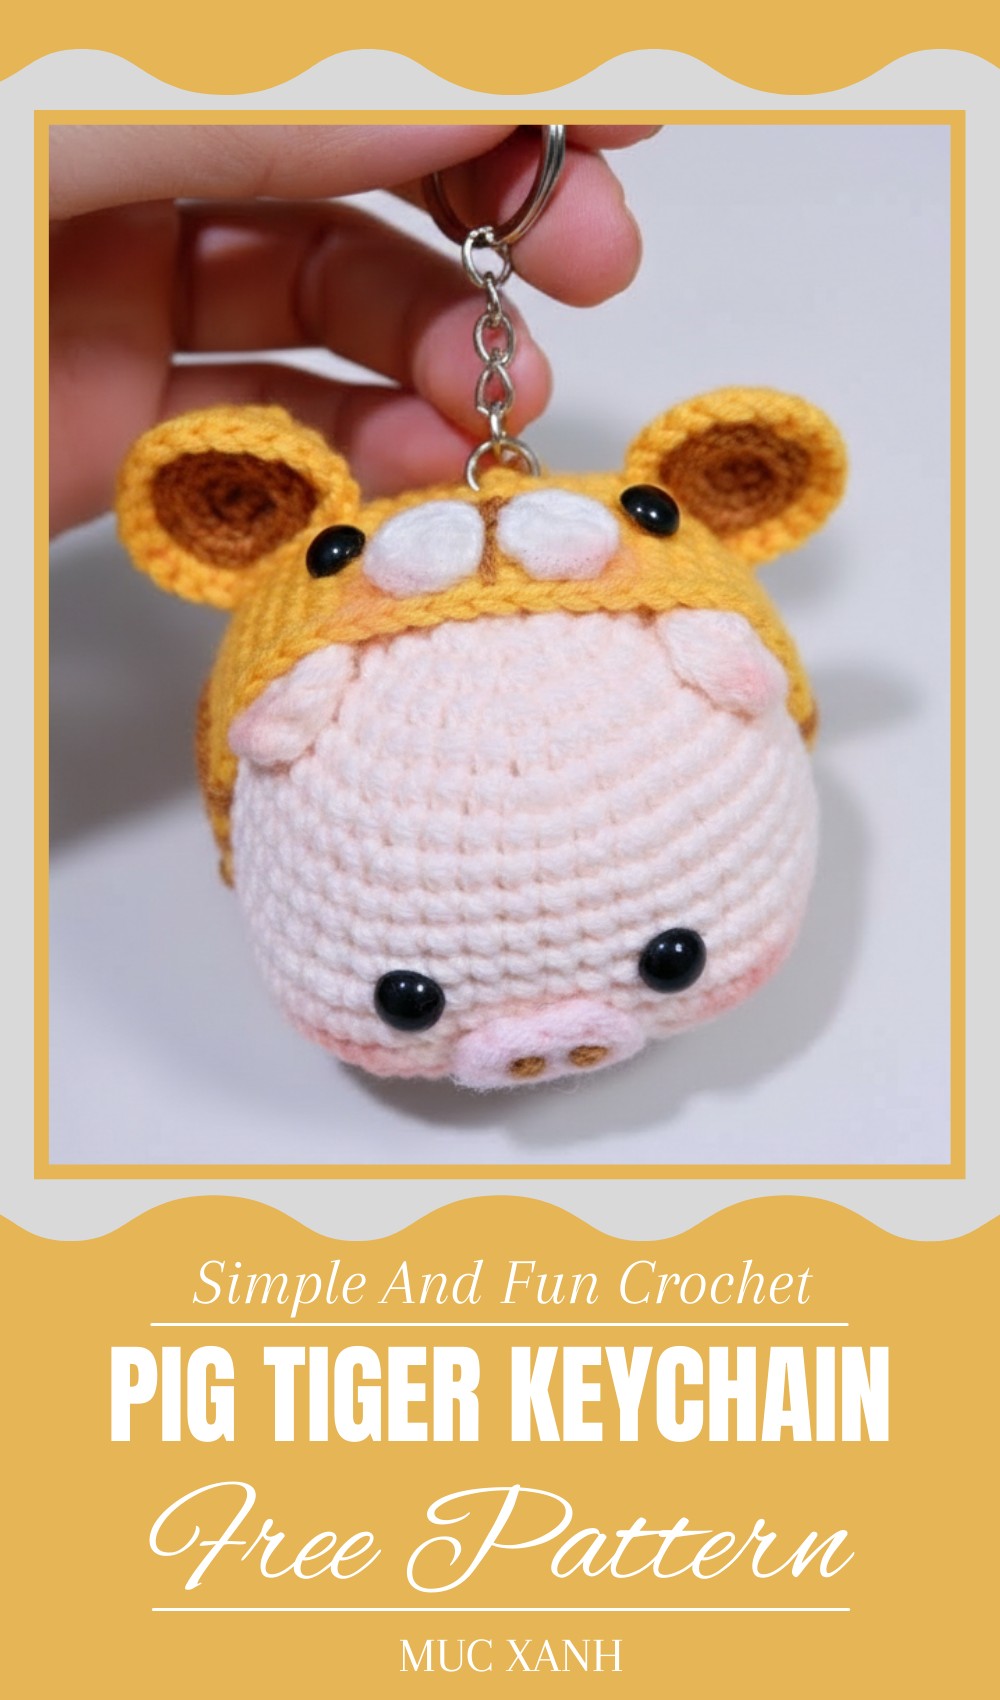
Crochet Pig Tiger Keychain Pattern That Fits Any Style or Bag
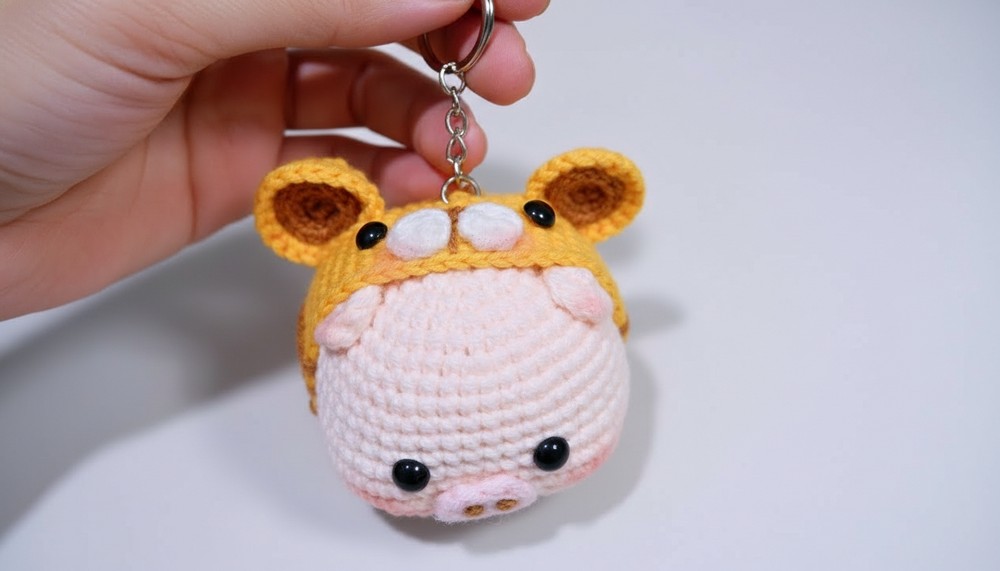
Adorable accessories can be so rewarding, especially when they turn out this cute! Imagine holding a tiny pig dressed in a tiger hat—it’s playful, charming, and full of personality. This keychain pattern combines simple shapes and bright colors to make a fun little companion you can carry everywhere. Its compact size makes it easy to complete quickly, perfect for beginners eager to try something new without feeling overwhelmed.
The pig’s rounded features paired with the tiger stripes add a unique, eye-catching twist that makes it stand out from everyday keychains. Not only does it look delightful, but it’s also practical: attach it to your keys, backpack, or even gift it to friends for a special handmade touch. The pattern helps build basic crochet skills like magic rings, increases, and decreases, all while keeping the process enjoyable and approachable. A playful project that brings creativity to your fingertips!
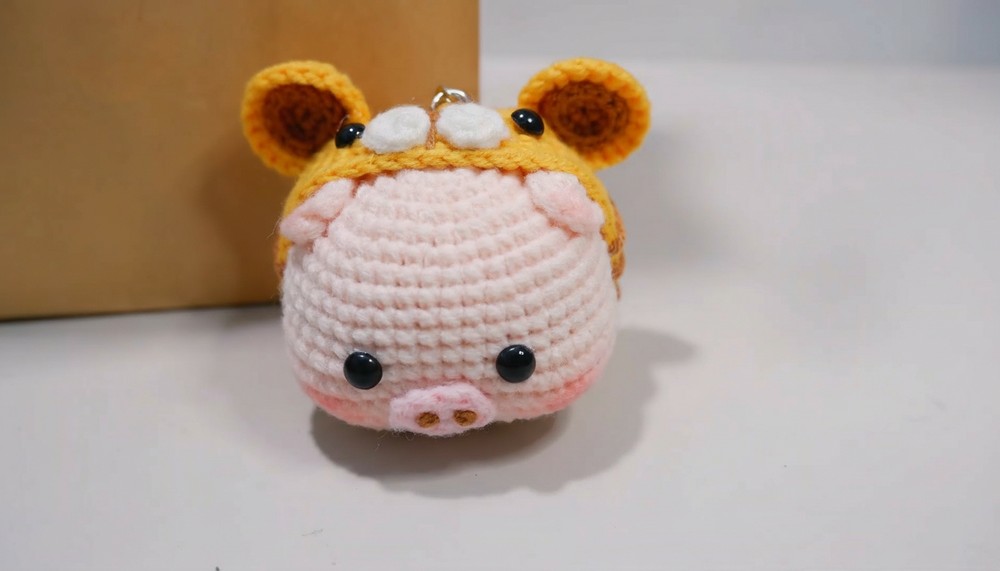
Crochet Piglet with Nose Ring – Step by Step Pattern
Special Features
- Includes magic ring technique to start rounds.
- Detailed increase and decrease instructions for shaping.
- Separate pieces for pig nose, ears, and tiger-themed accessories.
- Use of color changes and sewing for detailing.
- Plastic eyes for a professional touch.
- Incorporation of stuffing and finishing techniques for a polished amigurumi.
Skill Level
Intermediate
Requires knowledge of:
- Magic ring
- Single crochet (sc)
- Increases and decreases
- Slip stitches
- Sewing parts together
- Color changes
Materials Needed
- Cream, brown, yellow, and dark brown yarn
- Crochet hook (size suitable for yarn)
- Plastic safety eyes (6mm and 8mm)
- Stuffing cotton
- Sewing needle and thread
- Glue (optional for securing parts)
Step by Step Pattern
Head
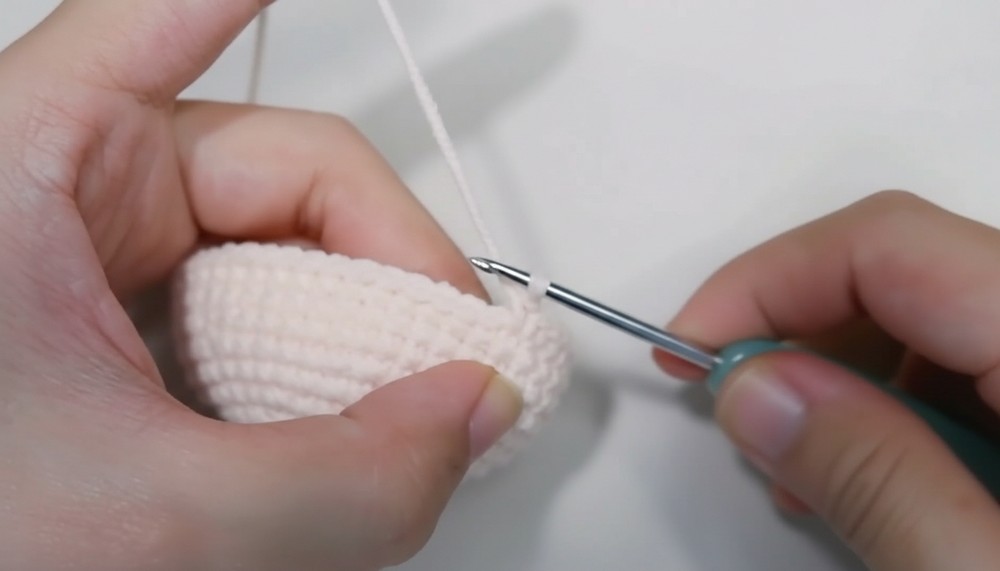
- Round 1: Create a magic ring, crochet 7 single crochet (sc) into the ring. Close with a slip stitch.
- Round 2: 7 increases (2 sc in each stitch) = 14 stitches.
- Round 3: (1 sc, increase) repeat around = 21 stitches.
- Round 4: (1 sc, 1 sc, increase) repeat = 28 stitches.
- Round 5: (3 sc, increase) repeat = 35 stitches.
- Round 6: (2 sc, increase) repeat = 42 stitches.
- Round 7: Crochet 42 sc (no increases or decreases).
- Round 8: (5 sc, increase) repeat = 49 stitches.
- Rounds 9-11: Crochet 49 sc each round.
- Round 12: (15 sc, 6 increases, 15 sc) = 61 stitches.
- Rounds 13-15: Crochet 61 sc each round.
- Round 16: (15 sc, 6 decreases, 15 sc) = 49 stitches.
- Round 17: (5 sc, decrease) repeat = 42 stitches.
- Round 18: (2 sc, decrease) repeat = 35 stitches.
- Round 19: (3 sc, decrease) repeat = 28 stitches.
- Round 20: (1 sc, decrease) repeat = 21 stitches.
- Stuff the head lightly with cotton.
- Round 21: (1 sc, decrease) repeat = 15 stitches.
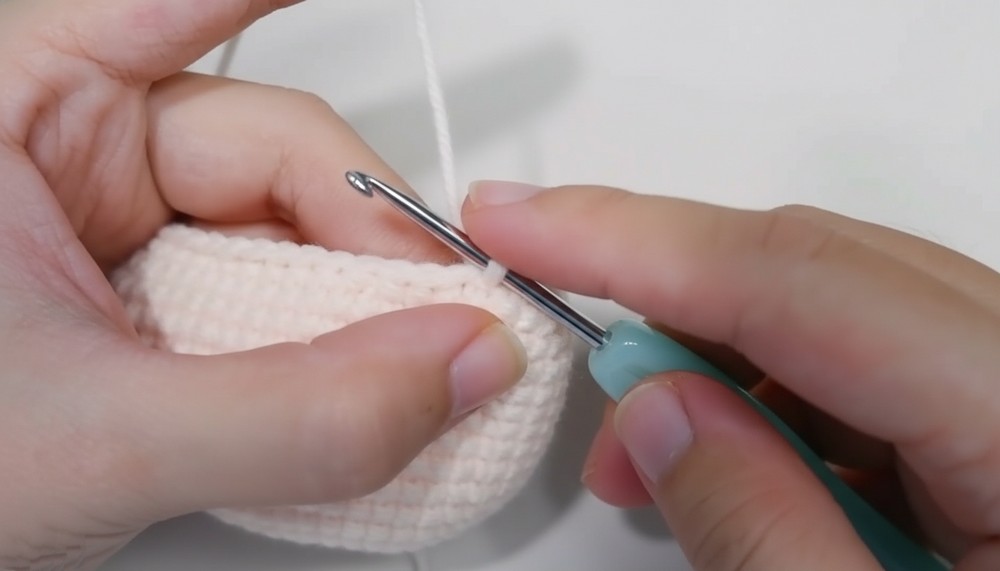
- Round 22: 7 decreases, finish off leaving tail for sewing.
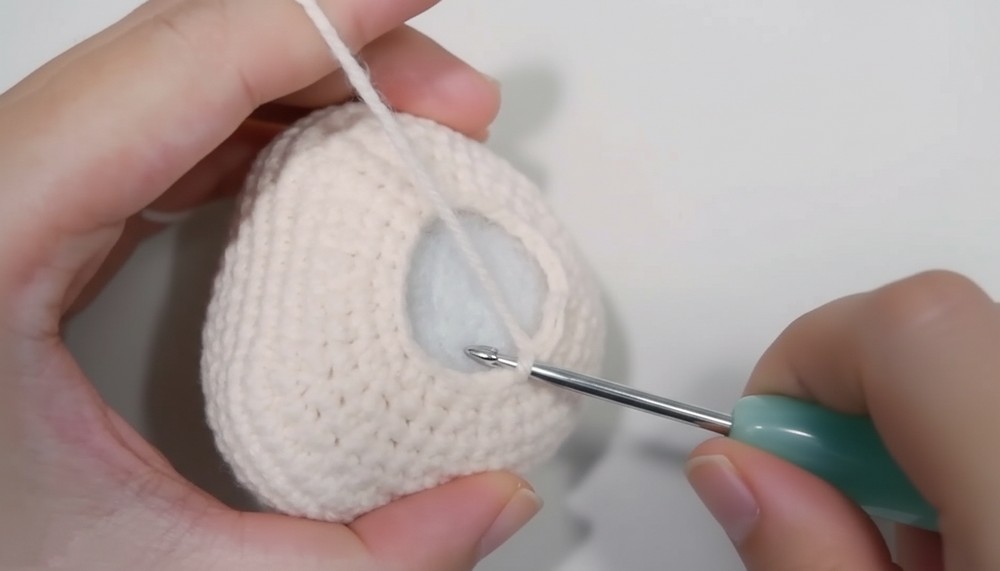
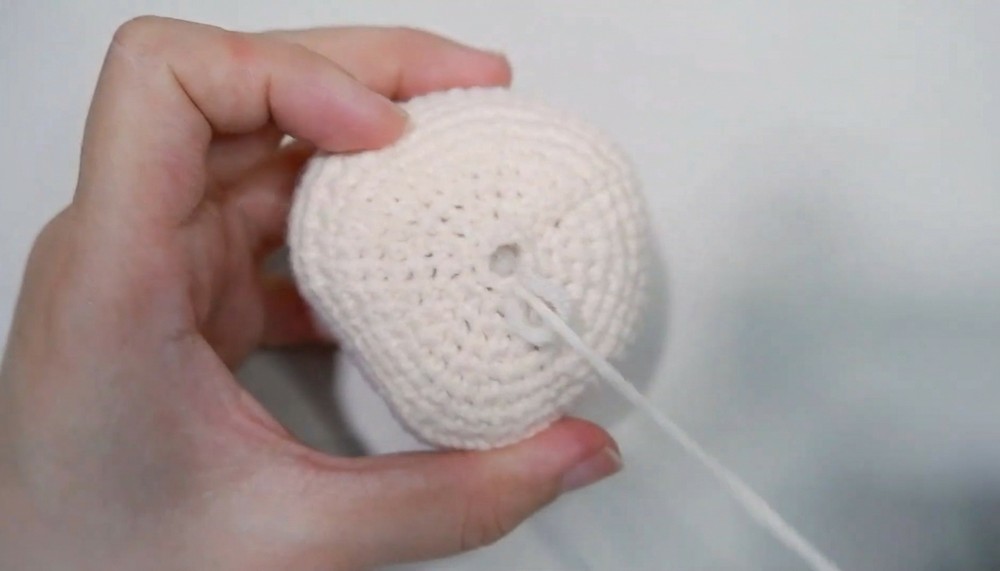
- Sew the hole closed, hide yarn ends inside.
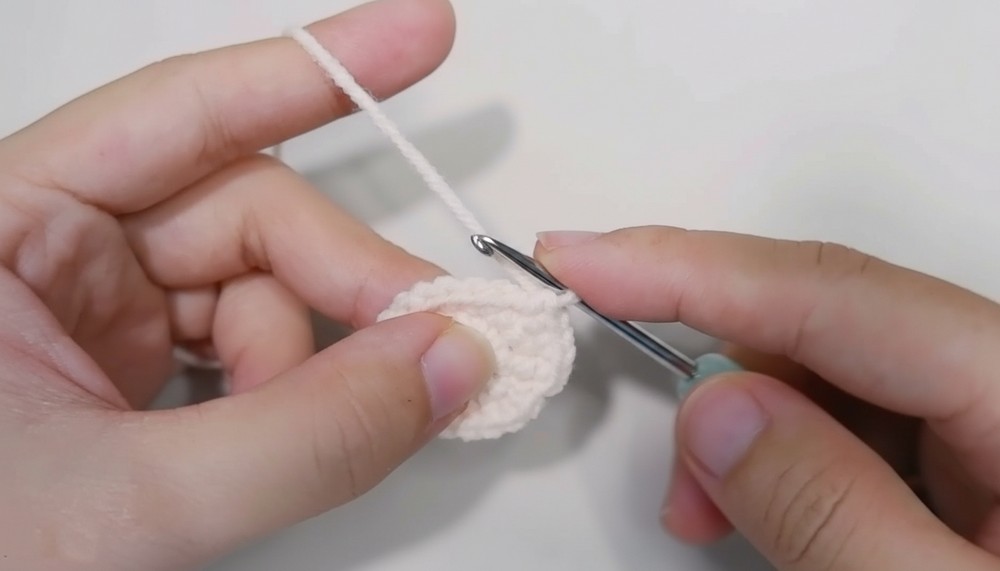
Pig Nose
- Chain 4.
- At second chain from hook, 2 sc.
- Continue chain, 3 sc together.
- Crochet around the sides and finish with 2 sc together on the other side.
- Sew round to form a nose shape.
- Embroider black dots with brown yarn for nostrils.
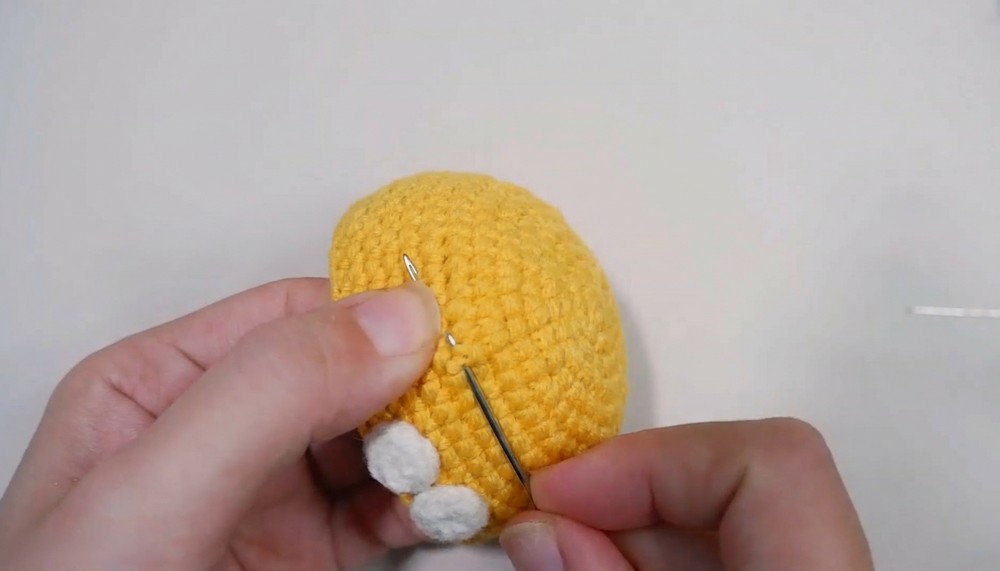
Pig Ears (Make 2)
- Create a magic ring.
- Crochet 6 sc inside ring.
- For second round, 1 sc, 4 increases.
- Finish off and leave long tail for sewing.
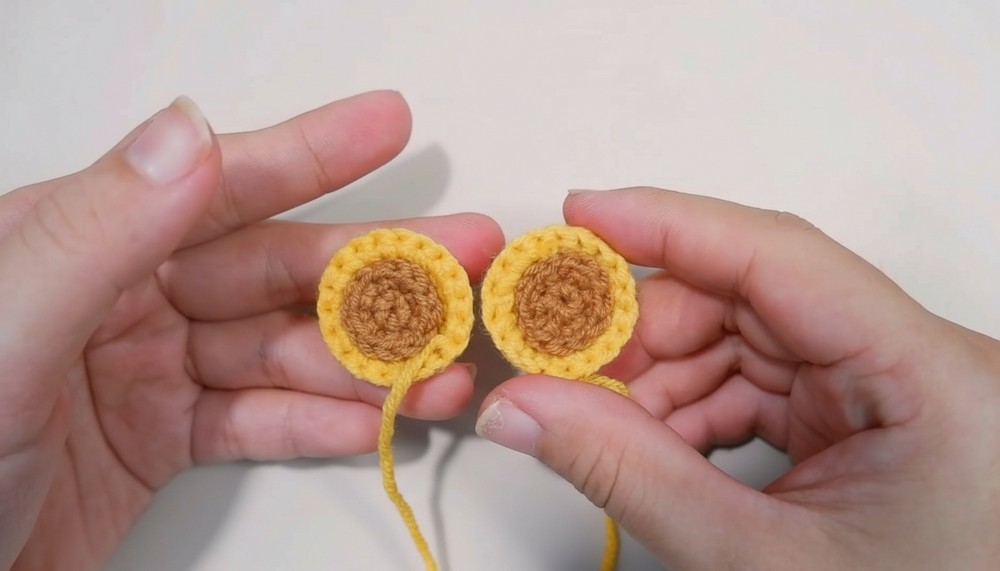
Tiger Hat
- Follow pattern above (as per screen or instructions).
- Crochet similarly for 14 rows, finish off, hide yarn.
Tiger Nose & Ears
- Crochet tiger nose and ears as per pattern.
- Use dark brown wool for inside ears.
- Attach pieces with glue or by sewing.
- Add detailing stitches with brown yarn.
Assembly
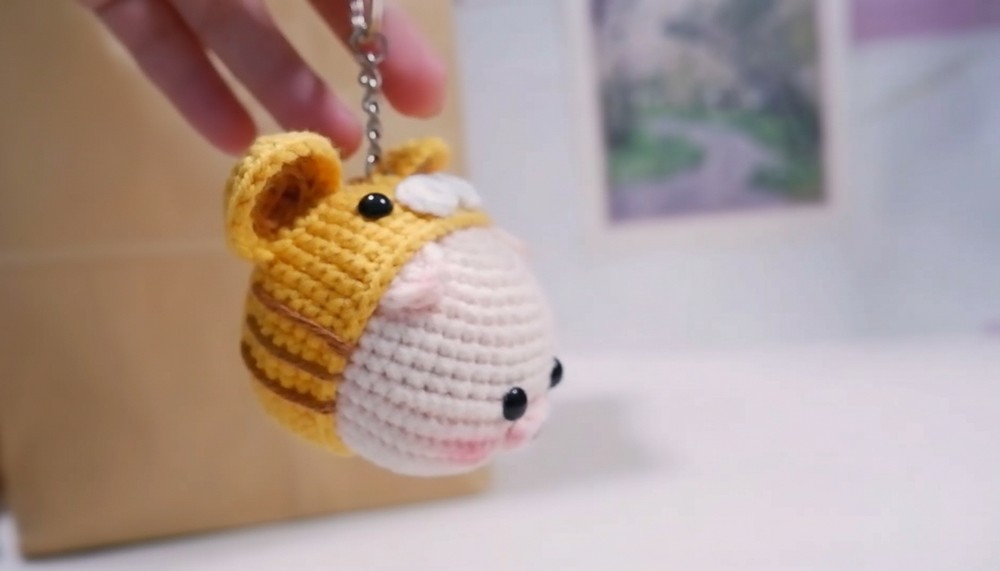
- Attach eyes (6mm for pig head, 8mm for tiger hat).
- Sew pig ears on both sides.
- Attach tiger hat onto head.
- Position tiger nose and sew/glue.
- Sew pig nose onto head.
- Sew arms and tiger paws with a 10cm gap between.
- Add finishing touches with glue and blush if desired.
Tutor’s Suggestions
- Keep consistent stitch tension to ensure a neat appearance.
- Stuff parts firmly but not overly full to maintain shape.
- Use a stitch marker to track rounds.
- Use safety eyes for durability, especially if the toy is for children.
- Use glue to secure small parts that may easily detach.
Uses
- Decorative stuffed animal
- Gift for children or crochet enthusiasts
- Part of a collection or themed nursery decor
- Stress relief toy through crochet therapy
Tip
When working with small parts like the nose and ears, leave a longer tail on your yarn for sewing to avoid the hassle of attaching separate strands later. This makes assembly smoother and prevents unraveling.
Conclusion
This project, the crochet piglet with nose ring and tiger-themed accessories, is an engaging intermediate-level amigurumi that beautifully combines shaping, sewing, and creativity. Follow these detailed steps to create a charming handmade piglet that can be treasured or gifted.
Leave a Reply