
Snap up this cozy crochet strapless top pattern that brings breezy comfort and stylish flair to your warm-weather wardrobe.
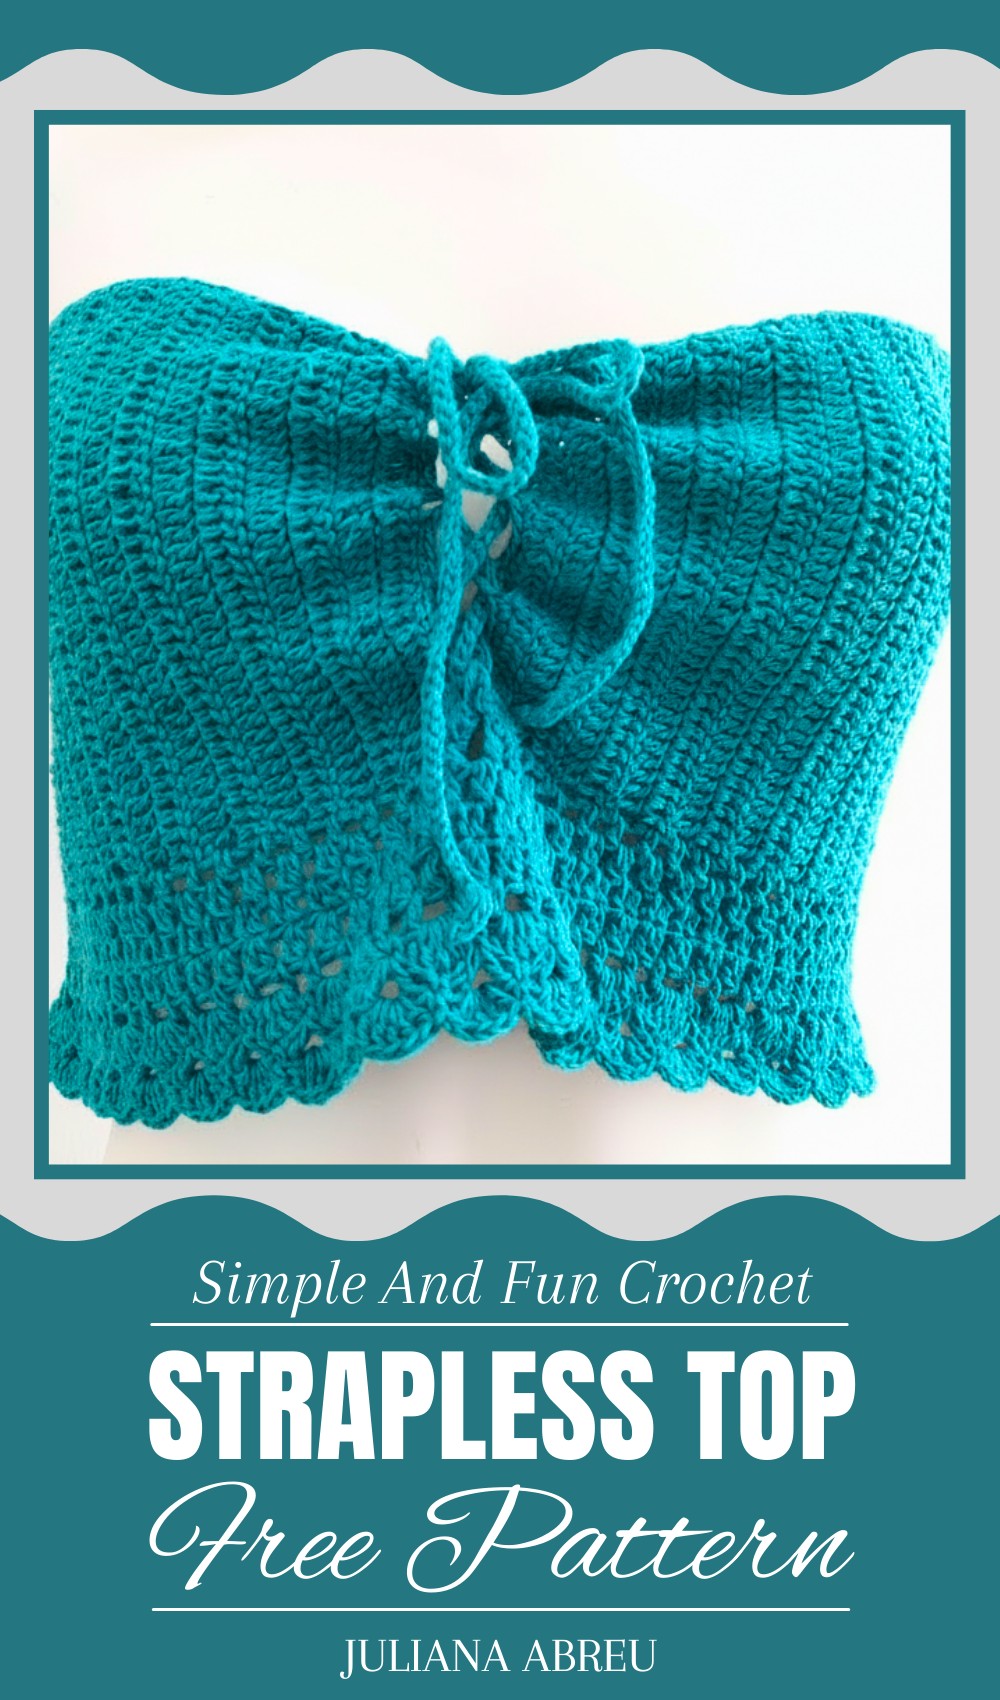
Vibrant Crochet Strapless Top Pattern to Rock This Season
A handmade strapless top offers a light and comfortable fit, ideal for warm weather and special moments. Its design gently hugs the body without straps, creating a clean and graceful look that highlights the shoulders with elegance. Crocheted from soft yarn, it can come in various colors—from bright and lively to soft and subtle tones—matching any personal style.
The delicate texture of the fabric not only looks attractive but feels gentle on the skin. This versatile top suits casual outings, beach parties, festivals, and relaxed gatherings, adding a touch of charm and confidence to any outfit. Easy to wear and style, it pairs beautifully with skirts, shorts, or jeans, making it a perfect addition to any wardrobe. This strapless piece brings both comfort and fashion together, becoming a favorite for many seasons ahead.
Crochet Strapless Top Pattern – Step-by-Step Detailed
Special Features
- Adjustable bust and torso circumference
- Uses primarily chain stitches, double crochet (dc), and single crochet (sc)
- Option to add an elastic band (Lastex) for extra hold
- Shoelace closure for styling and fit
- Lightweight thread and small hook size for a fine, elegant fabric
- Suitable for warm climates or as a layering piece
Difficulty Level
Beginner to Intermediate — basic crochet stitches are used, with easy shaping and finishing techniques. Perfect for those comfortable with chains, double crochet, and single crochet stitches.
Materials Needed
- Fine crochet thread (Kátia used “Esmeralda” brand)
- Crochet hook size 2 mm (or preferred size to match gauge)
- Optional: elastic band (Lastex)
- Scissors, measuring tape
Step-by-Step Instructions
1. Foundation Chain for Bust Width
- Measure your bust width from one side of the bust to the other (high point to high point).
- Create a foundation chain of 15 cm length (or your bust measurement in chain stitches – e.g., 15 cm = approx. 15 chains).
- Tip: Begin with a chain three stitches longer to substitute for the first double crochet.
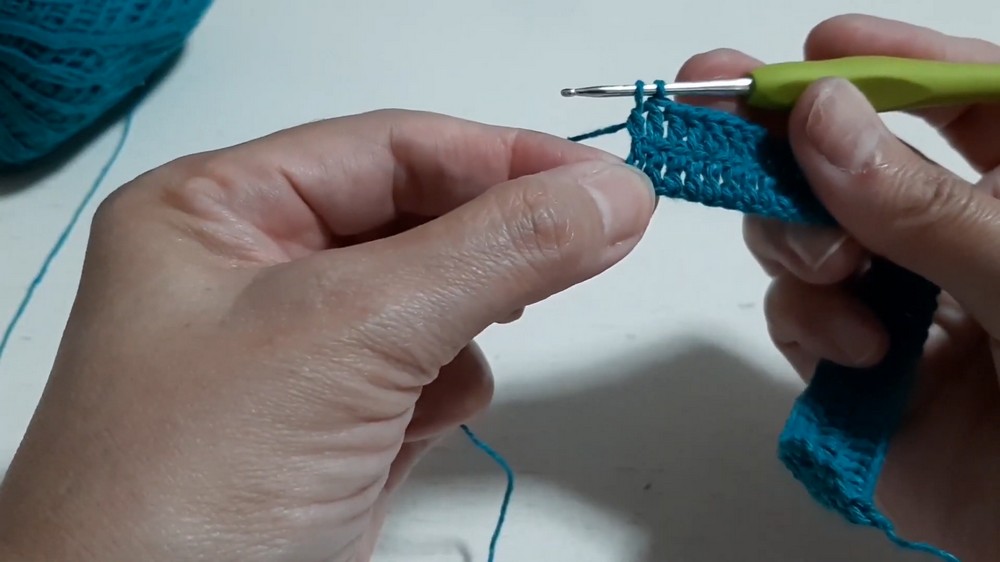
2. Row 1 – Double Crochet Base
- Starting from the 5th chain from the hook, make 1 double crochet (dc) in each chain stitch right across the chain.
- Turn your work.
3. Row 2 and Onward – Building the Bust Width
- Chain 3 (counts as first double crochet).
- Make 1 double crochet (dc) in each stitch from the previous row.
- Repeat these double crochet rows until the width matches your bust measurement comfortably.
- Turn the work after each row.
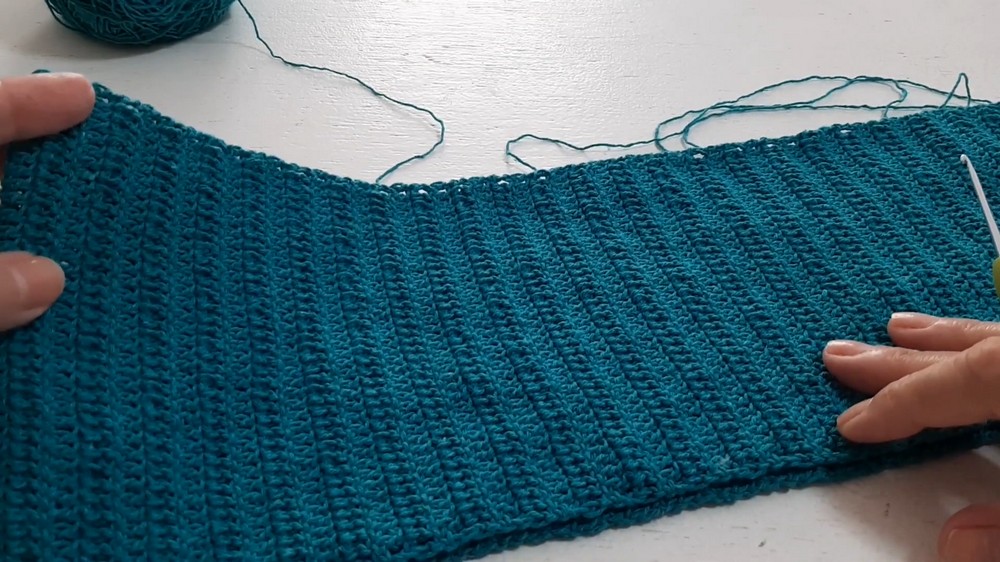
4. Complete Bust Width and Switch to Torso Length
- Continue working rows of double crochet until the horizontal width matches the bust circumference. Kátia reached 84 cm for her torso circumference.
- Remember, you can adjust the number of rows for desired length.
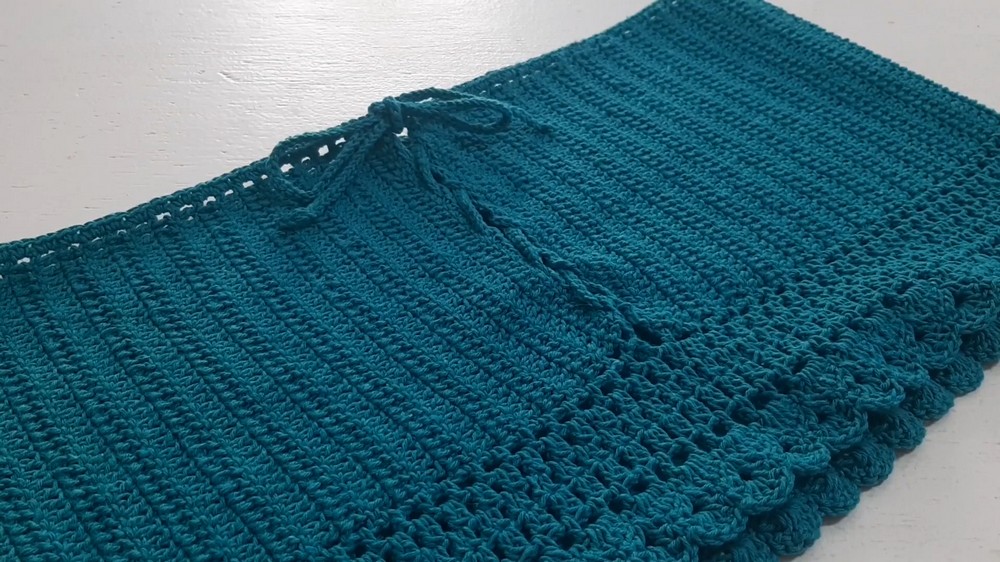
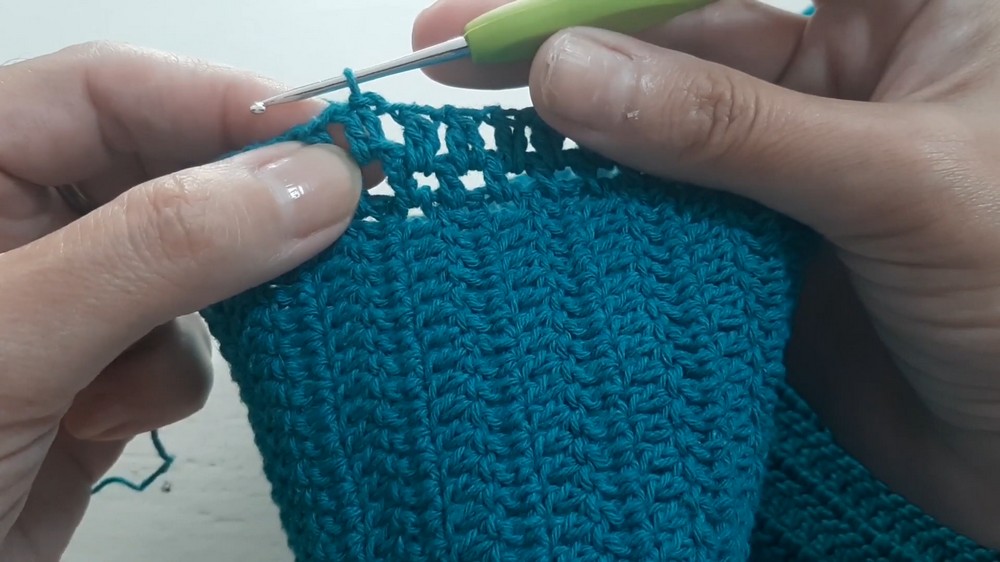
5. Begin Neckline and Edging with Single Crochets and Chains
- For a neat neckline and added structure, start a row of single crochet (sc) stitches with chain 3 to replace the first stitch.
- Insert 5 single crochets alternating with 3 chain stitches across the width—this forms small open spaces (mesh effect).
- Repeat this row to create a delicate openwork edging.
6. Distribute Single Crochet Stitches Evenly
- To maintain a balanced design, adjust the number of single crochets and chain spaces so you end each row evenly (e.g., 6 sets of 5 sc stitches).
- Skip or add chain stitches where necessary to keep symmetry.
7. Add Elastic Band Option (If Desired)
- You can add a Lastex elastic band along the top inside edge by sewing or crocheting it in place to ensure the top stays firmly in place.
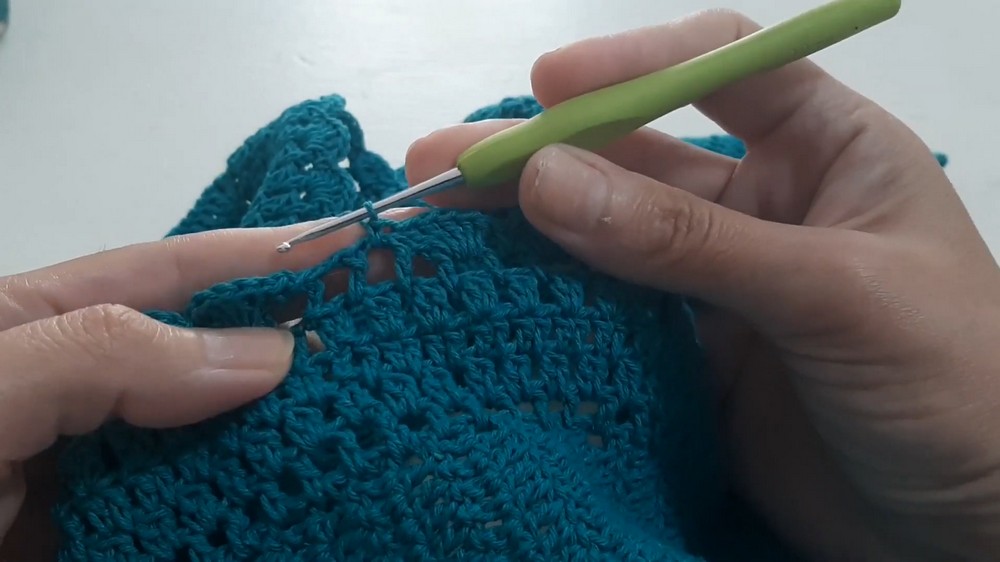
8. Continue with Rows of Single Crochet and Chain Mesh
- Work alternating rows of single crochet stitches and chain spaces until you reach the desired height of the top. This creates a soft texture and breathable fabric.
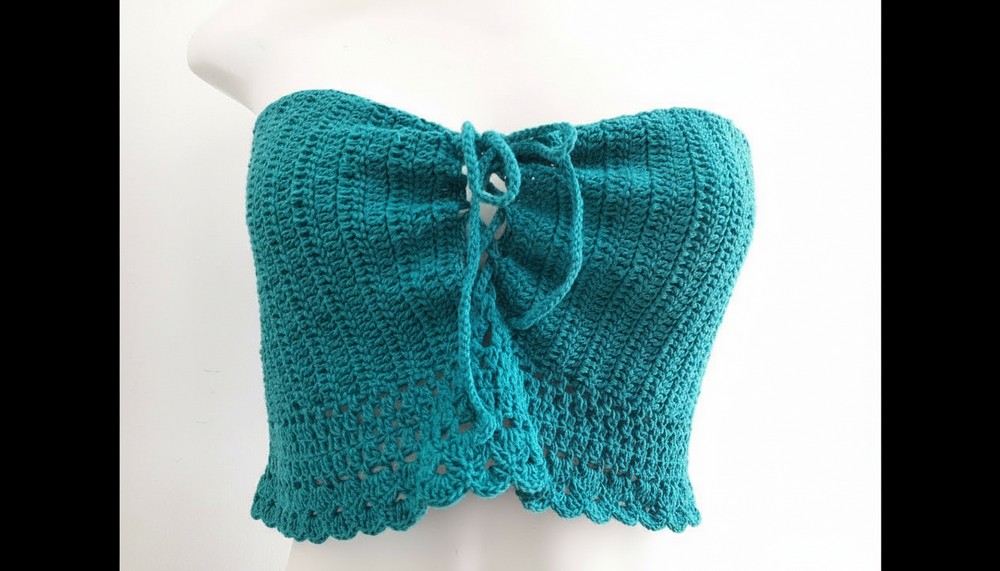
9. Form Shoelace Tie
- Create a long chain approximately 80 cm in length as a shoelace tie.
- Using slip stitches and single crochets alternating with chains, make a thin but sturdy tie.
- Use the shoelace to close the top at the front or back by threading it through spaces in the final row.

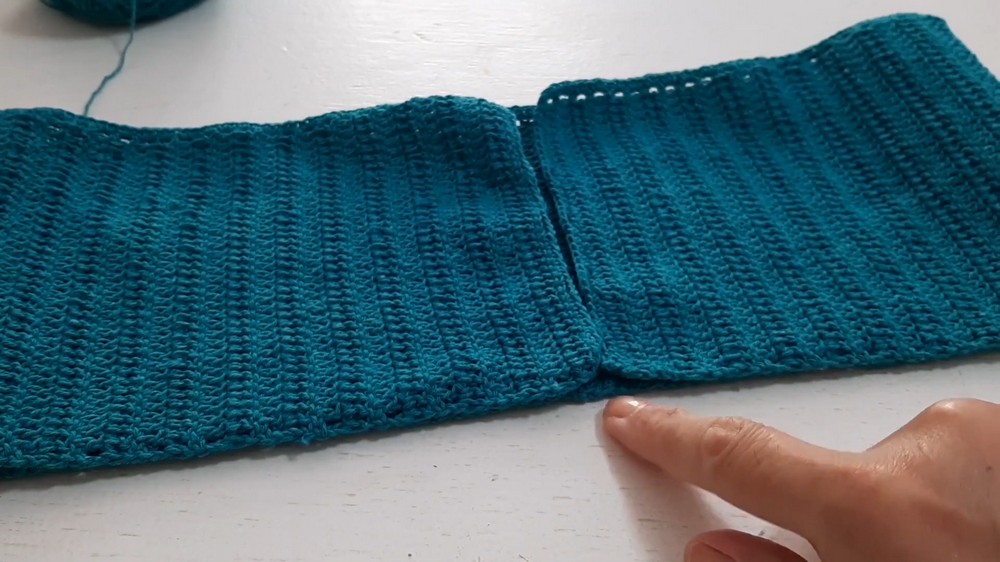
10. Assembly and Final Touches
- Join the sides by slip stitching or sewing edges together with a neat seam.
- Be sure to match stitches evenly on both sides for a clean finish.
- Finish off by weaving in loose ends.
Tutor’s Suggestions
- Use a finer crochet hook to achieve a delicate drape.
- To tailor the top perfectly, try it on as you work to check fit and adjust chain counts or row numbers.
- If you prefer more support, add the Lastex elastic for security.
- Customize your top with colored threads or beads for extra flair.
Uses
- Ideal summer top or layering piece
- Beachwear or casual outings
- Versatile style suits various body types
Tip for Success
Keep tension consistent to ensure an even fabric texture and easy size adjustment. Blocking your finished top lightly can help the fabric lie flat and neat.
Conclusion
This crochet strapless top is a fun and versatile project that yields a comfortable and chic garment for everyday wear. Its easy adjustments and simple stitch pattern make it a fitting choice for crocheters eager to create a fashionable piece with personality.
Leave a Reply