
Bring joy to your keys or bags with this crochet heart keychain pattern that’s perfect for beginners and a thoughtful gift for loved ones.
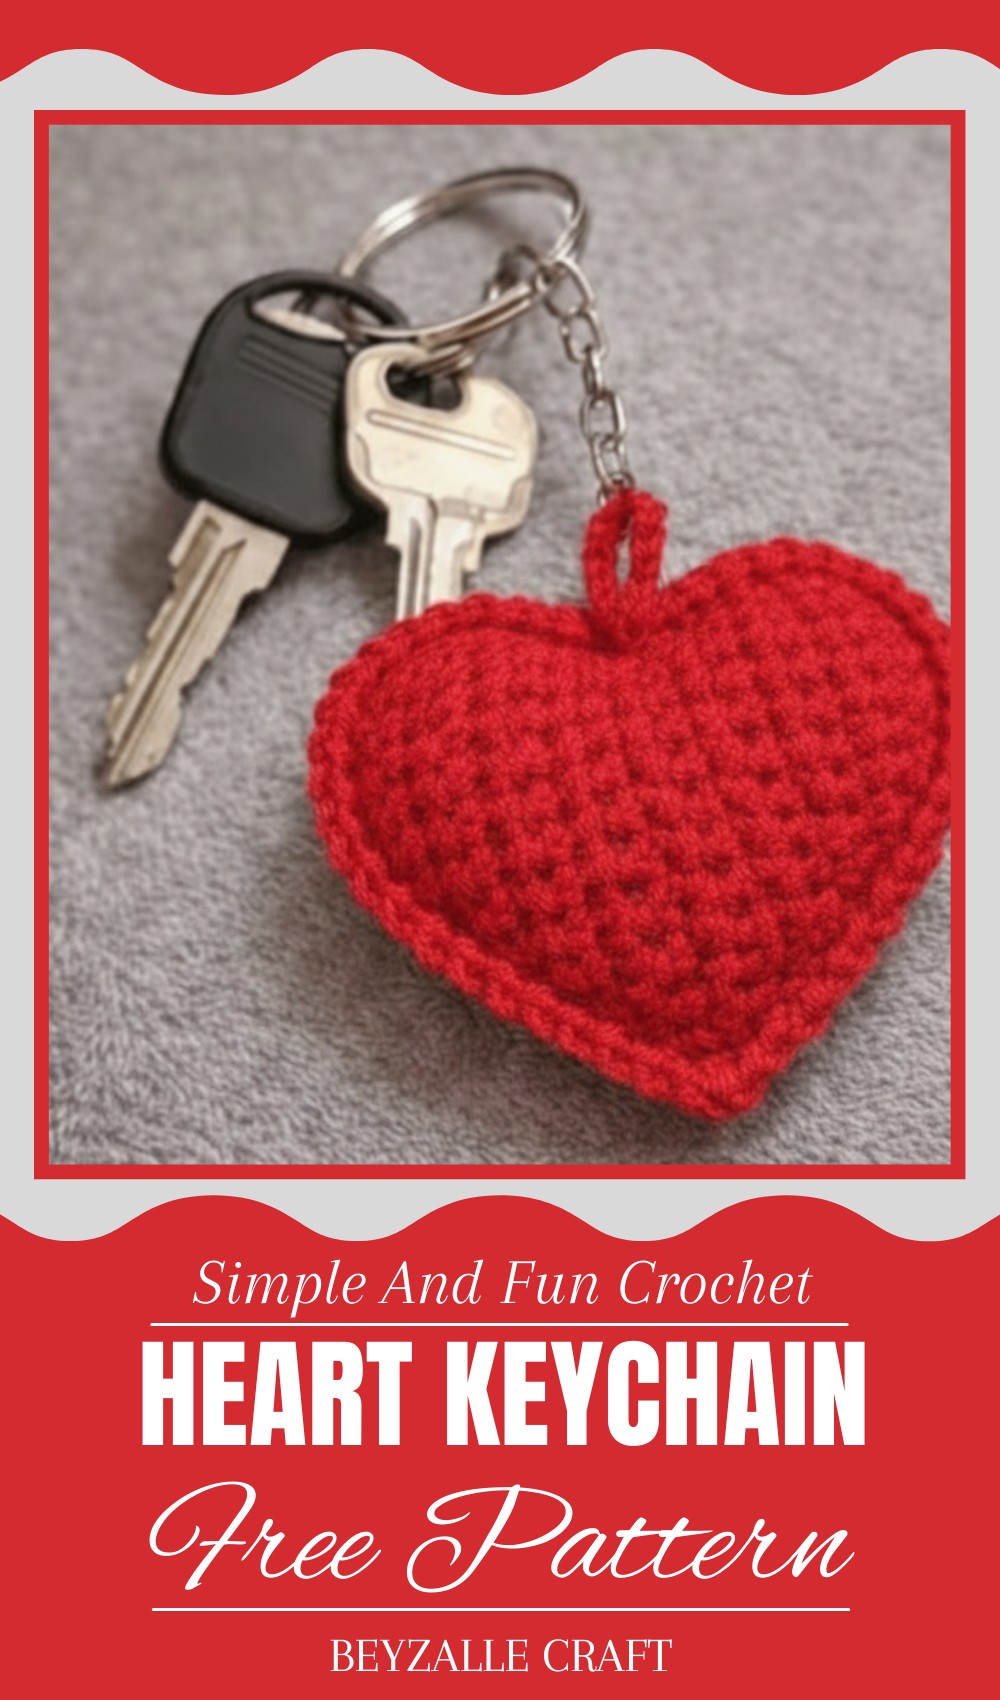
Carry a little piece of love with you wherever you go. A crochet heart keychain adds charm and personality to everyday items like keys, bags, or even thoughtful gifts for friends and family. This lovely heart-shaped piece are not only beautiful but incredibly versatile—you can attach them to purses, use them as zipper pulls, or even share them as heartfelt tokens for special moments. Made with simple and delicate stitch pattern, they can be personalized in any color to match different styles or occasions.
Adorable Crochet Heart Keychain Pattern with Step-by-Step Guide
Perfect for beginners, this small project is easy to work on and a great way to make use of leftover yarn. Whether gifted for holidays, birthdays, or just to brighten someone’s day, they add a touch of softness and warmth that everyone will treasure. This heart keychain are a sweet and meaningful addition to everyday life, full of love and charm with every detail.
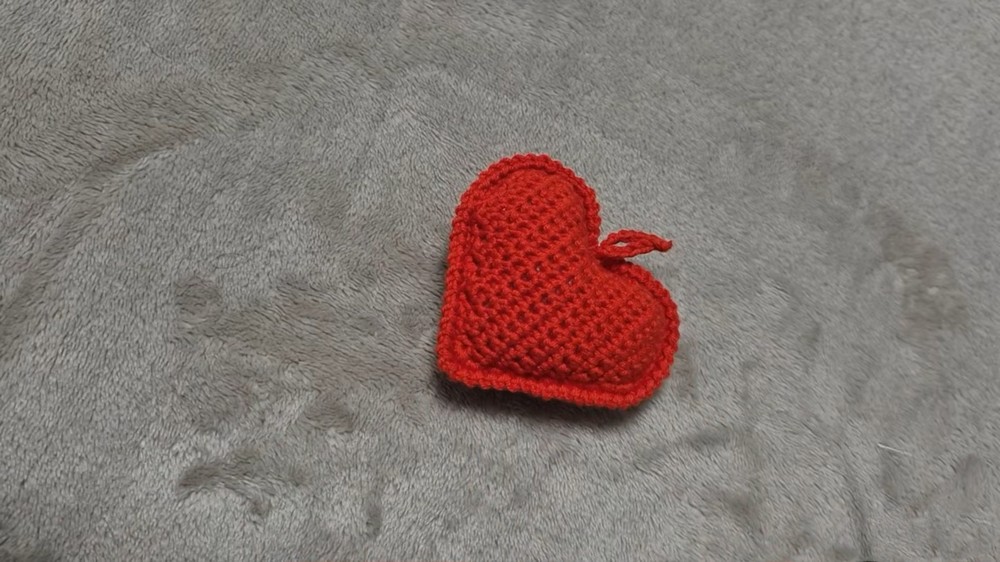
Materials Needed
- Yarn Type: Medium-weight cotton or acrylic yarn (size 4 recommended)
- Suggested colors: Red (or any preferred shade for the heart)
- Hook Size:
- US Size E-4 (3.5mm)
- Extras:
- Fiber/stuffing
- Tapestry needle for sewing
- Scissors
- Optional: Keyring hardware for attachment
Skill Level
Intermediate
Abbreviations Used (US Terminology)
- Ch – Chain
- SC – Single Crochet
- SC Inc – Single Crochet Increase (2 stitches in one stitch)
- SC Dec – Single Crochet Decrease (combine two stitches into one)
- Sl St – Slip Stitch
Special Notes
- The heart is worked in rows, using chains to start and turn after each row.
- Both sides of the heart are made identically and joined later with single crochet around the edges.
- Pay close attention to the increases and decreases to maintain the heart’s shape.
- Stuff the heart lightly to promote a neat and even shape.
Pattern Instructions
Part 1: Heart Panels
(Make 2 identical panels)
Step 1: Base Foundation
- Ch 6.
- Start in the 2nd chain from the hook:
- Work 2 SC in the same chain.
- Work 1 SC into each of the next 3 chains.
- In the last chain, work 2 SC. (Row total: 7 SC)

Step 2: Increasing Rows
- Row 2: Ch 1, turn. Work 2 SC in the first stitch. Work 1 SC in each of the next 5 stitches. Work 2 SC in the last stitch. (Row total: 10 SC)
- Row 3: Ch 1, turn. Work 2 SC in the first stitch. Work 1 SC in each of the next 7 stitches. Work 2 SC in the last stitch. (Row total: 12 SC)
- Row 4: Ch 1, turn. Work 1 SC in each stitch across. (Row total: 12 SC)
- Row 5: Ch 1, turn. Work 2 SC in the first stitch. Work 1 SC in each of the next 10 stitches. Work 2 SC in the last stitch. (Row total: 14 SC)

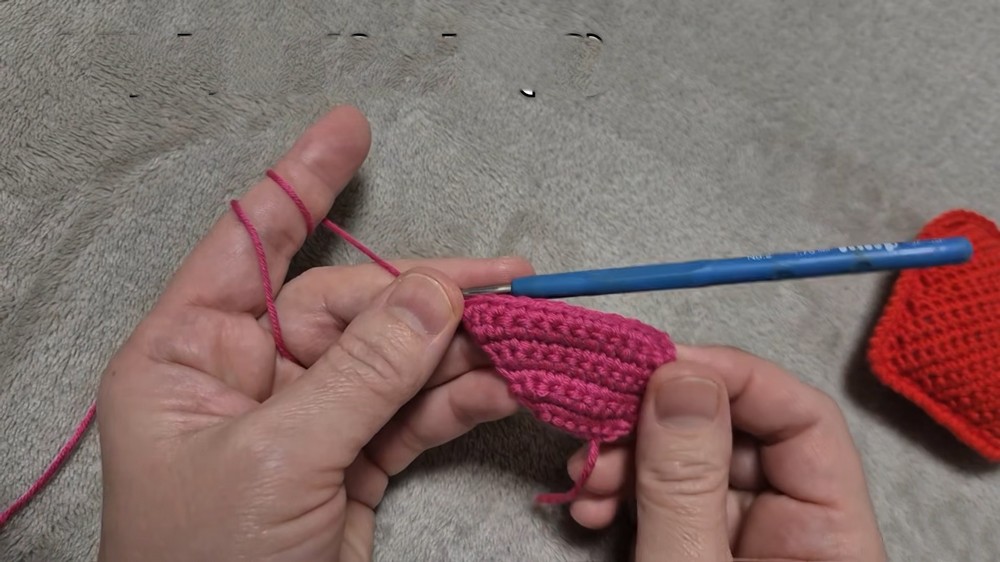
Step 3: Shaping the Heart (Increase and Decrease Rows)
- Row 6: Ch 1, turn. Work SC Dec at the beginning. Work 1 SC in the next 10 stitches. Work SC Inc in the last stitch. (Row total: 14 SC)
- Row 7: Ch 1, turn. Work SC Inc in the first stitch. Work 1 SC in the next 10 stitches. Work SC Dec in the last two stitches. (Row total: 14 SC)
- Row 8-12: Repeat alternating rows of SC Inc at the beginning, and SC Dec at the end, while maintaining 1 SC in the middle. Ensure that the final stitch count in Row 12 remains 14 SC.
- Row 13: Ch 1, turn. Work SC Dec in the first two stitches. Work 1 SC in the next 10 stitches. Work SC Dec in the last two stitches. (Row total: 12 SC)
- Row 14: Ch 1, turn. Work 1 SC in the next 11 stitches. (Row total: 12 SC)
- Row 15 (Top Curve): Ch 1, turn. Work decreases in both the beginning and end of the row, leaving 10 SC.
- Row 16: Work a symmetrical decrease row at the top, reducing the count to 9 SC.
- Row 17: Reduce evenly to 7 SC.
- Row 18: Work across to 5 SC, leaving the tip of the heart complete.

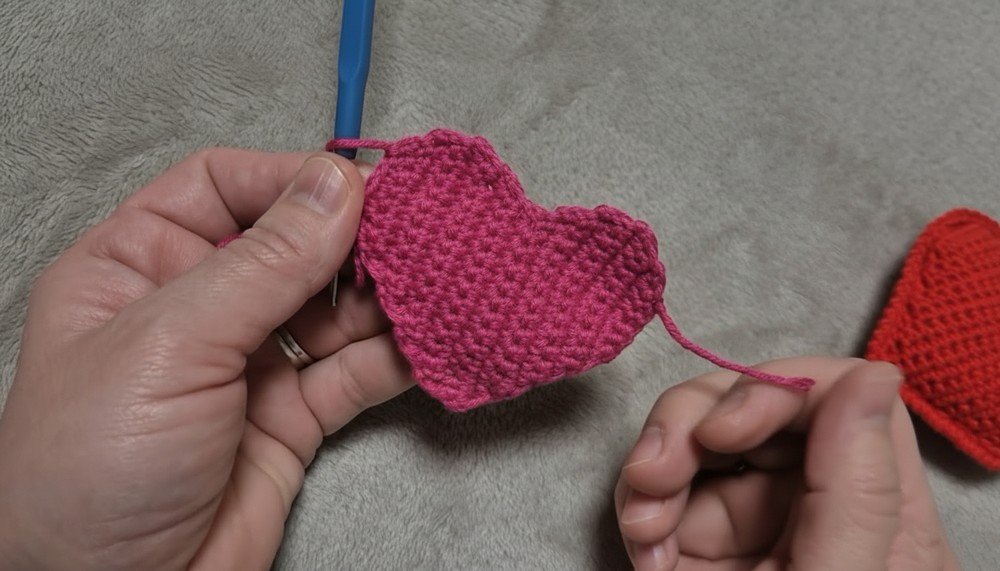
Part 2: Joining the Panels
Step 1: Align the Panels
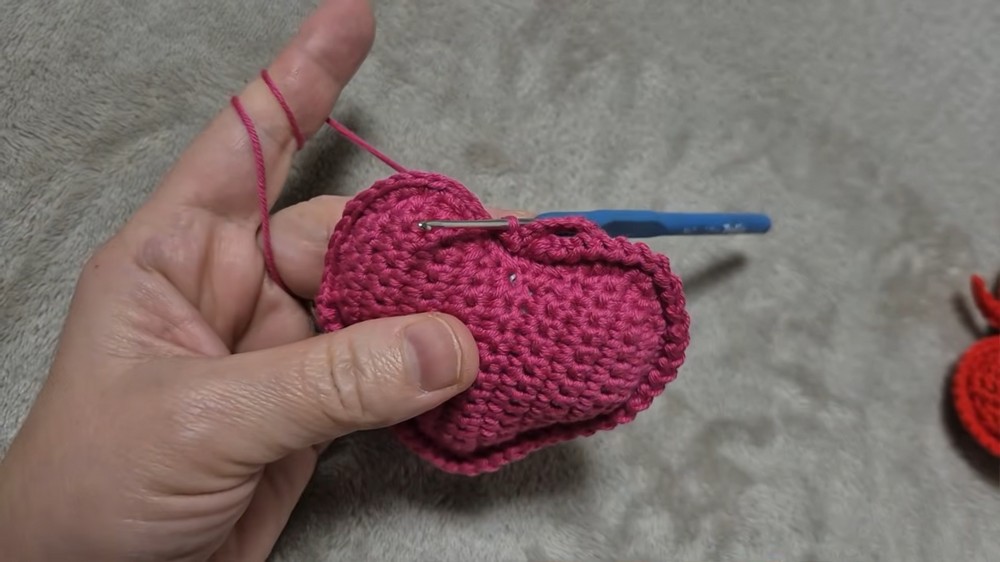
- Place the two completed heart panels on top of each other, with the wrong sides facing inward. Ensure the edges are aligned.
Step 2: Joining with Single Crochet
- Starting at the top left corner of the heart, SC evenly around the edges of the heart. For sharp edges (like the bottom point), add 2 SC into the bottom-most stitch.
Step 3: Stuffing While Joining
- As you work around, stop before closing the heart completely. Insert the fiber-stuffing into the open section of the heart. Do not overstuff.
- After stuffing, close the opening by completing the round of SC. Sl St to the first SC to finish.

Part 3: Adding the Stem Loop
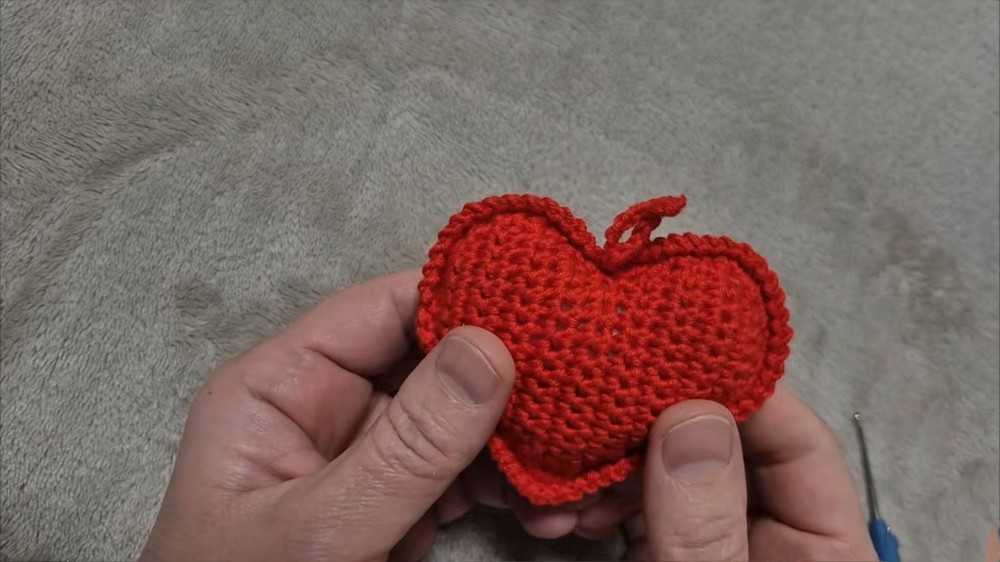
- After completing the SC round for the heart, begin the stem at the tip of the heart using a chain:
- Ch 30 (or preferred chain length for the loop).
- Sl St into the single crochet closest to the chain origin point to form the ring.
- Use a Sl St into each chain stitch, working back to the starting point. This step reinforces the loop’s durability.
- Finish by fastening off, weaving in all remaining loose ends securely, and trimming excess yarn.
Conclusion
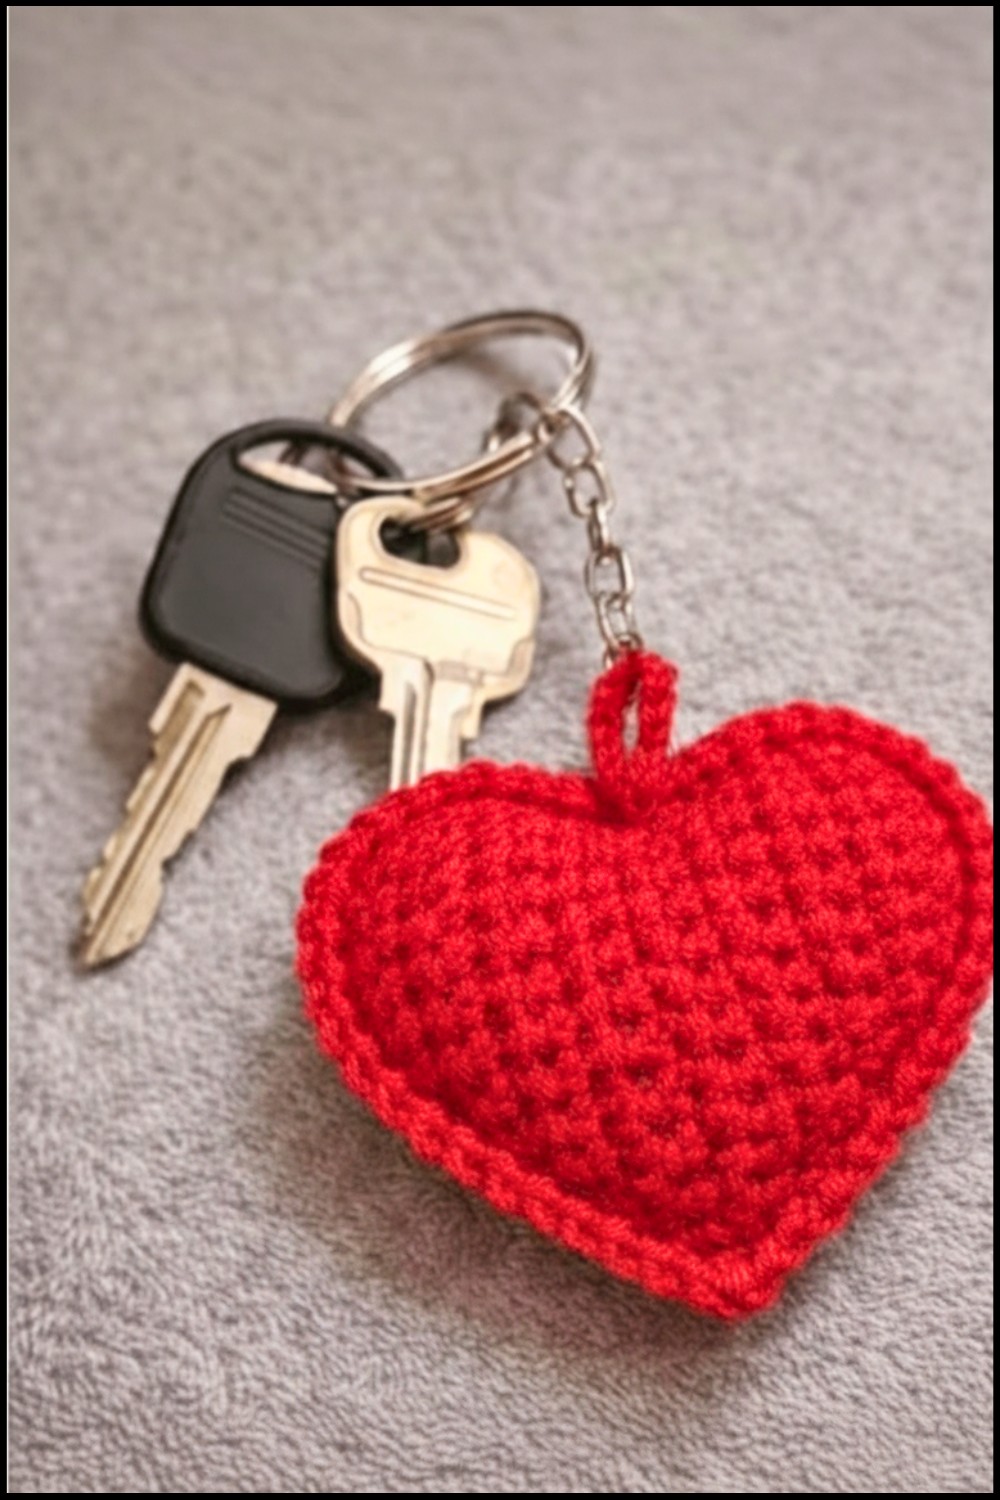
Your adorable heart-shaped keychain is now complete! This versatile heart is perfect as a practical keyring, a bag charm, or even a thoughtful gift. With the added loop, it’s easy to attach to any accessory and bring a pop of handmade charm to your everyday items.
Pattern Corrections / Clarifications
- Ensure you maintain stitch counts at the end of each row to preserve the shaping.
- If the finished heart panels don’t align perfectly, lightly block your work to shape it correctly before joining.
Tips for Success
- Use a lightweight yarn for a delicate and elegant finish, or experiment with chunkier yarn for a textured look.
- Reinforce the loop to avoid wear and tear over time, especially if being used as a keyring.
- Experiment with colors: Use multicolor yarns or alternate between panel colors for a unique design.
Leave a Reply