
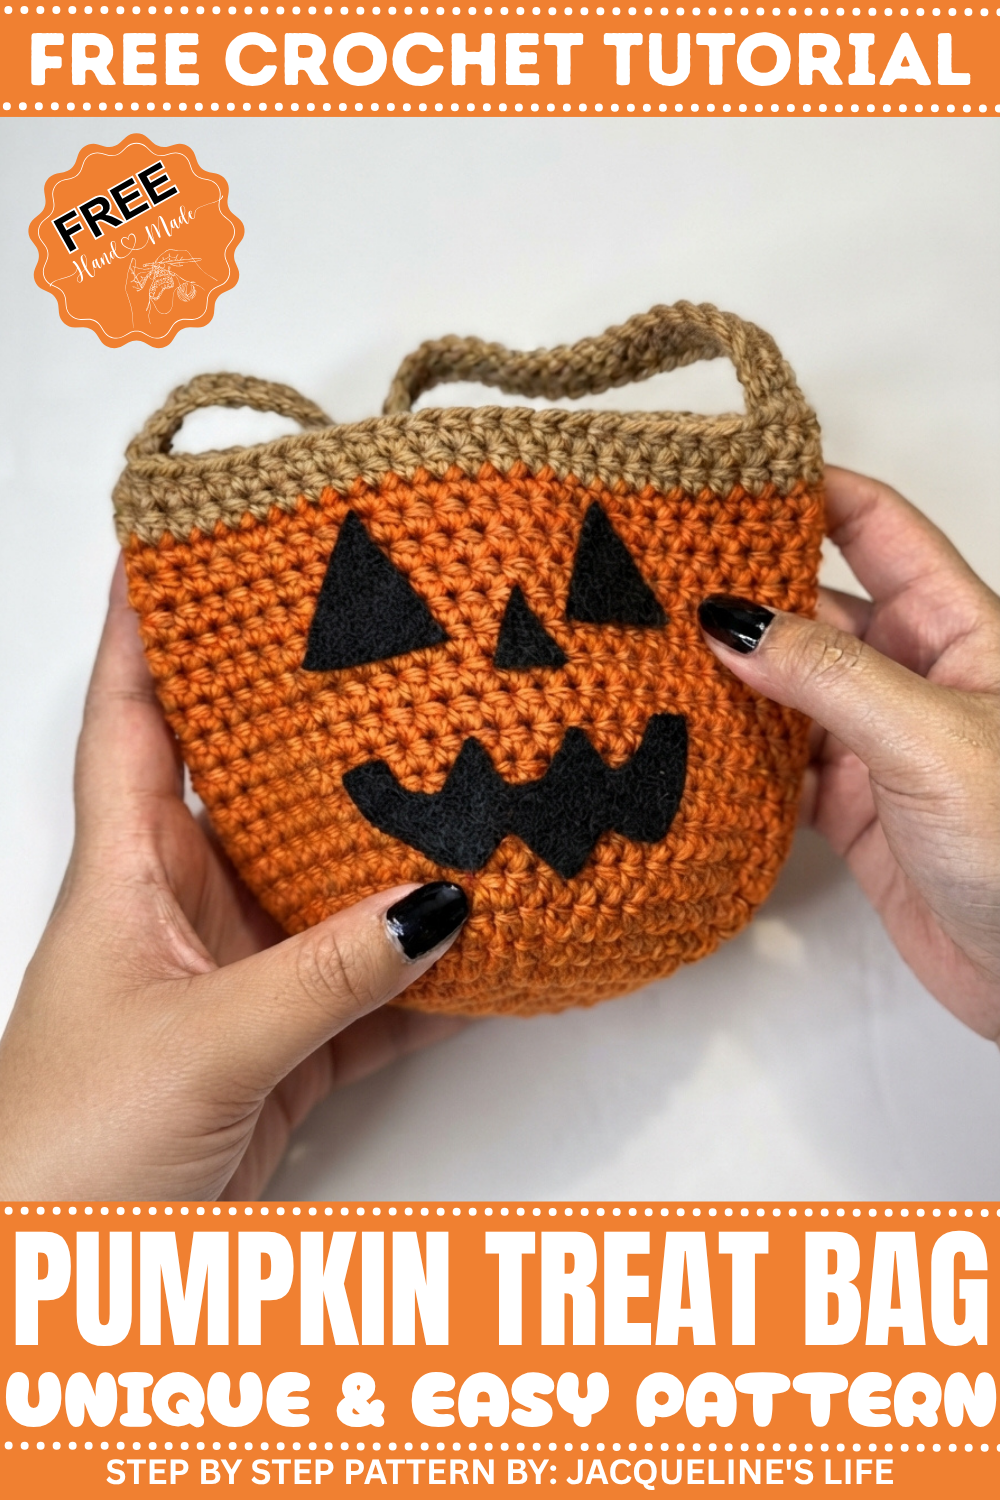
Spice up your Halloween with this Free Crochet Pumpkin Treat Bag Pattern, perfect for festive décor, party favors, or cute handmade goodies.
Nothing quite captures the cozy spirit of autumn like crocheting a bright orange pumpkin treat bag that’s both fun and functional. Made with the half double crochet stitch, this pattern builds a soft yet sturdy fabric that holds its shape well and perfect for carrying Halloween goodies or gifting small surprises. The magic circle start forms a tight, seamless base that expands with careful stitch increases, creating a charming pouch that can sit upright on its own. The ease of this stitch makes it a great choice for beginners, while the textured finish adds a lovely handmade touch that’s full of fall vibes.
This cute bag is designed to hold treats, trinkets, or season’s greetings, making it ideal for Halloween parties, classroom gifts, or neighborhood trick-or-treaters. Working mostly in rounds, using increases to grow the bottom, gives it a neat, rounded shape. The little green stem at the top adds a whimsical pumpkin look by simply switching yarn colors, and finishing with a handle makes carrying easy and secure. No complicated stitches here—just a simple, friendly technique that you can whip up quickly and enjoy sharing.
Delightful Crochet Pumpkin Treat Bag Pattern for Holiday Gifting
Other Projects You Can Make with These Stitches
Once you’re comfortable with the half double crochet stitch and working in rounds, you might like to try making cozy hats, little baskets, or fun amigurumi characters using similar methods. This stitch style also works beautifully for scarves and blankets that benefit from a balanced mix of softness and structure. It’s a versatile foundation perfect for many colorful and creative projects beyond just festive pumpkins.
How to Crochet Pumpkin Treat Bags – Step-by-Step Guide
Materials Used
You will need the following items to complete this project:
- Yarn:
- Burnt Orange Yarn: Big Twist Value Yarn, weight 4 (used for the bag’s body).
- Green Yarn: Caron Simply Soft in “Lime Green” (or brown if preferred, used for the top and handle).
- Tools and Supplies:
- Crochet Hook: 5mm crochet hook.
- Black Felt: For cutting out facial features like the eyes, nose, and mouth.
- Hot Glue Gun: For attaching felt facial features.
- Scissors: To trim yarn and felt.
Uses of Pumpkin Treat Bags
- Halloween Giveaway Bags: Fill these adorable bags with candy or small trinkets as treats for kids or party guests.
- Seasonal Decor: Display them as part of your Halloween or fall-themed decorations.
- Personalized Gifts: Customize these bags with unique designs or colors to gift to friends, family, or loved ones.
Special Features of Pumpkin Treat Bags
- Unique Design: The mini pumpkin shape has added charm, complete with a cute face and stem-like top handle.
- Freestanding Build: The flat base ensures the bag sits upright, which is an improvement compared to tote-style bags that tip over.
- Customizable Size and Colors: Easily adjust the bag’s size by increasing or decreasing the number of rows, and experiment with alternate colors for a unique twist.
- Quick-to-Make: Simple and effective design means the project can be completed quickly, making it ideal for bulk production.
Level of Difficulty
Beginner-Friendly
- Basic Crochet Skills Needed: Most of this project uses simple half-double crochet (HDC) stitches, chain, and slip stitches, making it accessible to beginners.
- Freehand Design: The tutor works freehand, but provides clear instructions for customizing sizes and shapes.
- Face Assembly: Cutting and attaching the felt face with hot glue is straightforward and suitable for all skill levels.
Tutor’s Suggestions
- Choose Yarn Wisely: Opt for weight 4 yarn, but feel free to experiment with colors. The tutor uses burnt orange for the body and lime green for the stem/handle but suggests using brown if preferred.
- Work Freehand: The design is flexible—you don’t need a written pattern. Consider adjusting the number of rows for a larger or smaller bag.
- Use Hot Glue for Simplicity: Instead of sewing on features, glue the felt pieces to save time while ensuring a neat finish.
- Pay Attention to the Handle’s Length: Avoid making the handle too long, as it can cause the bag to sag when filled with treats.
- Adjust the Seam Placement: For more seamless aesthetics, position the face on the side opposite the seam—unless you like the look of the seam, which can resemble a scar!
- Follow the Steps Neatly: Take the time to finish each section cleanly, especially the flat bottom, to achieve a stable base.
Step-by-Step Instructions
Step 1: Create the Bag’s Base
- Start with a Magic Circle:
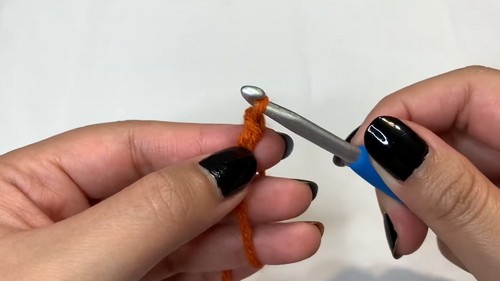
- Wrap the orange yarn around your fingers, creating an X shape. Insert the hook under the X and pull a loop through to make a magic circle. Tighten it as needed.
- Round 1:
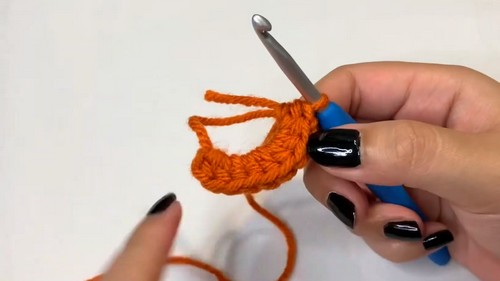
- Chain 1 and half-double crochet (HDC) 10 times into the magic circle. Tighten the circle by pulling the loose end, then slip stitch into the first HDC to close the round.
- Round 2:
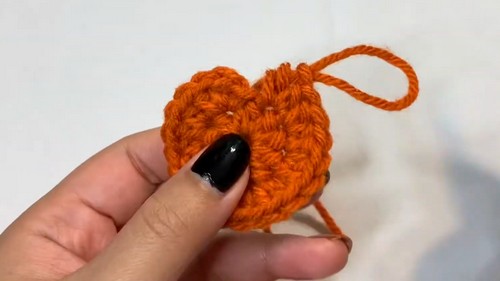
- Chain 1, then increase in each stitch by doing 2 HDC in every stitch around (total: 20 stitches). Slip stitch into the first HDC to complete the round.
- Round 3:
- Chain 1, alternate between 1 HDC in one stitch and 2 HDC (increase) in the next stitch (total: 30 stitches). Slip stitch to close the round.
- Round 4:
- Chain 1, alternate 2 HDC stitches and 1 increase (2 HDC in the same stitch) (total: 40 stitches).
- Round 5:
- Chain 1, alternate 3 HDC stitches and 1 increase in the fourth stitch. This should result in 50 total stitches. Slip stitch into the first stitch to close the base.
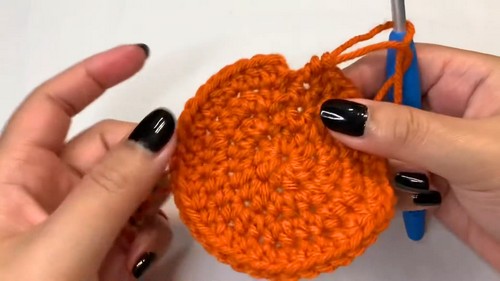
Step 2: Build the Bag’s Body
- From here, stop increasing and work on the bag’s height.
- Rounds 6–19: Chain 1 at the start of each round and do 1 HDC in each stitch for all rounds. Slip stitch at the end of each round to secure.
- Adjust Height as Desired: The tutor made approximately 13–14 rounds for her bag’s body. Add more rounds for taller bags or remove rounds for shorter ones.
Step 3: Add the Stem/Top Accent
- Color Change to Green (or Brown):
- Attach the green yarn at the end of the last orange round.
- Chain 1 and crochet 2 rounds of HDC stitches with the green yarn.
- Optional Adjustments:
- The tutor suggests optionally adding one single crochet round instead of the second HDC round if you want a shorter top.
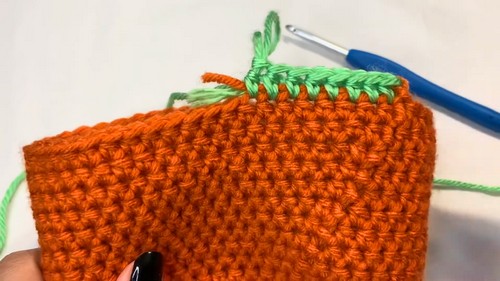
Step 4: Create the Handle
- Chain the Length of the Handle:
- From where you ended the last green round, chain approximately 42 stitches (adjust based on your preferred handle length).
- Crochet Back Along the Chain:
- Skip the chain closest to the hook and half-double crochet into each chain stitch back toward the starting point.
- Once at the base, slip stitch into the bag’s body to secure the handle.
- Reinforce the Handle:
- Rotate the bag and single crochet along the other side of the handle for added thickness and durability.
- Sew the Handle Ends:
- Use the crochet hook to sew the ends of the handle securely to the bag. Weave extra yarn into the base of the bag for a clean finish.
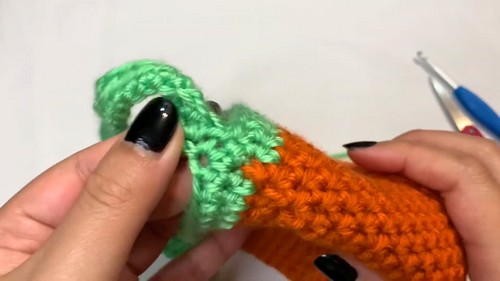
Step 5: Add the Face
- Prepare the Shapes:
- Cut triangles out of the black felt for the eyes and nose. For the mouth, either create a spooky jack-o’-lantern grin or opt for a simple smile. The smaller details add charm!
- Attach with Hot Glue:
- Position the features on the bag and glue them in place. Ensure alignment by using the flat side of the bag (opposite the seam) as your “face.”
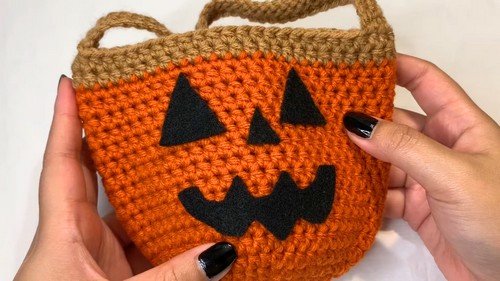
Conclusion
Congratulations! You’ve completed your crocheted pumpkin treat bag! These adorable, freestanding treat bags are fun, quick, and customizable. Whether you’re preparing for Halloween parties, giving out candy, or decorating your home, these bags are the perfect festive project. The flexibility in size and design means every bag can be uniquely yours.
Pro Tip
Use coordinating yarn or embroidery thread to stitch on the face instead of felt for a more textured, handcrafted finish. This makes the bag washable and suitable for long-term use!
Leave a Reply