
Snuggle little toes in charm with this Crochet baby socks with soft, adorable patterns that are perfect for gifts or keeping babies cozy and stylish every day.
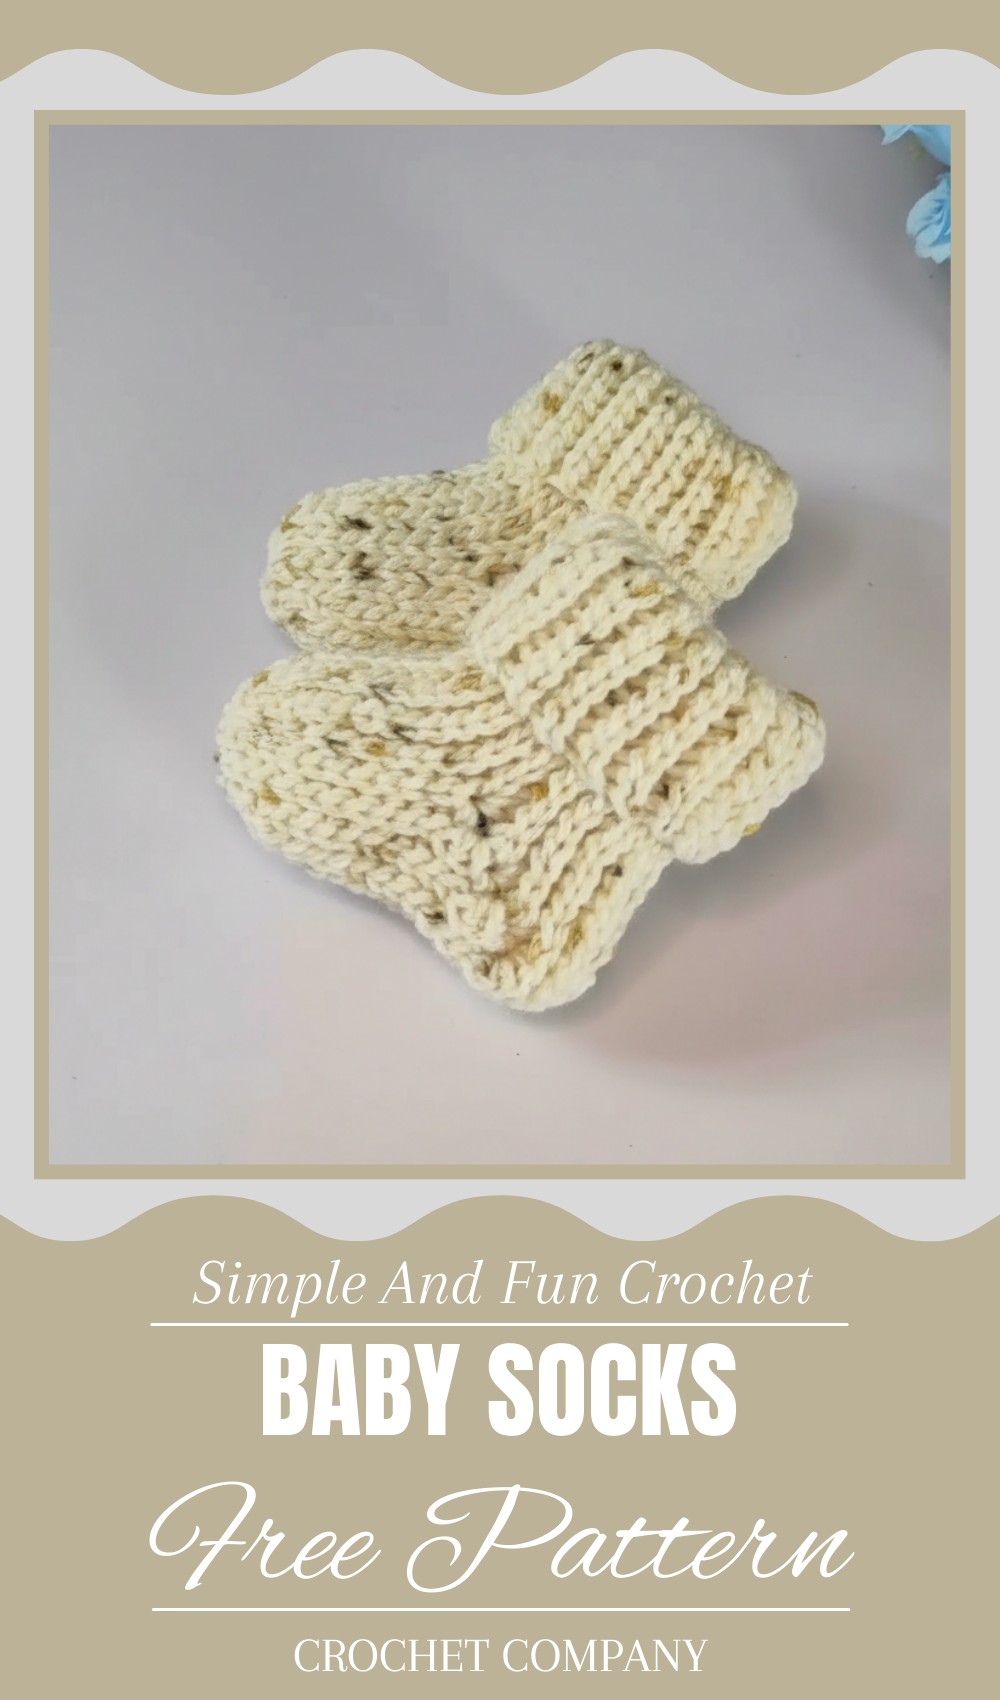
Soft & Snuggly Socks to Crochet for Tiny Baby Feet
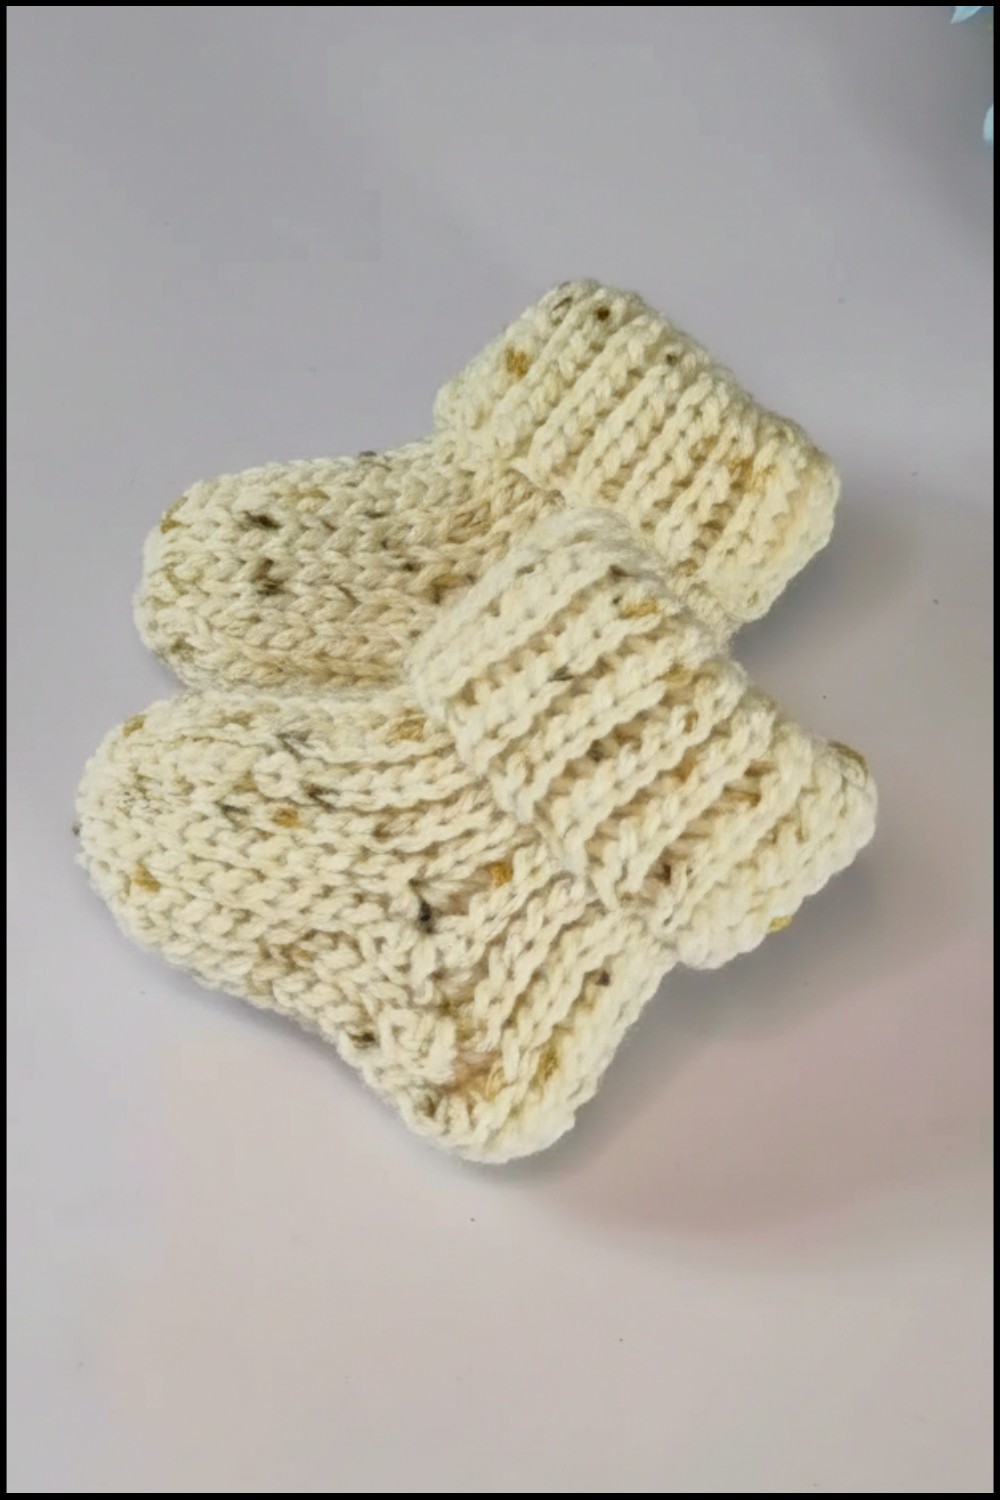
Soft and cozy little socks are the perfect way to keep tiny baby feet warm and adorable! Using a crochet baby socks pattern, you can create charming, handmade socks full of love and detail. These little creations are not just practical for keeping babies comfortable but are also incredibly cute. You can experiment with colors, designs, and stitches to make socks that match different outfits or seasons.
Their delicate appearance, paired with the softness of yarn, makes them a lovely gift for newborns or a treasured addition to baby essentials. Whether you choose pastel shades or bold colors, these crochet socks feel gentle on a baby’s skin and bring a touch of warmth and comfort. Super versatile, they are great for everyday wear and special occasions alike. With their sweet designs, they become little keepsakes that every parent will cherish for years to come.
Baby Socks Crochet Pattern
Special Features:
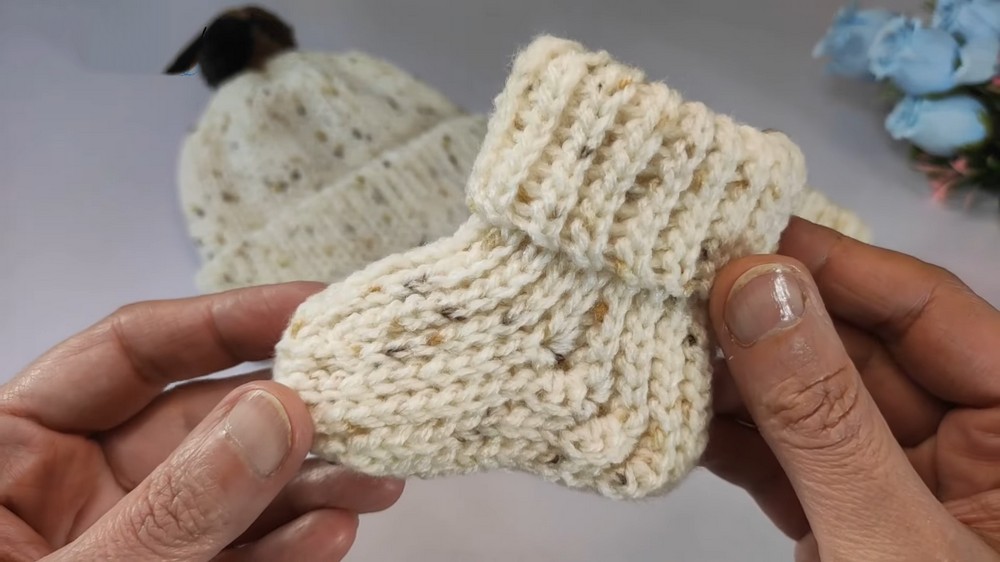
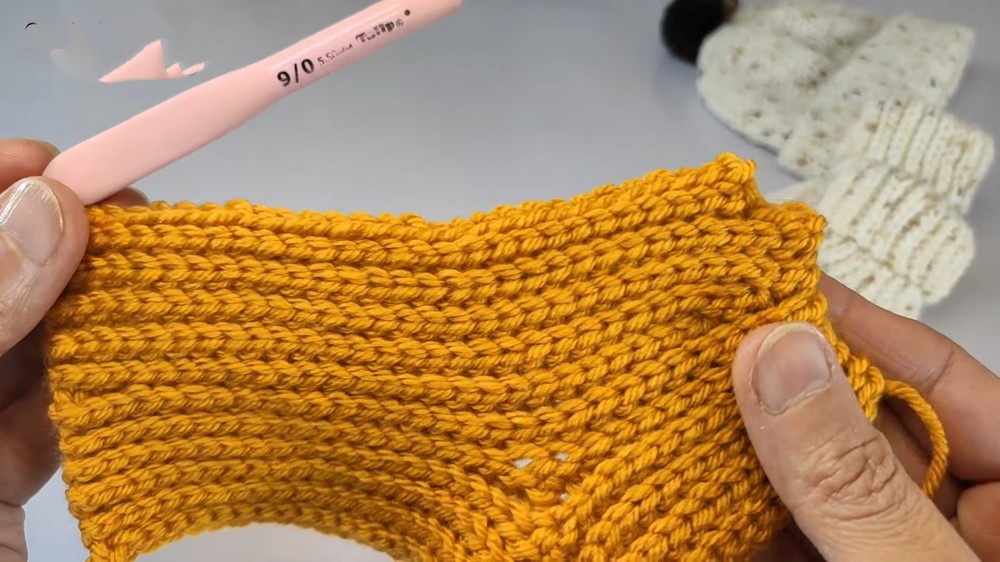
- Uses slip stitches in the back loop throughout, creating a beautiful ribbed texture that resembles knit.
- Can be adapted to different sizes by adjusting the chain count and number of rows.
- A simple design that matches beautifully with the baby hat for a complete gift set.
- Perfect for customizing with your choice of thread thickness and colors.
Difficulty Level:
Beginner to Intermediate. The pattern is straightforward, but attention is needed for counting stitches and making decreases/increases.
Materials Needed:
- Yarn: Thick yarn (used in the video) or any yarn suitable for baby projects. Lightweight yarn can also be used for a smaller size.
- Hook Size: Appropriate to the yarn (e.g., 3.5 mm or as per the yarn label).
- Scissors.
- Tapestry Needle (to weave in the ends).
- Stitch Marker (optional, to mark key areas for decreases).
Pattern Steps:
1. Foundation Chain:
- Start with a slip knot.
- Make 43 chains. (This number will define the overall width of the sock.)
- Tip: Add more or fewer chains based on the desired size.
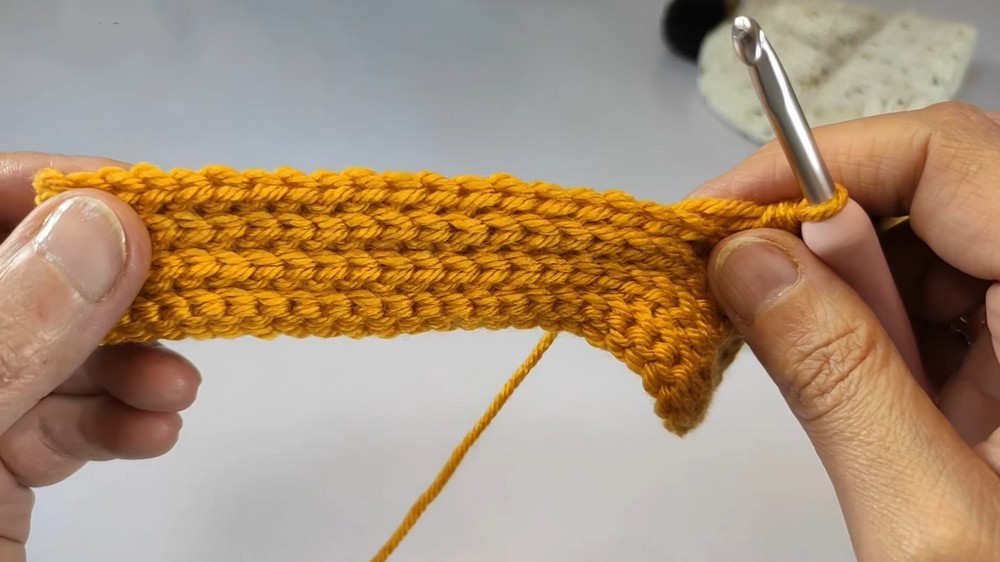
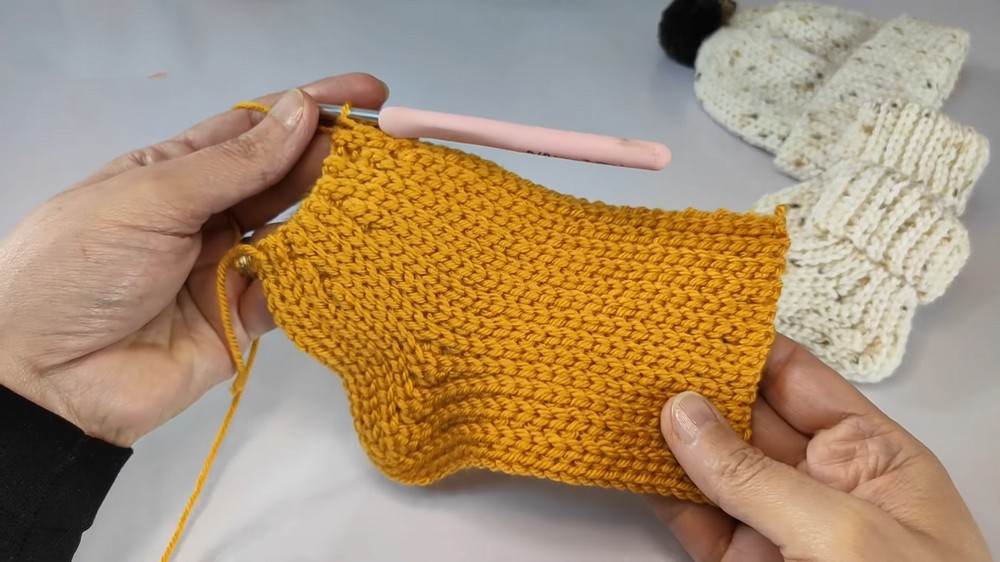
2. First Row:
- Begin working in the third loop of the second chain from the hook.
- This technique creates a neat edge at the base.
- Work slip stitches (sl st) into each chain.
- Stitch Count at the End: 42 slip stitches (the first chain counts as the turning chain).
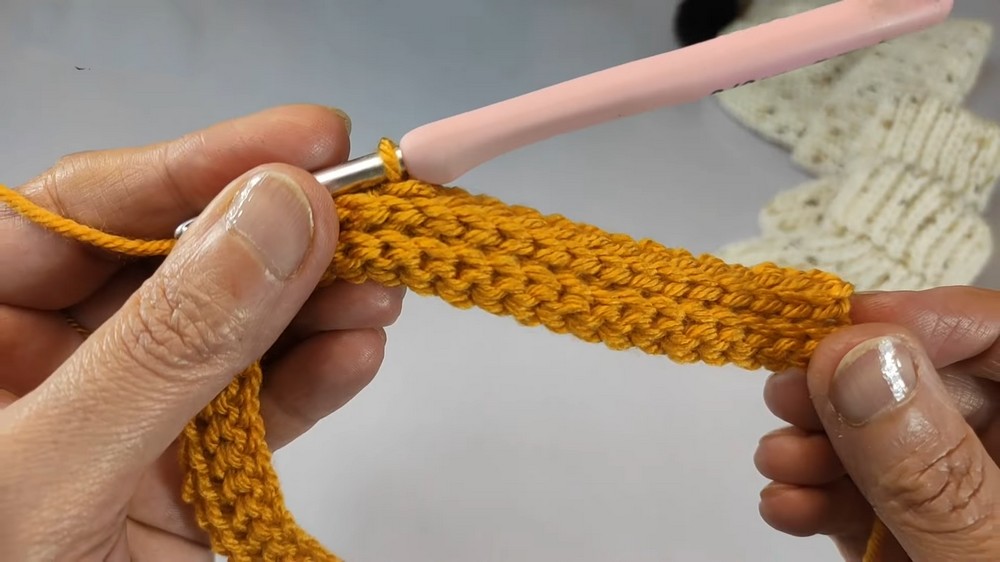
3. Second Row:
- Chain 1 to turn and work slip stitches in the back loop only into each stitch from the row below.
- Working in the back loop consistently gives the fabric a neat ribbed texture.
- Repeat across the row.
- Stitch Count at the End: 42 slip stitches.
4. Row 3: Beginning the Decrease:
- Chain 1 to turn your work.
- Work 40 slip stitches in the back loop only, leaving the last two stitches unworked.
- This begins to shape the sock for the front section.
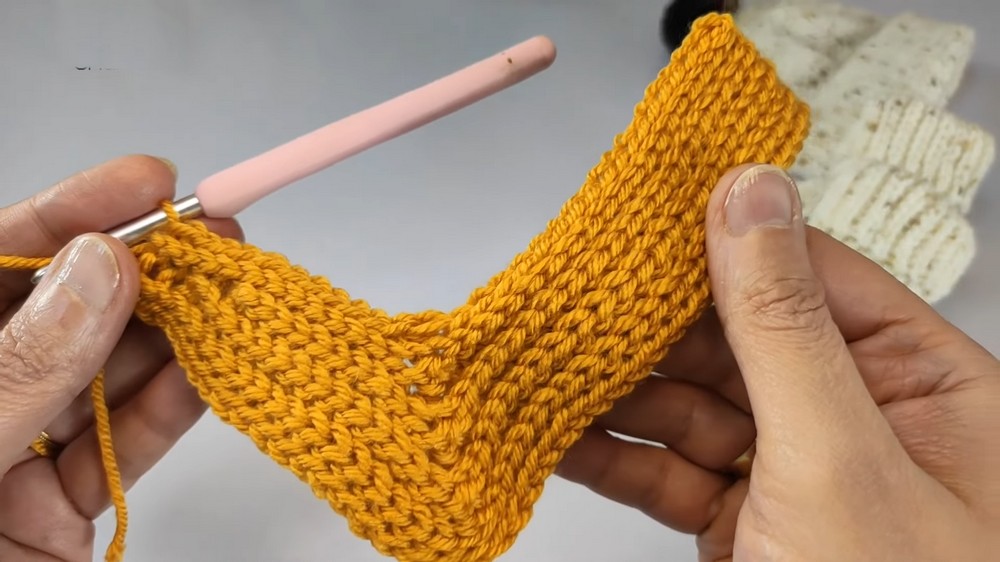
5. Row 4: Marked Decrease Section:
- Chain 1 to turn and work 14 slip stitches in the back loop only.
- Begin a decrease over the next 3 stitches:
- Insert hook into the back loop of the next stitch, pull up a loop; repeat for the next two stitches (3 loops on the hook).
- Yarn over and pull through all loops.
- This combines three stitches into one.
- Then work 23 slip stitches in the back loop to complete the row.
6. Continuing Rows with Decreases:
- Work back and forth with slip stitches in the back loop only, creating the texture.
- Follow these guidelines:
- Rows alternate between slip stitches and decreases.
- Keep track of the stitch count, as you will skip or leave stitches unworked at either end to shape the sock.
Key Stitch Counts and Notes:
- Row 5: 22 slip stitches + 1 decrease in the center.
- Row 6: Reduce further by leaving 2 stitches unworked at the row’s start and end.
- Use a stitch marker to identify where your decreases are happening.
7. Increasing for the Toe Section:
- After achieving the desired length:
- Work 3 single crochets in the same stitch to begin increasing for the rounded shape of the toe.
- Mark the 2nd stitch of the increase for easier reference in upcoming rows.
- Adjust the slip stitch count to suit the length of the baby’s foot.
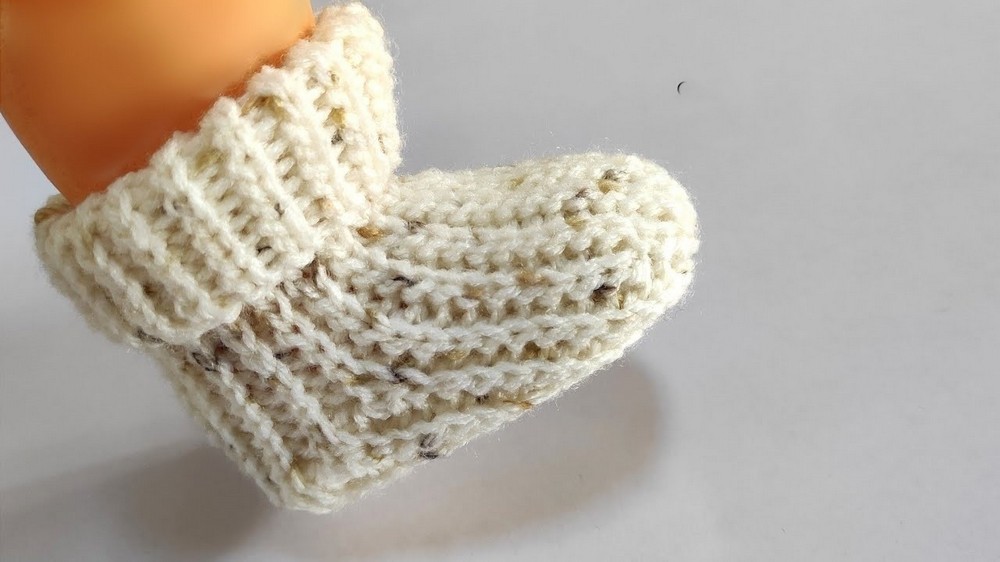
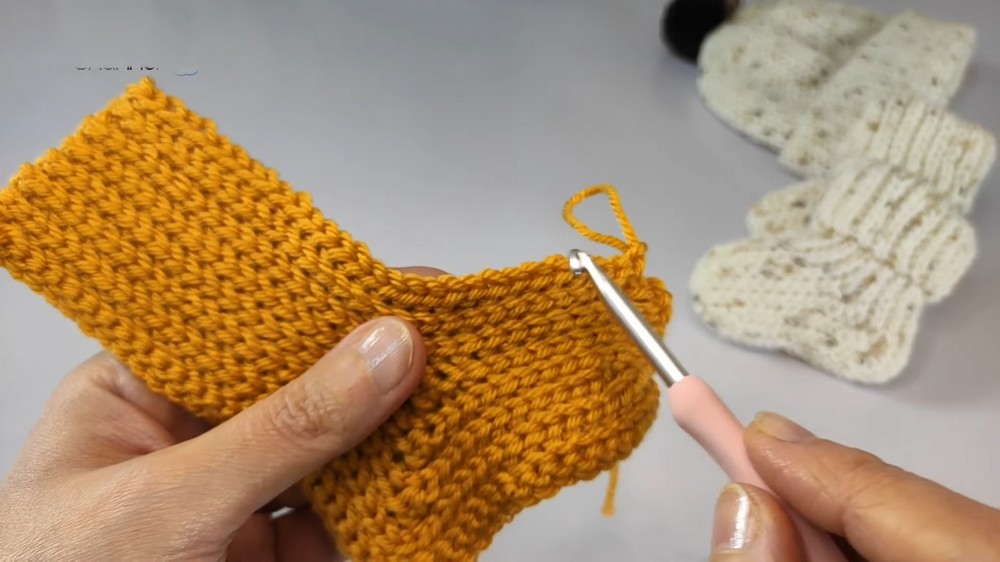
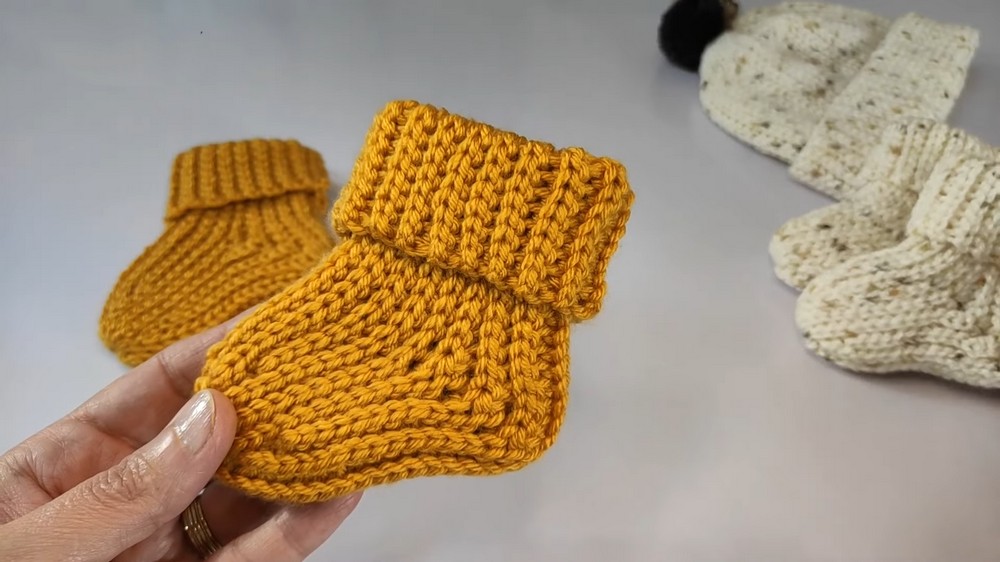
8. Forming and Closing the Sock:
- Once two identical pieces of the sock are completed:
- Fold each piece in half lengthwise so the edges meet.
- Use slip stitches to seam the edges together, working through the front and back loops of both edges.
- This creates an invisible seam.
- Fasten off and leave a long tail to securely weave all ends with a tapestry needle.
Tutor’s Suggestions:
- Thread Thickness Tip: A thinner yarn will result in a smaller sock compared to using a thicker yarn. Choose accordingly based on the baby’s size.
- Gift Idea: Pair these socks with the matching hat from the previous video for a perfect handmade baby gift.
Uses:
- These socks are ideal for keeping a baby’s feet warm and cozy.
- A thoughtful and practical gift for baby showers or newborns.
- Versatile pattern for children of different ages with simple adjustments.
Tip:
When working slip stitches, be mindful to keep your tension loose. Tight tension can make it difficult to work into the back loops and may result in a stiff sock.
Conclusion:
Congratulations on completing your adorable baby socks! These cozy creations will keep tiny toes warm while showcasing your skills and love. Whether paired with a matching hat or made as standalone socks, this project is sure to be cherished. Thank you for following along, and may your crafting journey be filled with joy and fulfillment.
Leave a Reply