
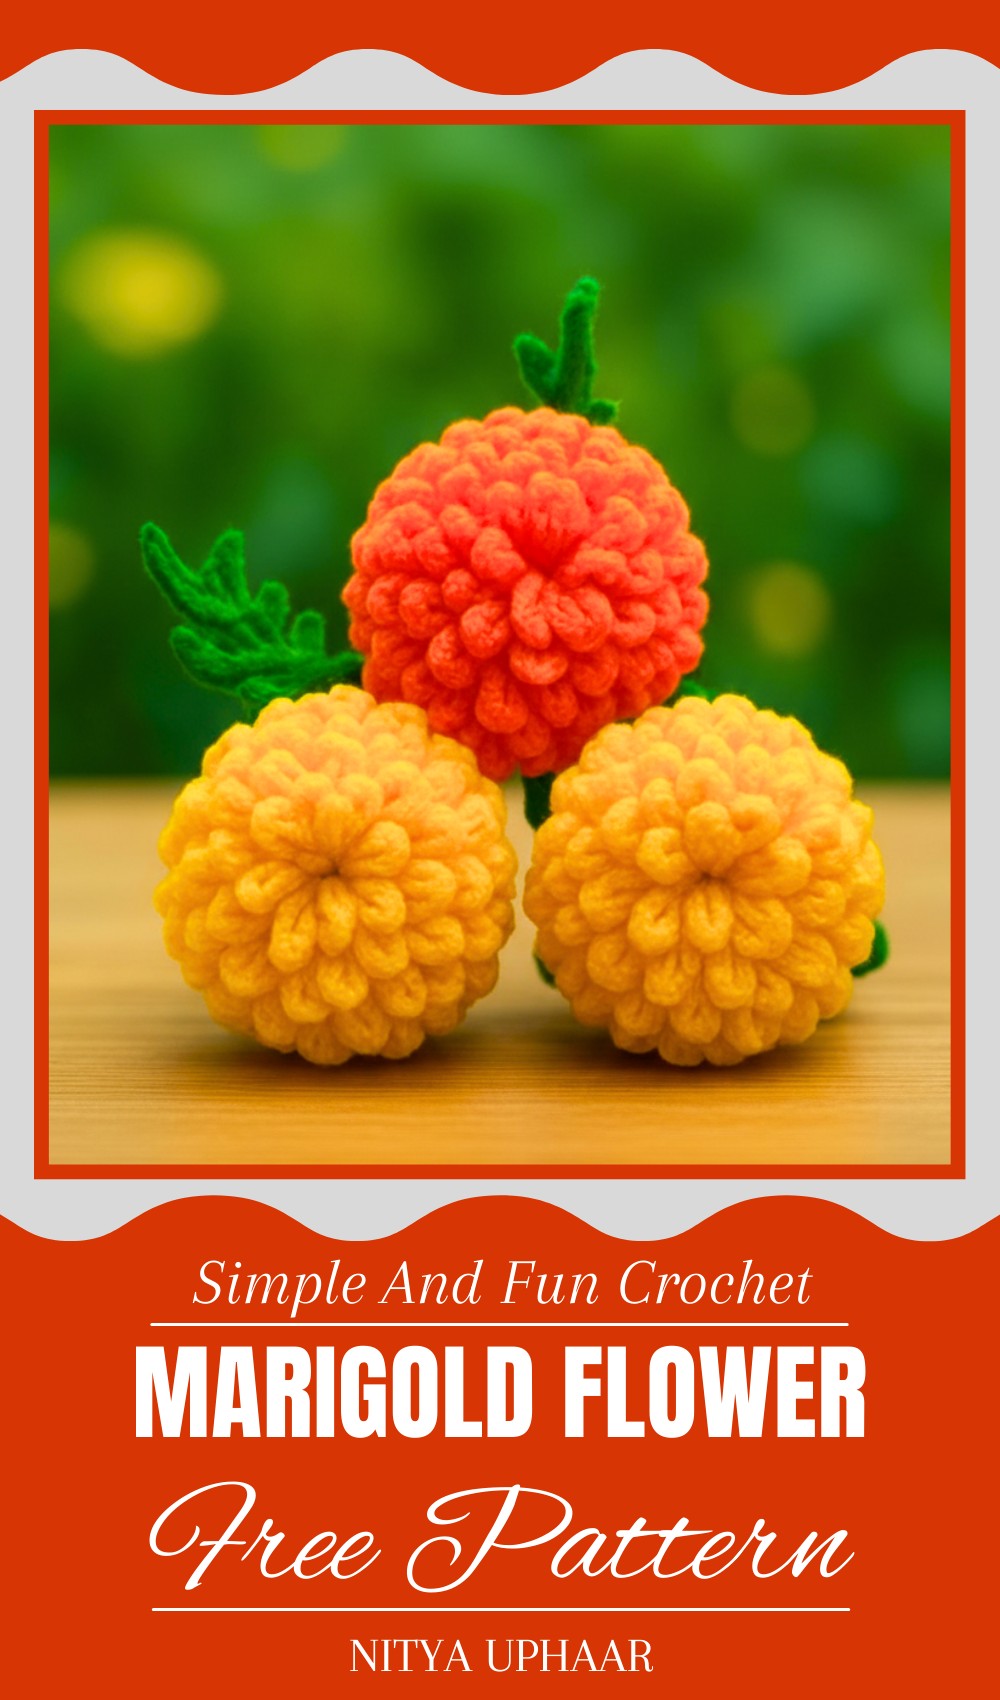
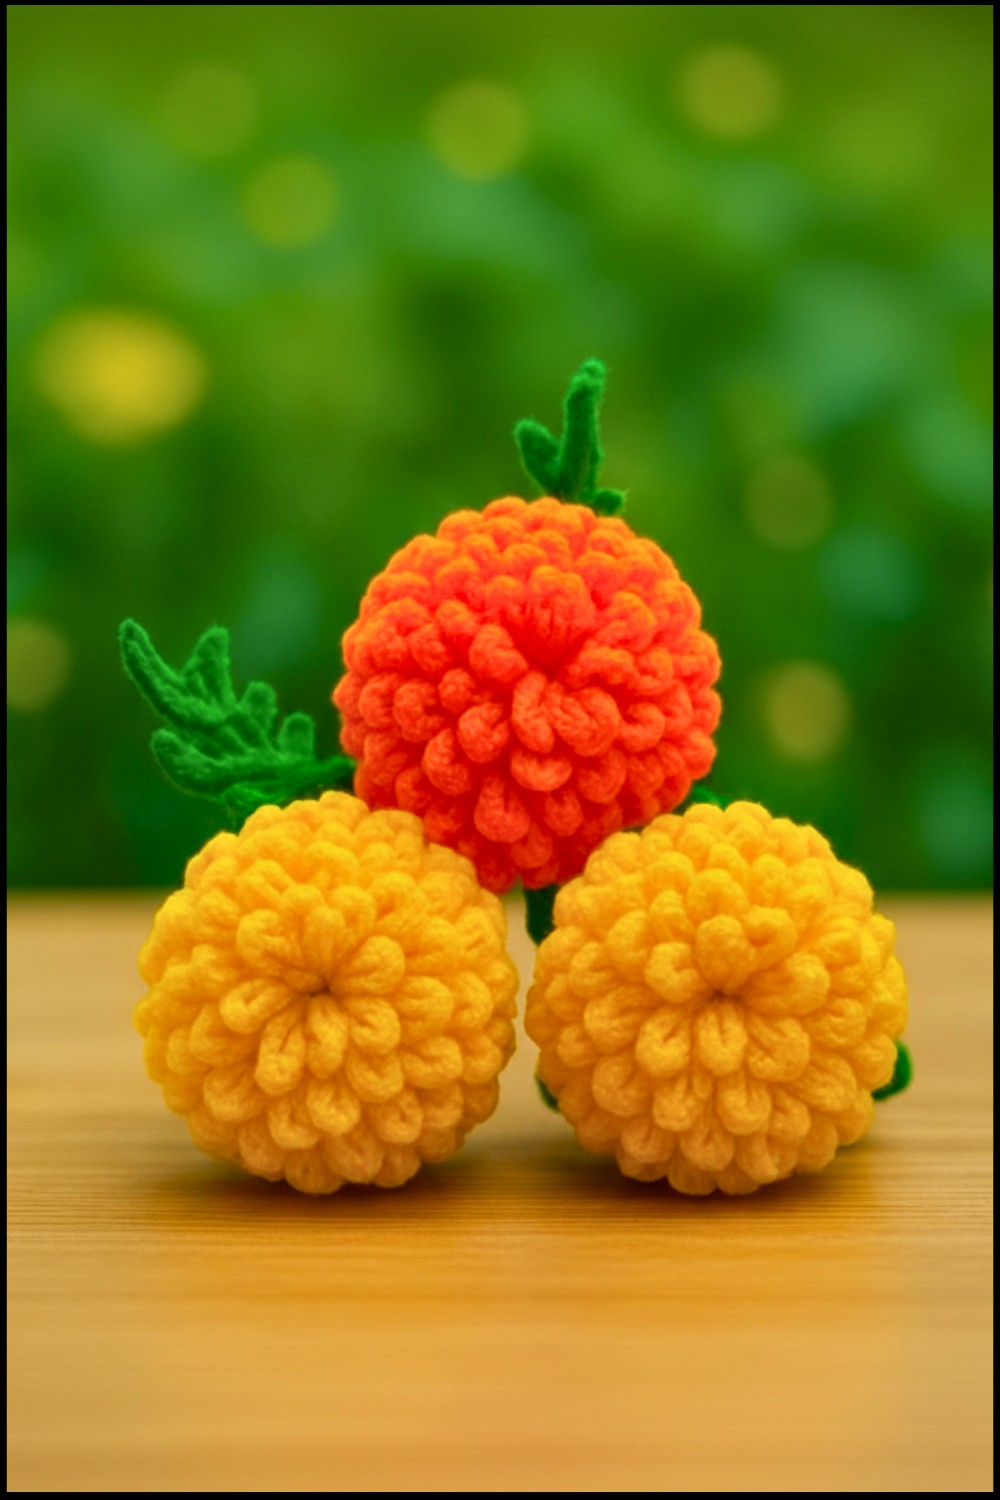
Turn yarn into a cheerful bloom with this Crochet Marigold Flower Pattern for a vibrant piece that adds color and charm to any project.
Materials List
- Yarn:
- Orange yarn (flower).
- Green yarn (sepal and leaves).
- Both yarns are 4-ply acrylic yarn (e.g., Vardhman).
- Crochet Hook:
- 2.5 mm hook (works well with 4-ply yarn).
- Wires (for leaves and stem):
- 1mm wire (for the flower stem).
- 0.5–0.6mm wire (for attaching leaves).
- Optional Extras:
- Stitch marker (for tracking rounds).
- A small amount of glue (for clean finishing).
- Other Supplies:
- Tapestry needle (for sewing).
- Cotton or polyester fiberfill (for stuffing the flower base).
- Scissors (to trim excess yarn).
Key Abbreviations
- ch: Chain
- sc: Single Crochet
- hdc: Half Double Crochet
- dc: Double Crochet
- sl st: Slip Stitch
- inc: Increase (work 2 stitches into the same stitch).
- dec: Decrease (single crochet 2 stitches together).
- st(s): Stitch(es)
Special Notes
- The flower petals use chain stitches and slip stitches for a realistic, dense texture.
- The flower base is worked in continuous rounds without slip-stitch joins (to avoid visible seams).
- Use a stitch marker to track your rounds.
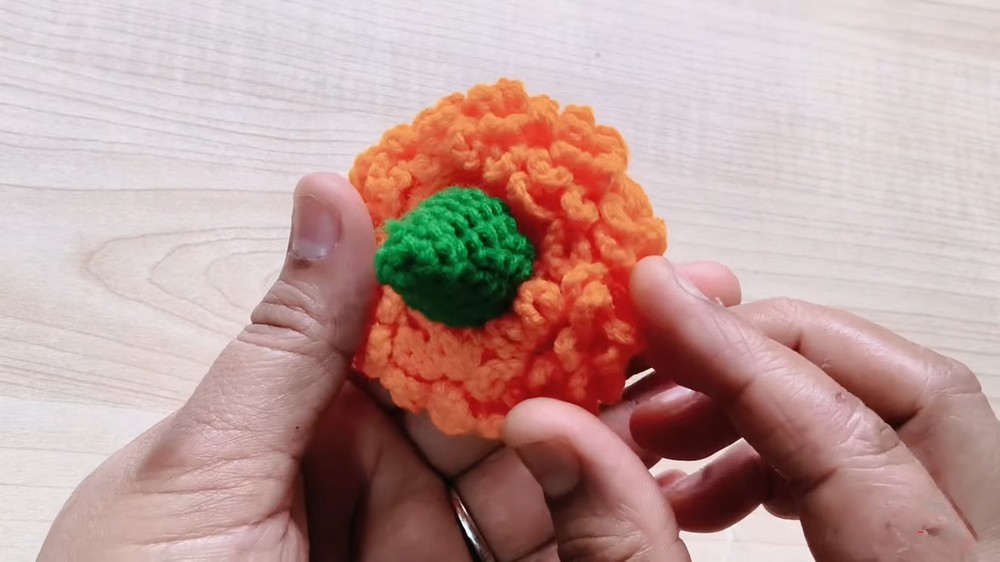
- The marigold consists of three main parts: flower petals, sepal, and leaves.
Pattern Instructions
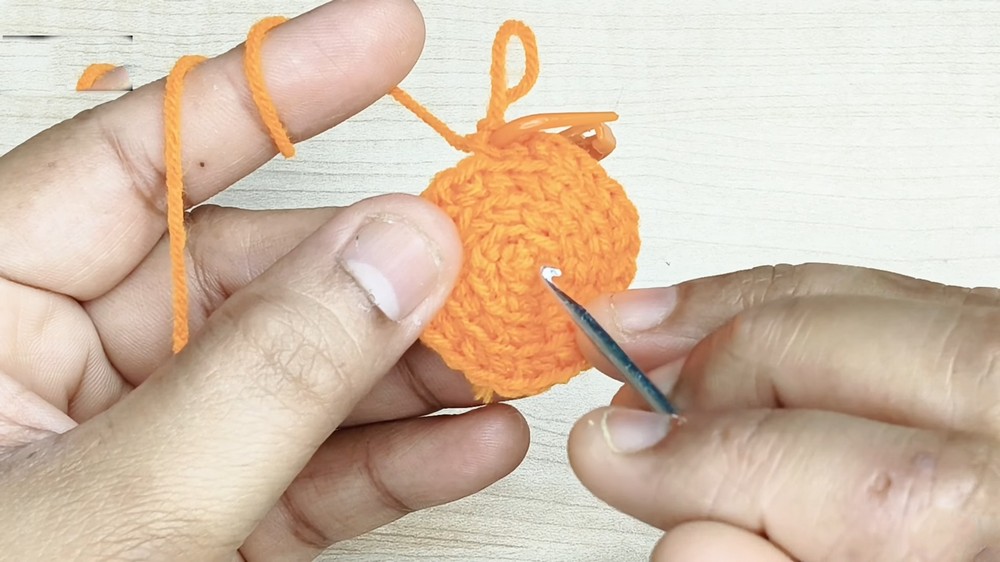
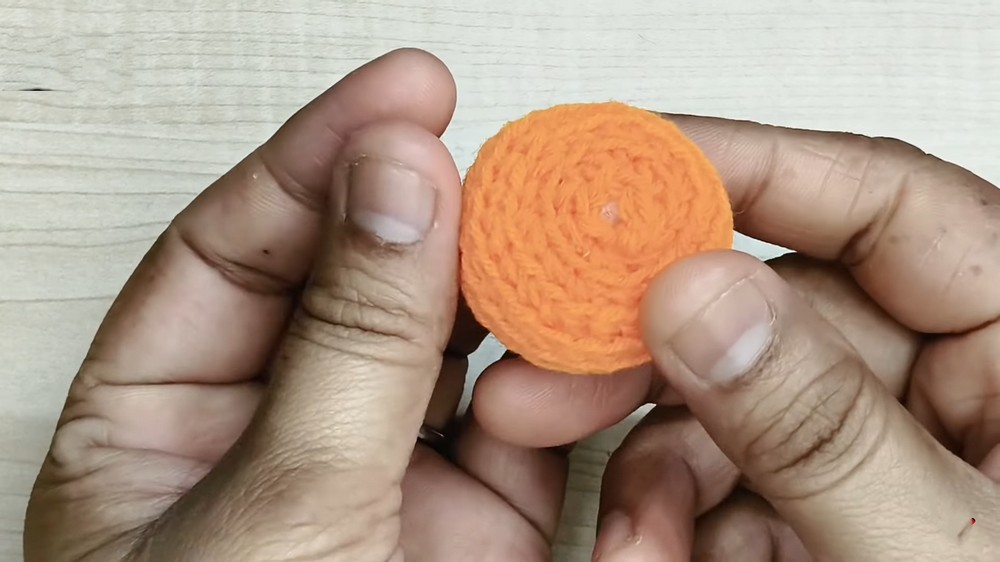
Step 1: Flower Base
- Start with Orange Yarn
- Create a magic ring and ch 1 to secure it.
- Round 1:
- Work 6 sc into the magic ring. (6 sc)
- Pull the ring tight but leave a small adjustable hole.
- Round 2:
- Work 2 sc in each st around (back loop only). (12 sc)
- Round 3:
- [1 sc, inc] Repeat 6 times (back loop only). (18 sc)
- Round 4:
- [2 sc, inc] Repeat 6 times (back loop only). (24 sc)
- Rounds 5–7:
- Work 1 sc in each st around (back loop only). (24 sc per round)
- Round 8 (Decrease Round):
- [2 sc, dec] Repeat 6 times. (18 sc)
- Round 9:
- [1 sc, dec] Repeat 6 times. (12 sc)
- Round 10:
- Work dec across every pair of sts to close the flower base. (6 sc)
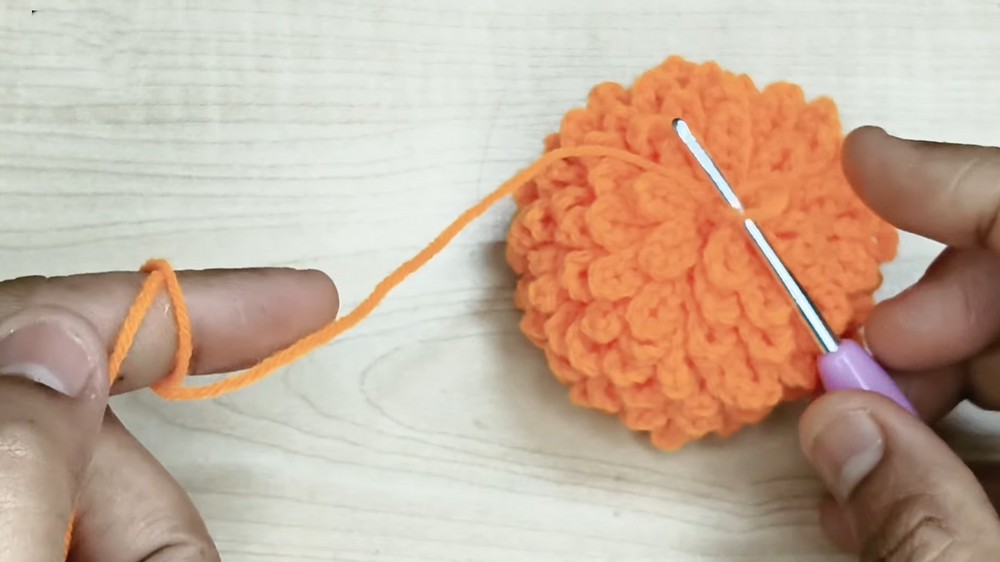
- Stuff the Base:
- Add a small amount of fiberfill or cotton to lightly stuff the base.
- Close the Hole:
- Use a tapestry needle to sew the remaining hole shut. Fasten off and weave in ends.
Step 2: Petals
- Attach Orange Yarn to Front Loops of Round 4:
- Locate the unworked front loops of Round 4. Insert the hook into any front loop, attach the yarn, and ch 1 to secure.
- Petal Pattern for Each Stitch:
- Ch 8.
- Sl st back into the same st to form a loop.
- Move to the Next Stitch:
- Sl st into the next st and repeat the petal pattern: Ch 8, sl st into the same st.
- Complete Round 4:
- Continue creating one petal for each front loop to make a total of 24 petals.
- Repeat for Round 3 Front Loops:
- Use the same petal pattern for the front loops of Round 3.
- Repeat for Round 2 Front Loops:
- Work the same petal pattern in the front loops of Round 2.
- Final Round of Petals (Optional):
- To add more fullness, create petals in the front loops of Round 1.

Step 3: Sepal
- Begin with Green Yarn
- Create a magic ring and ch 1 to secure.
- Round 1:
- Work 6 sc into the magic ring. (6 sc)
- Leave the magic ring slightly open so the wire can pass through.
- Round 2:
- Work 1 sc in each st around. (6 sc)
- Round 3:
- [1 sc, inc] Repeat 3 times. (9 sc)
- Round 4:
- Work 1 sc in each st around. (9 sc)
- Round 5:
- [2 sc, inc] Repeat 3 times. (12 sc)
- Rounds 6–7:
- Work 1 sc in each st around. (12 sc per round)
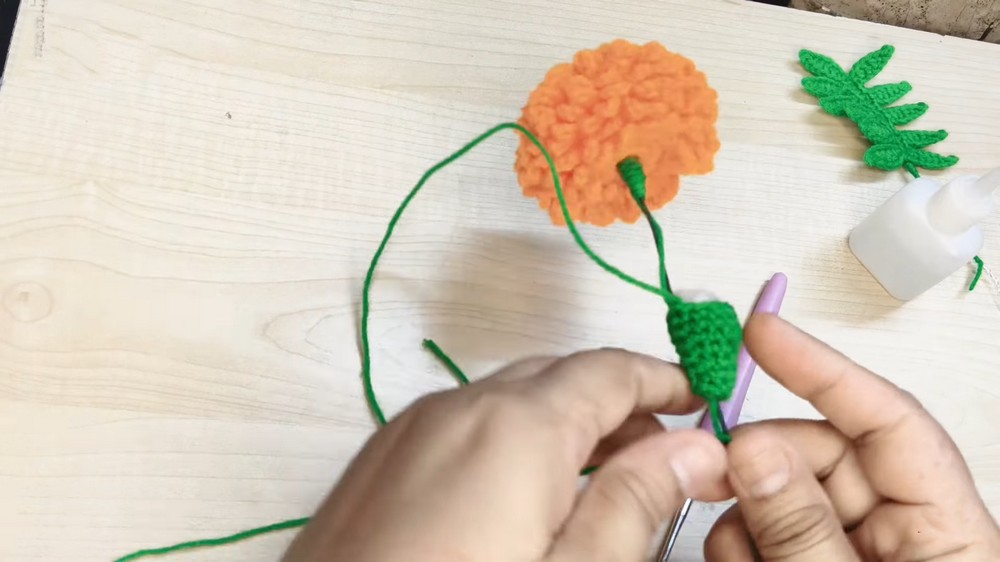
- Attach to Base:
- Insert the wire through the center hole of the sepal.
- Use the long tail to sew the sepal to the base of the flower. Align the stitches and secure tightly.
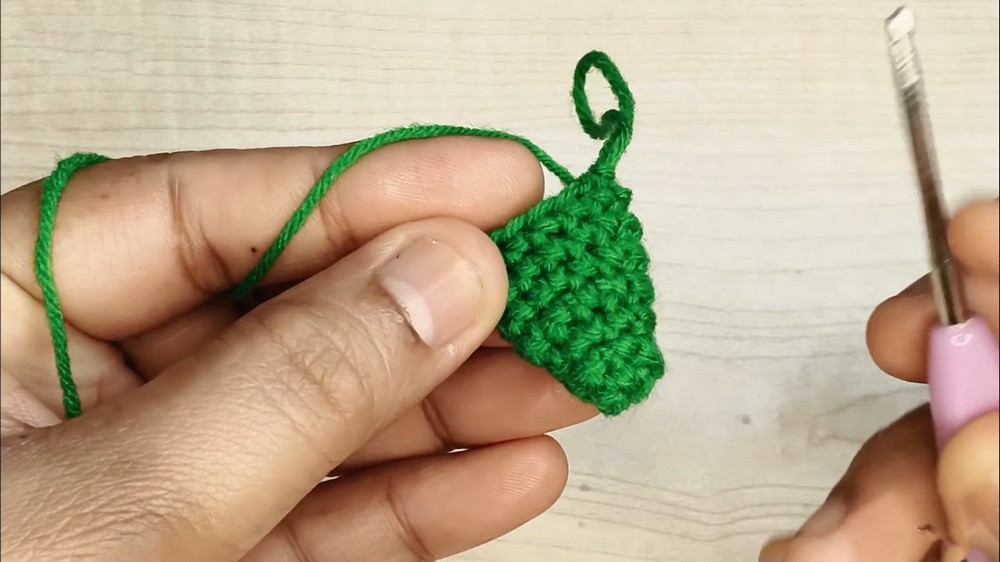
Step 4: Leaf
- Begin with Green Yarn
- Make a slip knot and ch 22.
- Leaf Pattern on Chain:
- Skip the first ch.
- Sl st, sc, hdc, dc, dc, hdc, sc, sl st across the chain. (Tip: Keep the stitches symmetrical for the leaf shape).
- Wire Attachment:
- Lay the 0.5mm wire along the chain. Work sl st stitches over the wire to secure it into the stem of the leaf.
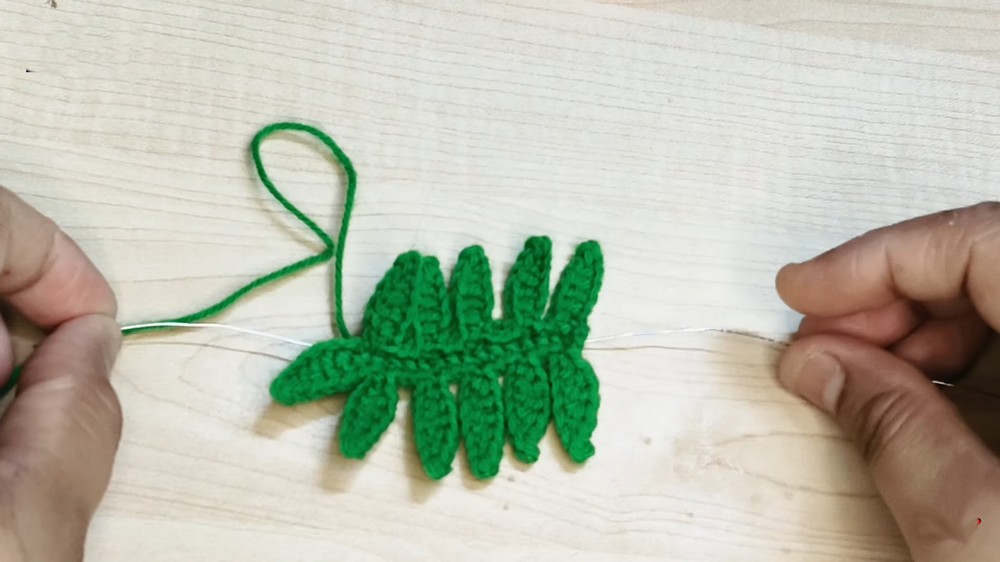
- Create Smaller Leaves:
- Make smaller leaves by chaining 12–18 chains and repeating the same pattern.
- Attach Leaves to Stem:
- Twist the wires of the leaves around the flower stem. Secure with green thread or glue.
Step 5: Stem
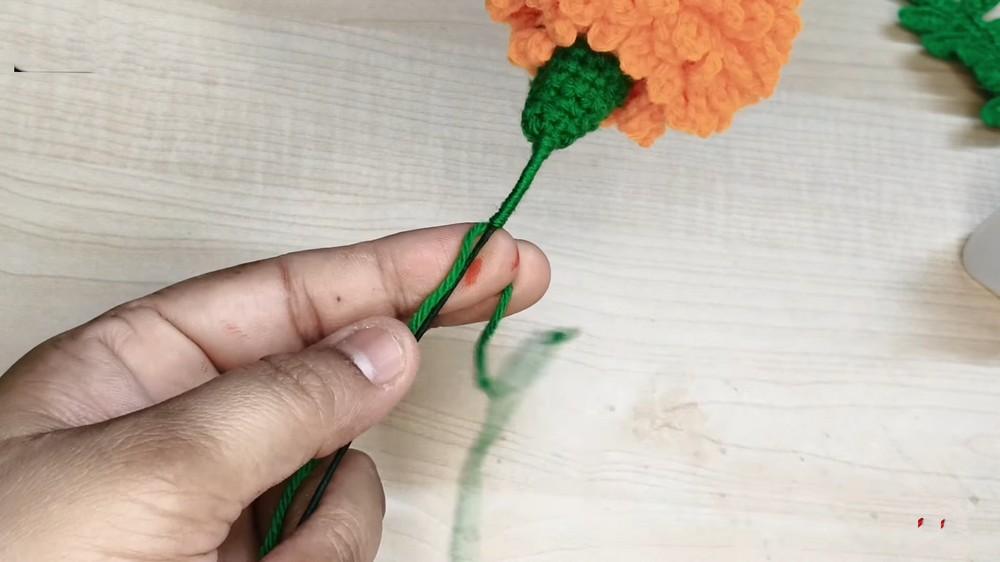
- Cover the Flower Stem:
- Wrap the 1mm wire in green yarn (use thread tightly, covering the wire neatly).
Assembly
- Attach the flower, sepal, and leaves to the covered wire stem in this sequence:
- Insert and secure the sepal.
- Position and attach the leaves along the stem.
- Tighten all joints by wrapping with green yarn—add glue for added durability.

Conclusion
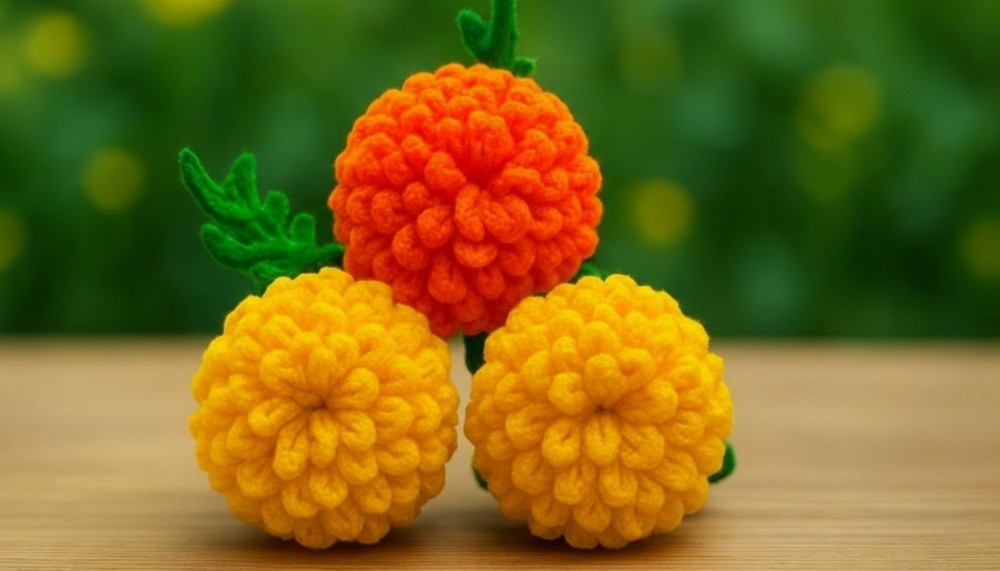
Your beautiful crochet marigold flower is complete! With its lush petals and vibrant details, the flower can be used for a variety of purposes such as vase décor, garlands, or gifts. Feel free to customize the size and colors according to your preferences.
Pattern Corrections
- Ensure tension remains consistent for evenly shaped petals.
- Keep petals dense; skip no stitches to avoid gaps.
Tips
- Petal Placement: Work in continuous rounds to keep petal placement seamless. Avoid skipping rounds or stitches for a fuller look.
- Wire Handling: Straighten and stabilize wire before adding components like sepals or leaves.
- Customization: Experiment with different petal sizes by adjusting the number of chains in the petals.
Leave a Reply