
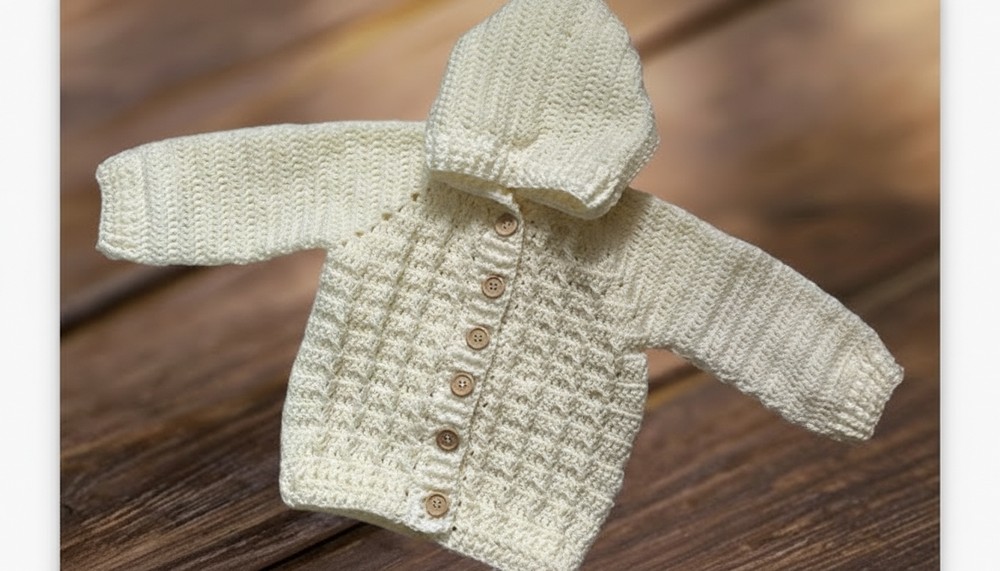
Style meets comfort with this crochet hooded jacket pattern that provides versatility, making it perfect for any chilly day effortlessly.

A hooded jacket is a perfect balance of comfort and style that fits seamlessly into any moment. Its soft fabric and snug fit make it ideal for staying warm on chilly days or relaxing indoors. The hood adds a touch of charm while providing extra warmth and practicality. This clothing piece stands out with its unique appeal, making it versatile for casual outings or quiet evenings at home.
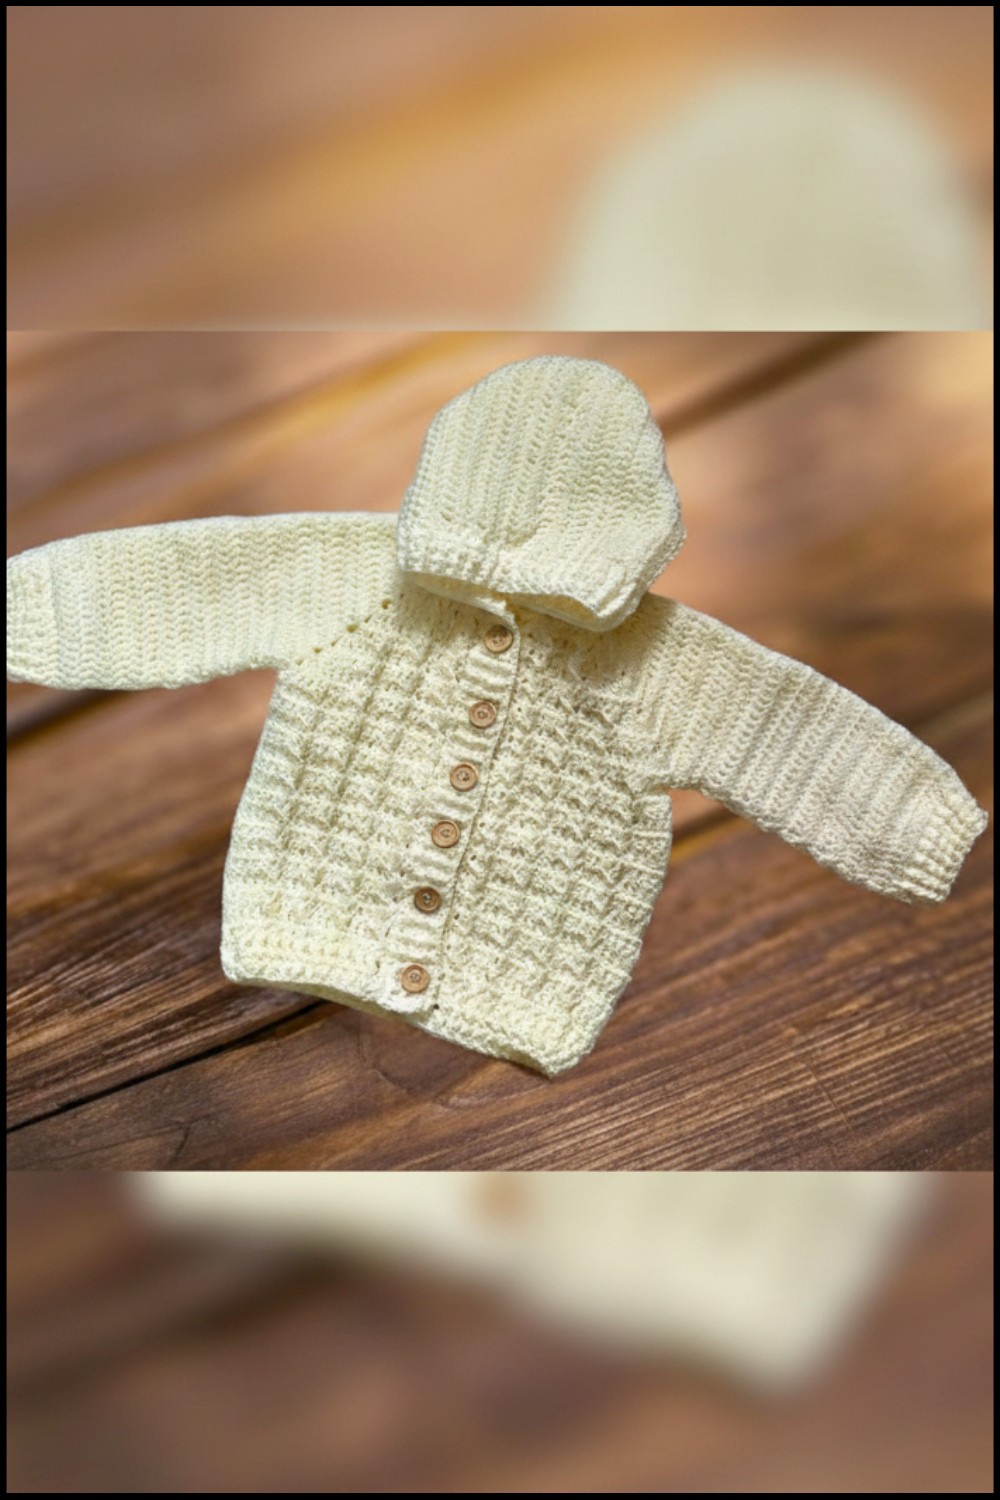
Lightweight Crochet Hooded Jacket Pattern for Layers
With its timeless design, it’s something you’ll reach for season after season, offering both elegance and functionality. The attention to detail in its construction ensures a reliable and stylish option, no matter the occasion. Whether paired with jeans for a day out or layered over your favorite outfit for added warmth, this jacket adapts effortlessly to your needs. It’s not just outerwear—it’s a versatile wardrobe addition that combines practicality with lasting charm, making it an essential piece for any collection.
Materials List
- Hook Size:
- 4 mm hook for 12-18 months
- 3.5 mm hook for 9 months
- 3 mm hook for 3-6 months
- Yarn Type: Approximately 250 g of medium-weight yarn (ensure it matches the hook size).
- Optional Materials:
- Stitch markers (to mark increases and buttonhole placement)
- Buttons (for closure—size depends on preference)
- Sewing/embroidery needle (to sew buttons)
Skill Level
Intermediate. Requires knowledge of advanced stitches (e.g., front post double crochet, back post double crochet, decreasing, and shaping).
Key Abbreviations (US Terminology)
- ch: Chain
- dc: Double Crochet
- sc: Single Crochet
- hdc: Half Double Crochet
- sl st: Slip Stitch
- fpdc: Front Post Double Crochet
- bpdc: Back Post Double Crochet
- X stitch: Skip a stitch, work a fpdc in the next stitch, then go back to the skipped stitch and work a fpdc.
- dec: Decrease (work 2 stitches together as one)
- (): Stitch count after each row
Special Notes
- The jacket sizes are determined by hook size. Ensure the yarn matches the hook size for best results.
- Stitch markers are crucial for marking chain-2 spaces and buttonhole placements.
- Textured stitches alternate between rows of front/back post double crochet and X stitches to create the pattern.
Pattern Instructions
Jacket: Body
- Foundation Row:
- Make a slip knot and chain 62 stitches (approximately 33 cm).
- Row 1:
- Starting in the 4th ch from the hook, work 1 dc.
- Work 1 dc in the next 6 chains (8 stitches total).
- In the next chain, work (dc, ch 2, dc). Place a stitch marker in the ch-2 space.
- Work 1 dc in the next 12 stitches.
- In the next chain, work (dc, ch 2, dc). Place a stitch marker in the ch-2 space.
- Work 1 dc in the next 16 stitches, then again work (dc, ch 2, dc) (place marker).
- Work 1 dc in the next 12 stitches, then (dc, ch 2, dc) (place marker).
- Finish by working 1 dc in the next 8 stitches.
- Total: 62 stitches.
- Row 2:
- Chain 3 and turn. Work 1 dc in the same stitch.
- Work X stitch: Skip 1 stitch, work fpdc in the next stitch, then go back to the skipped stitch and work fpdc.
- Work 1 dc in the next 3 stitches.
- Repeat X stitch across until the marker space.
- In the marked ch-2 space, work (2 dc, ch 2, 2 dc). Place marker in the new ch-2 space.
- Continue working X stitch and dc between markers.
- Repeat until the last stitch of the row and finish with 1 dc.

- Row 3 (Back Post Row):
- Chain 3 and turn. Work 1 dc in the same stitch.
- Work bpdc in the next two stitches. Then work 1 dc in the next 3 stitches.
- Alternate bpdc and dc across until reaching the marker space.
- In the marked ch-2 space, work (dc, ch 2, dc). Repeat until the last stitch of the row, finishing with 1 dc.

- Rows 4-8: Alternate Row 2 (X stitch) and Row 3 (bpdc).
- Row 9:
- Begin shaping the armholes: Chain 3 and turn. Work dc and X stitch until the first ch-2 space.
- Skip stitches after the ch-2 space to align the two armholes. Place the chain-2 spaces on top of each other and work dc instead of increases.
- Continue working dc and X stitches around the jacket body.
- Rows 10-24:
- Continue alternating fpdc/bpdc rows with dc rows, using the previous steps.
- At the end of Row 24, cut yarn.
Bottom Border
- Attach yarn to the hem border.
- Rows 25-27: Work alternating rows of fpdc and bpdc for a textured finish.

Sleeves
- Attach yarn to an armhole edge.
- Row 1: Work dc stitches evenly around the armhole (ensure the stitch count matches other armholes). Join with a sl st.
- Row 2: Chain 3 and turn. Work dec dc in the first and last stitches of the row to start shaping the sleeve. Work dc stitches evenly in the rest of the round.
- Rows 3–28: Repeat alternating rows of fpdc/bpdc and dc rounds. If needed, adjust sleeve length for size.

Button Band and Buttonholes
- Attach yarn along the jacket’s front edge.
- Row 1: Work hdc stitches evenly across the edge.
- Row 2: Work alternating fpdc/bpdc along the edge for texture.
- Row 3: Create buttonholes after marking positions. Skip 1 stitch for each buttonhole, then work ch 1 to form the hole.
- Row 4: Work dc in each st, including the skipped stitches of the buttonholes.
- Finish by weaving in ends and sewing buttons based on the marked positions.


Conclusion
Congratulations! You’ve completed your crochet baby jacket! This design can be easily adapted for different sizes and colors, making it a versatile addition to your baby clothing collection.
Pattern Corrections & Tips
Corrections:
- Ensure stitch counts are consistent, especially when shaping armholes and creating sleeves.
- Buttonhole placement can be adjusted for personal preference.
Tips for Best Results:
- Select soft yarn suitable for baby garments to ensure comfort.
- For boys, place the buttonholes on the right side, and for girls, on the left side.
- If unsure about textured stitches (fpdc/bpdc), practice these on a swatch first.
Leave a Reply