
Cute and lovable crochet amigurumi mouse pattern perfect for looking to create a fun gift playful toy or charming addition to any collection.
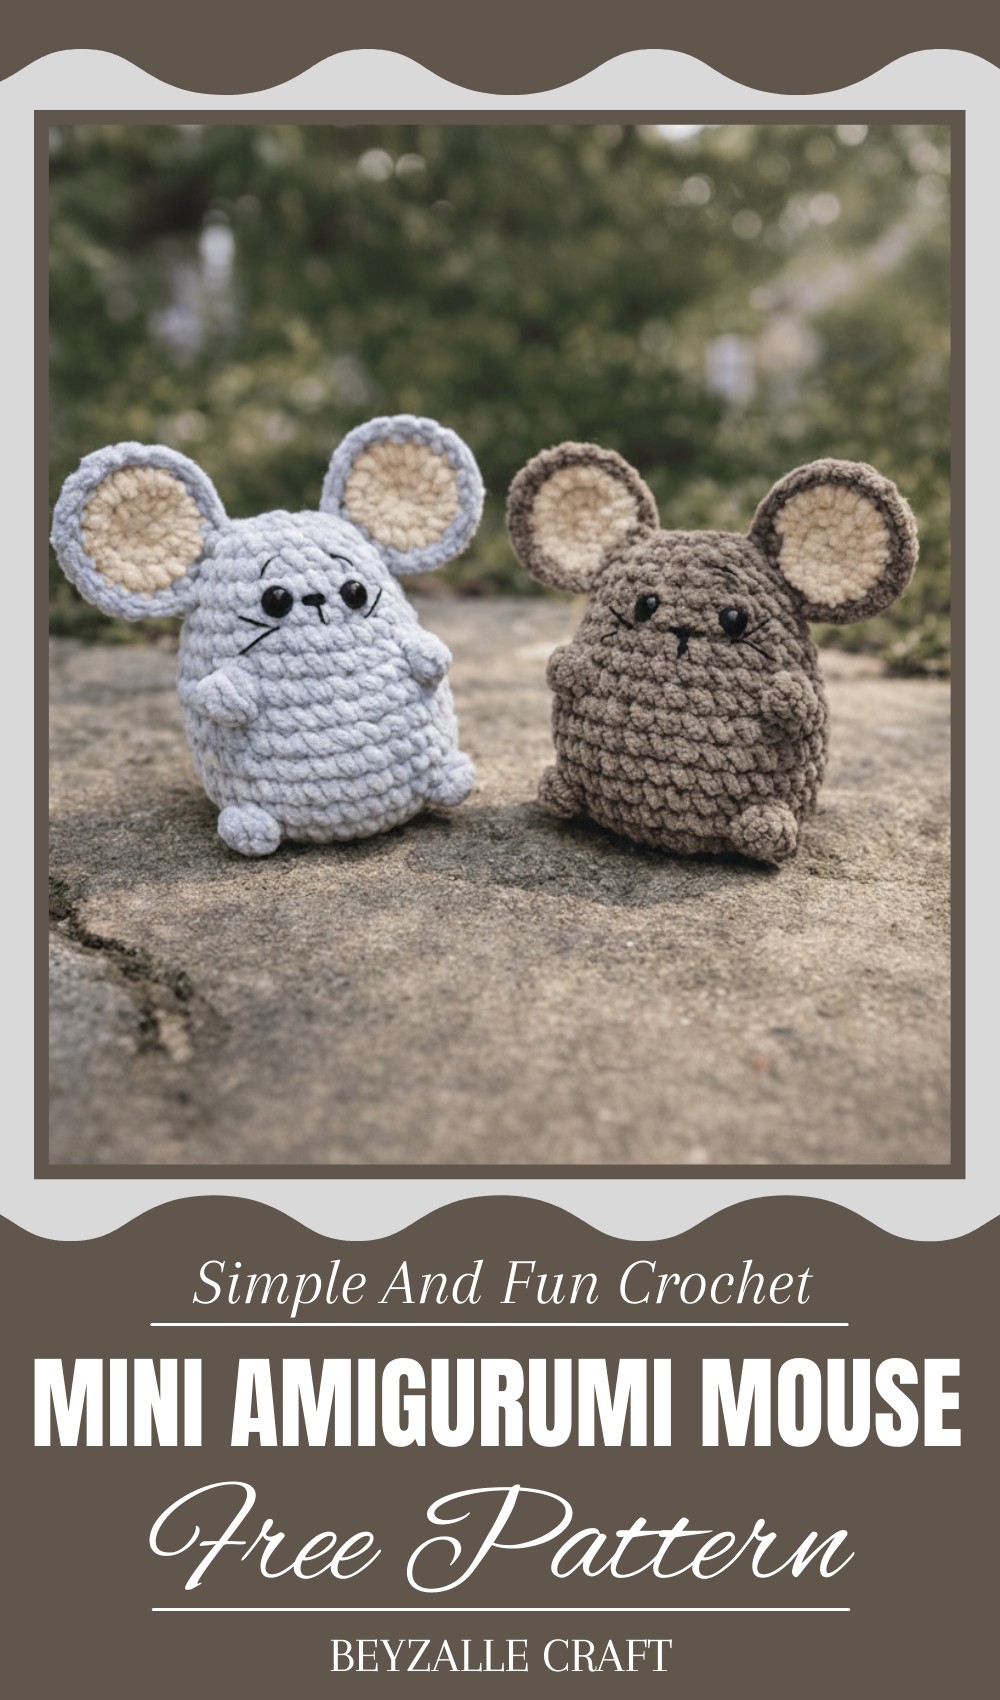
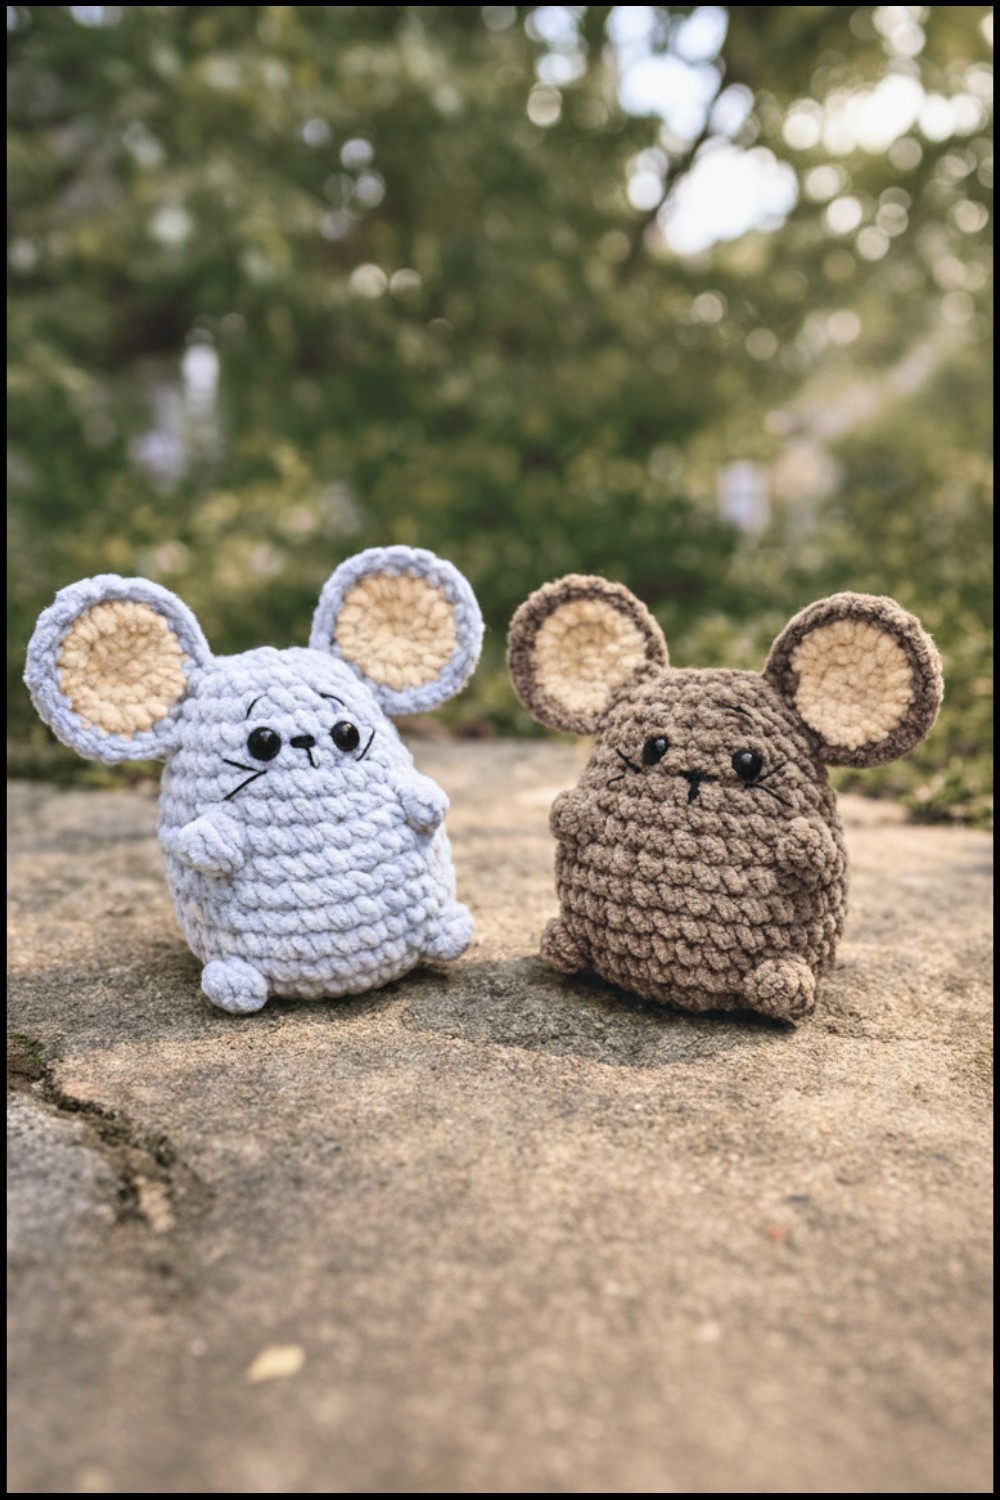
Something about an elegantly designed crochet mouse catches the eye and warms the heart. With its tiny rounded ears, charming whiskers, and soft velvet texture, this delightful little companion is full of personality and charm. Perfect for brightening a nursery, decorating a cozy shelf, or giving as a thoughtful gift, it fits seamlessly into any setting. Its whimsical design invites smiles and makes it ideal for any occasion—whether as a playful toy for children or a unique ornament for a holiday package.
Cute Crochet Amigurumi Mouse Pattern to Brighten Any Space
The intricate stitches and thoughtful details make it timeless, holding a special place in memories while adding beauty and warmth to homes. Its versatility is unmatched, offering something truly special that appeals to both kids and adults alike. This lovable mouse brings joy while showcasing the art of crochet in the sweetest way possible.

Materials List
- Yarn: Thin Velvet Yarn (50g recommended; light gray or brown are suitable; adjust accordingly)
- Hook Size: 3 mm crochet hook
- Eyes: 10 mm safety eyes (optional; for embroidered eyes, use thin black thread)
- Signal thread (Stitch marker): For keeping track of rounds
- Fiberfill stuffing
- Tapestry needle
- Scissors
- Black thread (for nose, mustache, and optional eyebrows)
Skill Level
Intermediate to Advanced
Key Abbreviations
- ch: Chain
- sc: Single crochet
- dc: Double crochet
- sl st: Slip stitch
- inc: Increase (two single crochets in one stitch)
- dec: Decrease (single crochet two stitches together)
- popcorn: Popcorn stitch (detailed instructions provided below)
Special Notes
- Velvet yarn has a slippery texture. Tightening stitches helps maintain structure and prevents unraveling.
- This pattern avoids the use of a magic ring to prevent issues with closing tightly. Instead, starts are made with chains.
- To avoid eye safety backings popping off, secure them with a lighter or superglue.
- Use front loops only for specified rounds to create cleaner transitions.
Velvet Mouse Pattern
Body
- Rnd 1: Ch 2, make 8 sc in the first ch. (8)
- Rnd 2: 2 sc in each sc around. (16)
- Rnd 3: [sc 1, inc] across. (24)
- Rnd 4: [sc 2, inc] across. (32)
- Rnd 5: sc in every sc around. (32)

Adding Tail:
6. Rnd 6: Chain 10, starting in the 2nd ch from hook, sl st to the start point (9 sl sts). Continue:
– Sc 11 stitches;
– Make Popcorn stitch for the first leg as follows:
– Yarn over (yo), insert the hook into the next stitch, yo, pull through two loops (dc started). Repeat this 4 times in the same st until five loops remain on the hook. Yo, pull through all loops on the hook. Ch 1 to secure the popcorn stitch. Sl st into the same stitch;

– Sc 8;
– Repeat Popcorn stitch for the second leg;
– Finish the round with 11 sc.
- Rnd 7: Sc around (32). Work sc on top of popcorn stitches.
- Rnd 8-10: Continue with sc in all stitches without increasing or decreasing. (32 for 3 rounds)
Reductions and Shaping
- Rnd 11: [Sc 11, Popcorn stitch] *1, sc 8, Popcorn stitch *1, then sc 11. (32)
- Rnd 12: [Sc 4, dec] across. At the end: (28 stitches)
- Rnd 13: Sc around (28).
- Rnd 14: [Sc 5, dec] across. (24)
- Rnd 15: Sc around (24).
- Rnd 16: [Sc 4, dec] across. (20 stitches)

Inserting Eyes and Stuffing
- Count 11 stiches from the rear or marker thread to position each safety eye symmetrically. Leave a gap of 3 stitches between the eyes.
- Place and seal the eyes securely using a lighter or glue and ensure they are firm.
- Stuff the body firmly with fiberfill as you complete the head decreases.
Head Closures
- Rnd 17: Sc around (20).
- Rnd 18: [Sc 3, dec] repeat. (16 stitches)
- Add more stuffing if needed.
- Use a tapestry needle to weave through front loops only around the remaining 16 stitches. Pull tightly to close the top securely.

Fasten off and weave in the ends.
Ears (Make 2)
- Rnd 1: Ch 2, sc 6 in the first ch. (6)
- Rnd 2: Inc in each st around. (12)
- Rnd 3: [Sc 1, inc] around. (18)
Do not fasten off yet for the first piece.
Joining the Ears and Edging
- For the second ear, repeat as above. Fasten off.
- Align the two ear pieces with wrong sides together, and sl st around the edges to join.
- Leave a long tail for sewing.

Sewing the Ears to the Head
- Position each ear symmetrically. Use the third row from the top as a guide (count backward from the popcorn row).
- Stitch the ears securely in place, one row above the popcorn stitches, ensuring symmetry.
- Weave in any remaining ends.

Facial Details
- Mustache: Use black thread. Insert it near the snout and work diagonally on each side, skipping one stitch in between. Make two symmetrical lines on each side for whiskers.
- Nose: Use black thread to cover the small gap between the whiskers, embroidering the tip of the snout repeatedly to form a small triangular nose.
- Optional Eyebrows: Embroider fine eyebrows above each safety eye if desired for added expressions.


Conclusion
Congratulations on completing your Velvet Mouse! This adorable and soft creation is perfect for gifting or decoration.
Pattern Correction
If you experience a mismatch in stitch counts, ensure proper use of increases and decreases at each step. Velvet yarn can obscure accuracy due to its texture. Count your stitches carefully.
Tips
- If the velvet yarn begins to split, crochet tighter stitches or slightly loosen your grip on the yarn.
- Stuff the body firmly to prevent sagging over time.
- Ensure eye backings are secure to prevent the eyes from popping out with play or display.
- For additional softness, lightly steam the finished piece. Avoid applying high heat, as velvet fabric is sensitive.
Leave a Reply